The following post is sponsored by ASTROBRIGHTS®
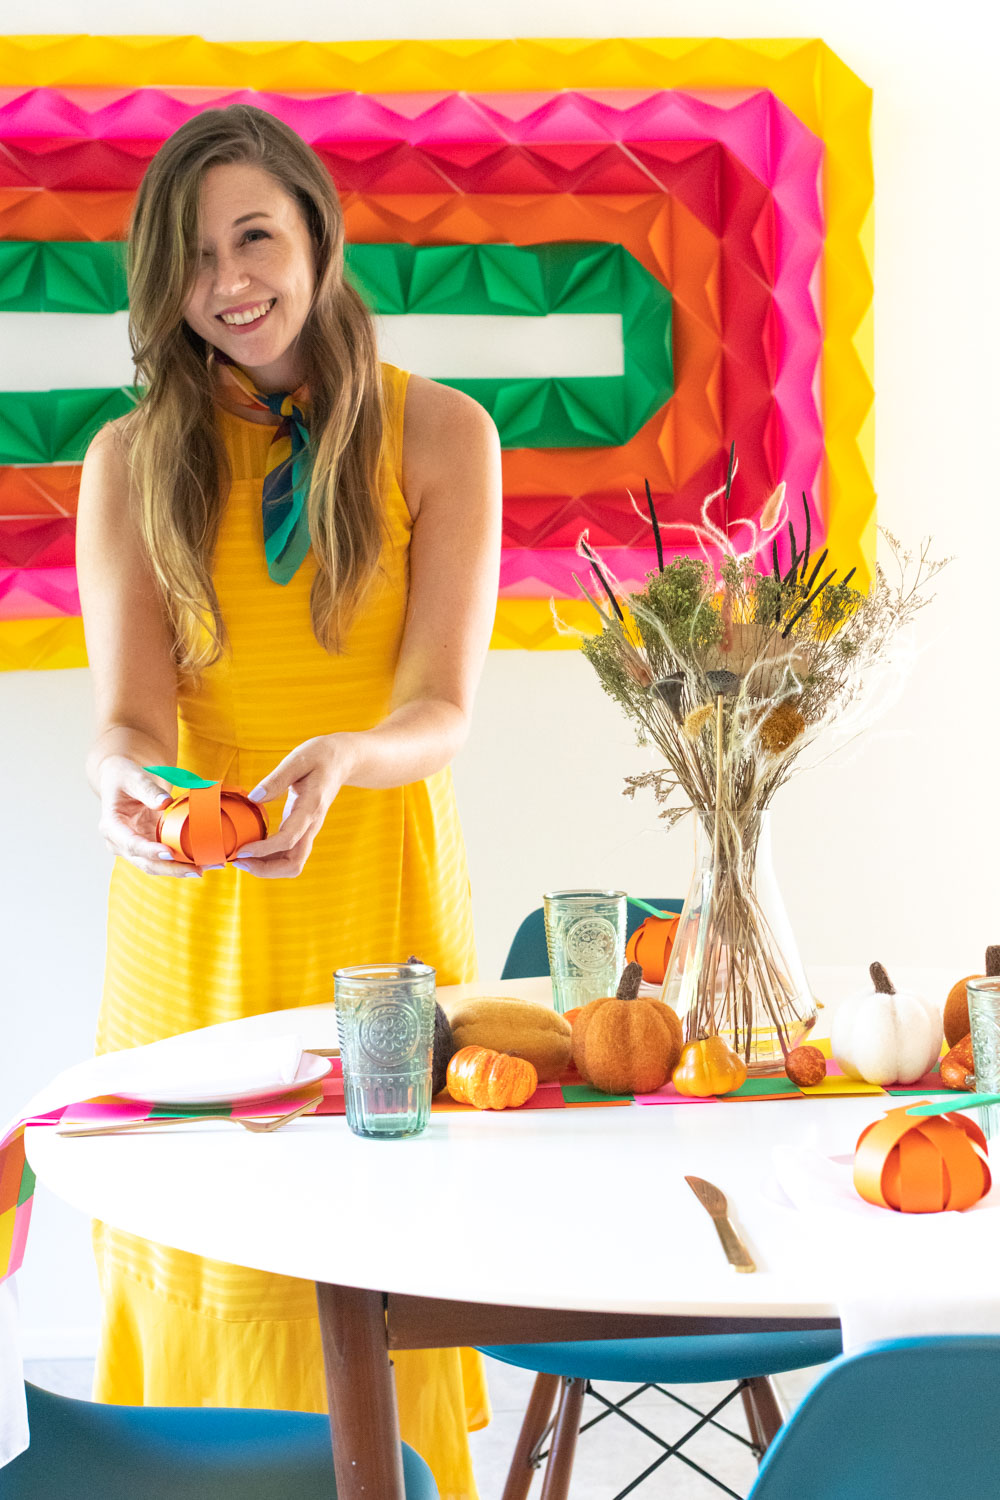
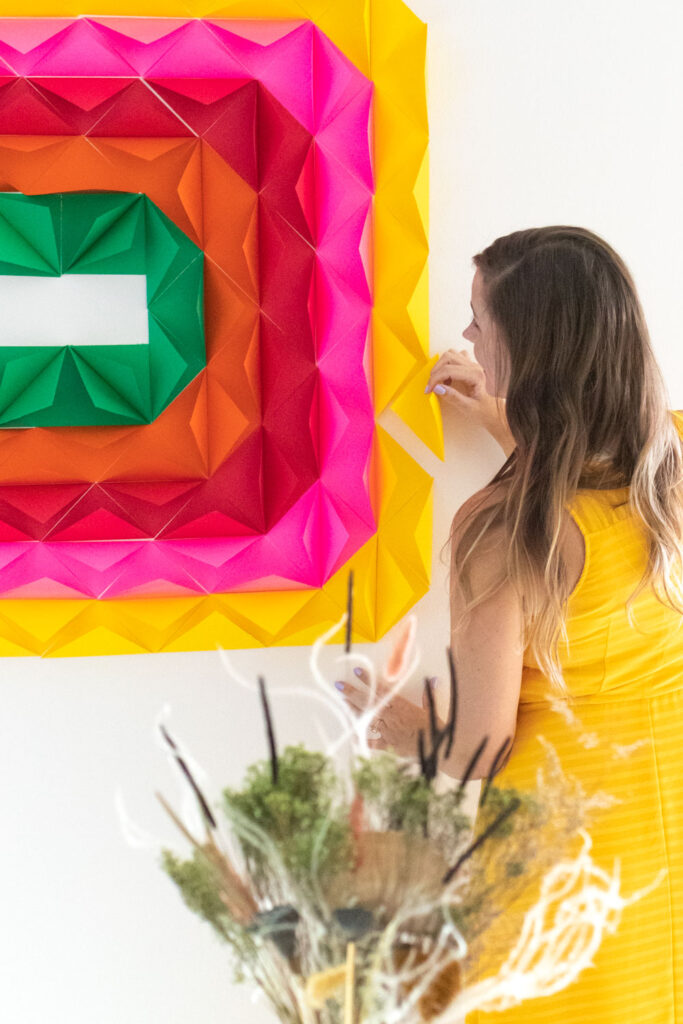
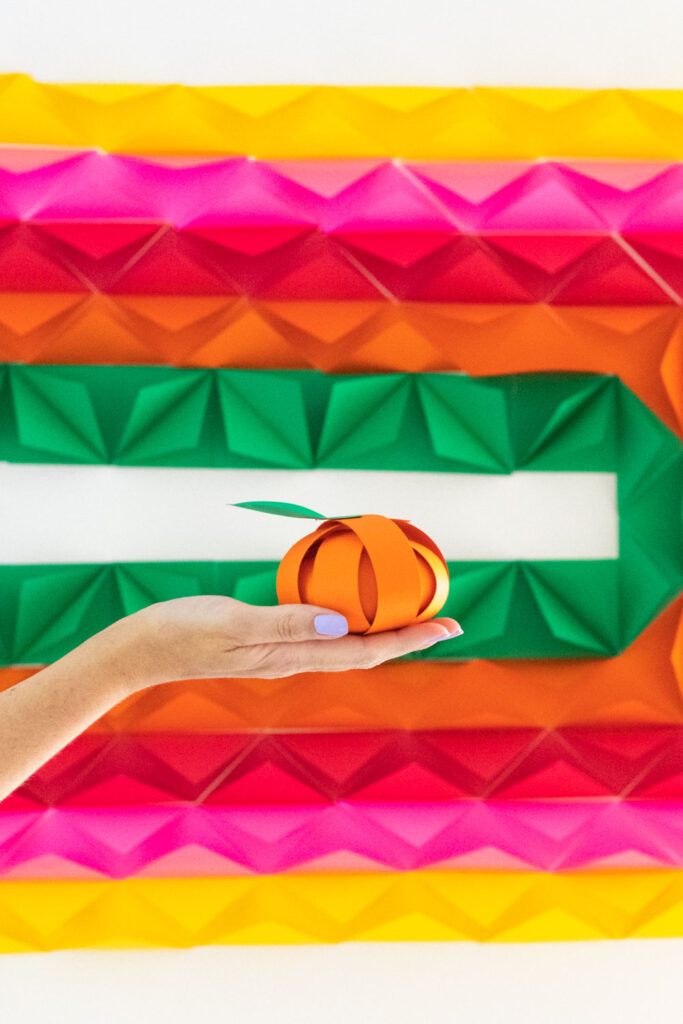
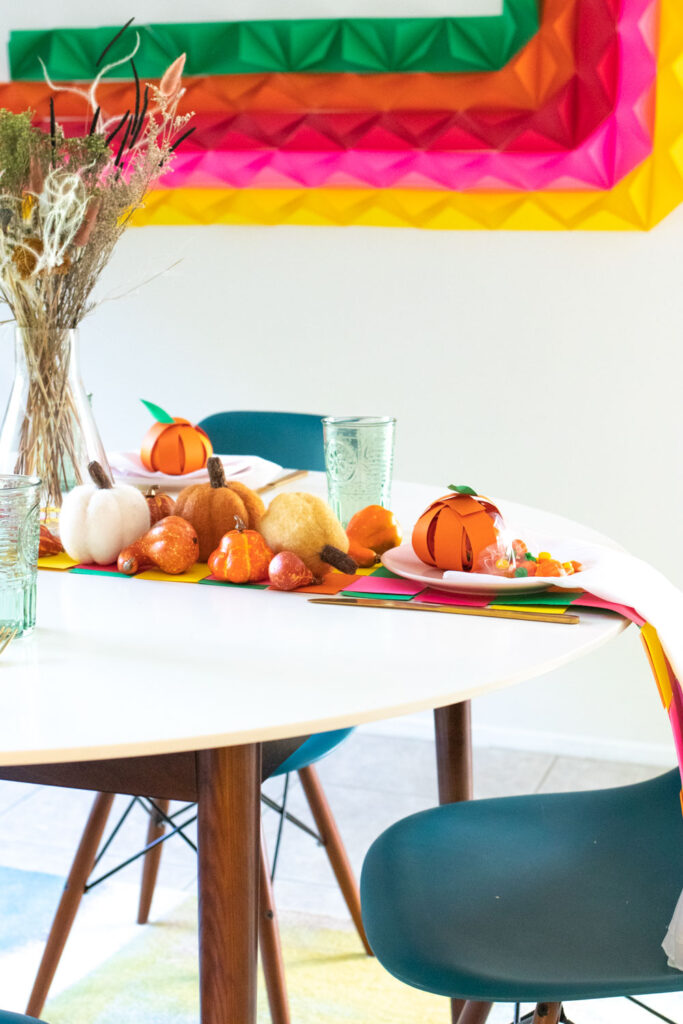
Can you believe it’s already November?! I’m in a full-blown fall mode now, covering every inch of my house in pumpkins and prepping for my FIRST year hosting Thanksgiving! Yes, a lot has changed. To prepare, I started playing around with paper Thanksgiving decor ideas with ASTROBRIGHTS and came up with this retro-inspired 3D paper mural featuring the ASTROBRIGHTS Mega Collection “Retro” Cardstock Assortment. The combination of colors brings in those popular 70s vibes and stands out just enough in my plain, white dining room. Combined with these cute little pumpkin treat place holders and a woven paper table runner, the vibrant cardstock brought the space to life.
Psst, see more about this project on the ASTROBRIGHTS Blog!
The ASTROBRIGHTS Mega Collection “Retro” Cardstock Assortment features Solar Yellow™, Pulsar Pink™, Cosmic Orange™, Re-Entry Red™ and Gamma Green™. Combined, they create a fun retro color scheme that transports you back to the 70s. I like to call this “That 70s Thanksgiving!”
I know things are different this year. However you plan to celebrate Thanksgiving, I hope you can enjoy these various pieces of paper Thanksgiving decor to make it feel special!
How to Make a Retro 3D Paper Mural
Supplies:
- ASTROBRIGHTS Mega Collection “Retro” Cardstock Assortment
- Paper trimmer
- Double-sided tape
Step 1: Cut the long side of the cardstock to make an 8.5-inch square. Then cut into four equal sized 4.25-inch squares.
Step 2: Fold each piece in half from corner to corner. Repeat with A LOT of pieces from each color in the ASTROBRIGHTS Mega Collection “Retro” Cardstock Assortment.
Step 3: Apply double sided tape to each individual piece and remove the backing. Starting with Gamma Green, create the curve shape out of the paper triangles. This should be in the approximate middle of the wall because you will add stripes of color at the top and bottom.
Step 4: For the green layer ONLY, you will make a thicker stripe. Make it go straight across the wall to your desired stopping point (ideally a corner). To see exactly how to make this pattern for the 3D paper mural, reference the photos above.
Step 5: Once the green layer is finished, follow the same curve with Cosmic Orange. Then repeat with the additional colors for the paper mural. Note that the triangles will have to turn perpendicular from the green ones in order to make the stripe (see photos).
Keep going as much as you want to make this fun retro 3D paper mural! You can make paper Thanksgiving decor like this in any pattern you want – the triangles are easy to work with.
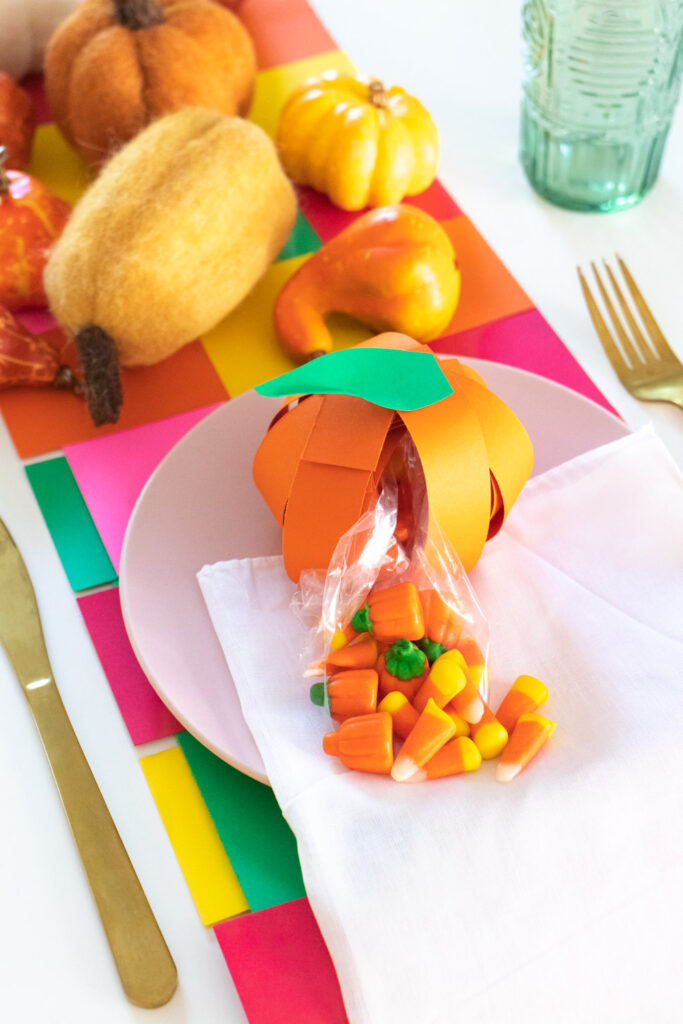
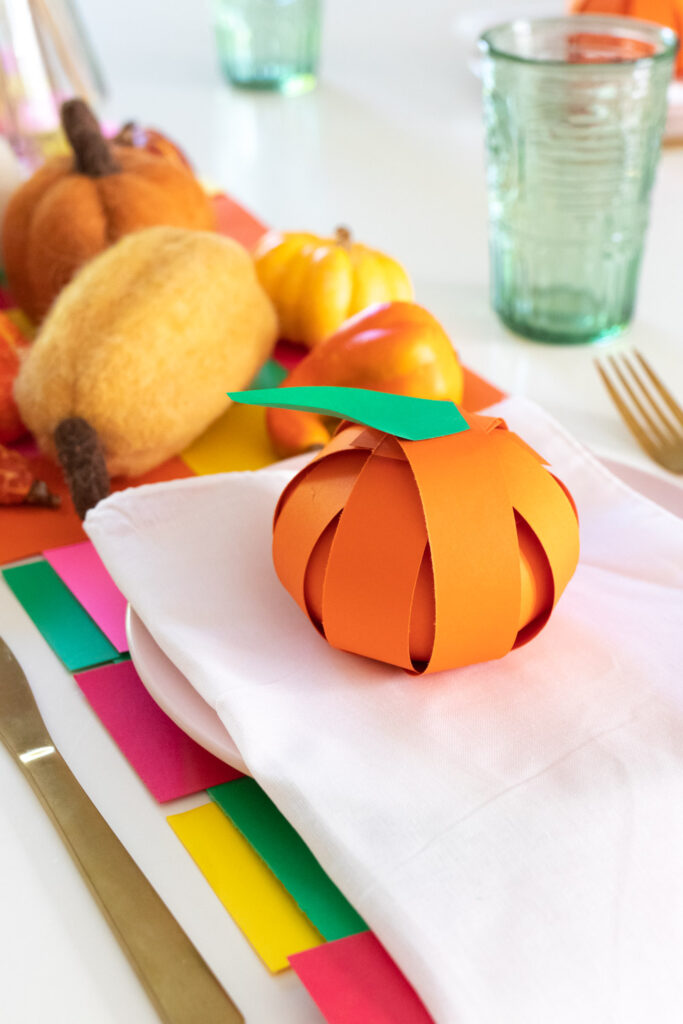
DIY Paper Pumpkin Treat Place Holders
Supplies:
- ASTROBRIGHTS Cosmic Orange Cardstock
- ASTROBRIGHTS Gamma Green Cardstock
- Paper trimmer
- Glue stick
- Plastic food bag
- Scissors
- String
Step 1: Cut the Cosmic Orange cardstock into 8 1×11-inch strips. Arrange a cross.
Step 2: Then glue the middles together. Glue each additional strip on top of each other at different angles to create a burst appearance.
Step 3: Fill a small plastic food bag with your favorite candy! Cut off the top Ziplock part of the bag and bundle it together to tie with string.
Step 4: Position the candy in the middle of the pumpkin treat place holder. Then bend the pieces in and glue opposite strips together until they create a pumpkin shape around the candy bag.
Step 5: Lastly, cut a simple leaf shape out of the green paper and glue it to the top. If desired, bend the tip slightly. Leave as is, or write a name on the leaf to make an official placecard for your Thanksgiving celebration!
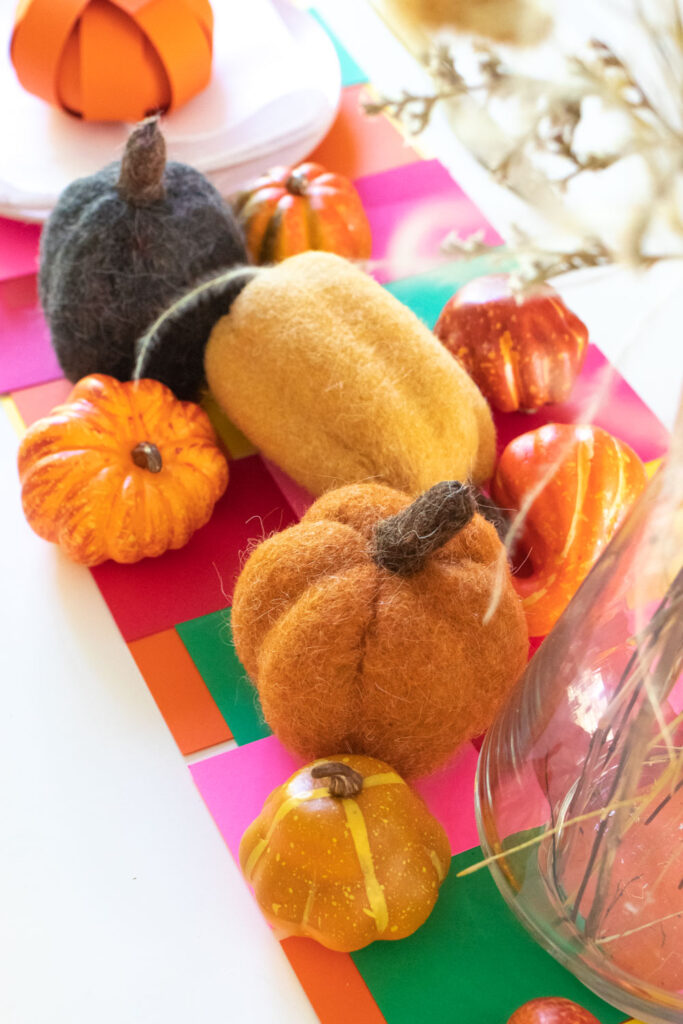
How to Weave Paper for a Table Runner
Supplies:
- ASTROBRIGHTS Mega Collection “Retro” Cardstock Assortment
- Paper trimmer
- Glue stick
- Scissors
Note, I used the leftover strips of paper from making the 3D paper mural so I wouldn’t waste any paper! They were the perfect size for this woven paper table runner.
Step 1: Use leftover strips of paper or cut your own in ANY size you want. Make sure they are uniform, and plan how to weave 6 strips together for the first section of the table runner.
Step 2: Leave slight gaps between each strip. You can either leave overhang on the edges or trim them away. As you make one square, glue it on top of the overlap from another to connect them into one long woven paper table runner.
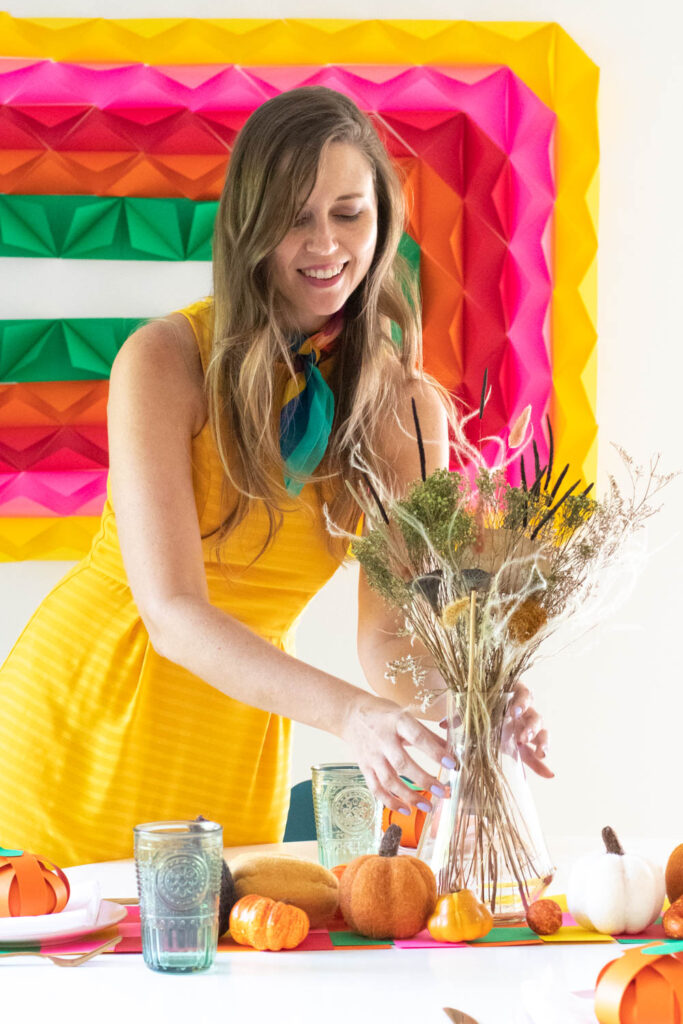
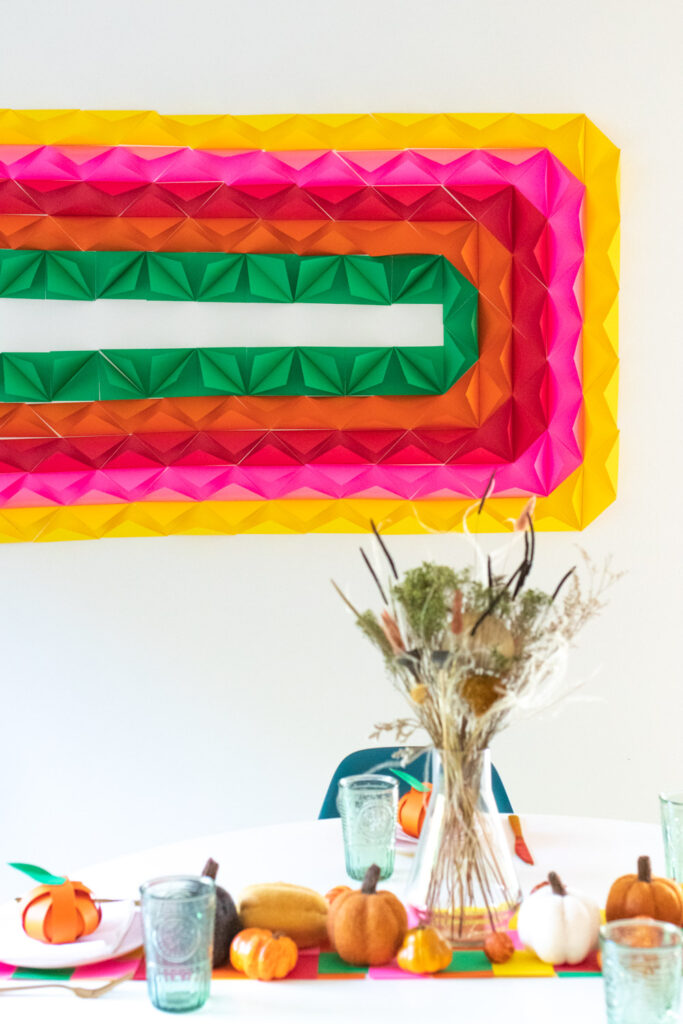
Altogether, the paper Thanksgiving decor adds vibrancy and interest to any table! Plus, you can use DIYs like this 3D paper mural or woven paper table runner for any special occasion.
No matter how you’re celebrating this Thanksgiving, stay safe!
Thank you to ASTROBRIGHTS for generously sponsoring this post. All opinions are my own. Please note this post may contain affiliate links from which I may collect a small profit should you choose to make a purchase. Thanks for supporting the brands that keep Club Crafted making!
