

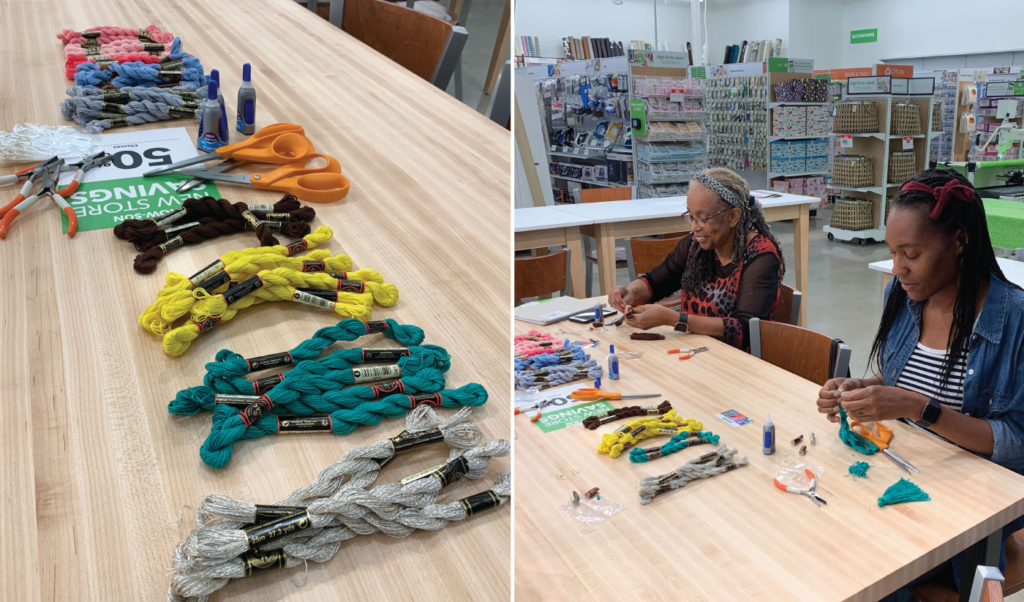
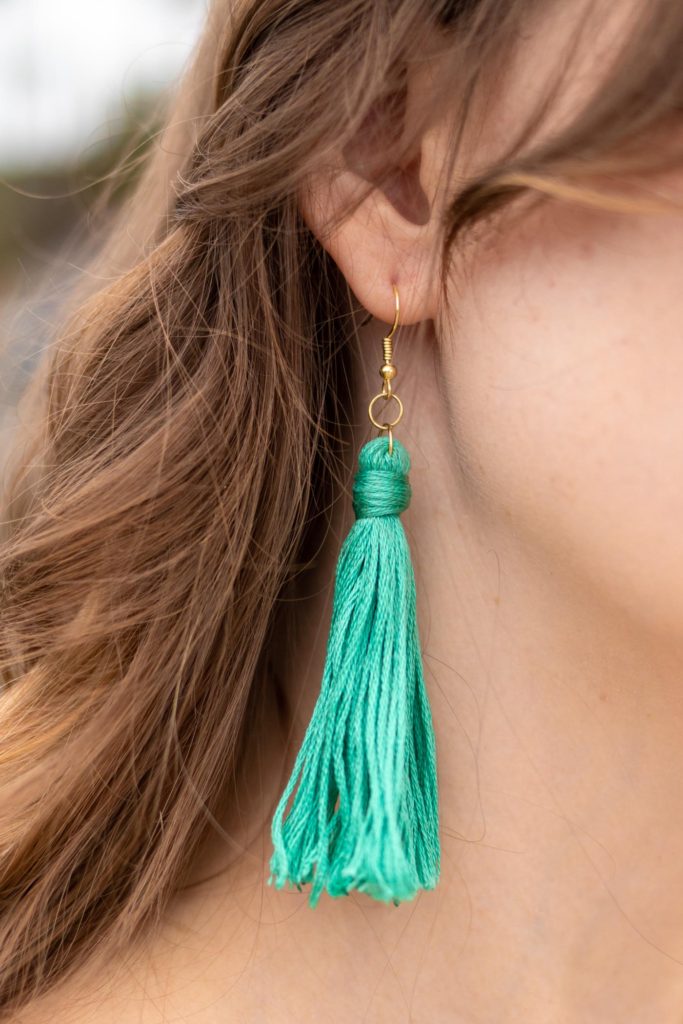
If you haven’t already caught the news on Instagram, I taught a class on how to make these 5-minute tassel earrings at a brand new JOANN store that opened in Chino, CA on Friday! It was such a fun experience for me, and as a JOANN partner, I obviously spend a lot of time at my local JOANN store, so it was great to branch out and help celebrate the opening of their new location. Of course, I wanted you all to be able to make these very easy DIY tassel earrings too! They’re a very easy project you can make with any color of embroidery thread, and you can make a set in every color of the rainbow!

Scroll down to skip straight to the simple tassel earring tutorial! 👇🏼
This was my first time teaching an in-person craft tutorial, and I’m so grateful to have had this experience! We had about 15 people come and make these easy 5-minute tassel earrings with me in the Creator’s Studio at the new JOANN store in Chino, and each of them walked away with a fun new pair of earrings. The new store location is beautiful and I instantly fell in love with the yarn wall you see above! Can I get one of these in my house?!
THANK YOU to the team at JOANN in Chino for making me feel welcome at the store’s grand opening. It looked like a wonderful success! Now, let’s talk about how you can make these 5-minute tassel earrings at home! This is a very inexpensive jewelry project, so you can make tassel earrings in every color of the rainbow, which is obviously VERY important to a complete wardrobe 😉
Supplies:
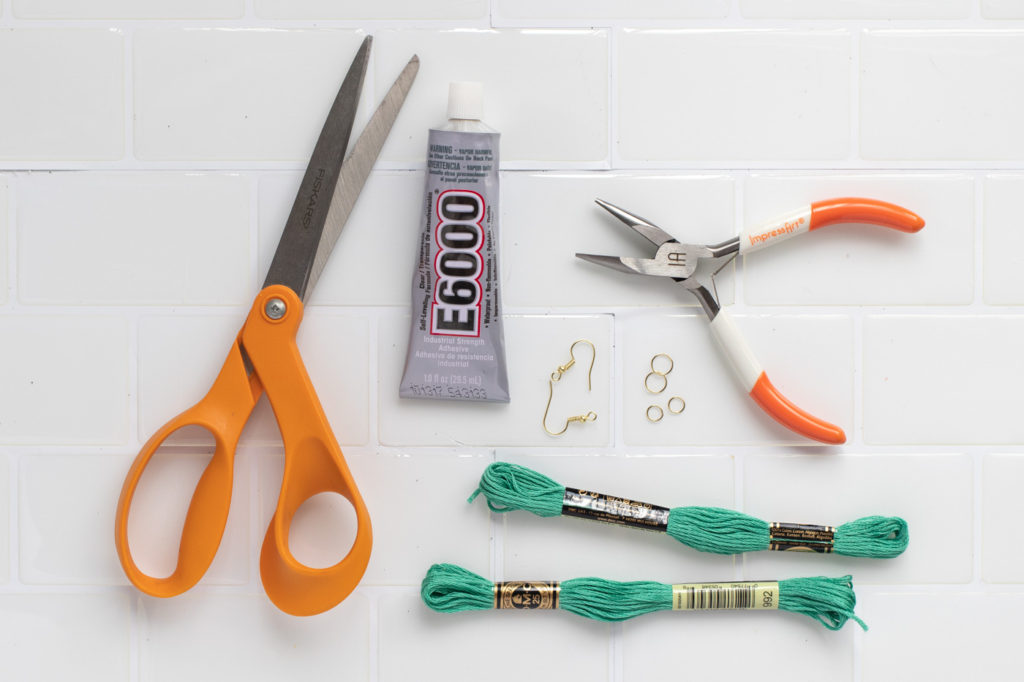
- Two skeins embroidery floss, any color
- Scissors
- Clear super glue (I recommend E6000)
- Jewelry pliers
- 2 8mm jump rings
- 2 6 mm jump rings
- Ear hooks
Note, for best results, use thinner embroidery floss skeins such as the ones featured in the supply list above. The twisted packs produce fuller looking tassels BUT they are more difficult to craft with because of their thickness.
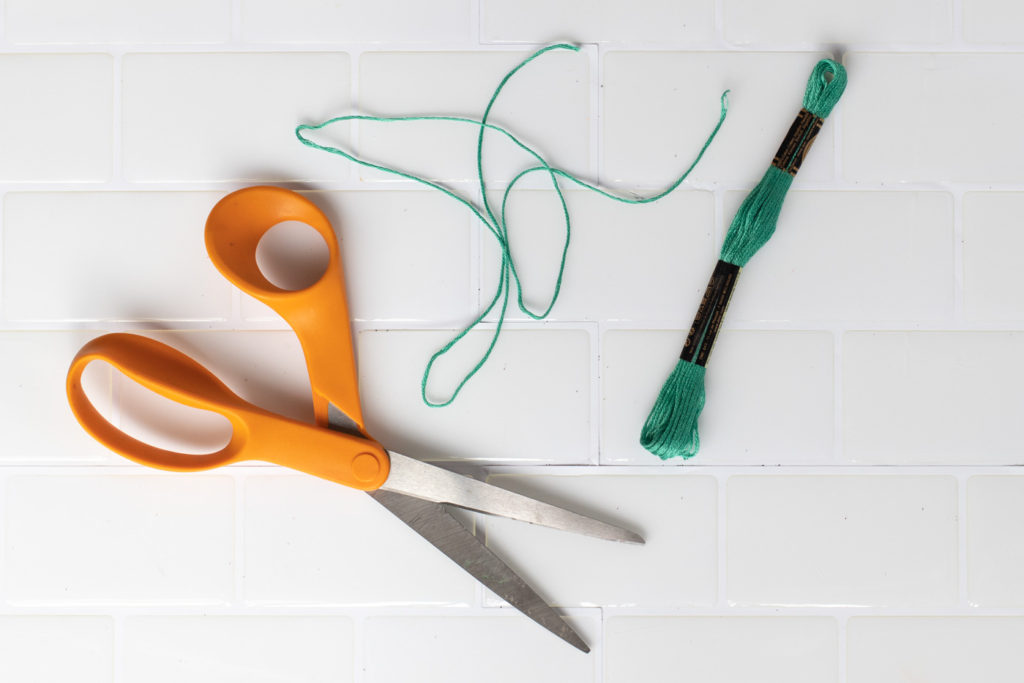
Step 1: Cut a piece of embroidery thread about 6-8 inches long. Set aside.
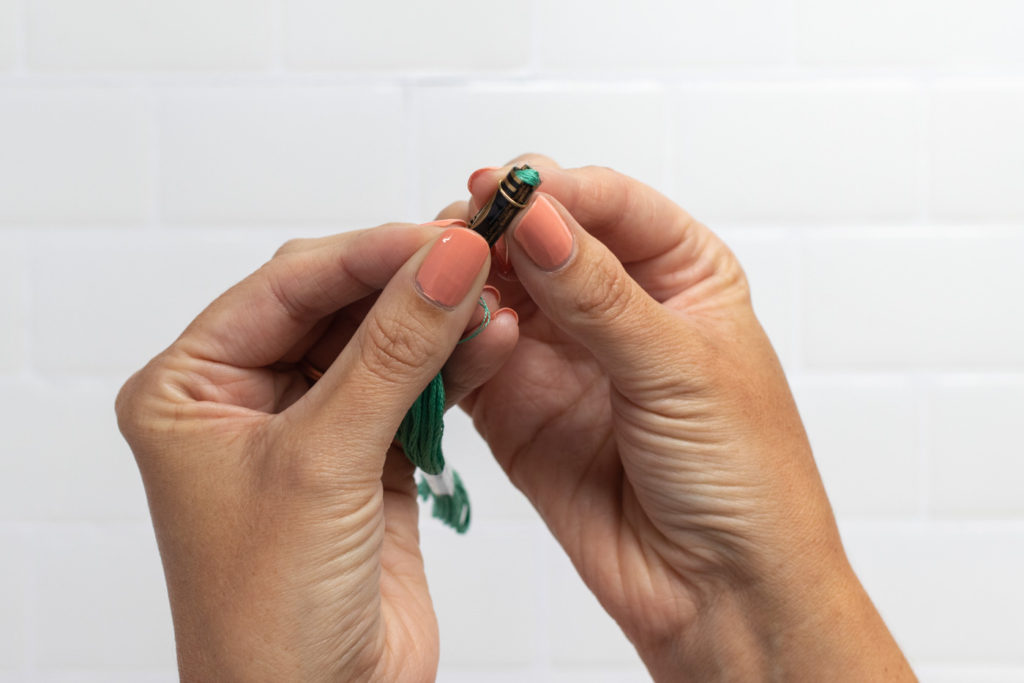
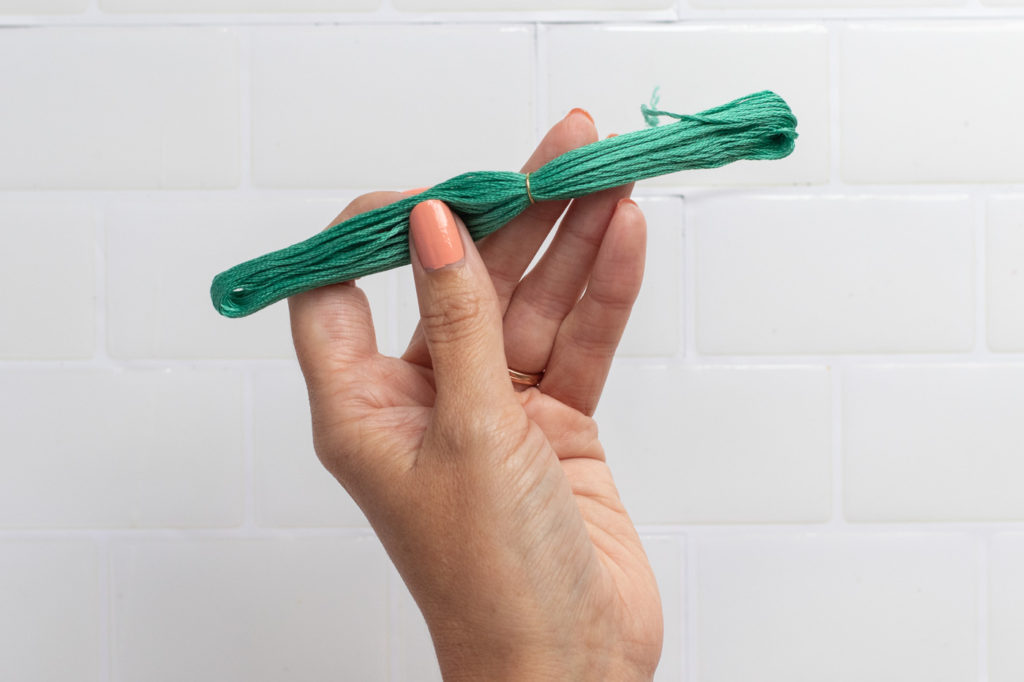
Step 2: Push the paper tag around the skein to the very end. Bend slightly as needed to thread the larger jump ring over it. Push to the middle of the skein.
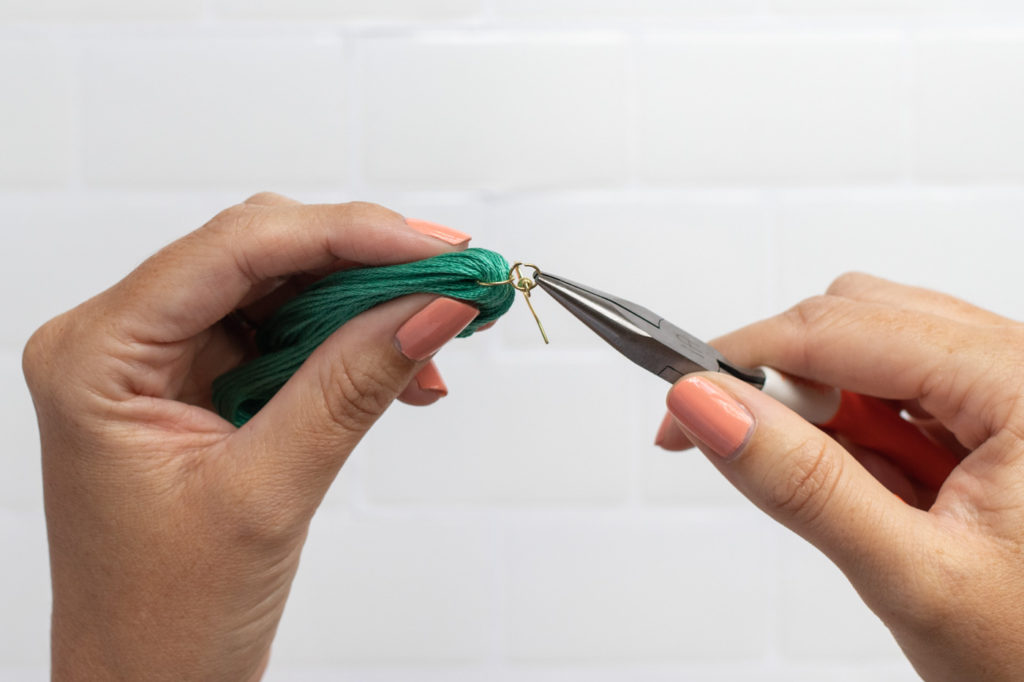
Step 3: Use jewelry pliers to attach the smaller jump ring to the larger on around the thread. Attach the earring hook to the smaller ring as well. Close the jump rings tightly.
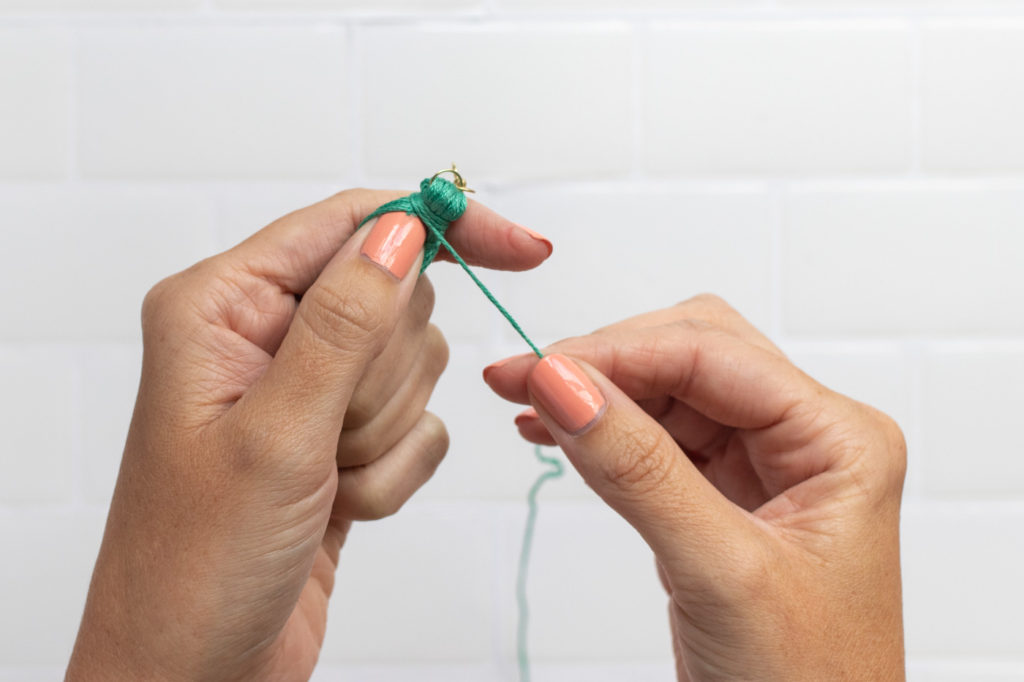
Step 4: Fold the embroidery floss at the middle. Use the extra piece of string to wrap tightly around the skein just below the jump ring. Wrap as much as desired.
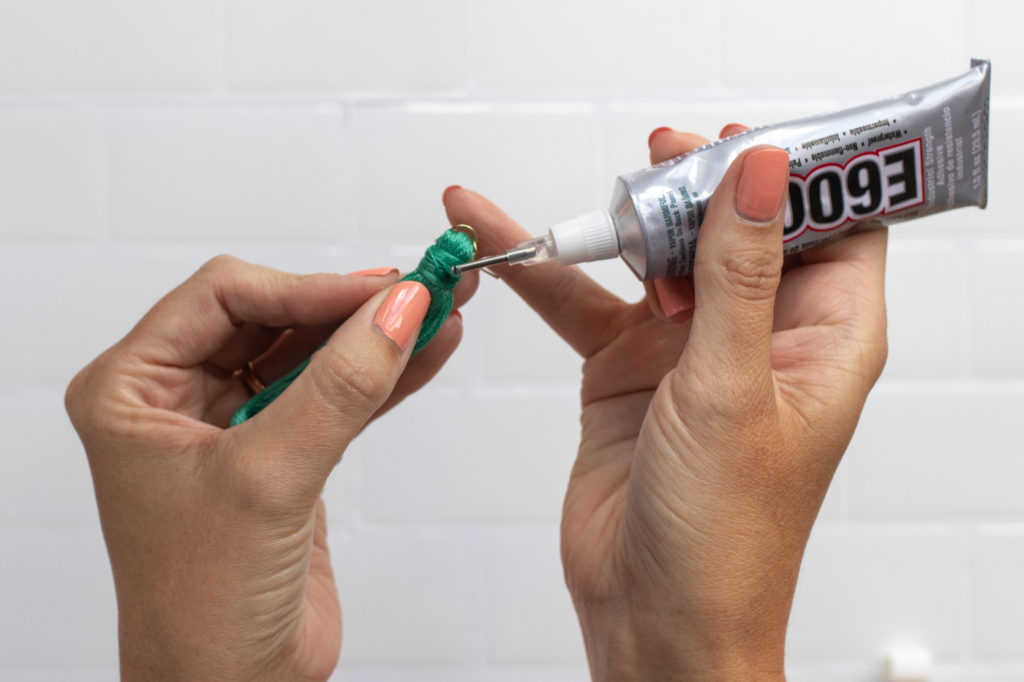
Step 5: Trim thread as needed and use a small amount of glue to hold the thread down, creating the top of the tassel.
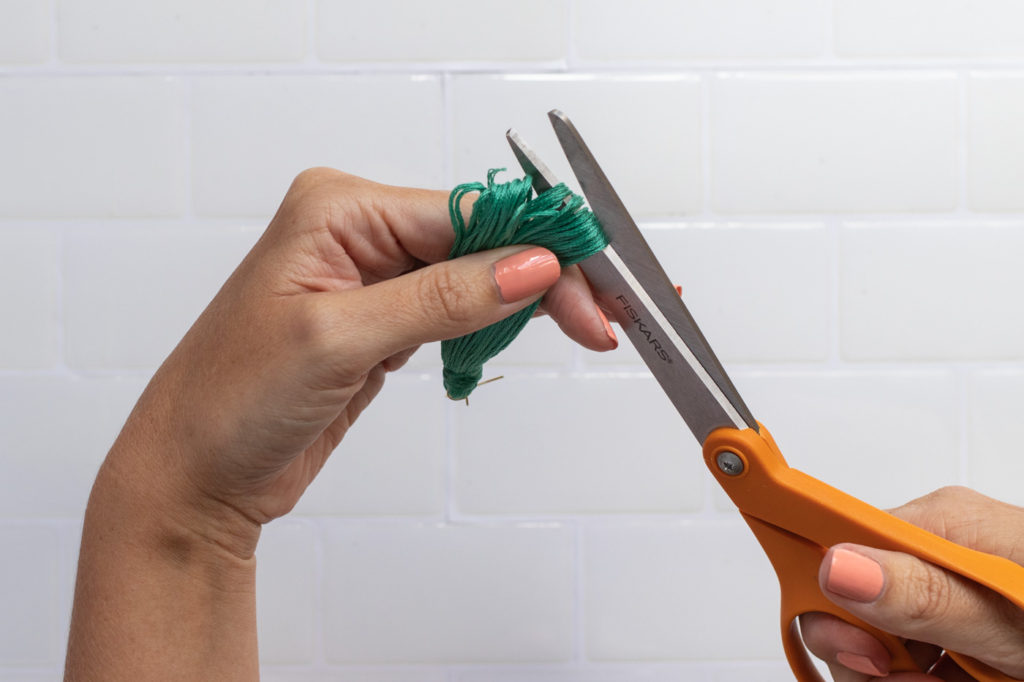
Step 6: Lastly, cut the bottom loops free and use the scissors to even out the tassel.
Then repeat the steps so that you have a set of DIY tassel earrings with your favorite color of embroidery floss! Because these tassel earrings are such an easy, inexpensive project, you can make a set in every color, and they make wonderful gifts.
Want a way to store your tassel earrings when you’re finished?! Try making a simple wood earring board.
Thank you to JOANN for partnering with me to create this post. All opinions are my own.

Rebekah
This is such a CUTE idea! I know our residents will love it. Definitely going to share with them.