
The wall art in our apartment is seriously lacking, and it’s totally my fault. We have a ton of framed artwork from our old apartment that I chose not to hang in our new one because I wanted to switch everything over to white frames, not realizing how much it would cost to do it. Thus, all my wall art is still on the floor, not the wall…with the exception of our hallway, where I hung a lot of black and white photos of family and friends.
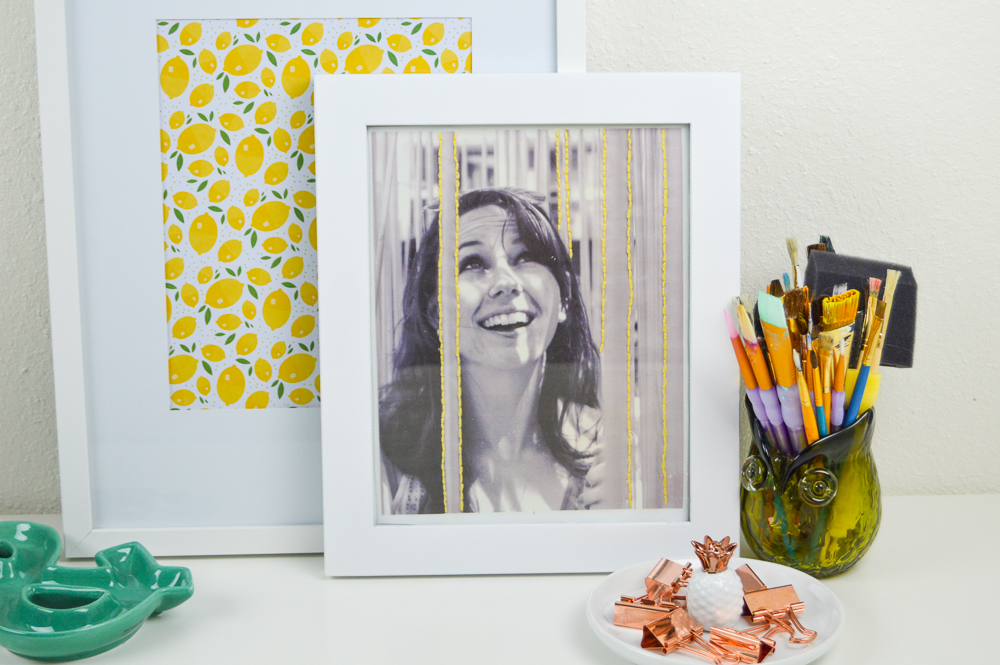
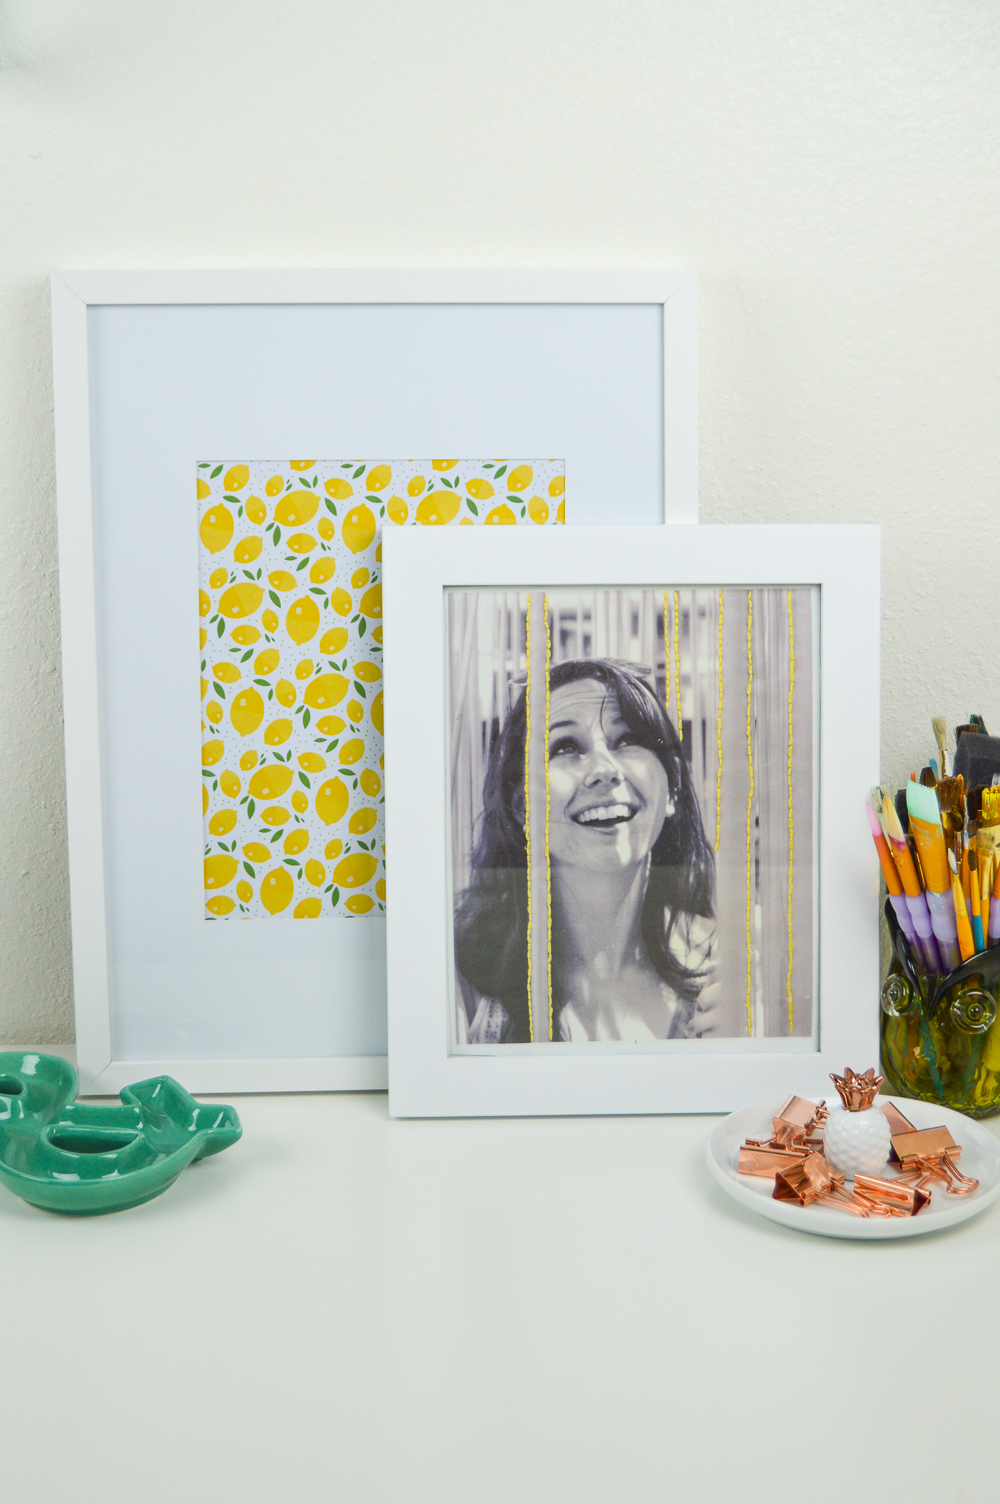
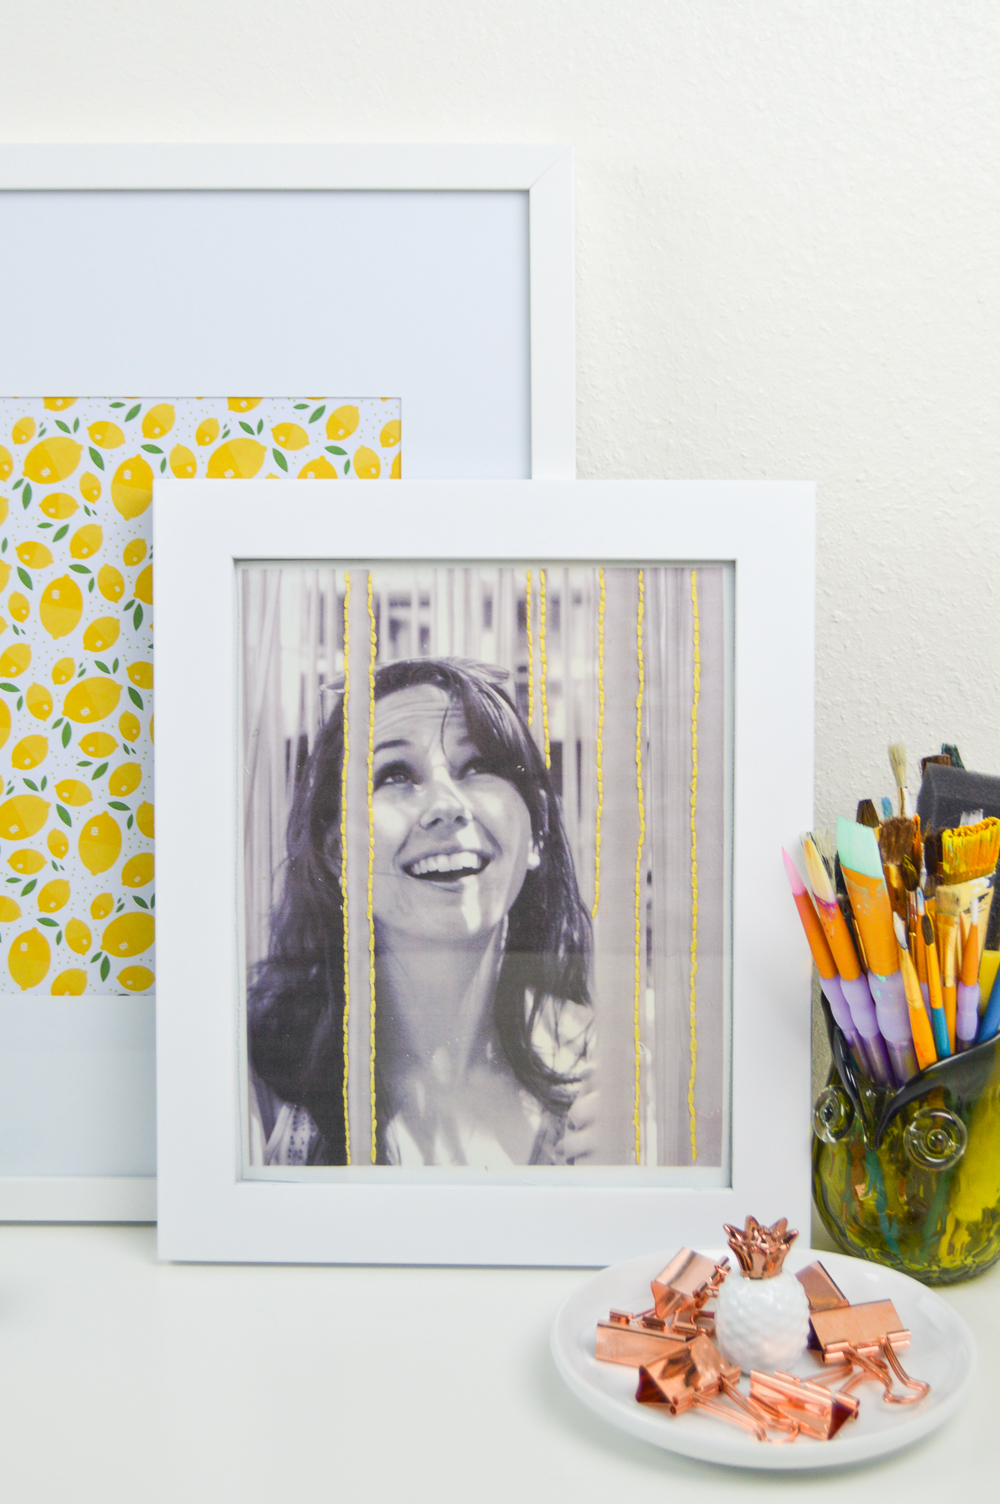
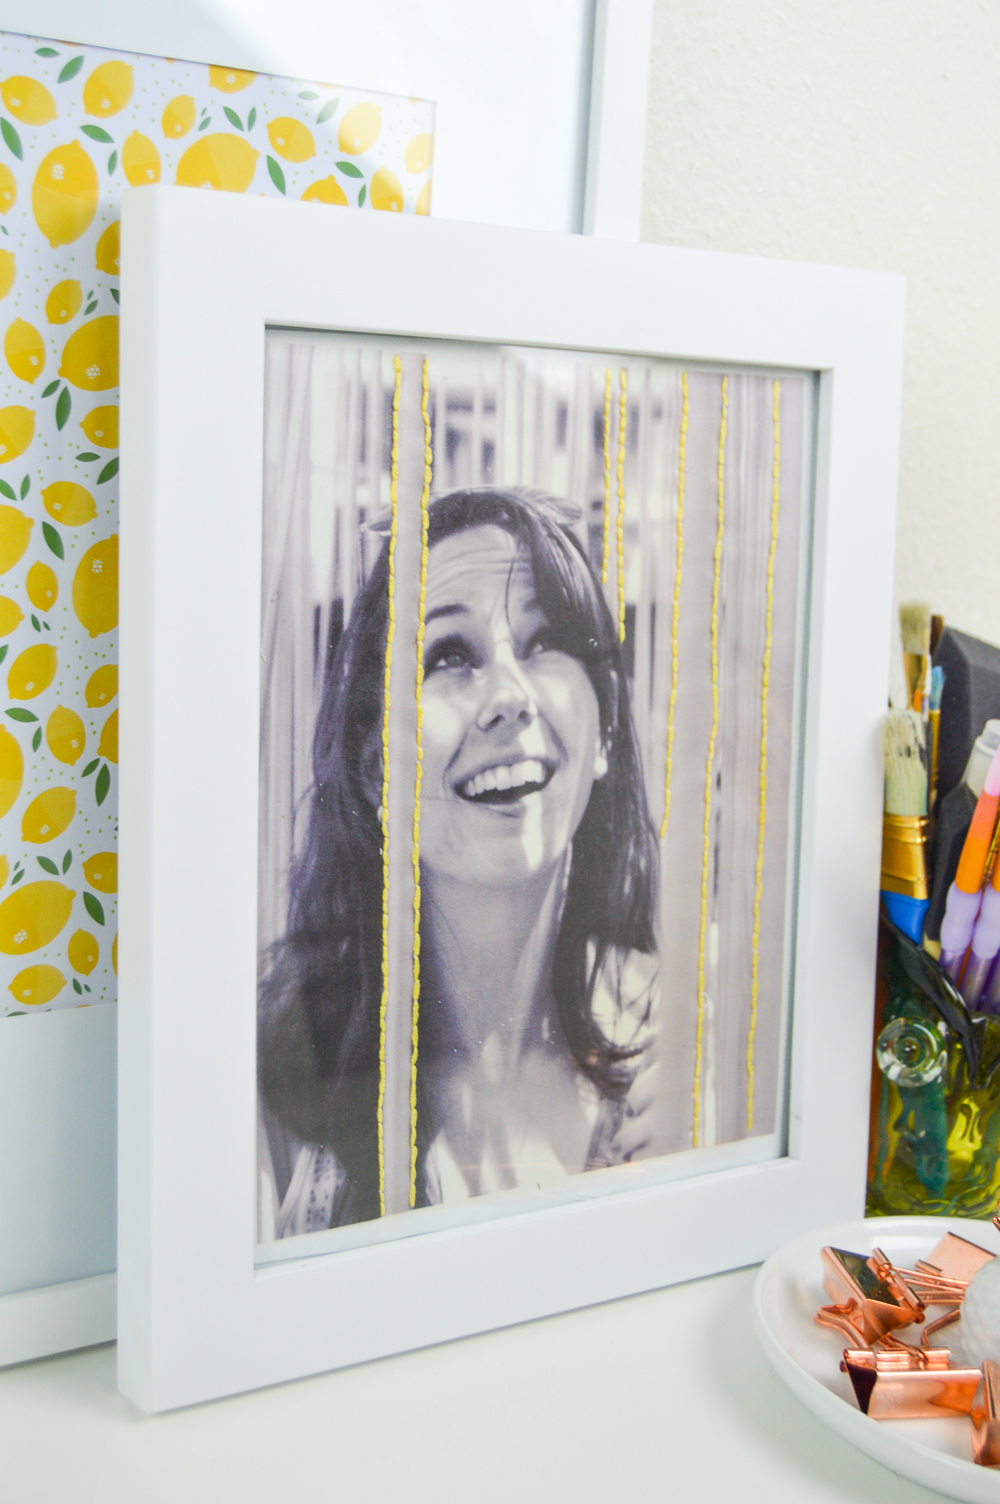
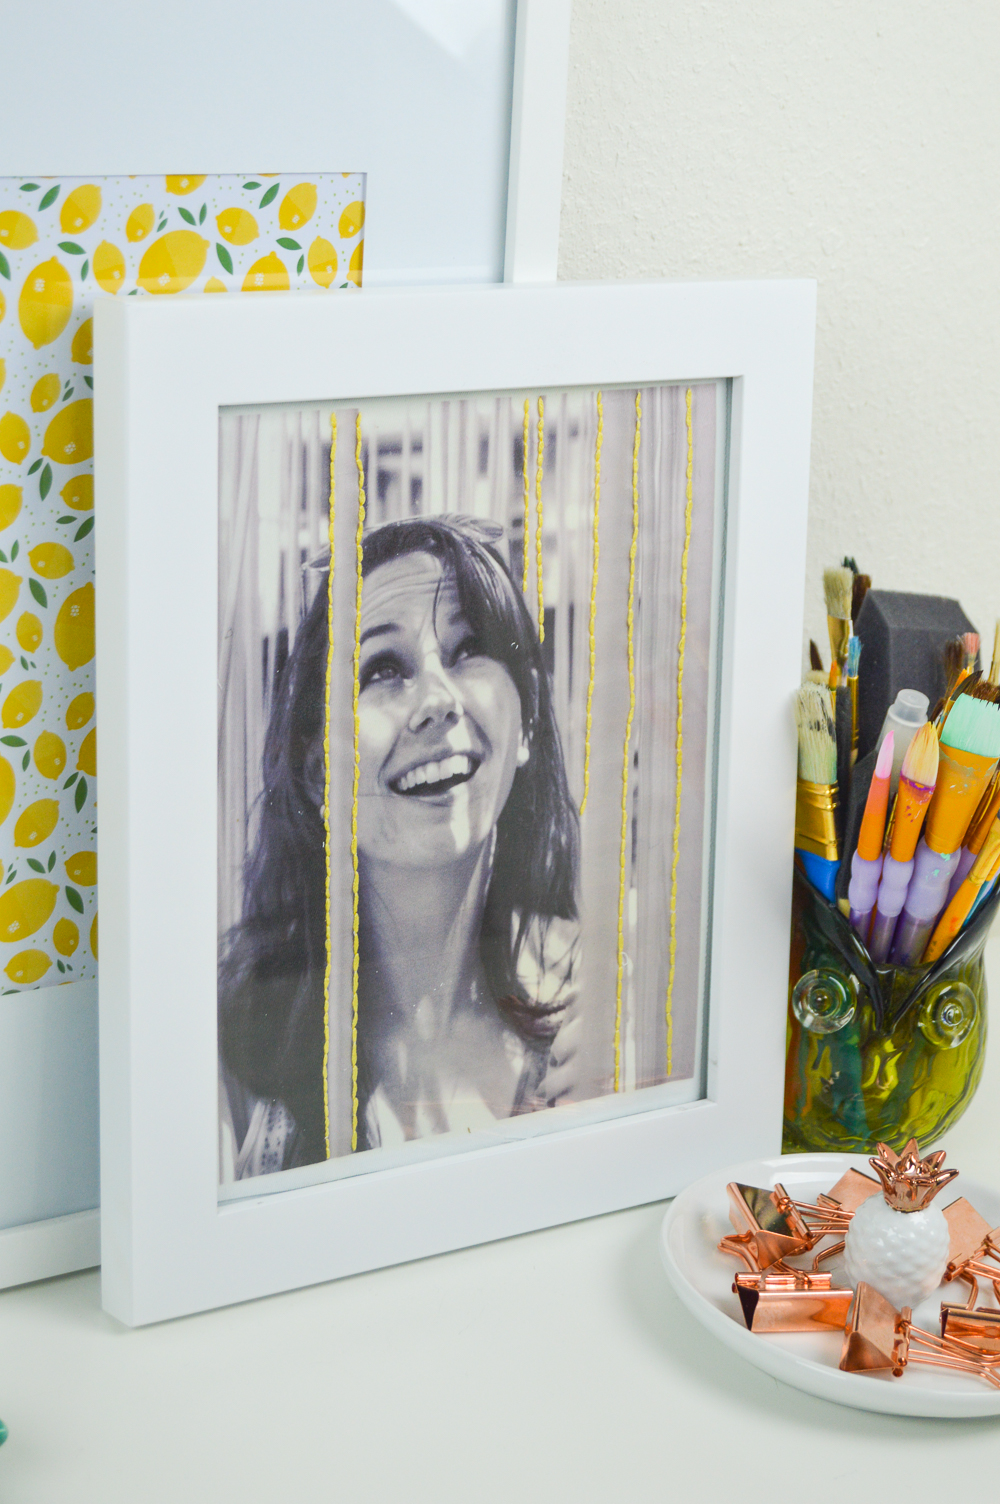
That’s what led me to today’s project: DIY embroidered photo art. I got the idea a long time ago, but I thought it would be fun to try using one of my fav black and white photos to transfer to fabric and embroider with colored string to make certain things pop! Like so many of my projects, I bought all of the supplies FOREVER ago and then left them to sit. Oops! I’m happy to say I finally got my motivation back to finish the project, and for now I’ve placed the finished embroidered photo inside a frame on our “office” shelves.
This is such an old photo but it’s still one of my favorites. My boyfriend took this photo of me at LACMA about 3 years ago, and in full color, it’s a fun, bright photo that always brings me back to that day. Since those things hanging down are originally yellow, I decided to embroider some of them with yellow string to make them POP!
Supplies:
- White cotton fabric (avoid texture)
- Fabric transfer printing sheets (I used these)
- Iron
- Embroidery thread
- Needle
- Scissors
How to Make DIY Embroidered Photo Art:
- Choose your photo! Apply a black and white filter to your desired photo(s) and print onto the fabric transfer printing sheet. (Remember to choose a photo with details you know you want to embroider and be sure to print in the correct size for your frame)
- Using your iron, transfer the photo to a piece of white fabric by following the directions on the package and let cool before cutting around the photo, leaving a 1/4-inch margin all the way around
- Plan where to embroider first. Thread your needle and poke through your desired area from the bottom and tie a knot
- Carefully embroider over the portion of the photo, following the forward, backward motion of stitching. Essentially, this means you top stitch, bottom stitch and then backstitch and top stitch again to ensure you are getting clear lines
(Tip: you can embroidery words over your photos too!) - Continue to stitch over your desired area in your planned pattern until complete and then tie a knot on the backside of the fabric
- Repeat with all desired elements and colors but be careful not to overdo it
- When complete with all stitching, make sure all threads are hidden on the backside of the fabric and place the photo inside of your desired frame, trimming the edges more if needed
This would make a sweet, personal gift for someone too! It turned out to be a really fun DIY for me, and stitching while watching TV is pretty relaxing to me. Plus, even if you’ve never stitched before, this would be easy to get the hang of – trust me, I’m NOT an embroidery expert at all.
Let me know if you give it a try!

