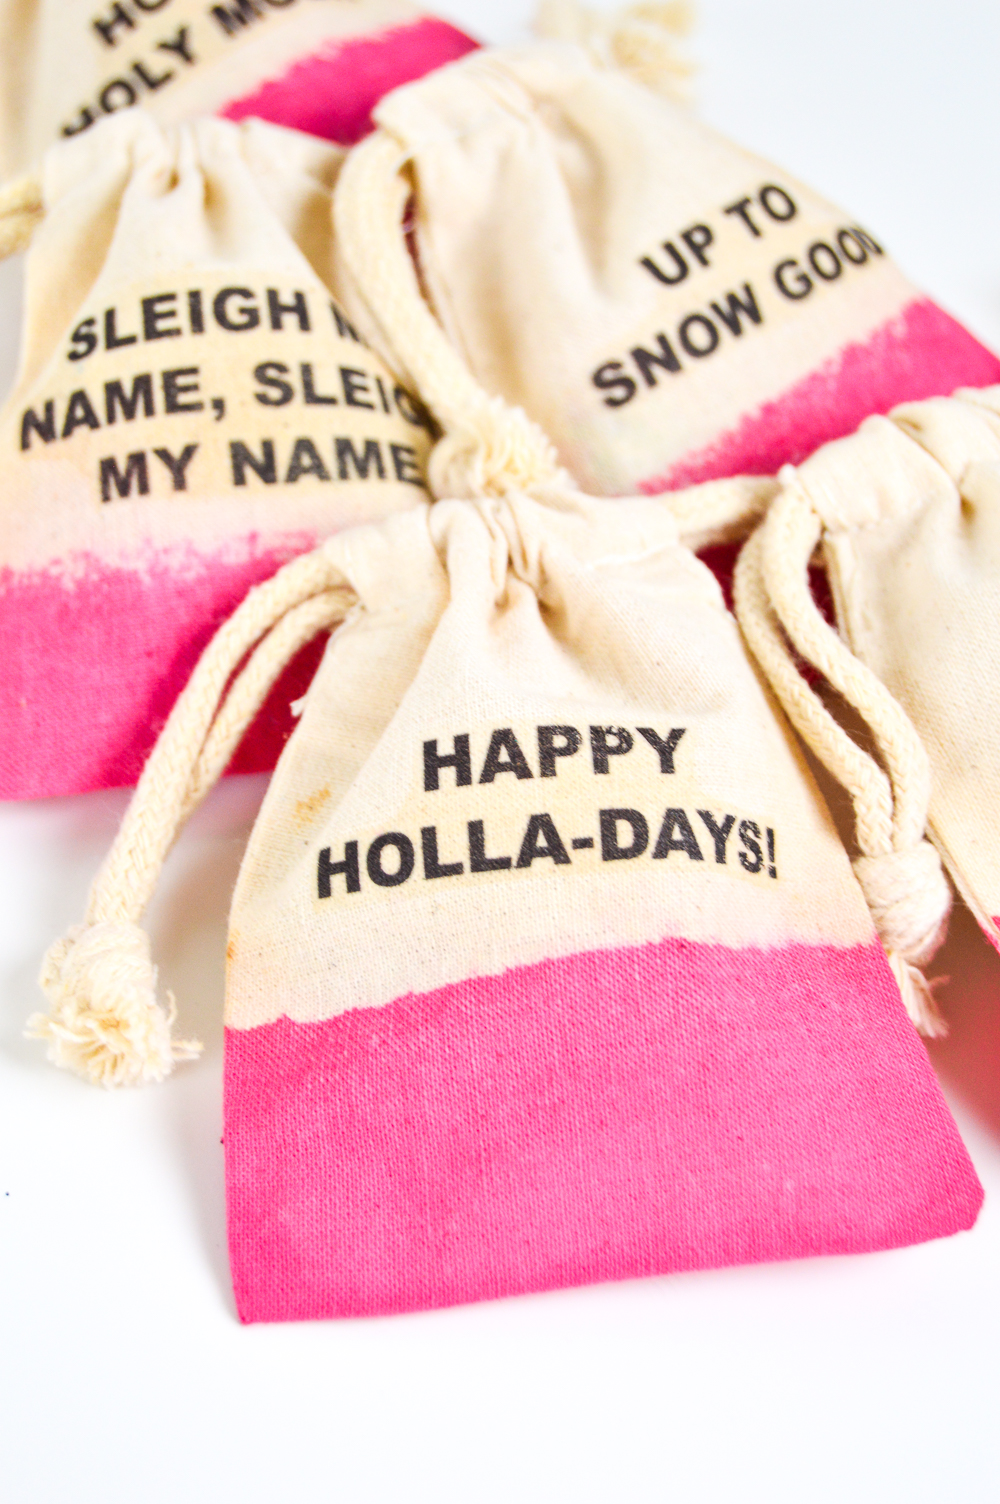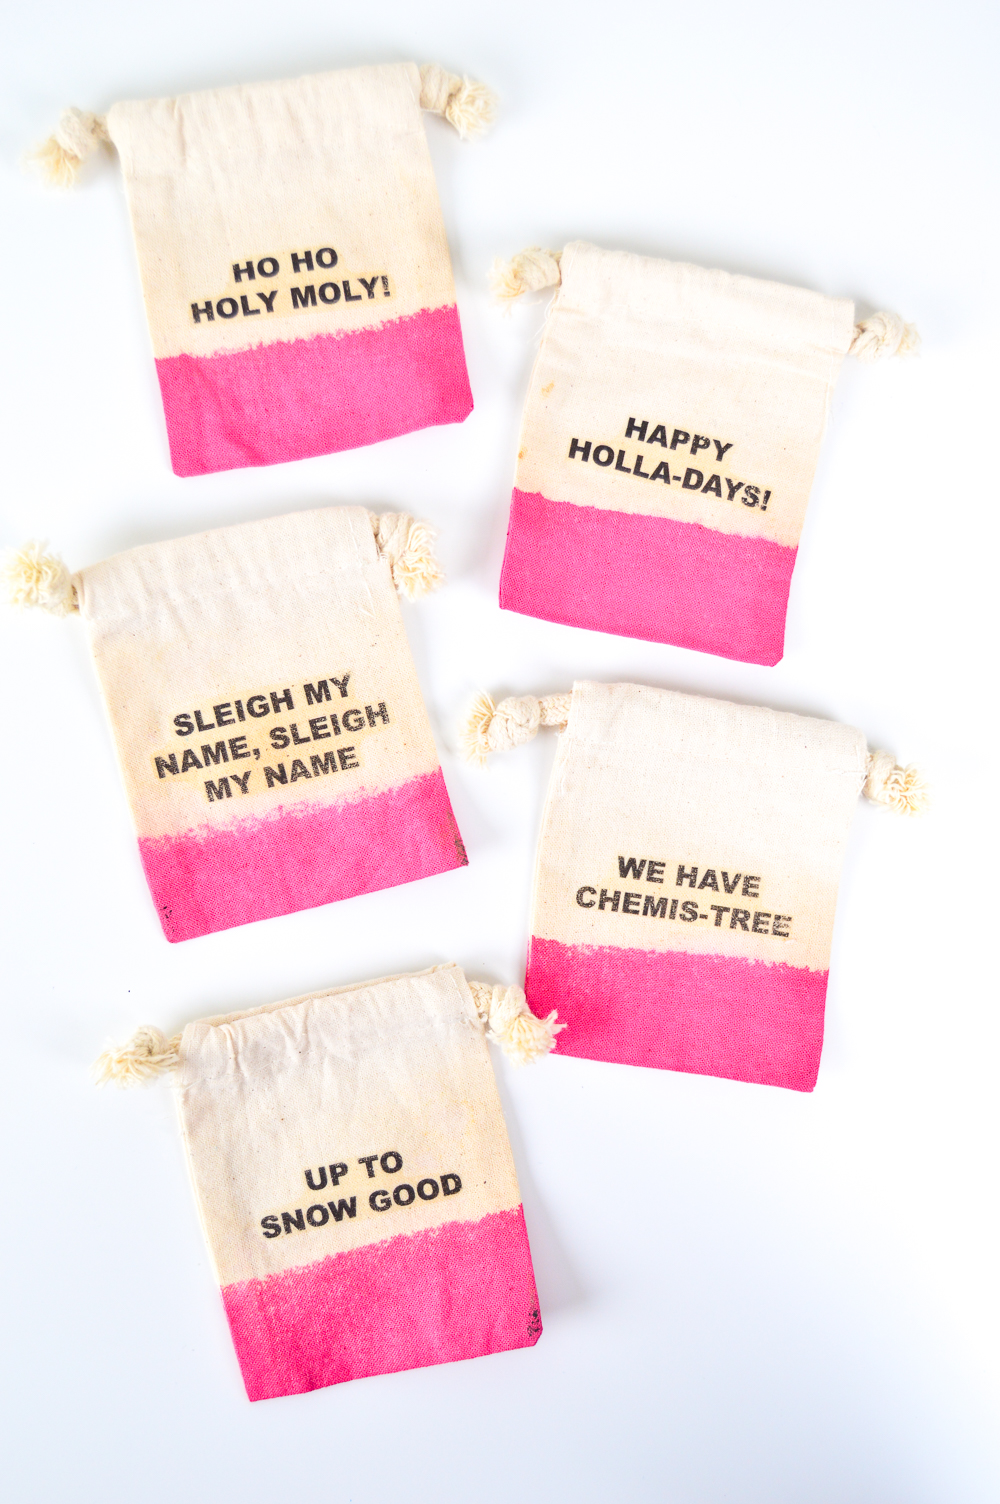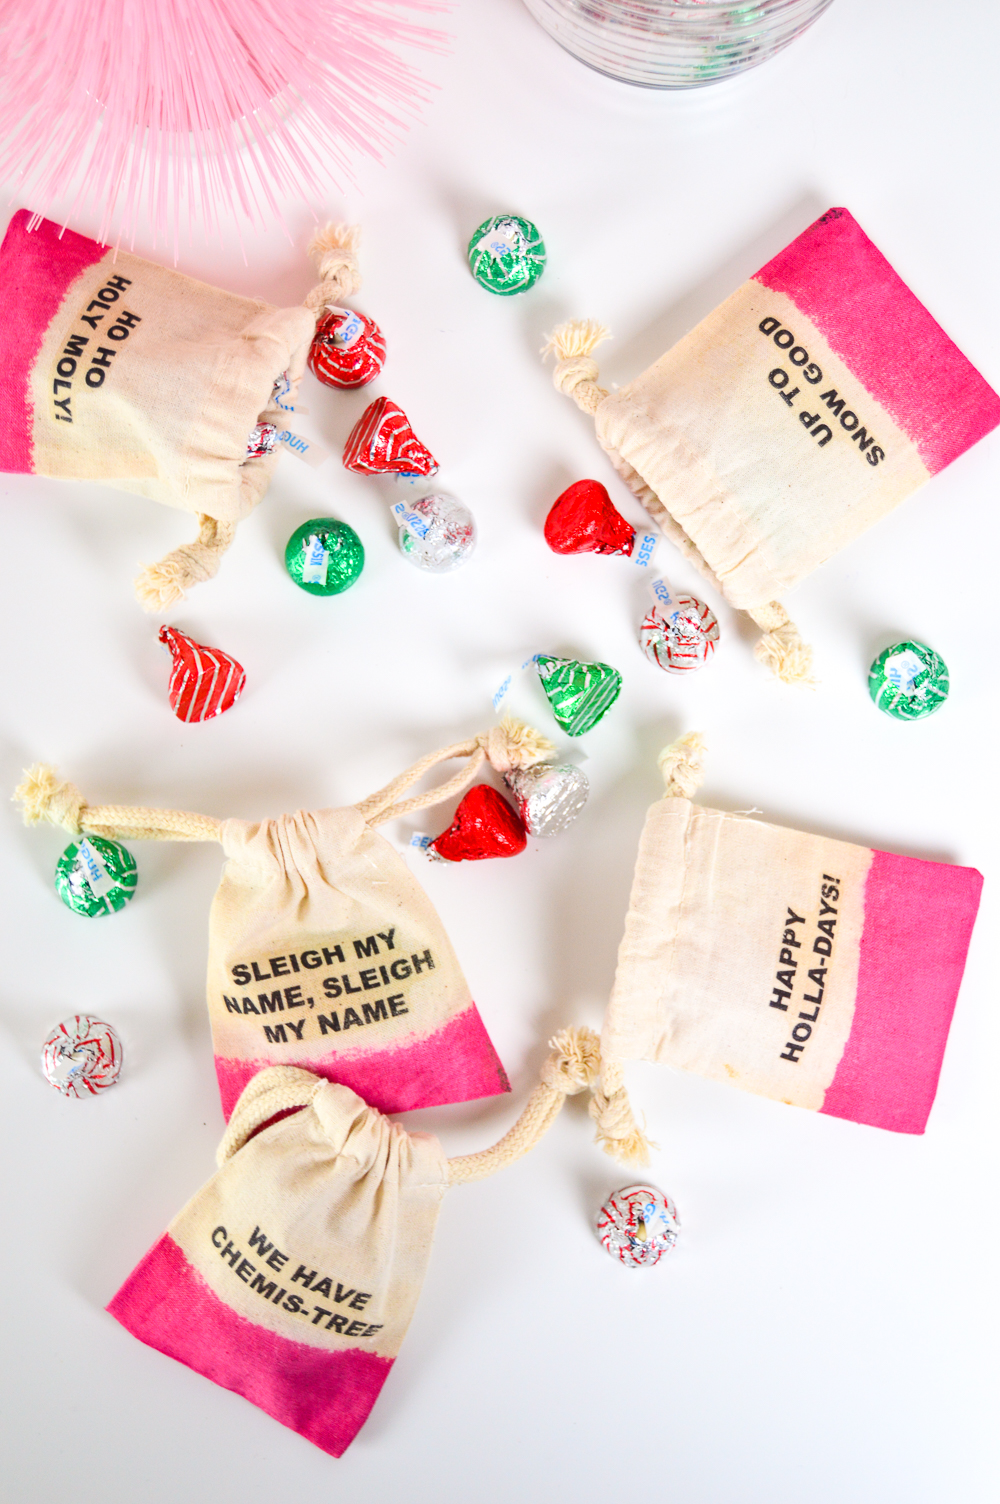
Sorry, I’m terrible at being funny online, but it never stops me from trying! Today I’m sharing how to make these very simple DIY punny holiday treat bags that use fabric transfer paper to iron on cute holiday-inspired puns onto small fabric bags that you can fill with candy. I came up with a few of my fav holiday puns and included a link to download them below, but don’t hesitate to come up with your own!
Transfer paper is one of the greatest craft supplies (in my opinion), and my friends over at NuFun Activities were nice enough to send over some products for me to try for this post, so I’m using their Light Fabric Transfer Paper, which transfers any image directly to the fabric, which I think is ideal for this type of project because the words blend right into the fabric. To add some color, I dipped the bottoms of the bags in red dye to bring out some Christmas cheer.
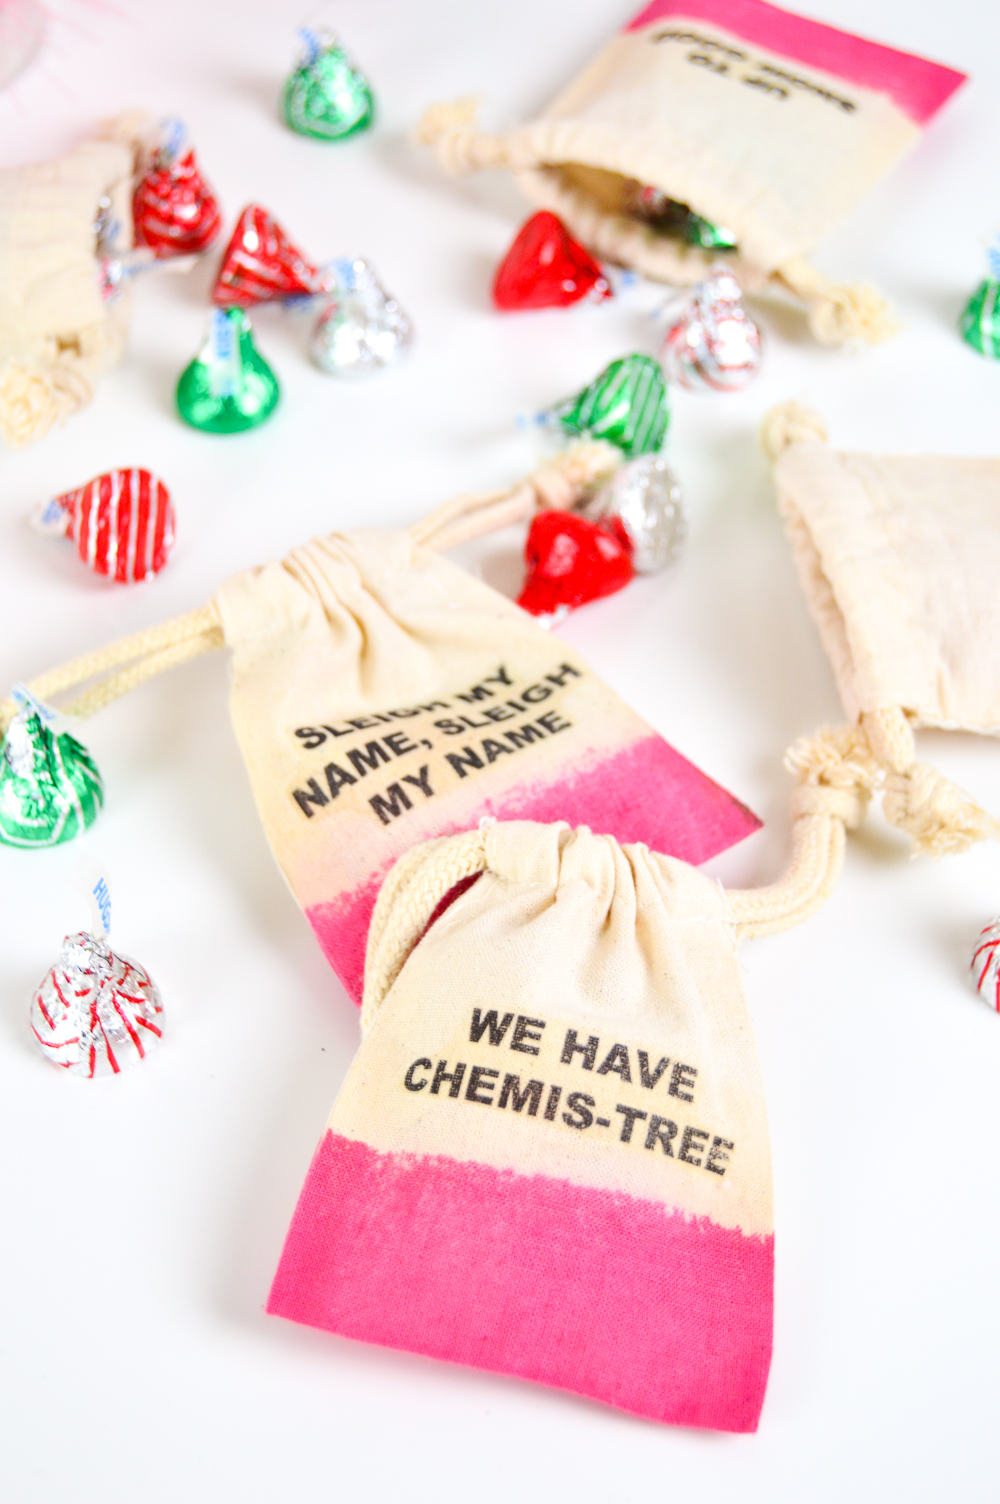
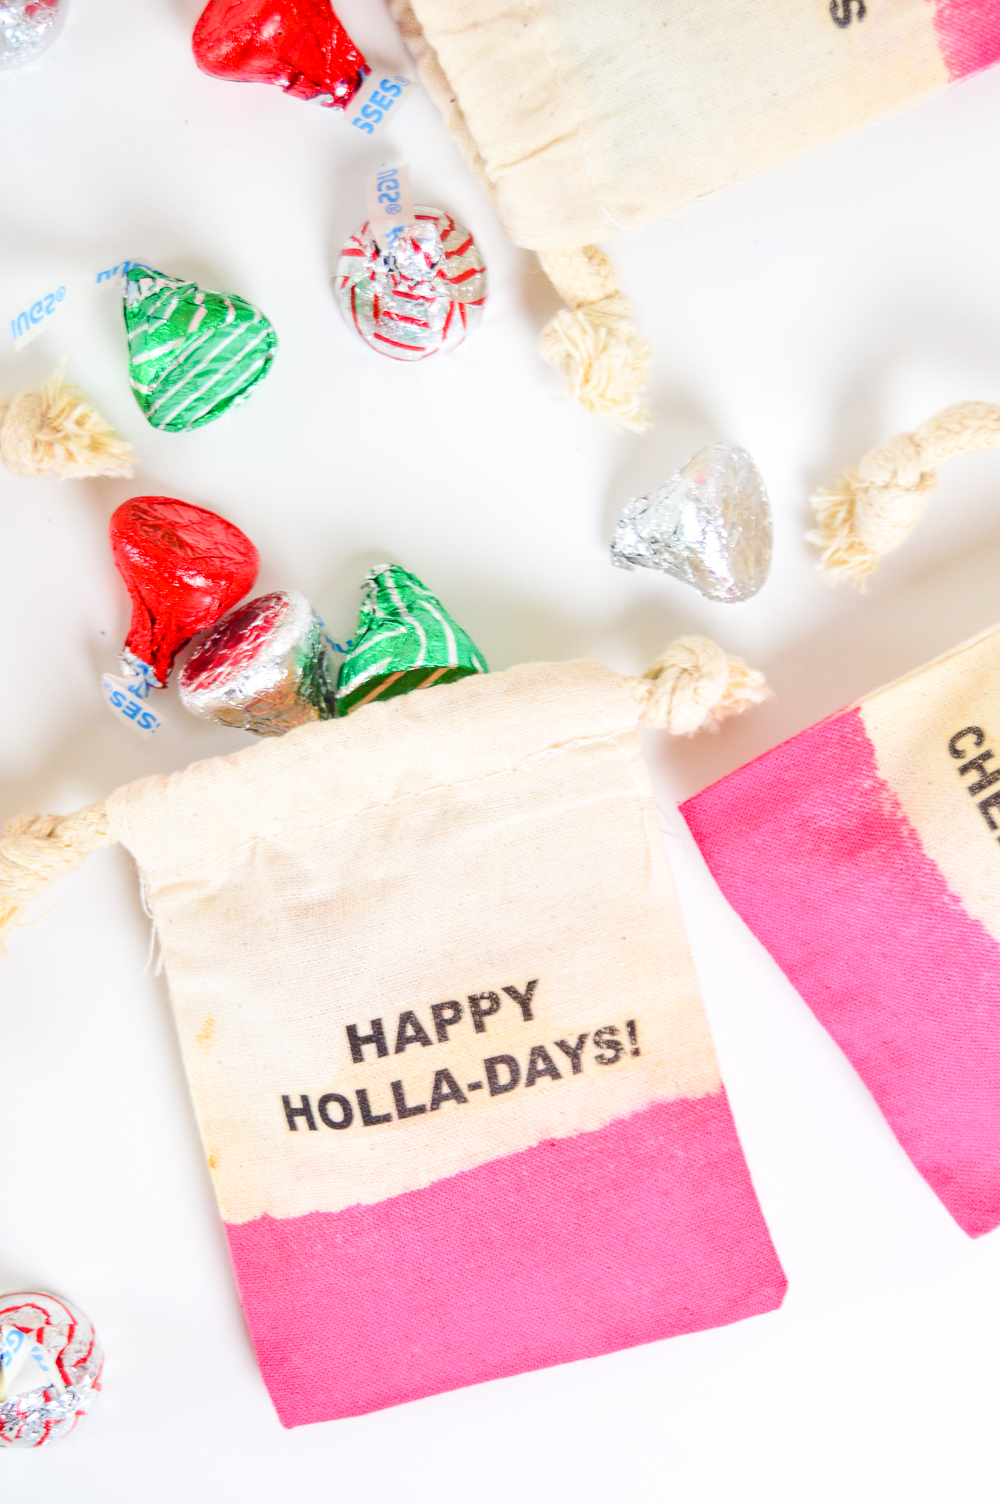
I filled these little bags up with some Kisses and Hugs and plan to share with friends and coworkers for Christmas (I usually go the homemade route). As long as you have a printer and iron, you can totally make these!
Supplies:
- White fabric treat bags
- NuFun Activities Light Fabric Transfer Paper
- Iron
- Scissors
- Punny sayings (download mine here!)
- Red dye
**Note, when transferring words with this transfer paper, they must always be mirrored in order to transfer correctly onto a surface. My printouts are pre-mirrored for you but make sure to mirror the document if you’re making your own. The directions below may differ according to the brand of transfer paper.
Step 1: Print out the sayings in actual size on the fabric transfer paper (mine are about 2 1/2 inches wide)
Step 2: Cut tightly around each saying with minimal border
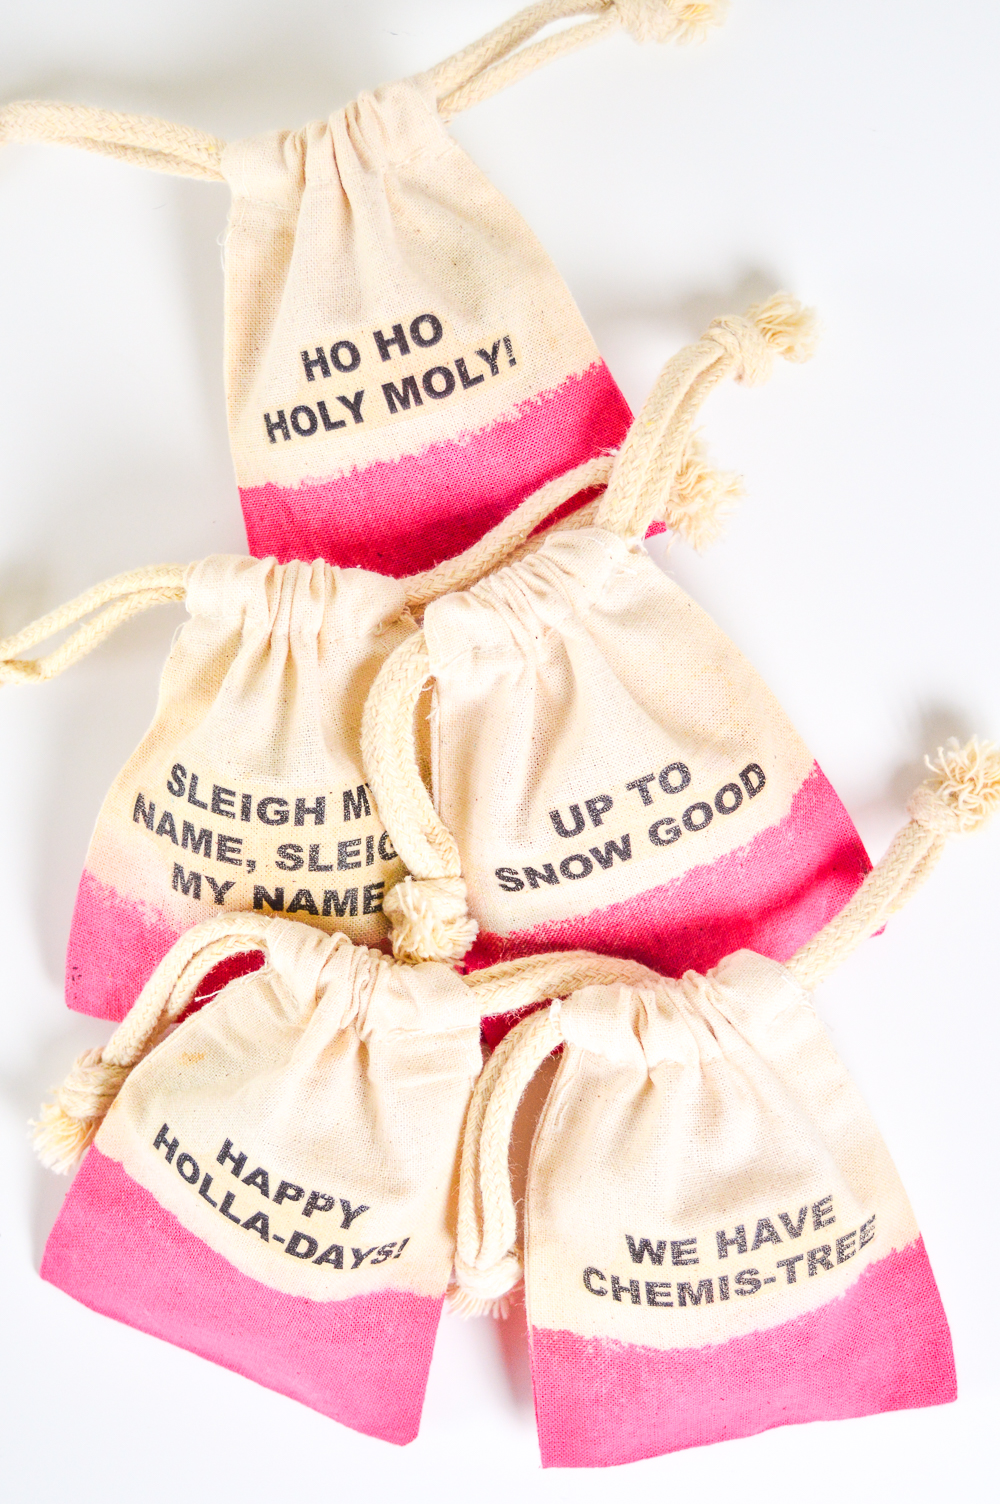
Step 3: Heat up your iron and turn the dial to linen, no steam. On a flat surface covered with a towel or pillowcase, lay the treat bag flat and place the transfer paper with words facing down in the middle of the bag.
Step 4: Check that the bag and transfer paper are flat, cover with a small piece of parchment and carefully press with the iron for about one minute, moving it around. Immediately remove the parchment and check that you can peel back the paper. If the image is still sticking to the paper, replace it and continue ironing (to be safe, iron for about one minute before pulling back the paper).
Step 5: The saying should stick well and show no signs of peeling.
Step 6: Prepare a small amount of red dye according to package instructions (I used the stove method) and dip the bottom of each bag in the dye without submerging the saying. Set on a plastic covered surface until you’ve finished dyeing the bags and rinse with cool water until it runs clear.
Step 7: Allow to dry completely and now you can fill with candy or other small surprises and start gifting!
You can never go wrong with something punny, right?! Happy holidays!
Disclaimer: NuFun Activities generously provided product for this post. All opinions are my own. Also note that this post may contain affiliate links. Thanks for supporting the brands that keep Club Crafted going!

