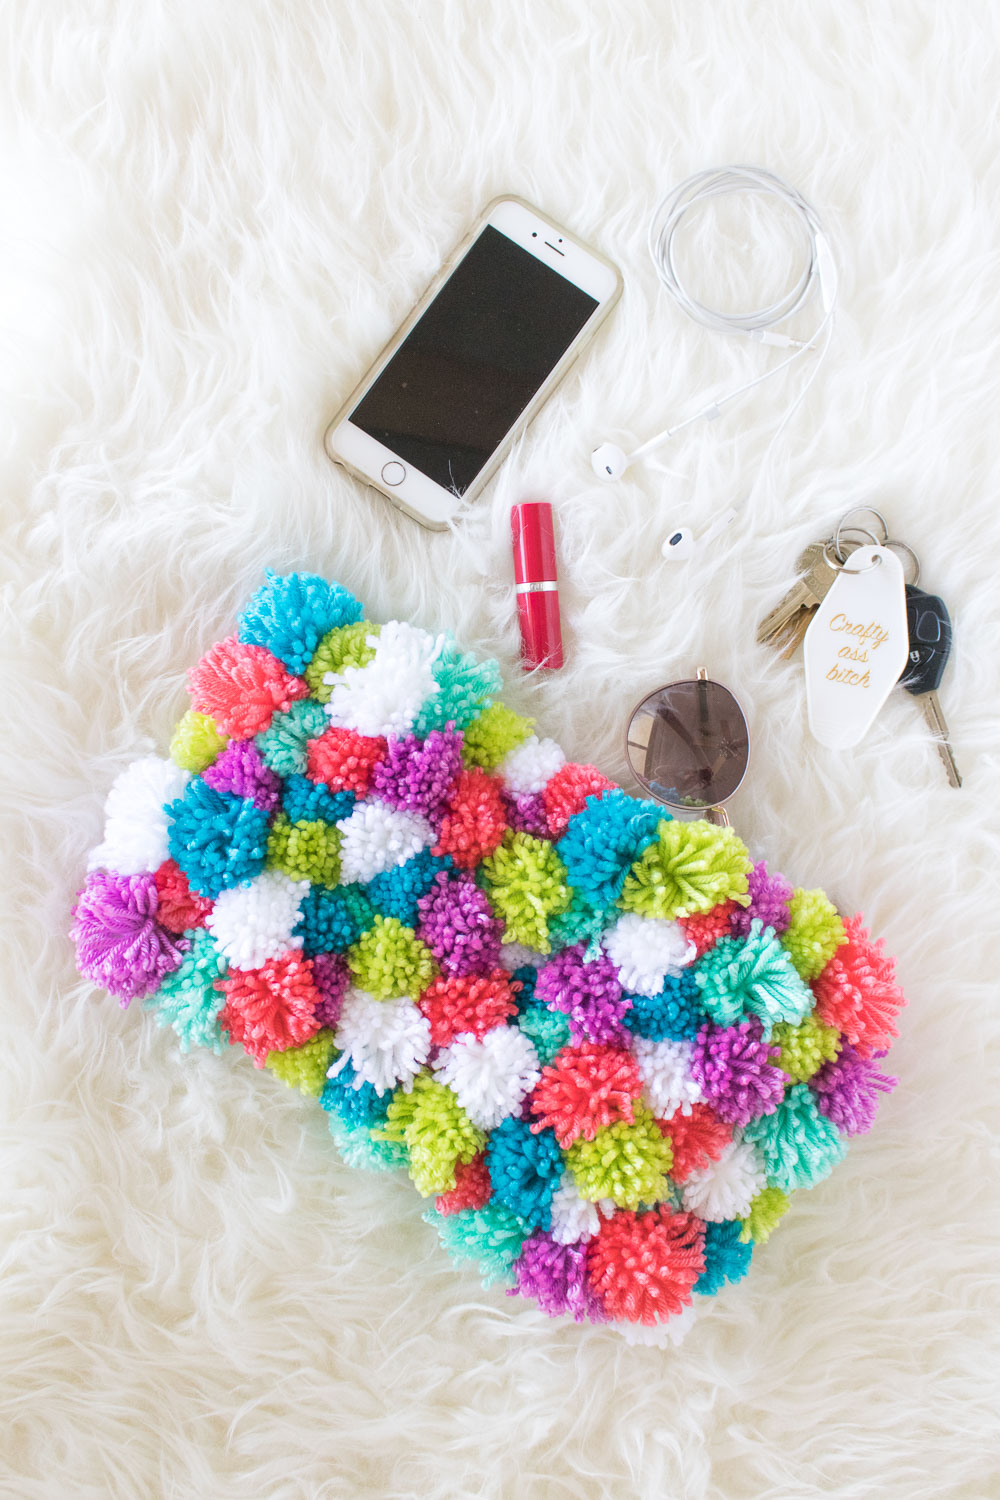
 I hope you guys are serious about pom poms because I’m taking them to a whole NEW LEVEL with this DIY pom pom clutch! I’m not going to lie – making these pom poms was an all-day project, but I didn’t even mind. I’m the conductor of the pom pom train and I am not stopping it anytime soon, so I figured I might as well go all out with a zipper pouch covered with colorful pom poms to add some colorful fun to any outfit.
Oh, and can I give a shout-out to my new keychain up there?! It might be the greatest thing I’ve ever purchased ?
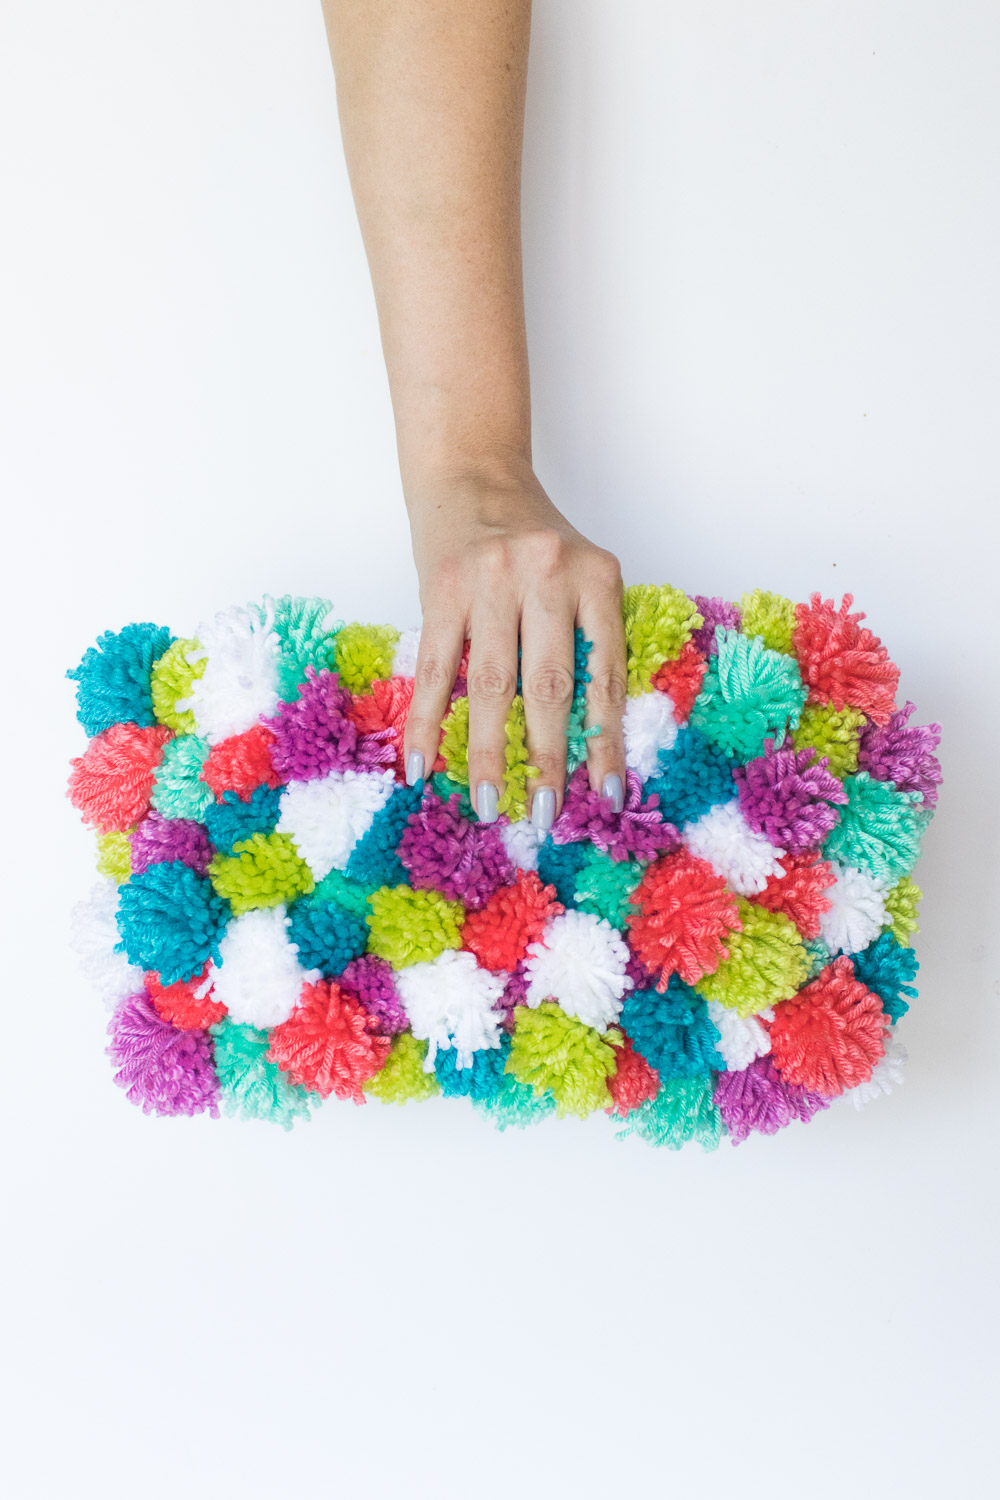
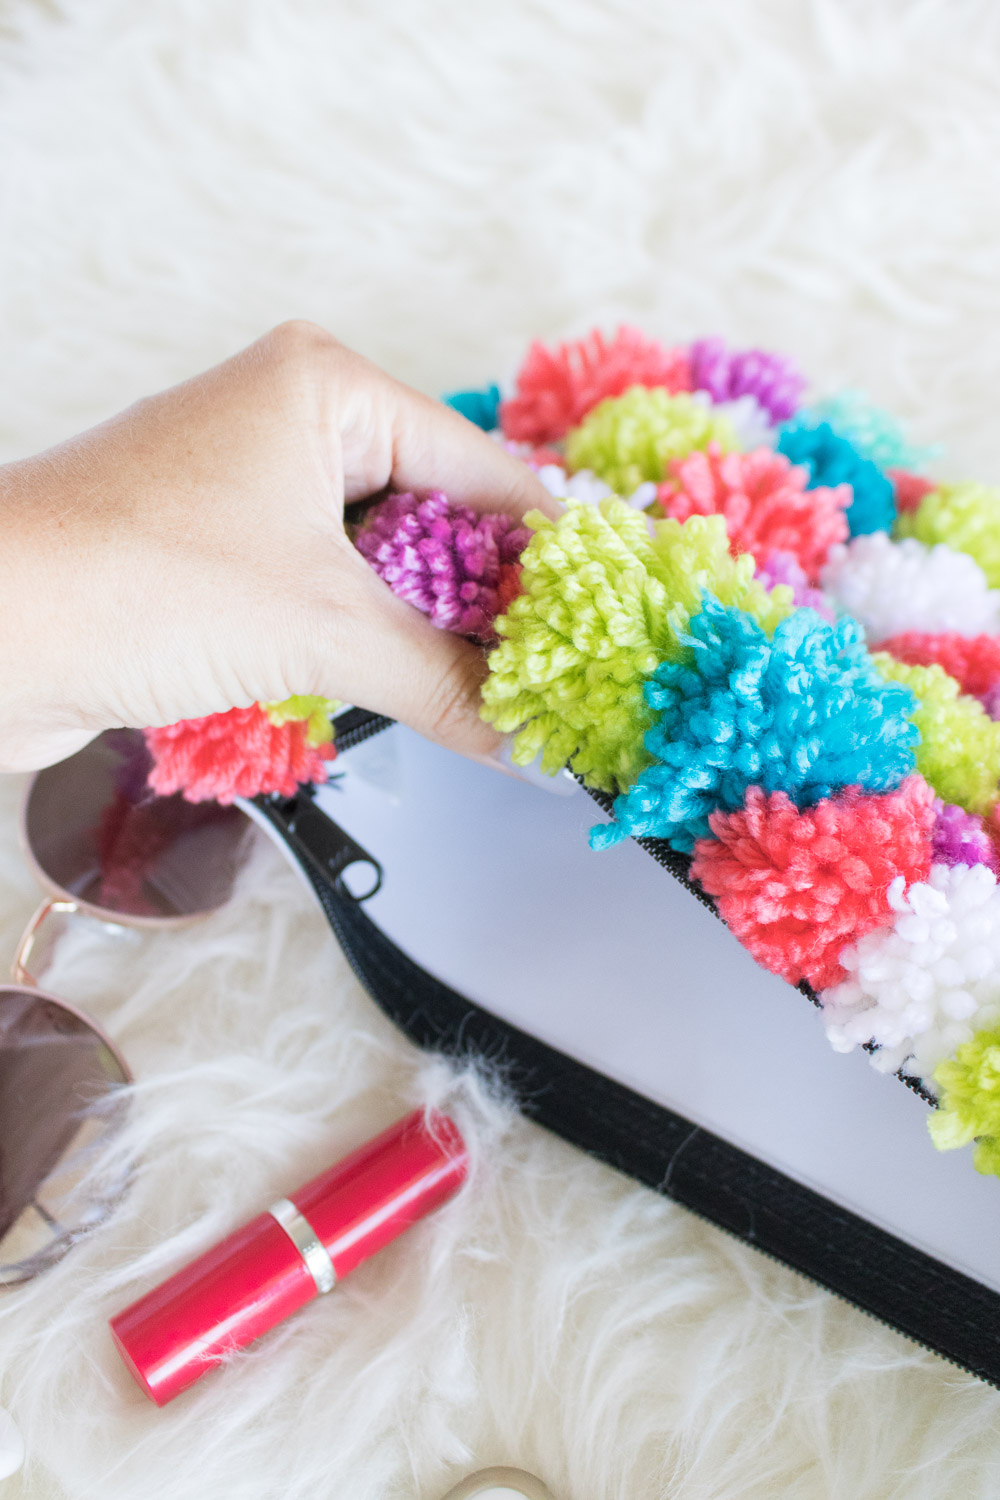 OK, get settled in with some pom pom makers and several skeins of yarn because we are having a pom pom party today. If you don’t already have a pom pom maker, I highly recommend getting them in a few sizes to make your life 90% easier. I used to use cardboard or even just my hands to make pom poms, but when you’re making this many, you definitely want this little tool. I purchased this pom pom maker set of 4 and highly recommend it.
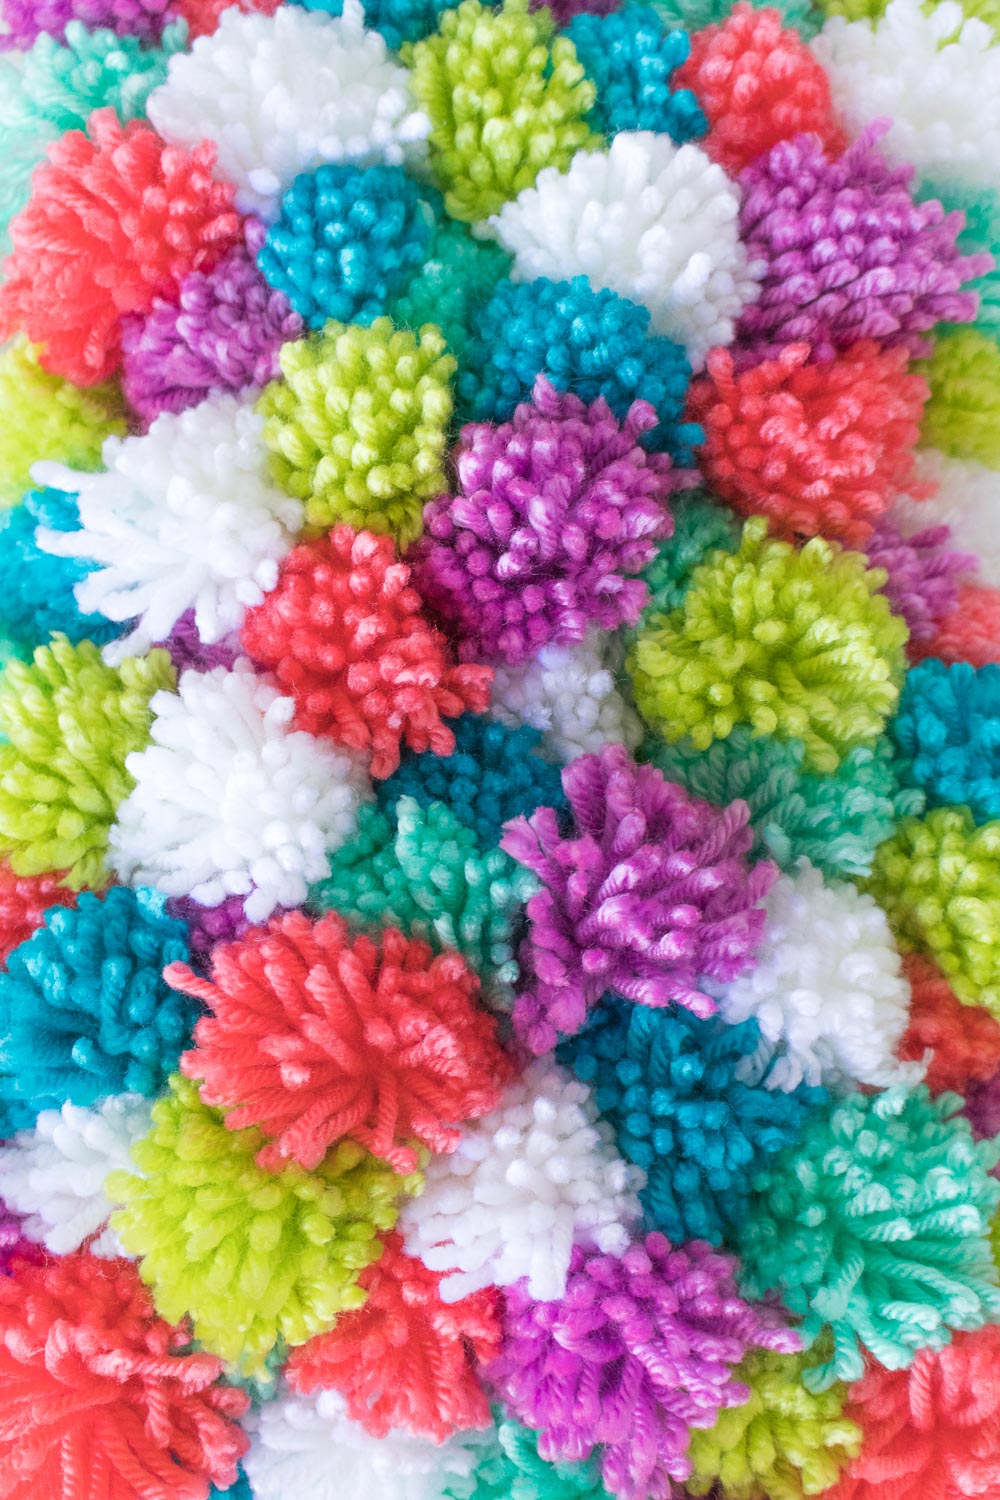
Even though you don’t see it in these photos, I did only cover one side of the pouch with pom poms. It took a day’s work to make them, and I thought both sides would be even more overkill, considering this project was overkill to begin with.
I took a sick day off work one day when I was a little under the weather and binged 13 Reasons Why while laying on the couch making a bajillion pom poms in a few of my fav colors: blue, green, pink, purple, mint and white.
Ready. Set. Make!
Supplies:
- Multiple colors of yarn
- Pom pom maker
- Scissors
- Darning needle
- Zipper pouch
Step 1: Make a bajillion pom poms…Use the pom pom makers to make 50+ pom poms in a variety of colors and sizes and trim so that they are even. Do not trim the long string holding the pom pom together – you will use this to attach it to the pouch.
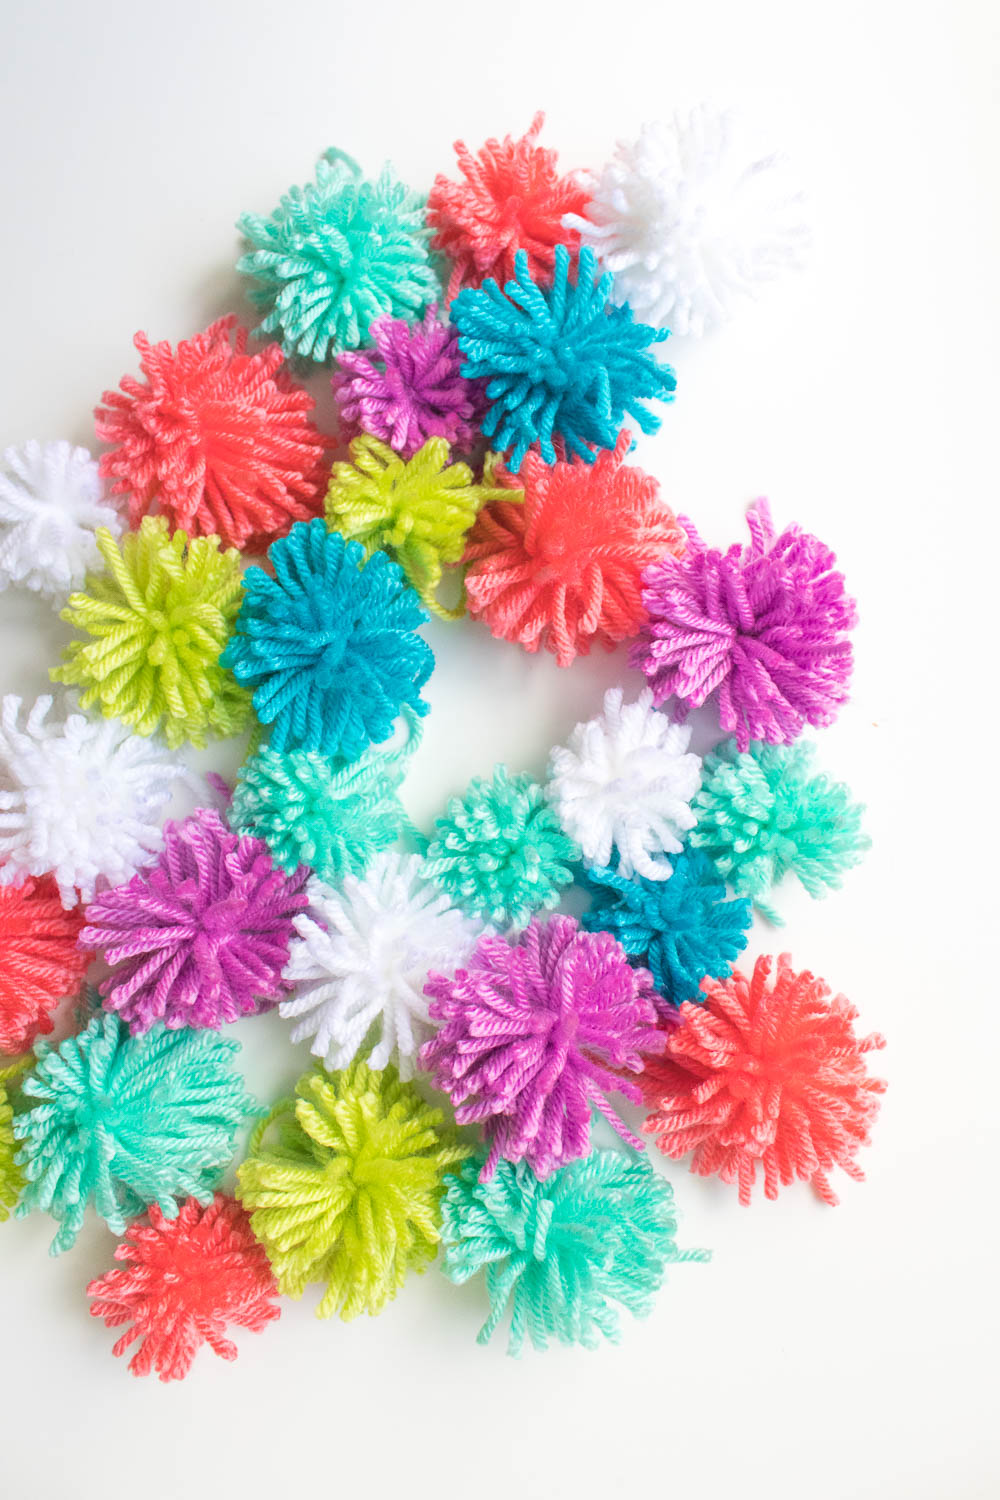 Step 2: Once all of the pom poms are ready, thread the long string holding the pom pom together through the eye of the darning needle. Starting at one corner, poke through to the inside of the pouch, then thread back up in a short stitch. Wrap the yarn around the base of the pom pom and knot to secure it in place.
Step 3: Repeat the above stitching with all pom poms very close together on one side of the pouch, varying the colors with no specific pattern.
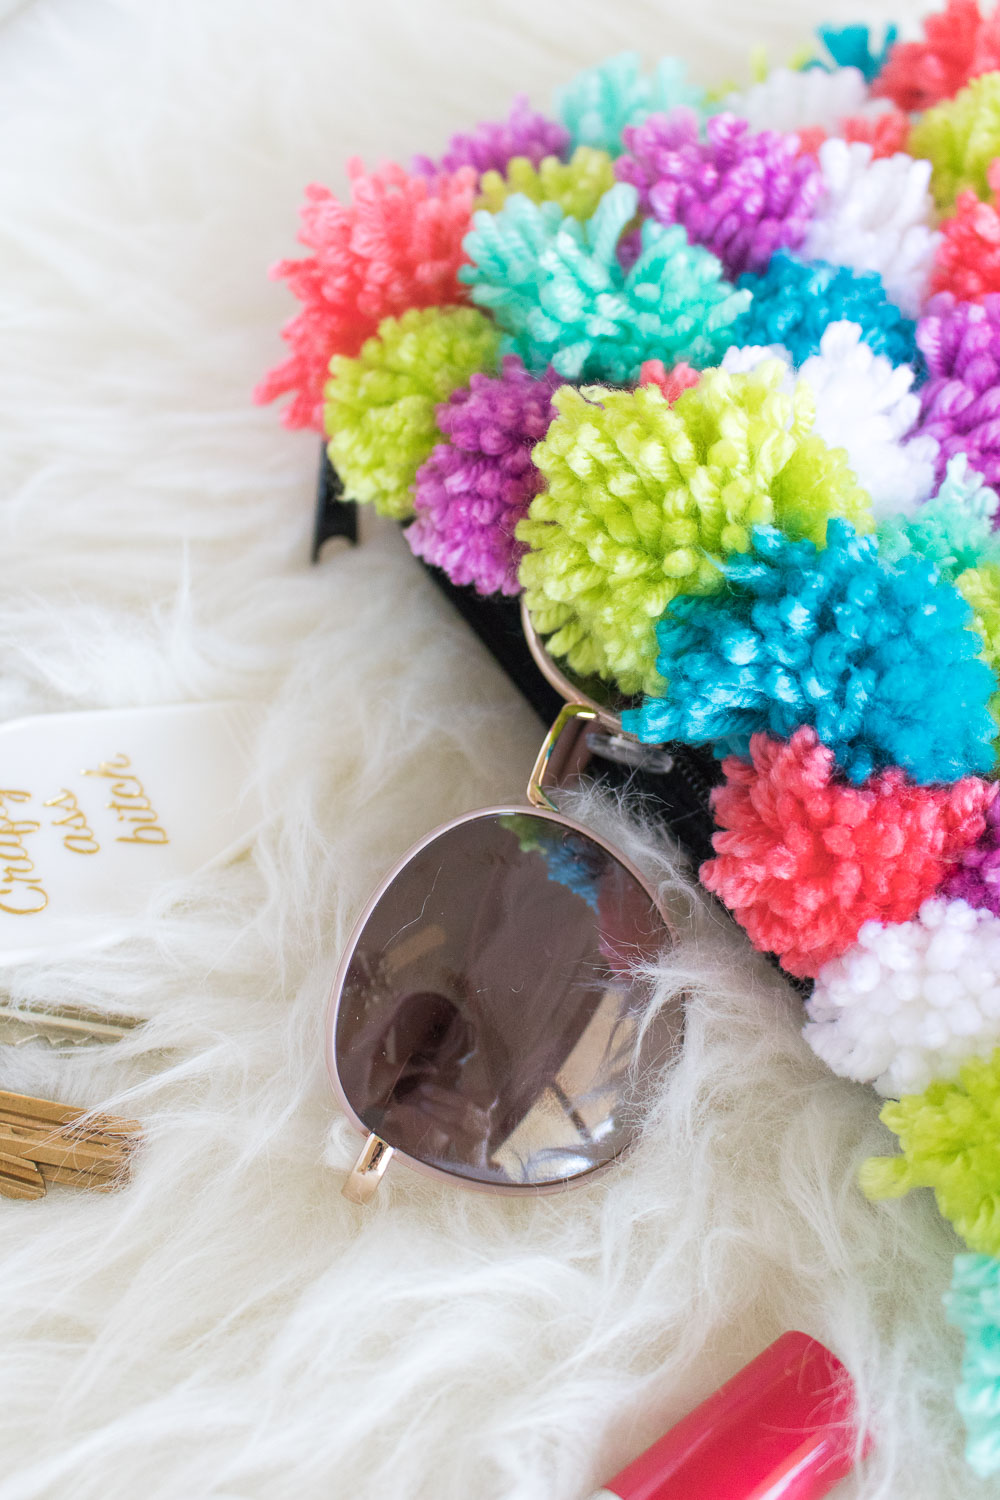 Step 4: Lastly, make any final trims to the outside or the inside and your pom pom clutch is complete!
Fill it up and take it out for a night on the town! You earned it after making all of those pom poms. It’s definitely a statement piece and probably even a good conversation starter. I mean, how many people have one of these?
Happy crafting! Go be a crafty ass bitch! ?
Note, this post may contain affiliate links from which I may collect a small profit if you choose to make a purchase. I only link to products I have used and recommend.

Sandra Montez
Hi Holly. This is so adorable but where would I get a pom pom maker. I could give it a try then maybe pass it on to Mia.
Holly Wade
Sandra MontezThey’re very inexpensive on Amazon! https://amzn.to/2QKHaOq (affiliate link)