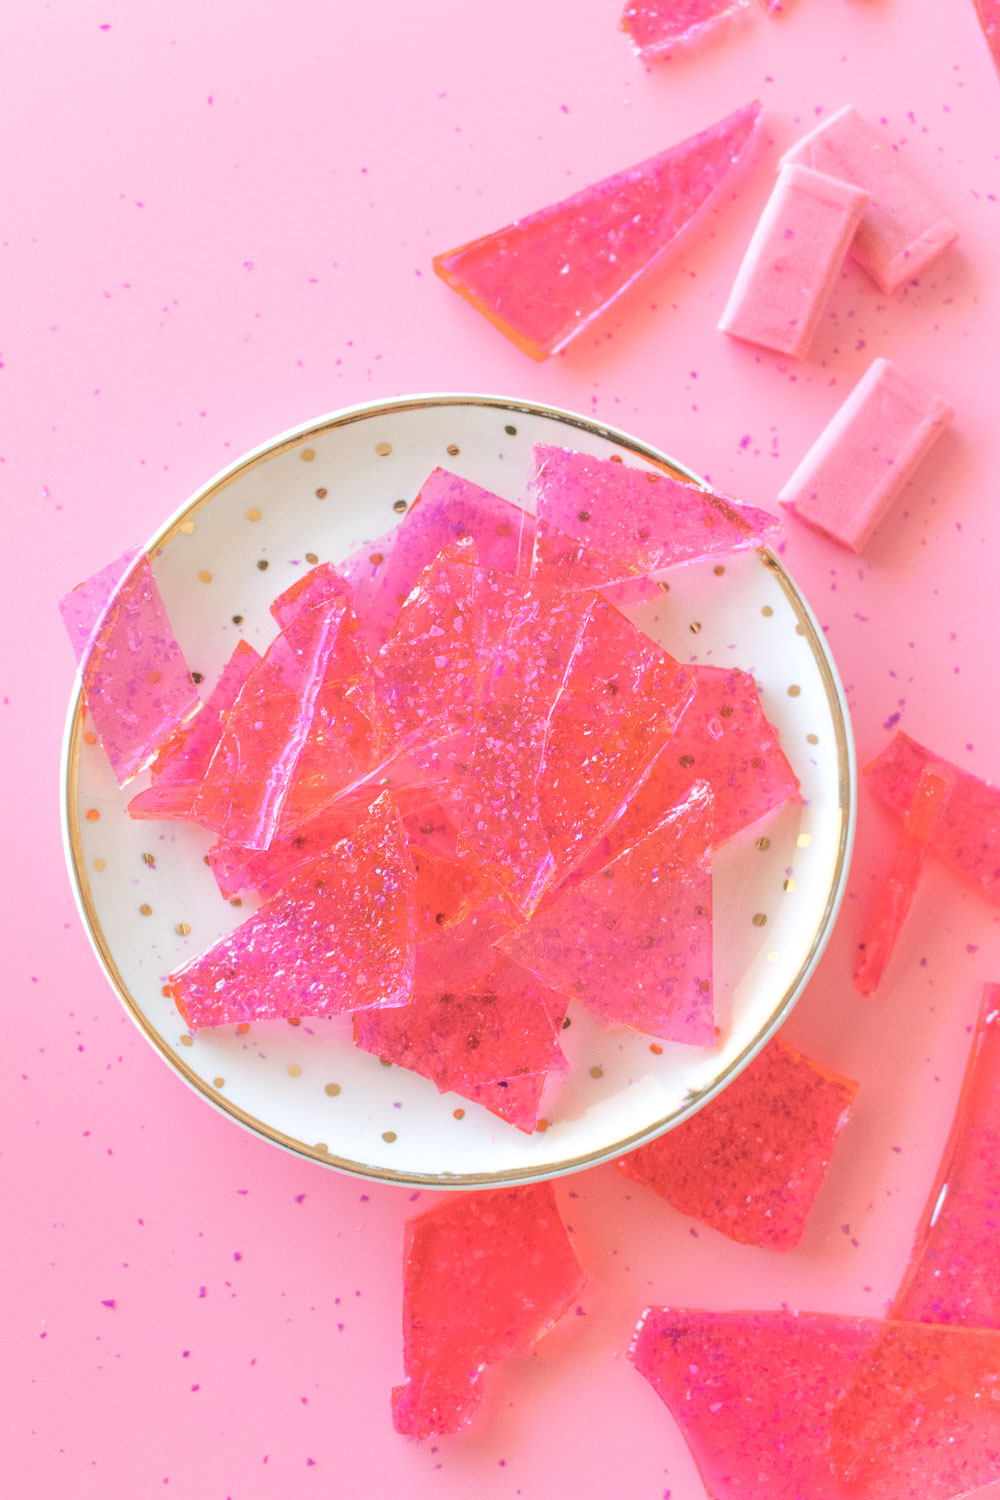
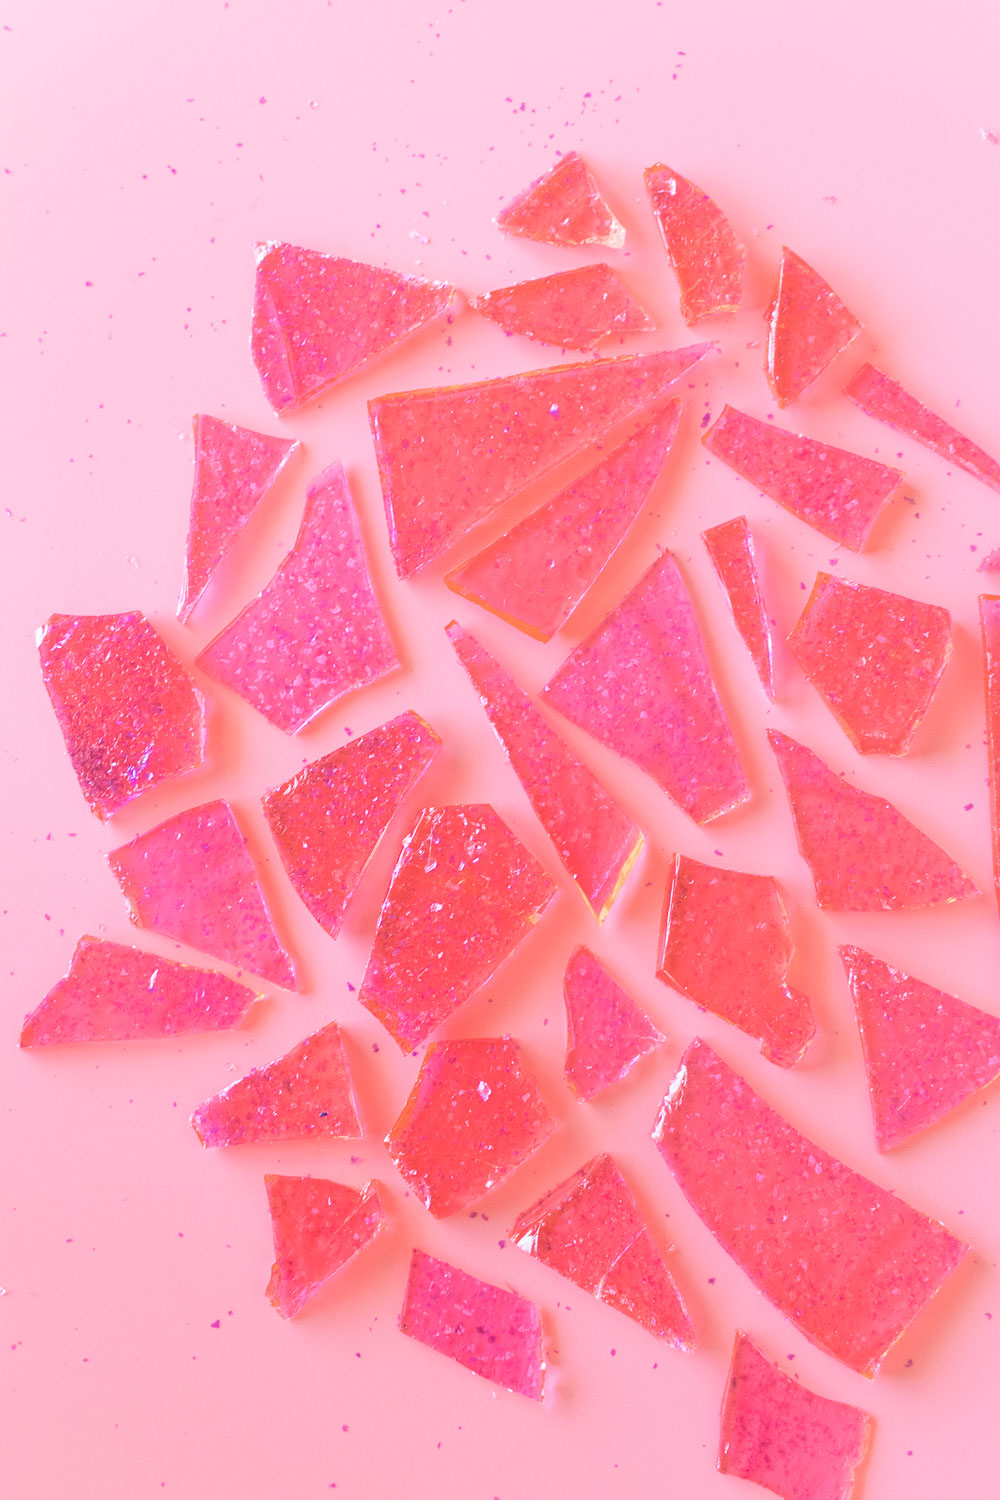
 Were you as fascinated by rock candy as a kid as I was? Even as an adult, rock candy is still a fun treat that I eat every once in a while when I’m craving sugar (which, let’s face it, is always). I decided to make my own rock candy with that shattered glass kind of look because I love any opportunity to literally smash things with a hammer…
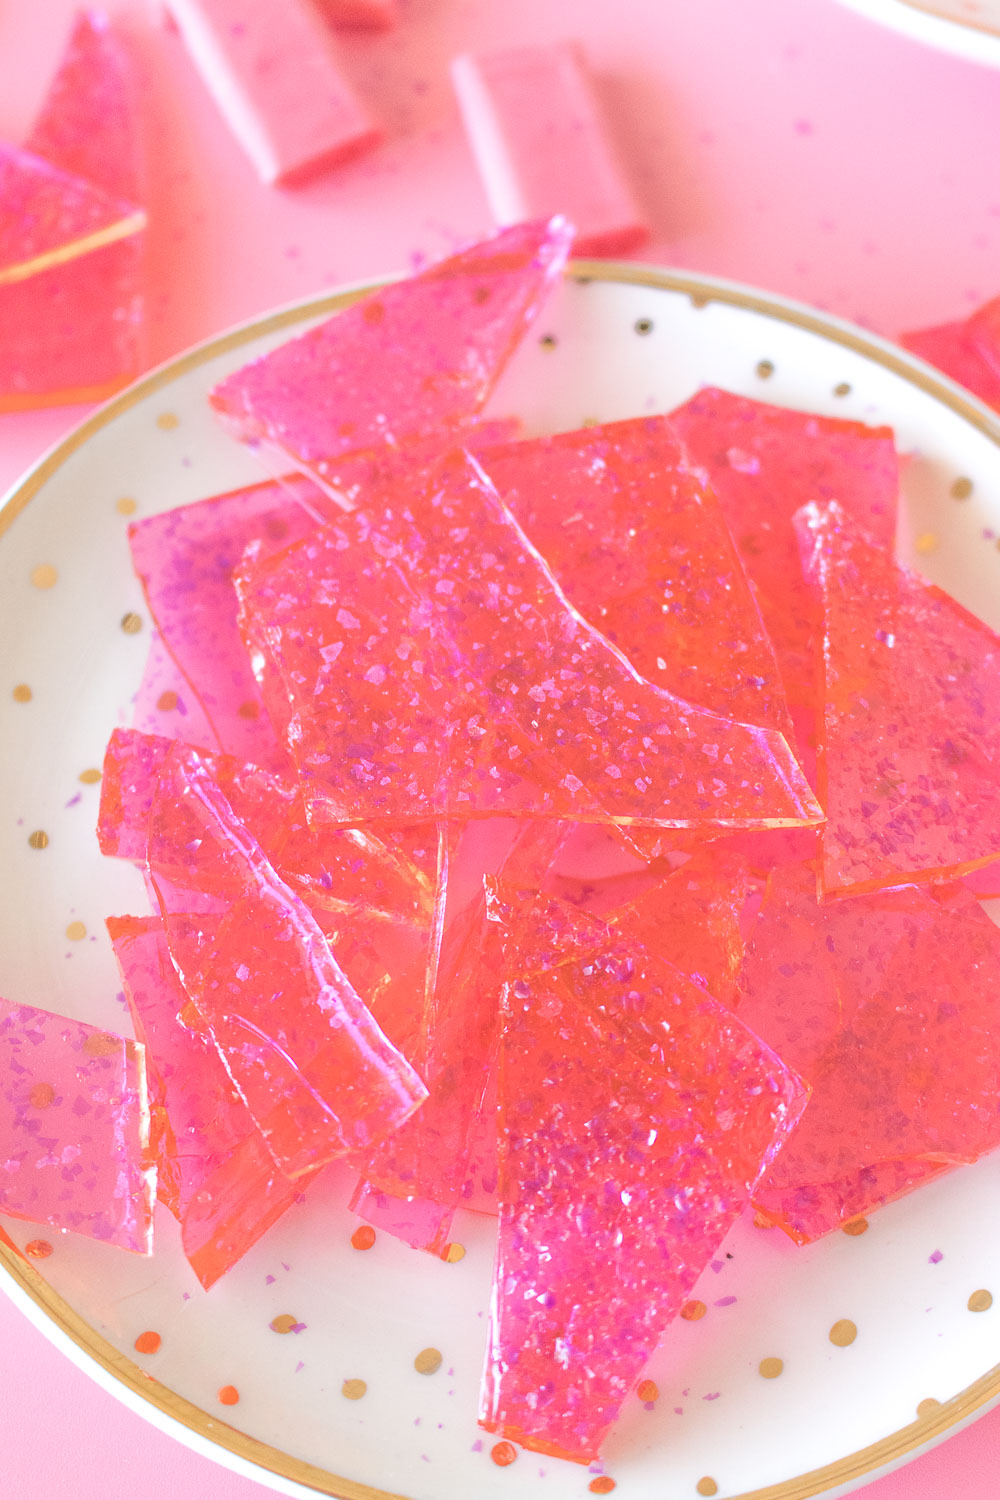
What about the flavor, you ask? Obviously I couldn’t make just any ol’ rock candy, so I made bubble gum rock candy! As if it wasn’t sweet enough on its own, you can have that classic bubble gum flavor in your candy really easily. For good measure, I topped it off with colorful glitter as the candy hardened, which made it nice and shiny.
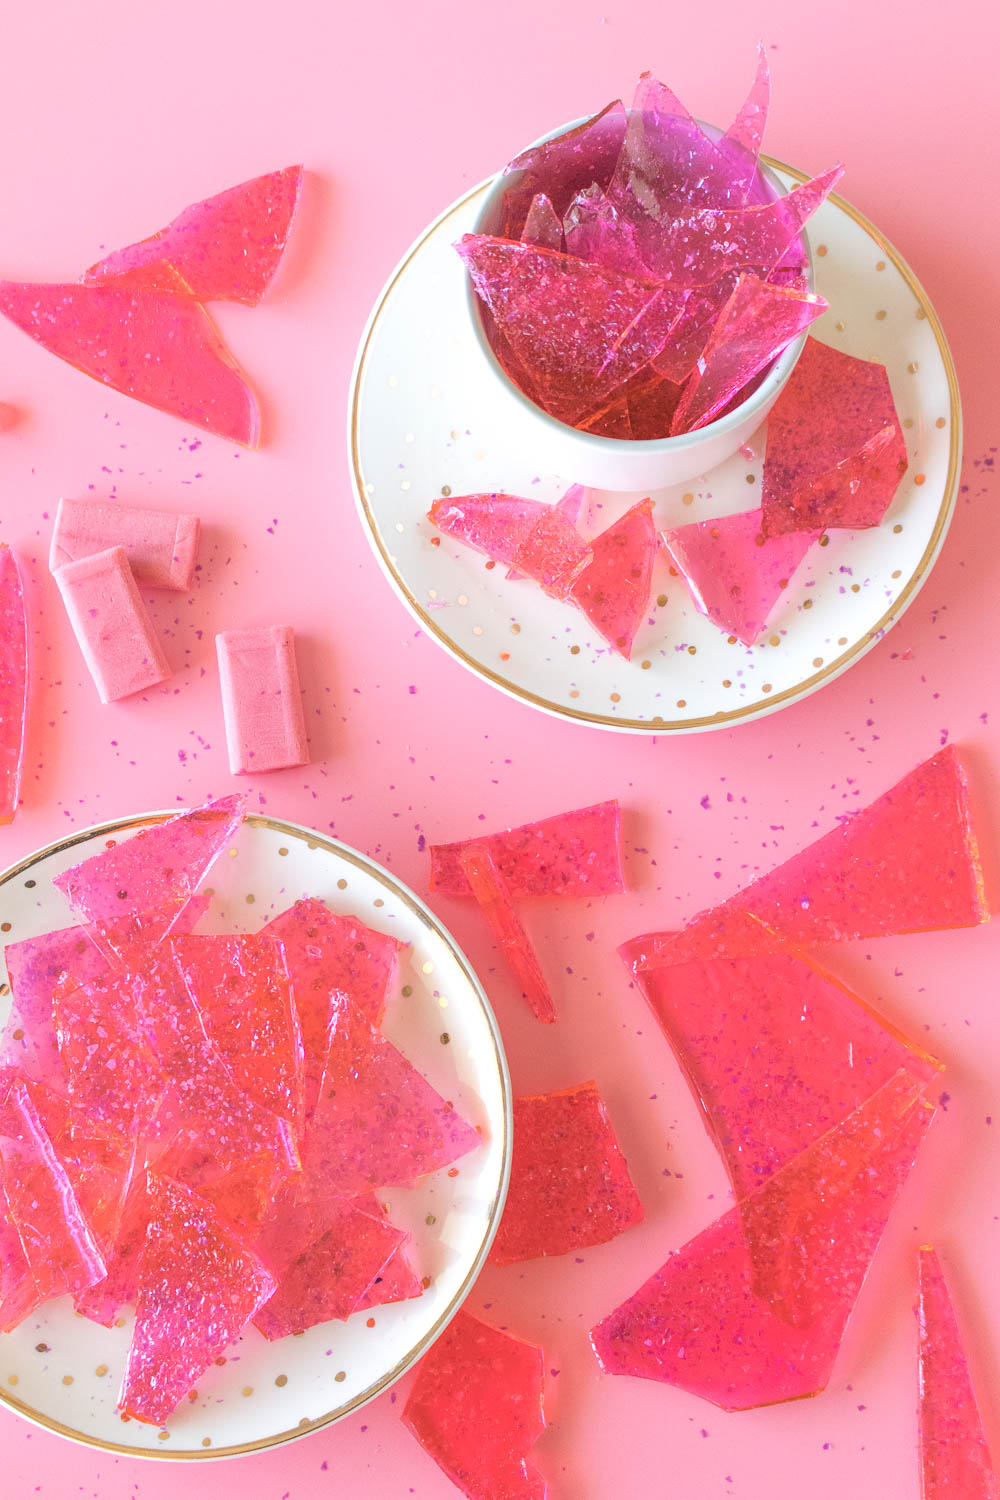
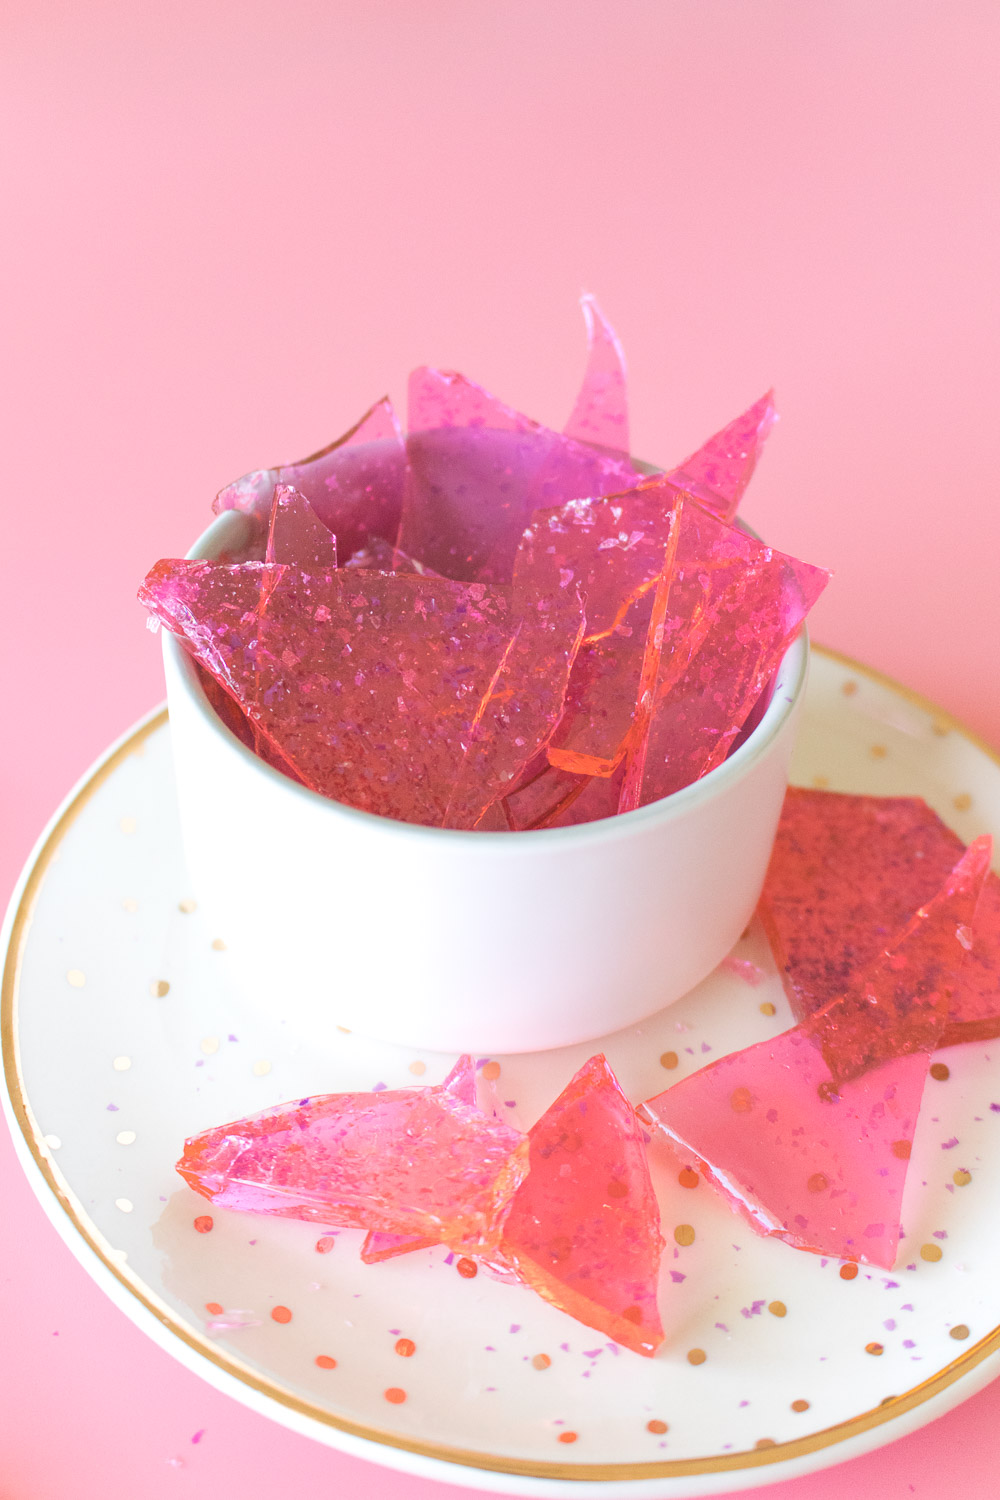 I think this recipe would be really fun for a dessert table at a party! You can dye it whatever color you’d like, but I chose classic pink for bubble gum. Make it match a party theme and even package it up for gift bags. The shard-like pieces may be too sharp for kids though, so keep that in mind.
I love this style of candy because it’s easy to make but still ends up looking great. Technically, you could pour it into a mold, but I find that it’s much more difficult, whereas this is a good project for candy-making beginners.
Scroll down for the full recipe card! ??
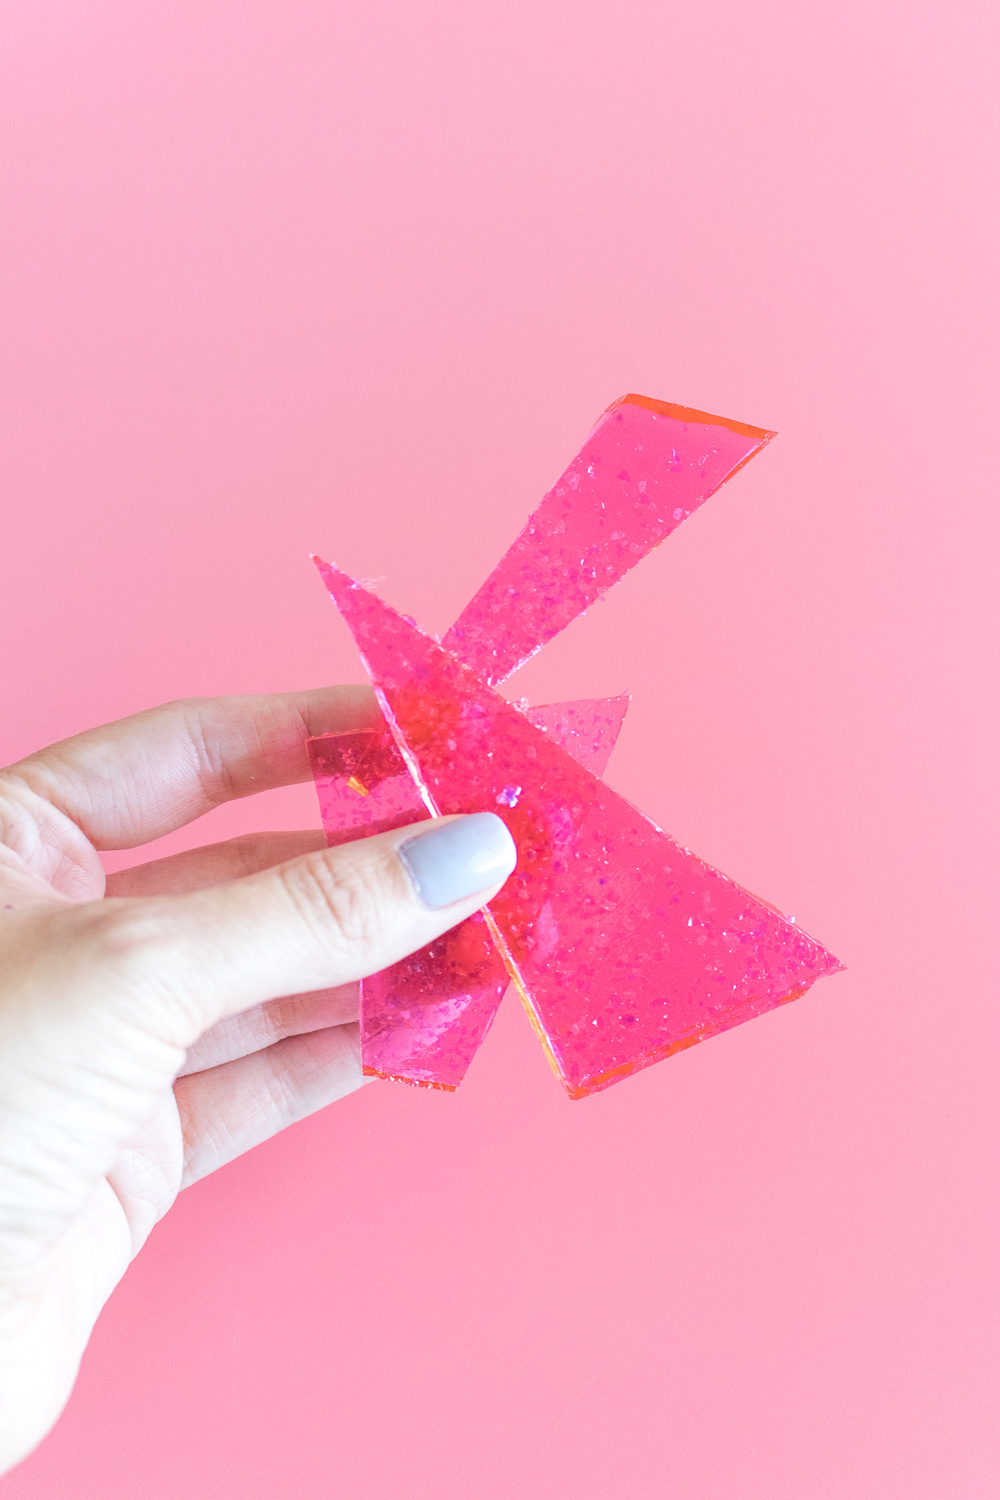
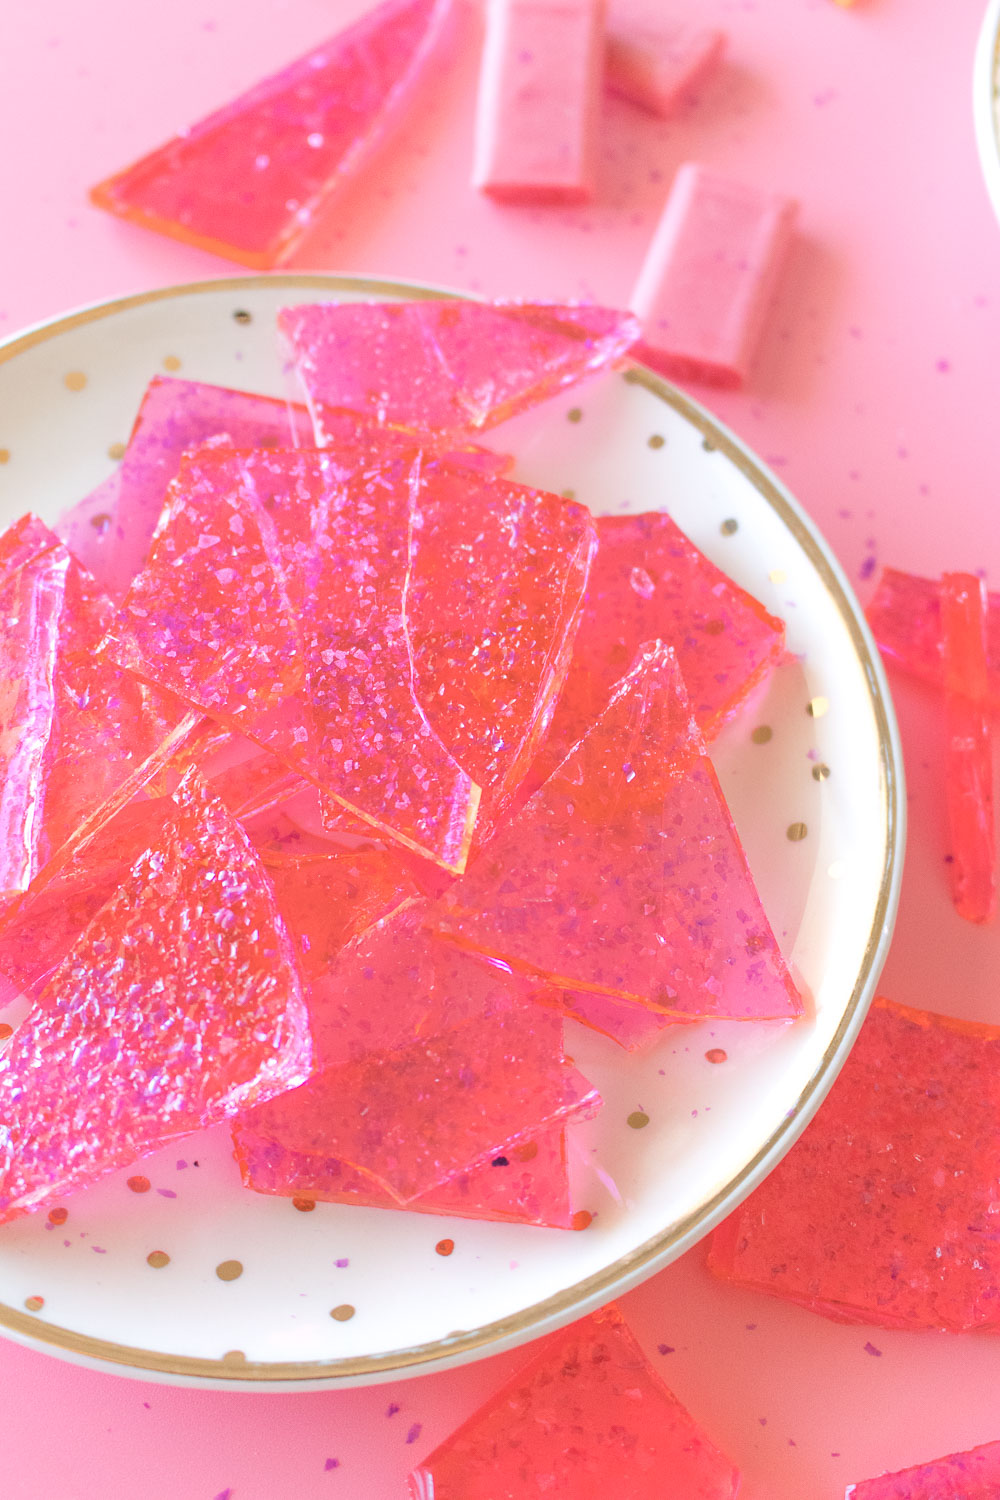 I think I need to find more recipes that involve smashing things with a hammer…it’s definitely a therapeutic way to make candy. Plus, you know, you get to eat candy afterwards!
Making candy is not a difficult process but it doesn’t require some care. Because you’re working with boiling sugar, you obviously want to be very careful not to burn yourself, and it’s important to maintain the correct temperatures so that it does not overflow or burn. You also must work quickly because the sugar hardens very quickly, so the second you remove it from heat, you need to get it into a mold or onto the sheet right away.
Also, a note about cleaning! After struggling with cleaning the first few times I made candy from scratch, I learned that it’s easiest to pour very, very hot water over the candy pot and utensils immediately after cooking and let soak for at least an hour. Water will make the candy disappear over time, but the hotter the water is while the candy hasn’t cooled yet, the easier it will be to clean. If needed, allow everything to soak completely overnight and it should come off.

- 1 cup water
- 3 3/4 cups granulated sugar
- 1 1/2 cups light corn syrup
- Pink gel food coloring
- 1/2 teaspoon bubble gum flavoring
- Candy thermometer
- Line a large baking sheet with a lip with aluminum foil, lightly oil with a cooking spray so that candy will remove easily once hardened
- In a large saucepan, combine the water, sugar and corn syrup over medium heat
- Stir occasionally and watch as the sugar dissolves, then increase the heat to medium-high until it begins to boil lightly (watch carefully so that it does not boil over)
- Insert a candy thermometer into the pot and monitor the heat closely (do not stir) until it reaches 300 degrees F, or the hard crack stage
- Immediately and carefully stir in the pink coloring and the bubble gum flavoring
- Pour the candy over the prepared baking sheet, let cool about 5 minutes, and sprinkle with edible glitter
- Set aside to cool completely for about an hour, then use a hammer (cleaned or covered) to break the candy into shard-looking pieces
- For easy cleaning, run pot and utensils under very hot water immediately after cooking

denise
hello! Would it possible to divide this recipe in half to make a smaller batch? Thanks!
Denise
Hi just wondering would it be possible to divide the recipe in half to make less candy? And also so that I can make more in different colors?
Holly Wade
DeniseHi Denise! Yes, you can absolutely divide the recipe and change the colors if you’d like.
Nicolette
What would the shelf life be on this?
Holly Wade
NicoletteHi Nicolette! Some say hard candy never expires, but I would recommend storing it in a sealed, dry container for up to one year.
Gabby
Yeah i had of thoes before they are so good