The following post is sponsored by Excel Blades
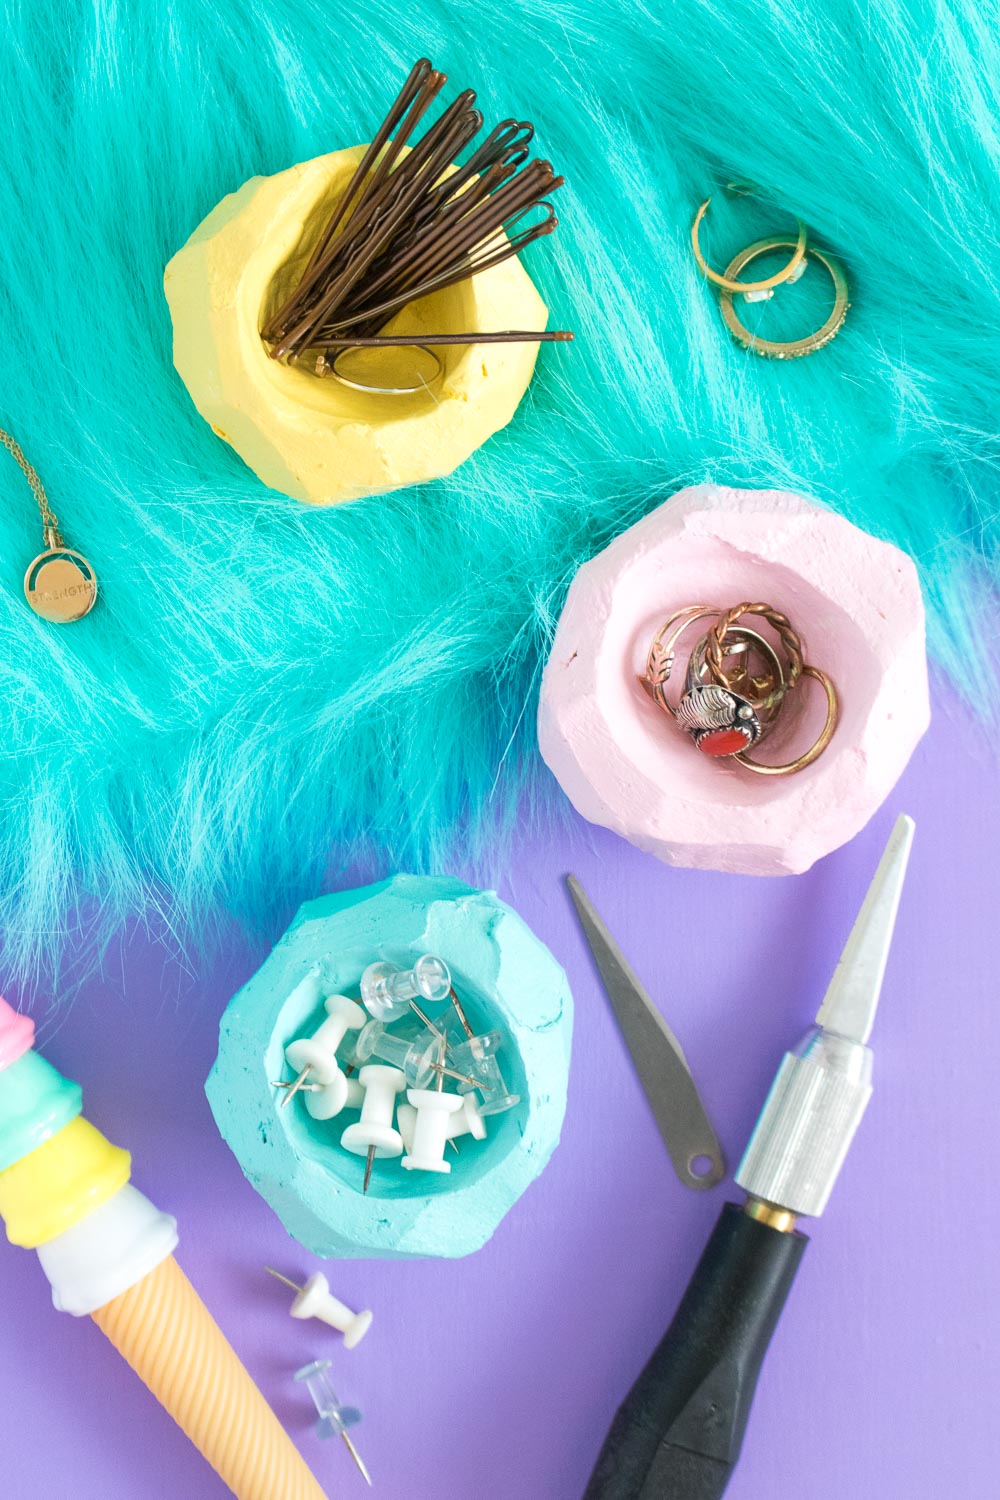
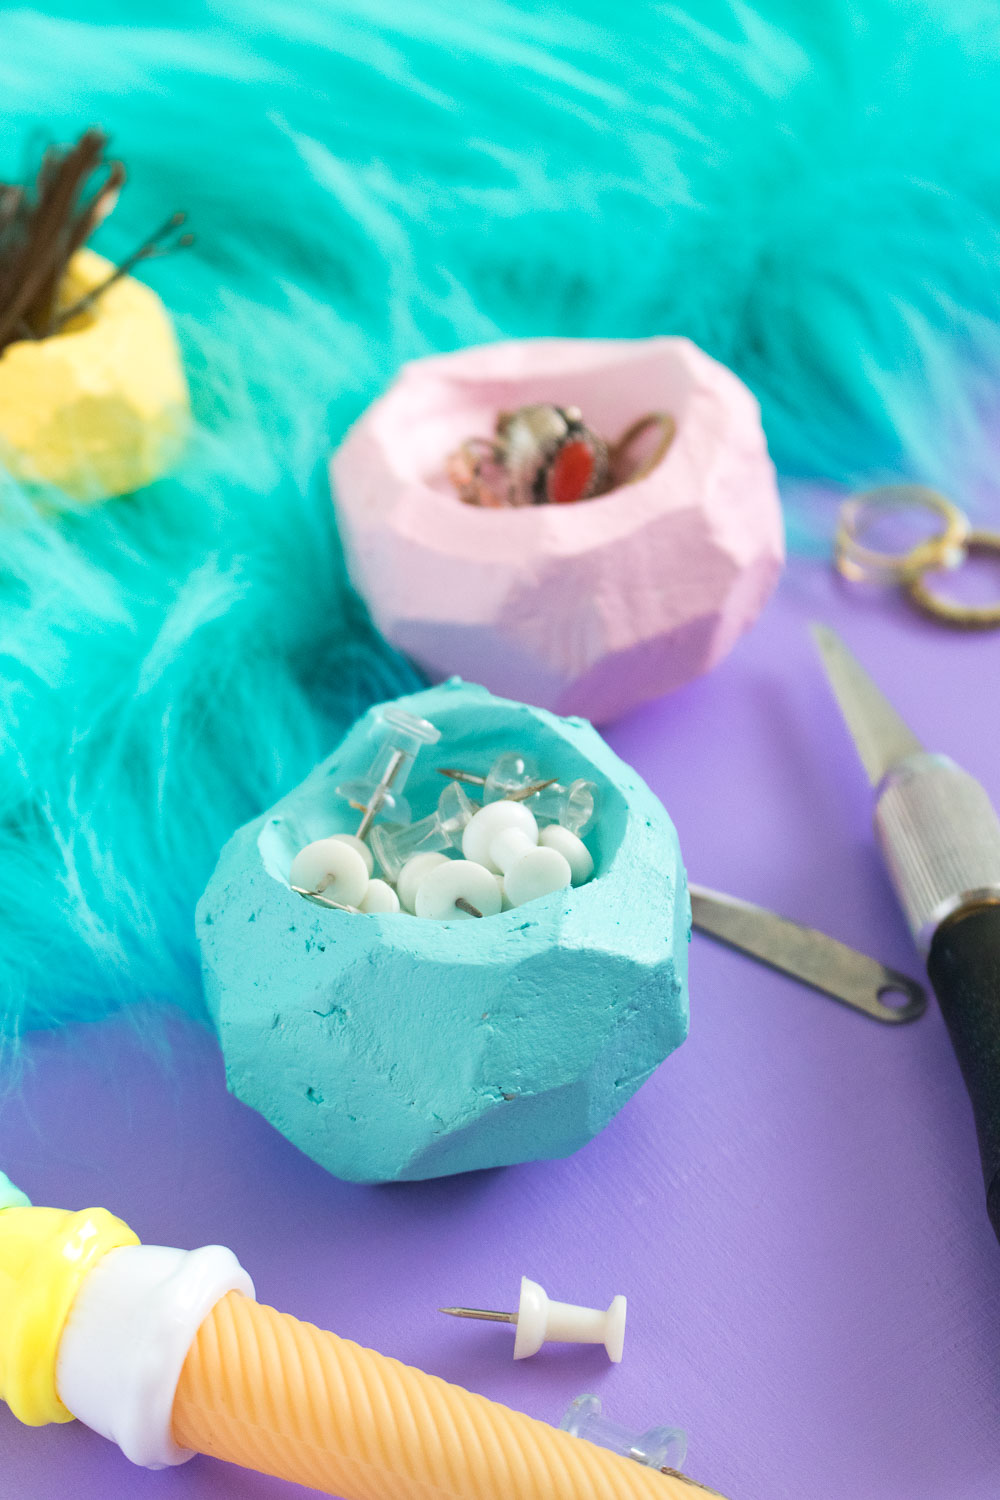
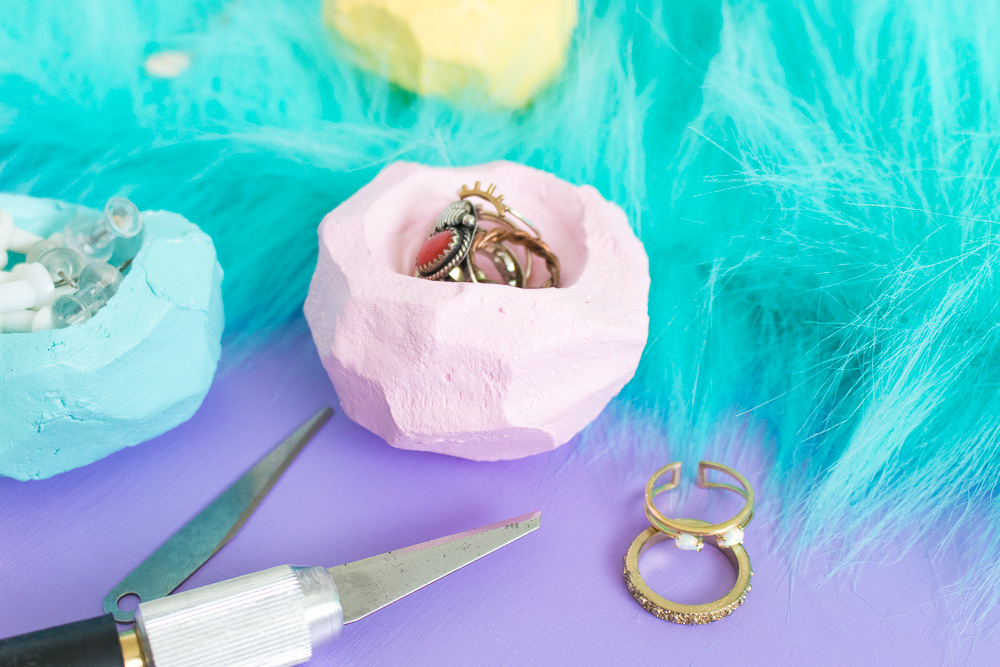
 Have you guys noticed my love for bowls/catch-all dishes yet? I might have a problem…but a girl can never have too many catch-all dishes, in my opinion. With the amount of jewelry and little knickknacks I’ve collected over the years, having small bowls around the house is a MUST. These cute little DIY faceted clay bowls I made with Excel Blades carving blades are now scattered around the house to collect my (never ending pile of) clutter. I made them with air dry clay, painted them with bright pastel paint and now use them to hold rings, pins, earrings, etc. around the house.
 If you love catch-all bowls as much as I do, check out my last Excel Blades project for a woven leather storage basket. It still catches my keys every day when I walk in the door.
These bowls are actually very easy to make, so they’re a fun weeknight project when creativity strikes. I find that mine usually strikes at the most random times, like 8pm when I suddenly feel stir-crazy sitting on the couch ?
I used the Excel Blades carving tools that I used to make these cursive carved stamps. Gotta love multi-purpose tools! The large blades make carving the faceted edges of these small bowls a piece of cake. My preference was to use air dry clay because I don’t like turning my oven on this time of year, but keep in mind that it needs some time to dry out completely before you can paint it or use it. Patience, my friends! Alternatively, you can use oven bake clay if you’re in a rush. You can also use colored clay, but I knew I would paint the bowls anyway.
Here’s how to make your own!
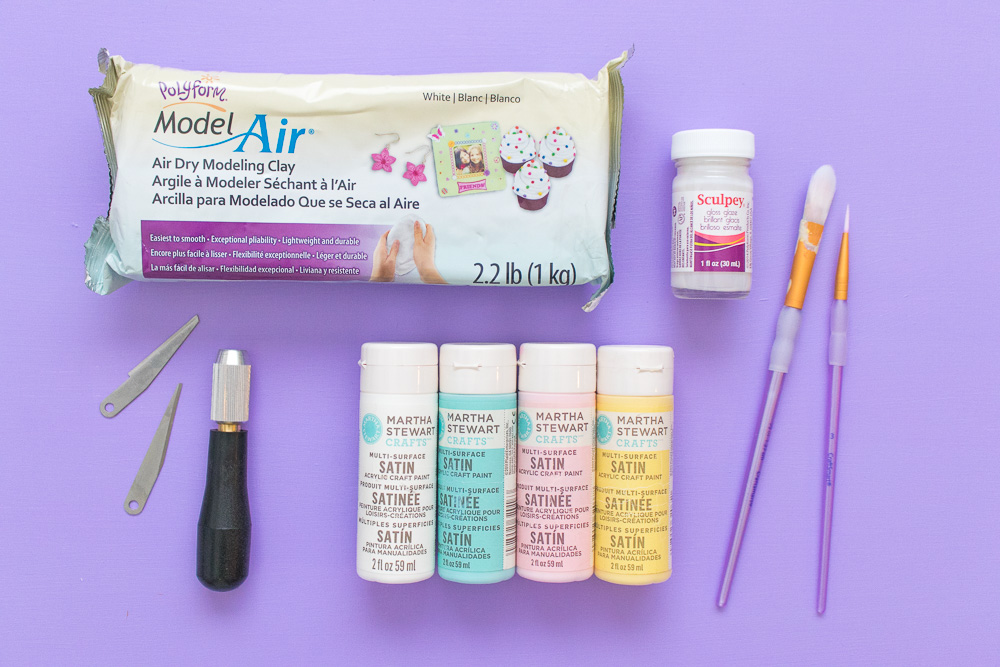
Supplies:
- Air dry polymer clay
- Excel Blades carving tools
- Acrylic paint (optional)
- Small paint brushes (optional)
- Clay glaze (optional)
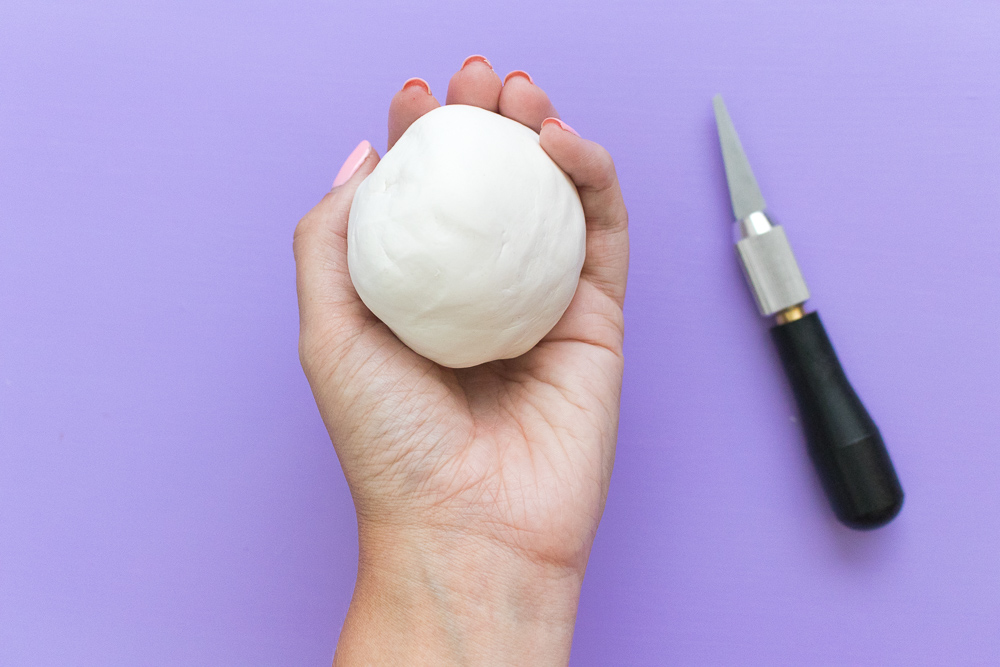 Step 1: Roll a large chunk of clay into a ball in your hands, about 4 inches in diameter. Keep in mind you’re going to shave off a lot of it.
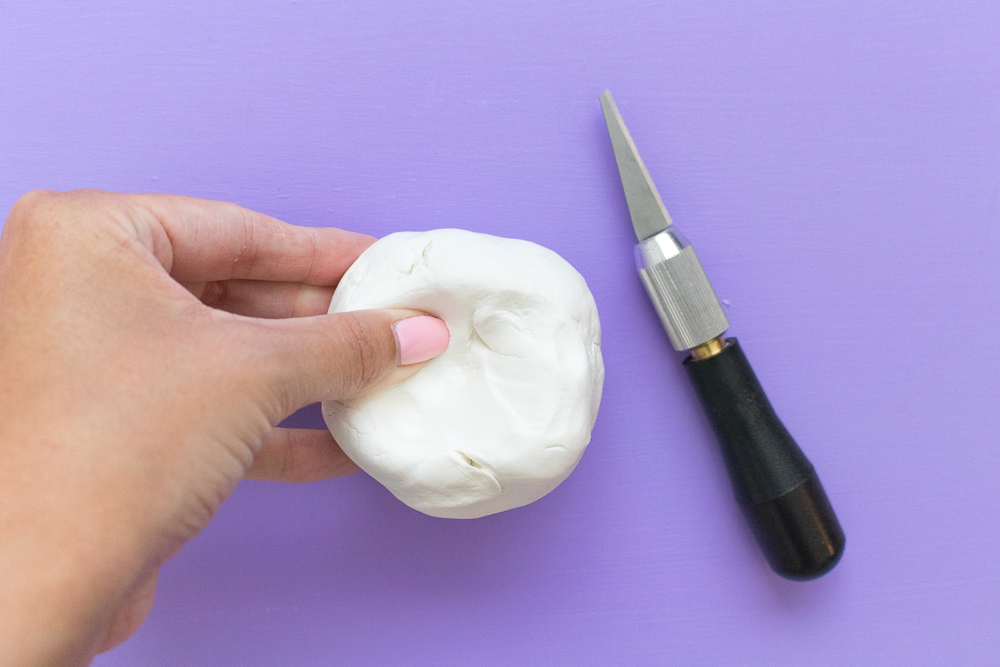 Step 2: Use your fingers to press a divot into the middle of the ball and form it into a small bowl shape in the middle of the ball.
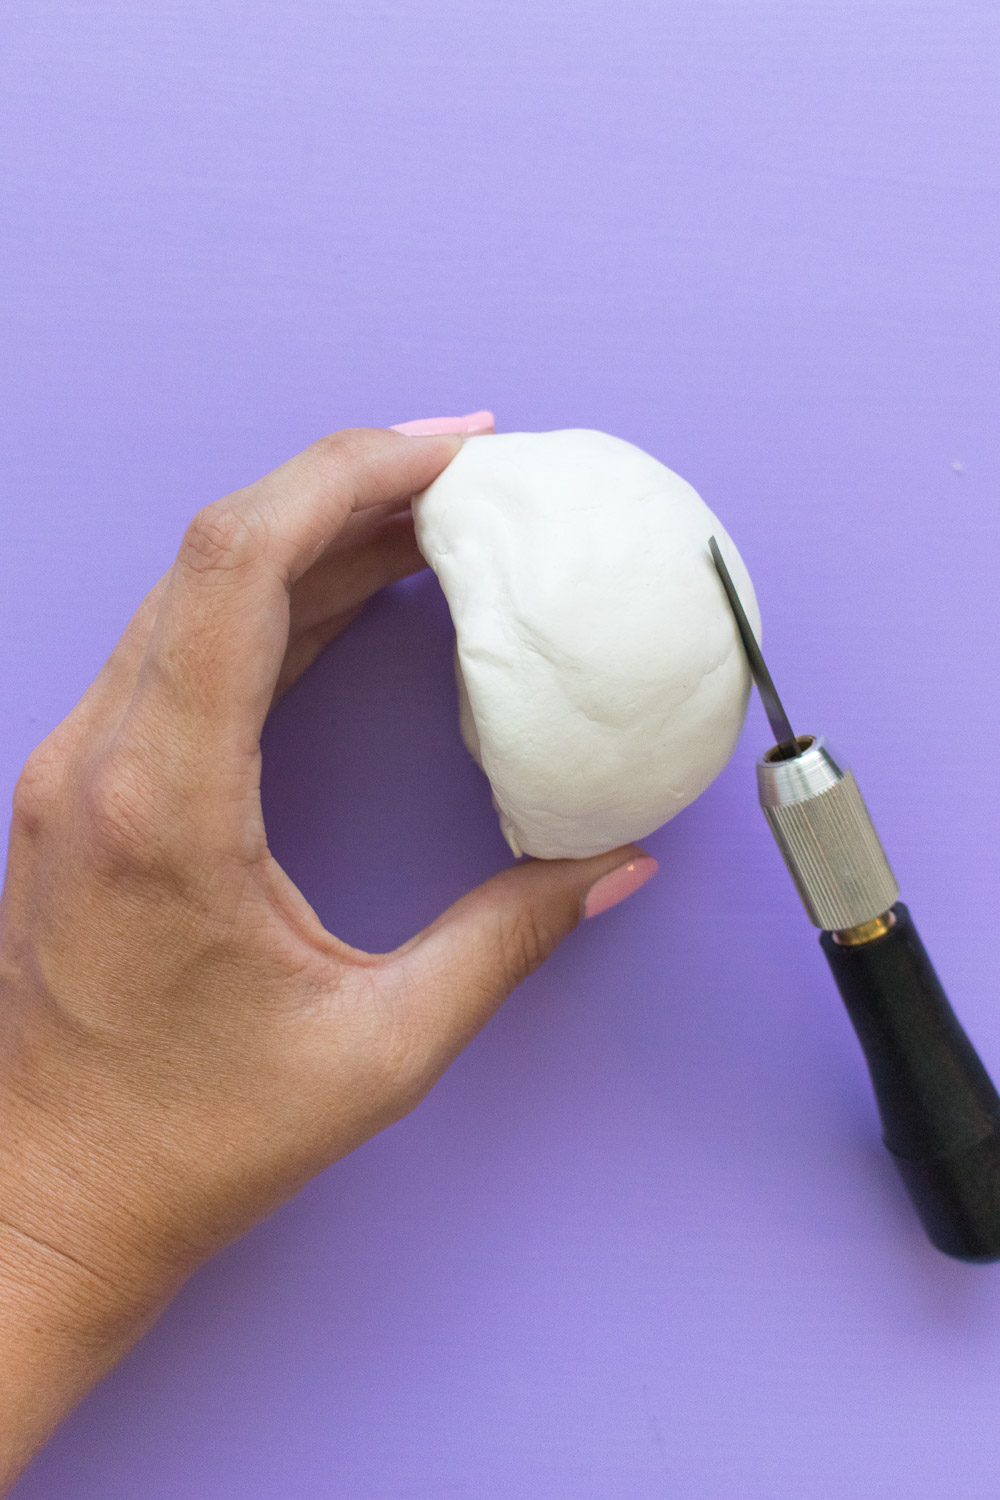 Step 3: Now the fun part! Use the carving tools (with a large blade) to carefully carve the bottom of the ball to create a flat surface for the bowl.
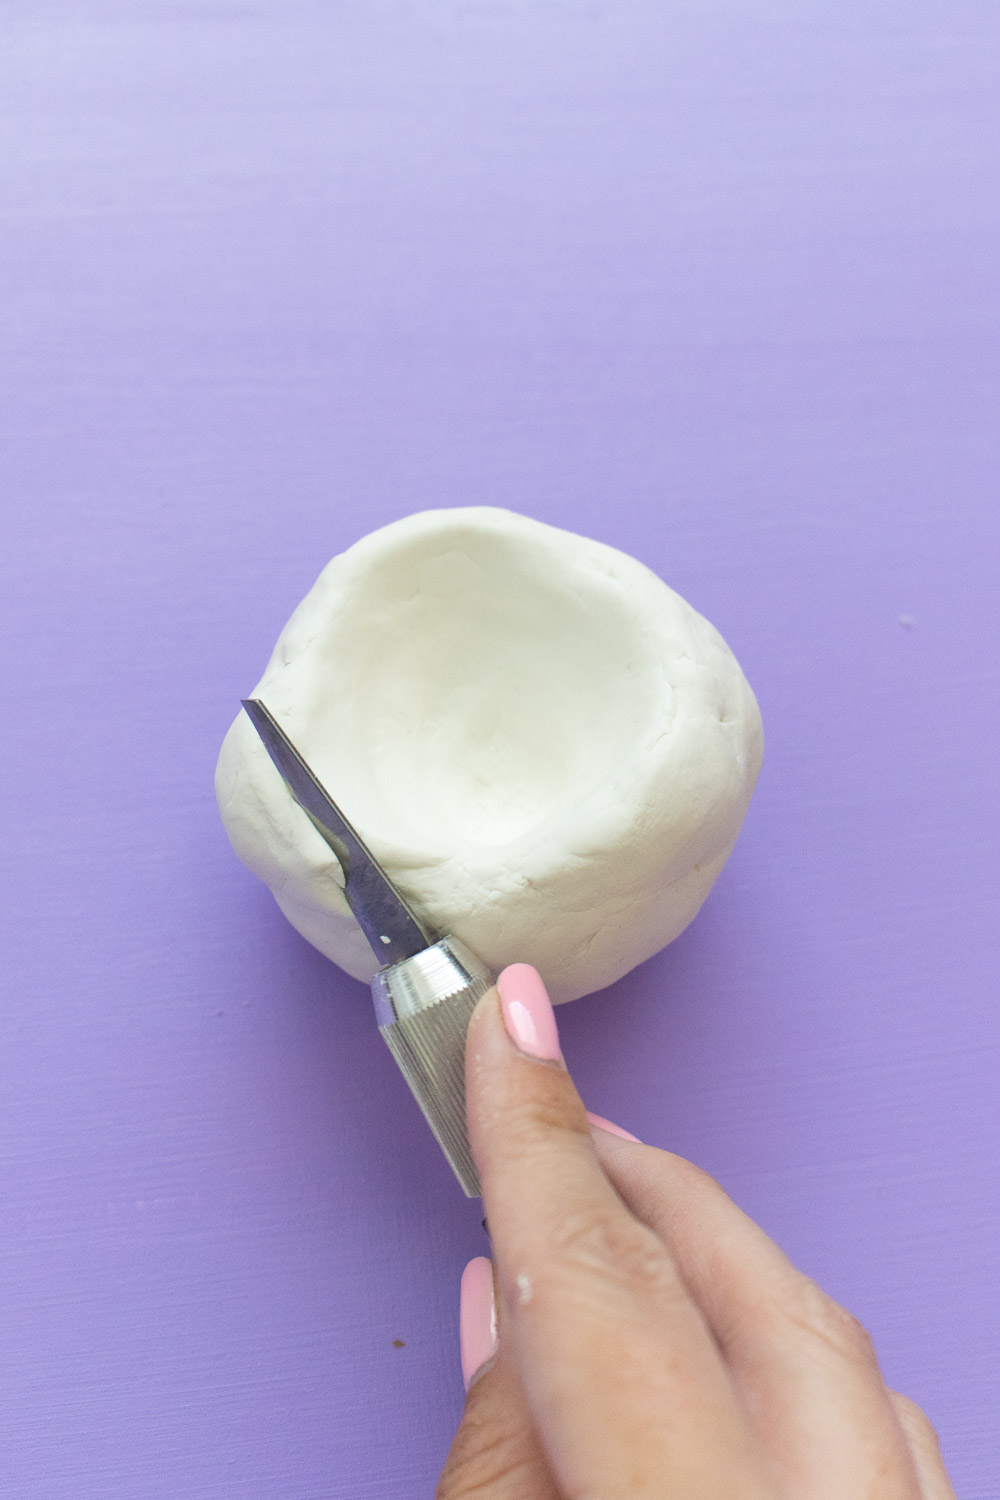
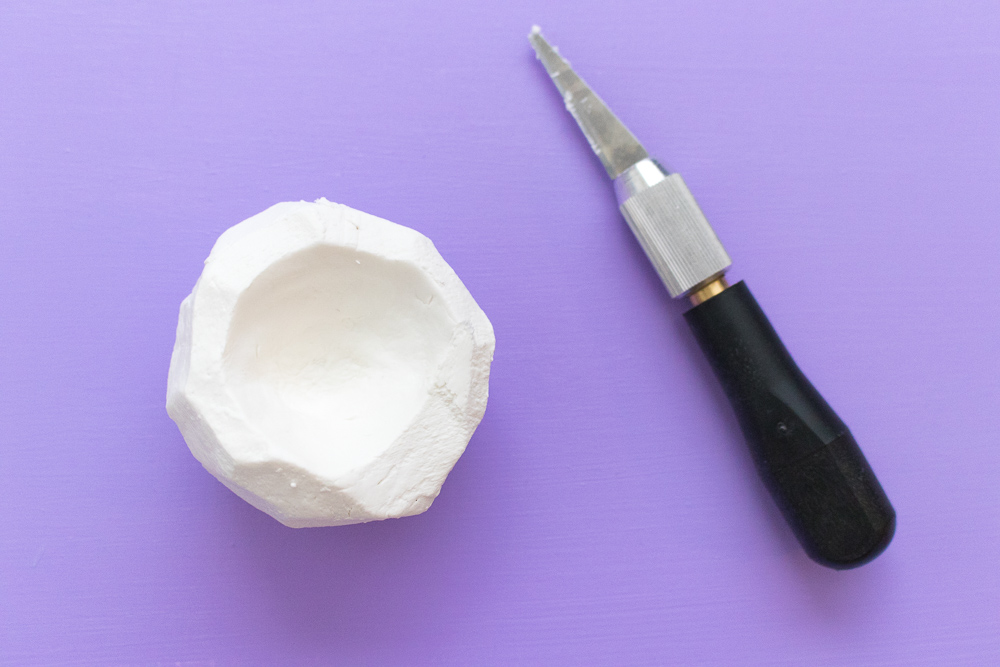 Step 4: Set the clay flat side down, with the divot facing up. Use the blades to carve off smaller, random sections of clay to create the faceted look. Don’t carve off too much at once or you may ruin your project.
Step 5: Set aside to dry out completely in a warm, dry area. It should not take more than 24 hours.
Step 6: If desired, paint the bowl. Paint a solid color, add patterns, whatever you’d like!
Step 7: Finish it off by painting one layer of clay glaze and let dry completely before using. This step is not necessary but can give it a clean, finished shine.
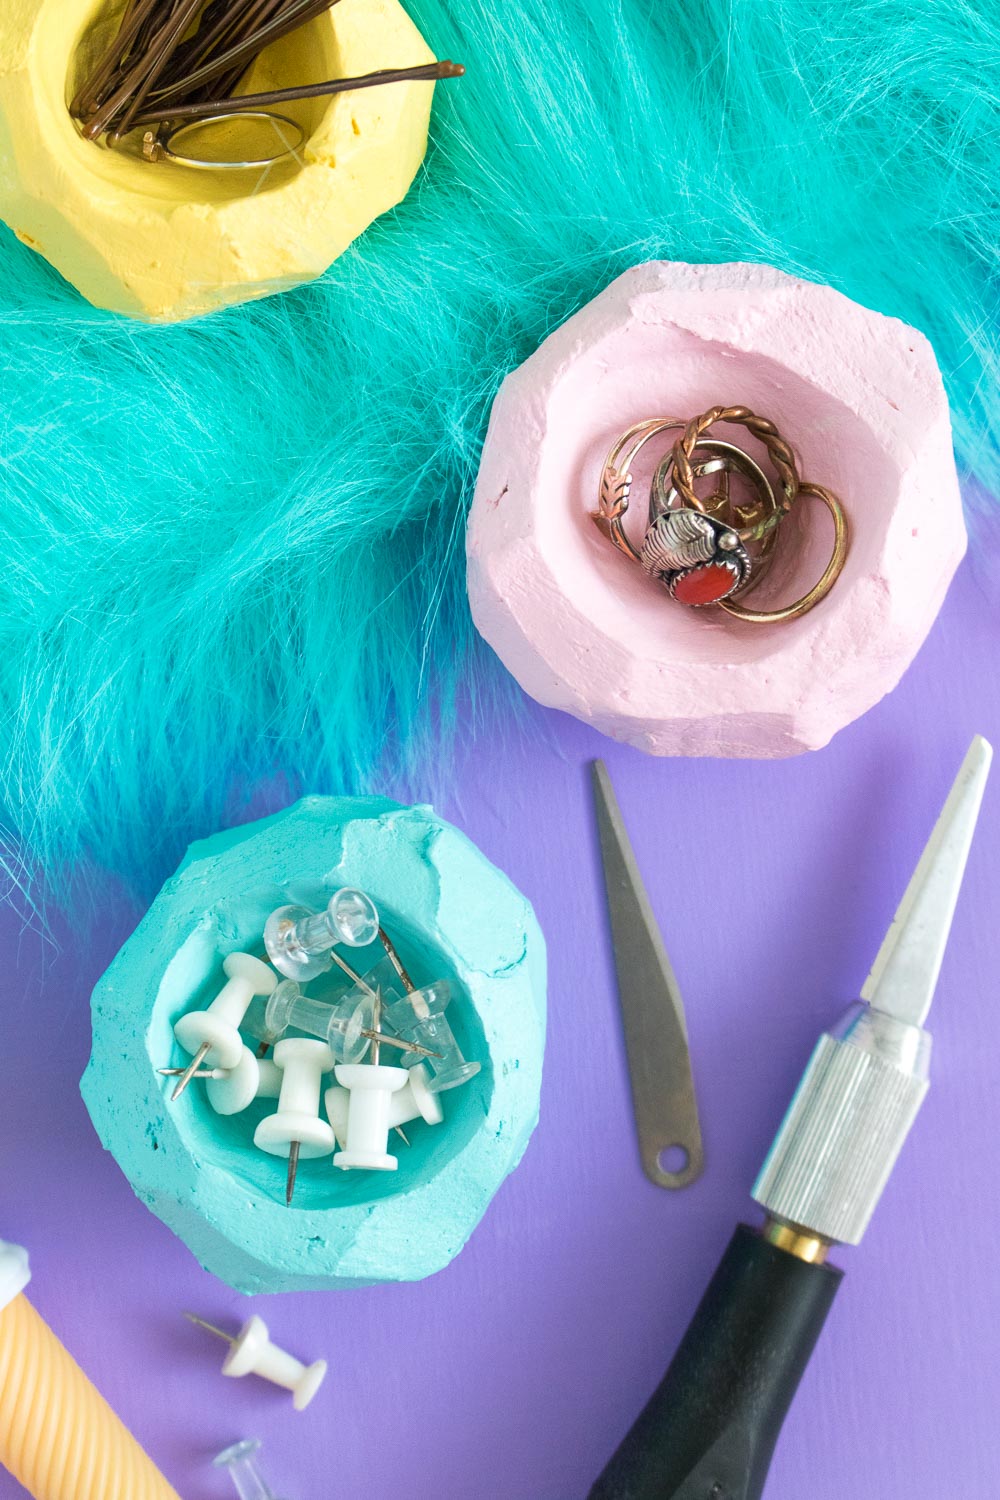
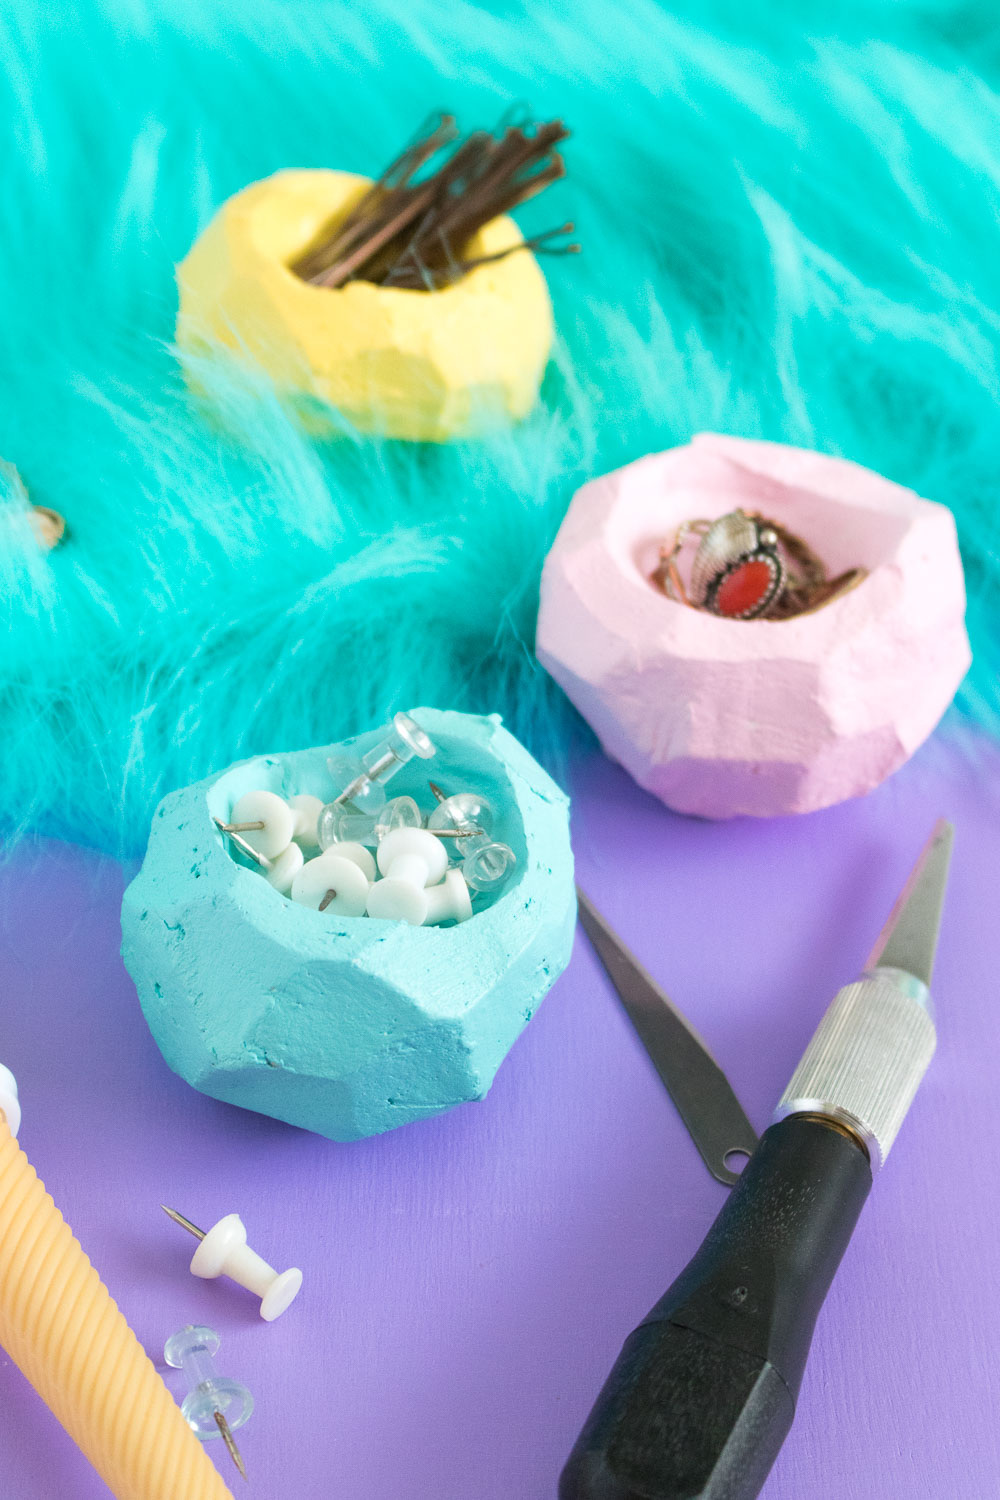 Fill it up! Set anywhere you tend to drop small items. Because they’re small bowls (at least the way I made them), they’re perfect for small office supplies, earrings, bobby pins, enamel pins, etc. They’ll be as stylish as they are functional!
PS, if you really love catch-all dishes, check out my DIY mirrored trinket tray too!
Thank you to Excel Blades for generously sponsoring this post. All opinions are my own. Please note that this post may contain affiliate links from which I may collect a small profit if you choose to make a purchase. Thanks for supporting the brands that keep Club Crafted making!

