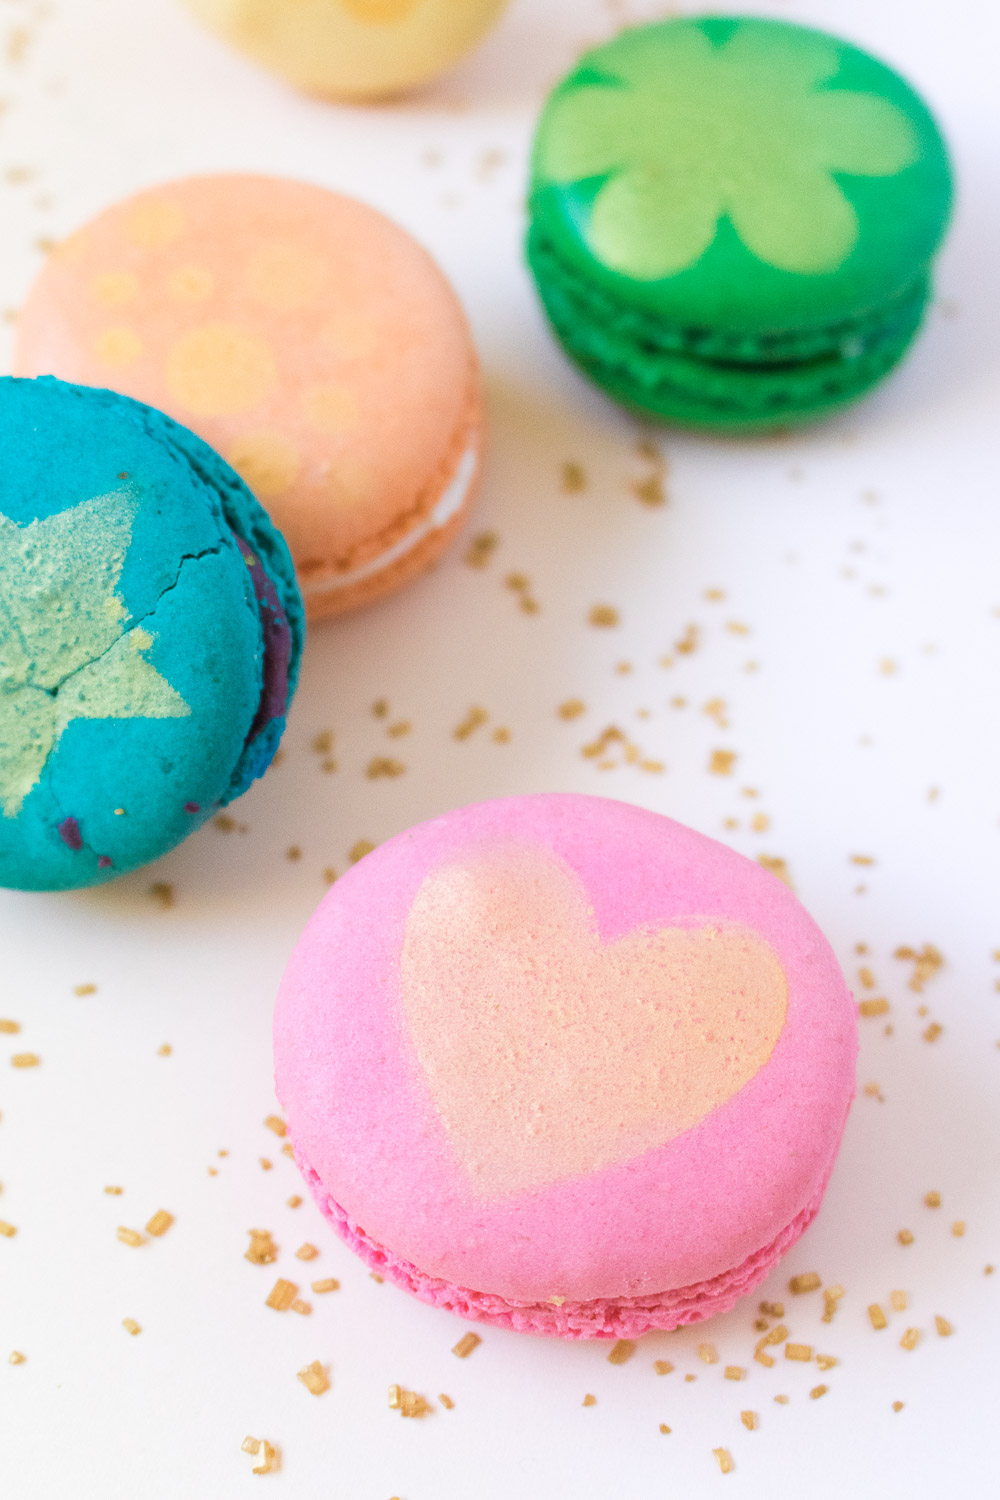
 In all my years of baking, I have yet to master macarons. Granted, I don’t have much time to practice, but I really want to make pretty and perfectly prepared macarons. Mine always seem to crack, so while I continue to hone this skill, I settle for buying a variety of pretty macarons from a French bakery near my house. They have the prettiest desserts! This time, I picked up a few colorful macarons to make these simple DIY stenciled macarons using homemade stencils.
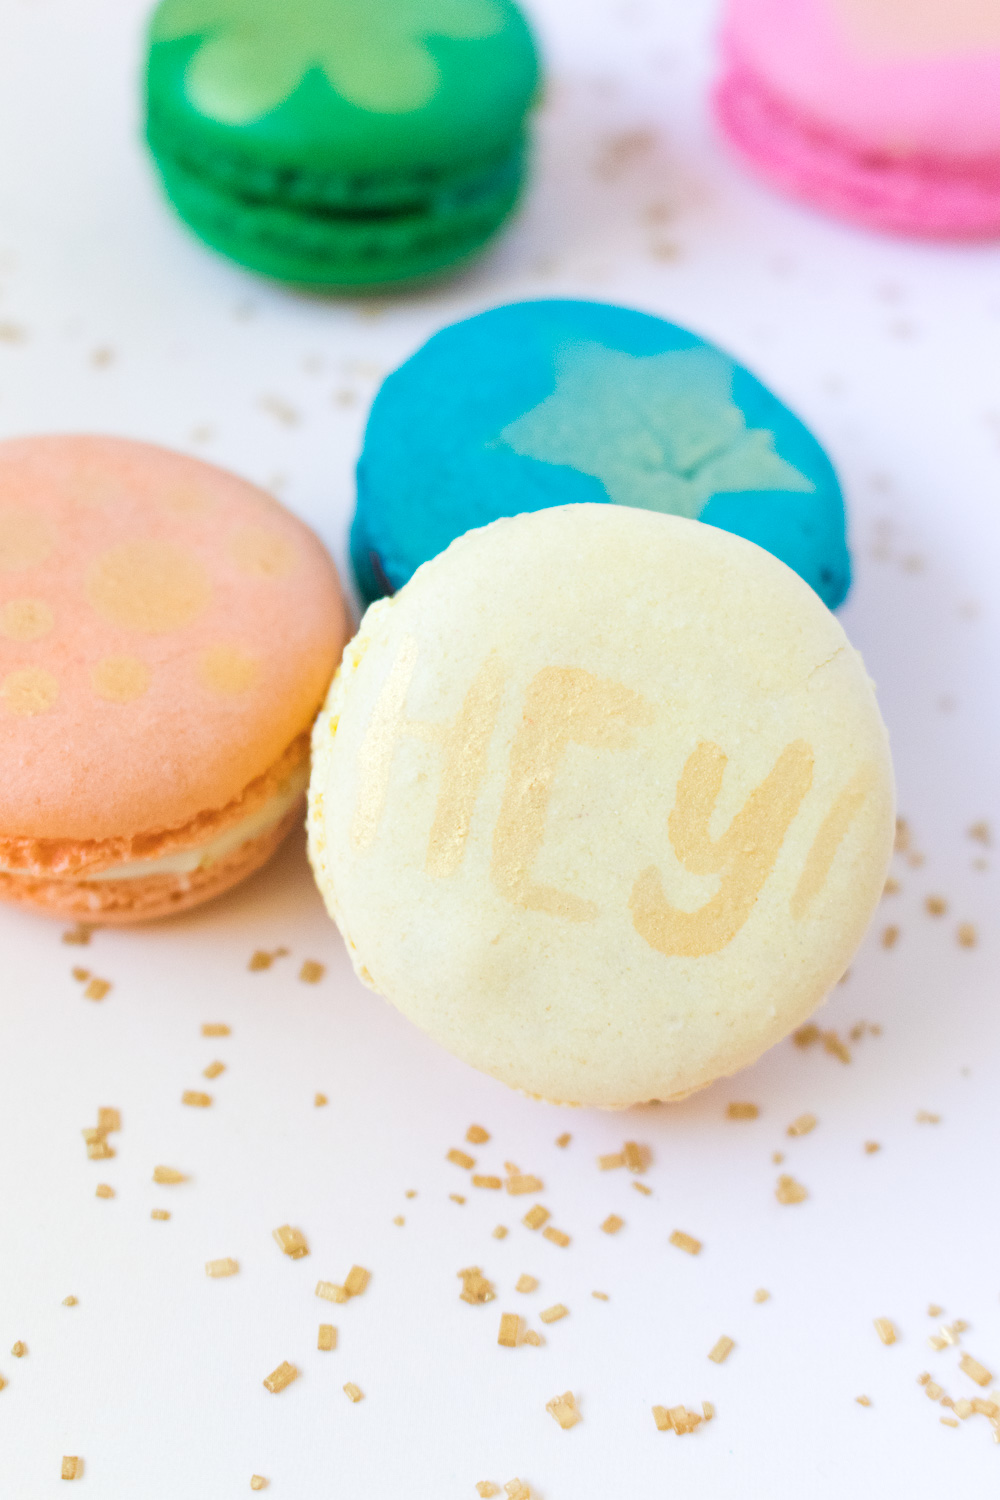
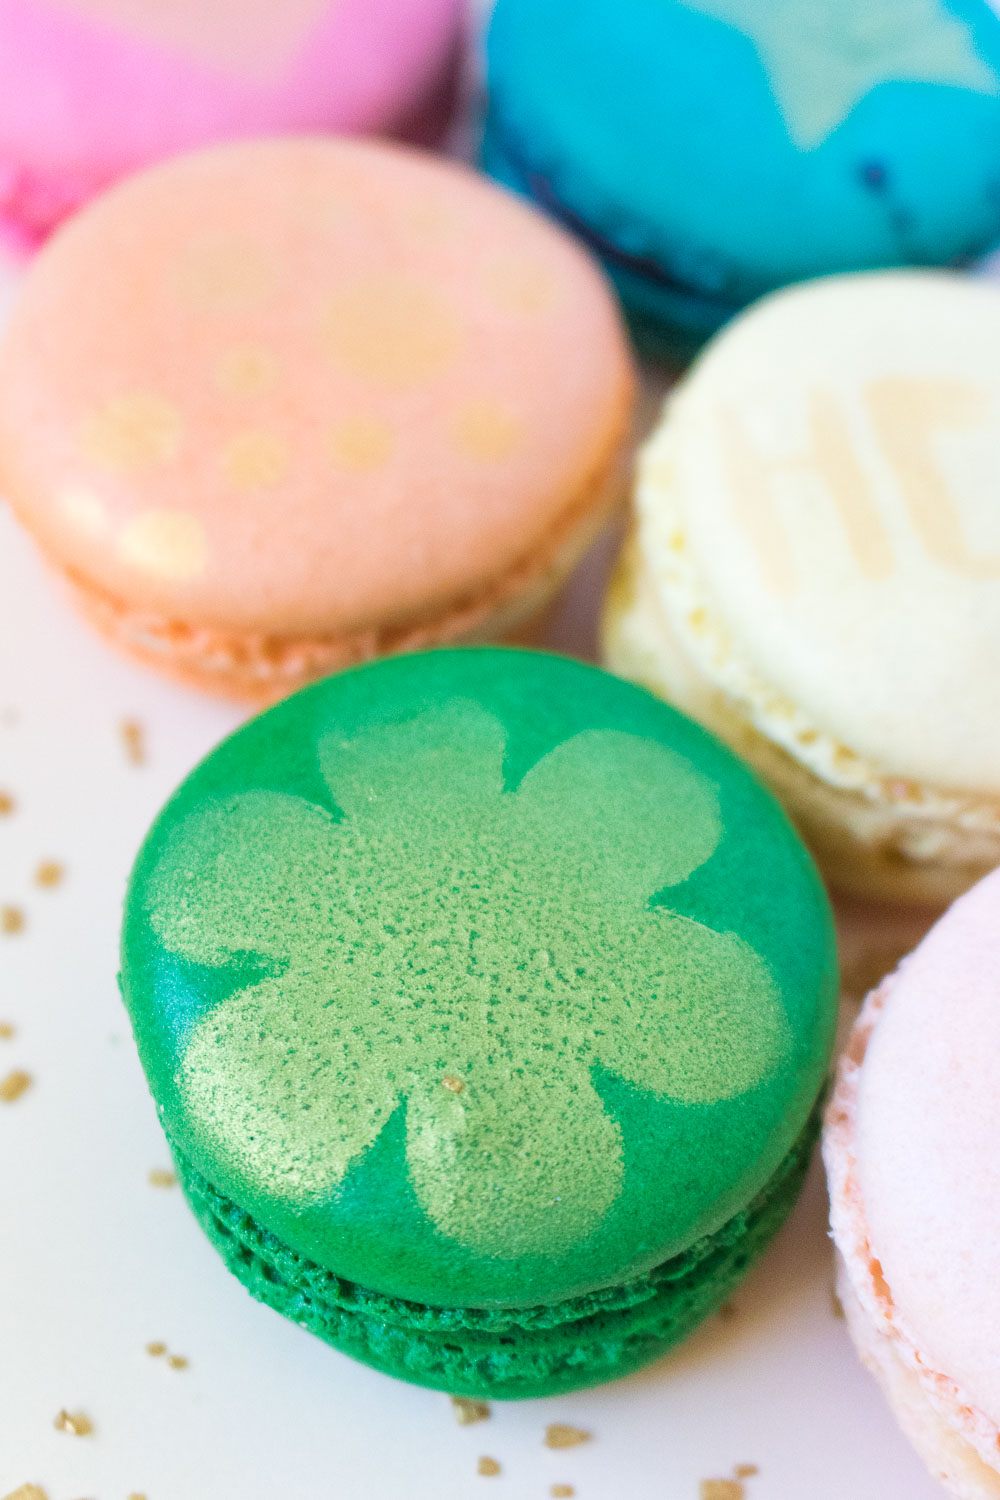 I originally thought of this idea when I was brainstorming for Andrew’s birthday party. Are you guys sick of me saying that yet? My idea was to stencil Death Star images on macarons or sugar cookies as one of the treats at his Star Wars-themed party next month. I decided to start small and use simpler stencils and make sure it worked before going all out for an event. Luckily, they did work, and I adore them!
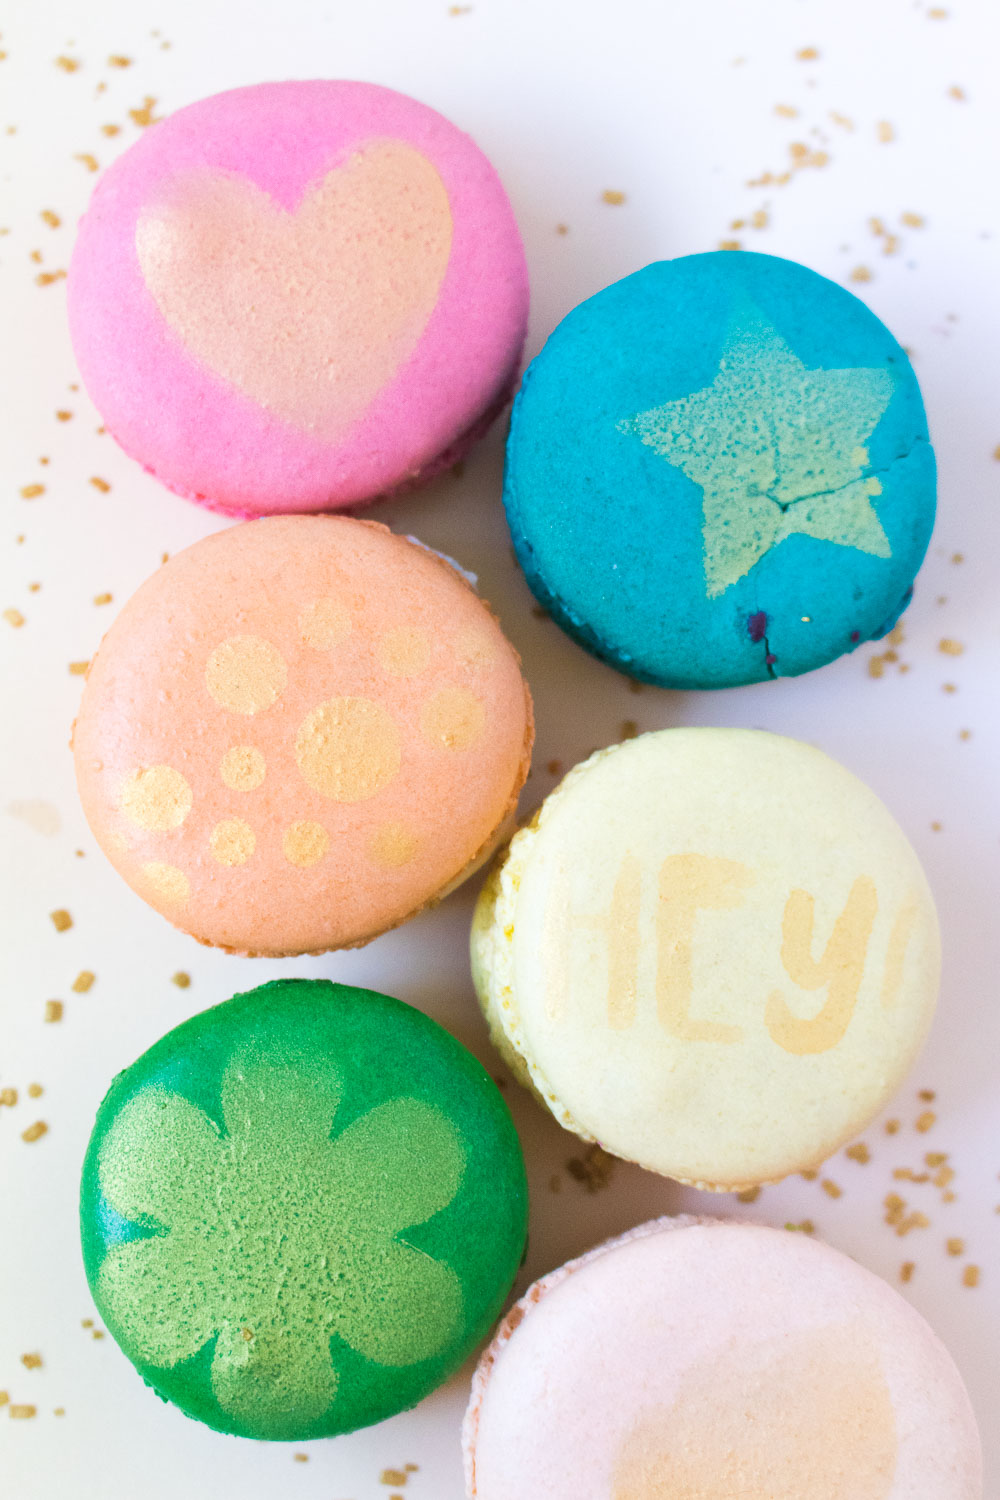
So how do you achieve this, you ask? It’s simple. Edible color spray! The Wilton brand spray is amazing, and it comes in a TON of colors, which you can use on a variety of different foods. I decided to try out the gold, and while I love the pretty metallic look, it was too light to show up on some of the lighter colored macarons, so be sure to choose colors accordingly. When I make these again for Andrew’s birthday, I think I’ll go with black since it will fit the theme and surely show up well on any color.
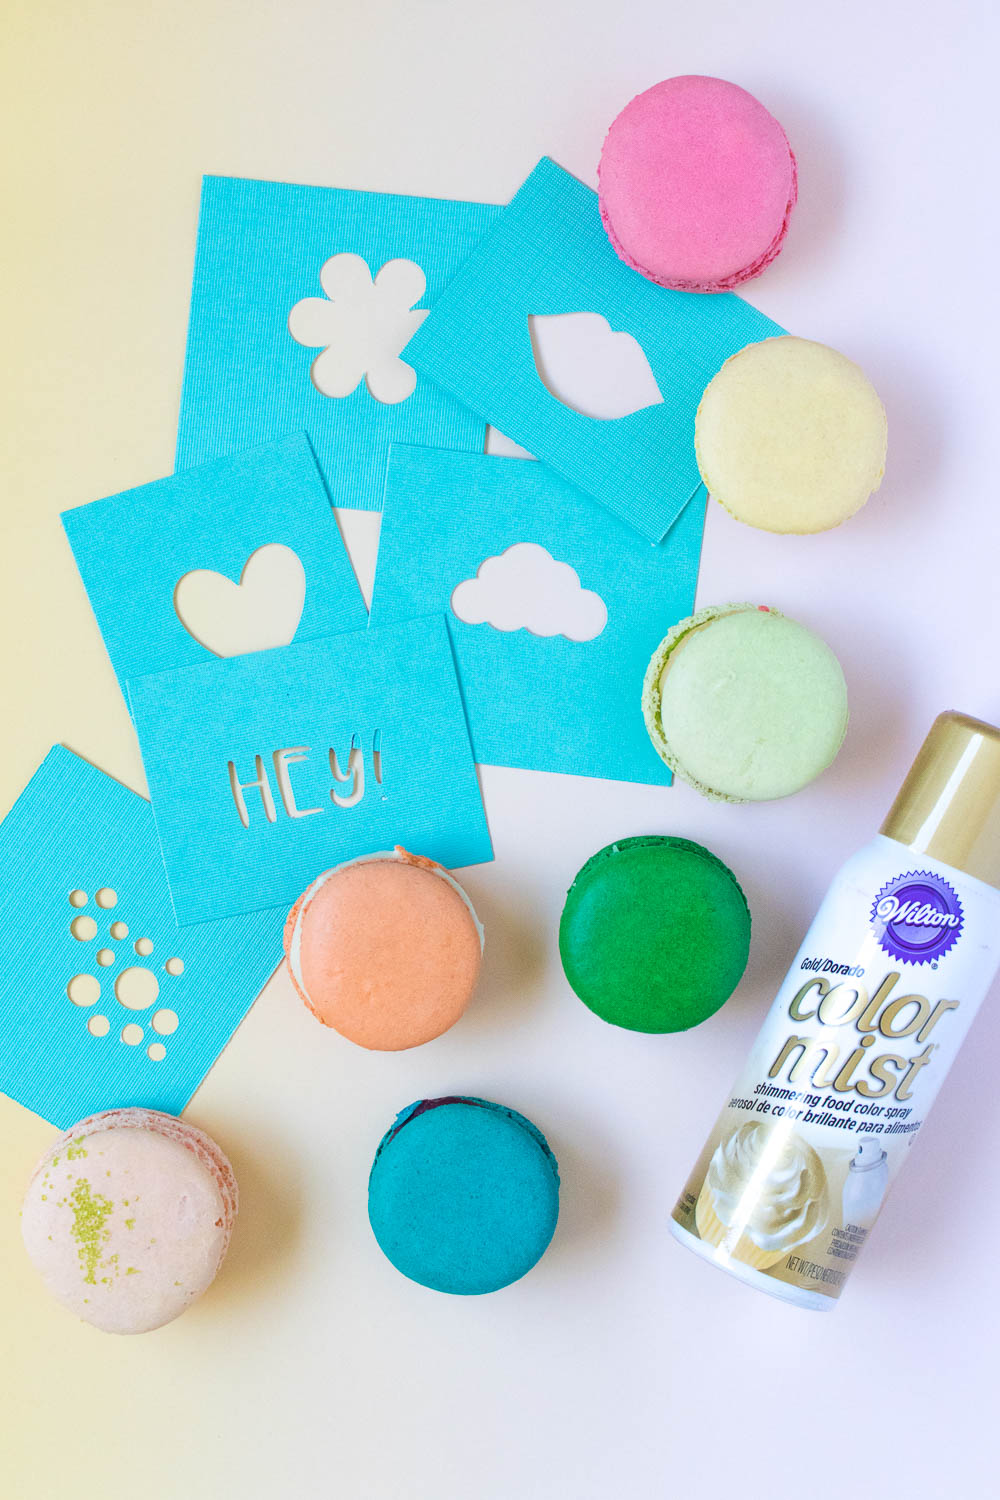
To make the stencils, I used my Cricut Explore Air to cut 1-1/2-inch shapes approximately the same size as the macarons. I think the flower-shaped one is my favorite – it has that groovy 70s feel to me! I even experimented with words and small bubble shapes, and they all showed up very well, so as long as your stenciled aren’t overly intricate, they should work just fine.
Here’s how to stencil your own macarons!
Supplies:
- French macarons
- Cardstock
- Scissors or cutting machine
- Edible spray color
- Latex/rubber gloves
Step 1: Cut out stencils. Use scissors, a cutting machine or a craft knife to cut your desired shapes out of paper. Consider the size of the macarons so that stencils will fit properly. Leave about 1 inch around all sides to ensure only the cut shape will be visible over the macaron.
Step 2: Put on latex gloves to protect your hands and line a baking sheet or workspace with parchment.
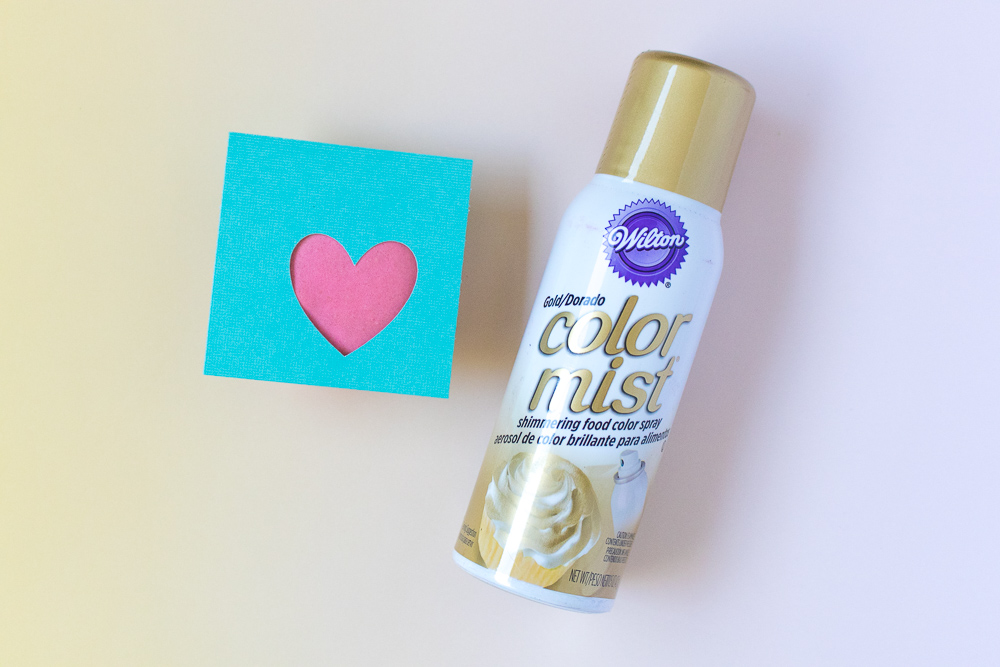 Step 3: Place a macaron on the prepared surface and place the stencil on top. Hold in place with your gloved hand and spray the edible color about 8 inches away until covered.
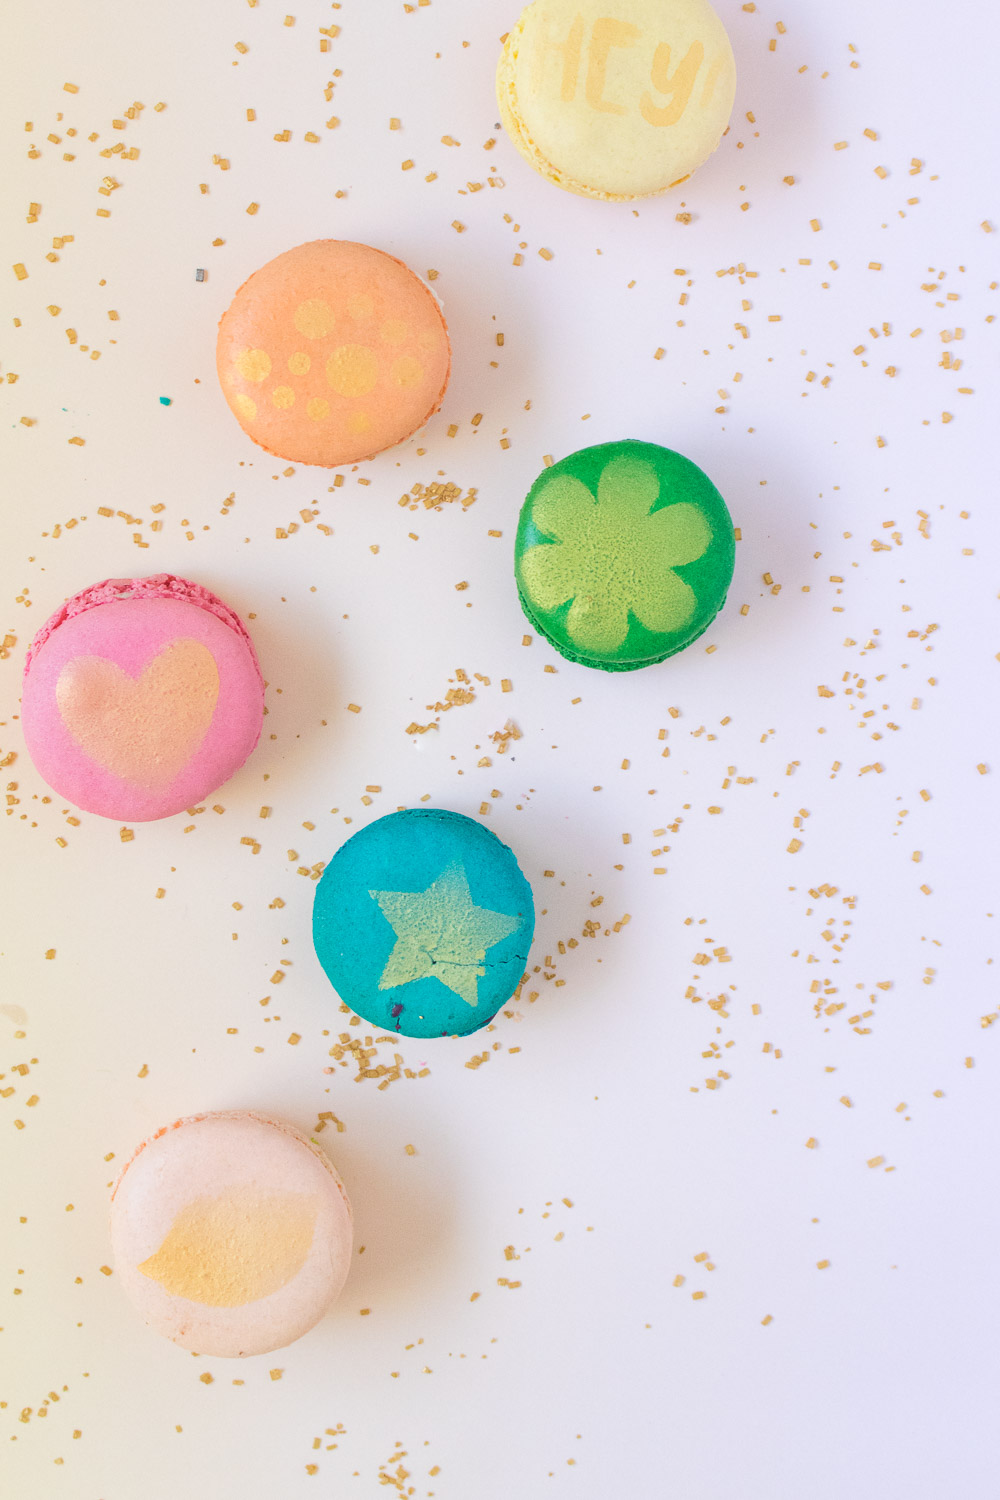
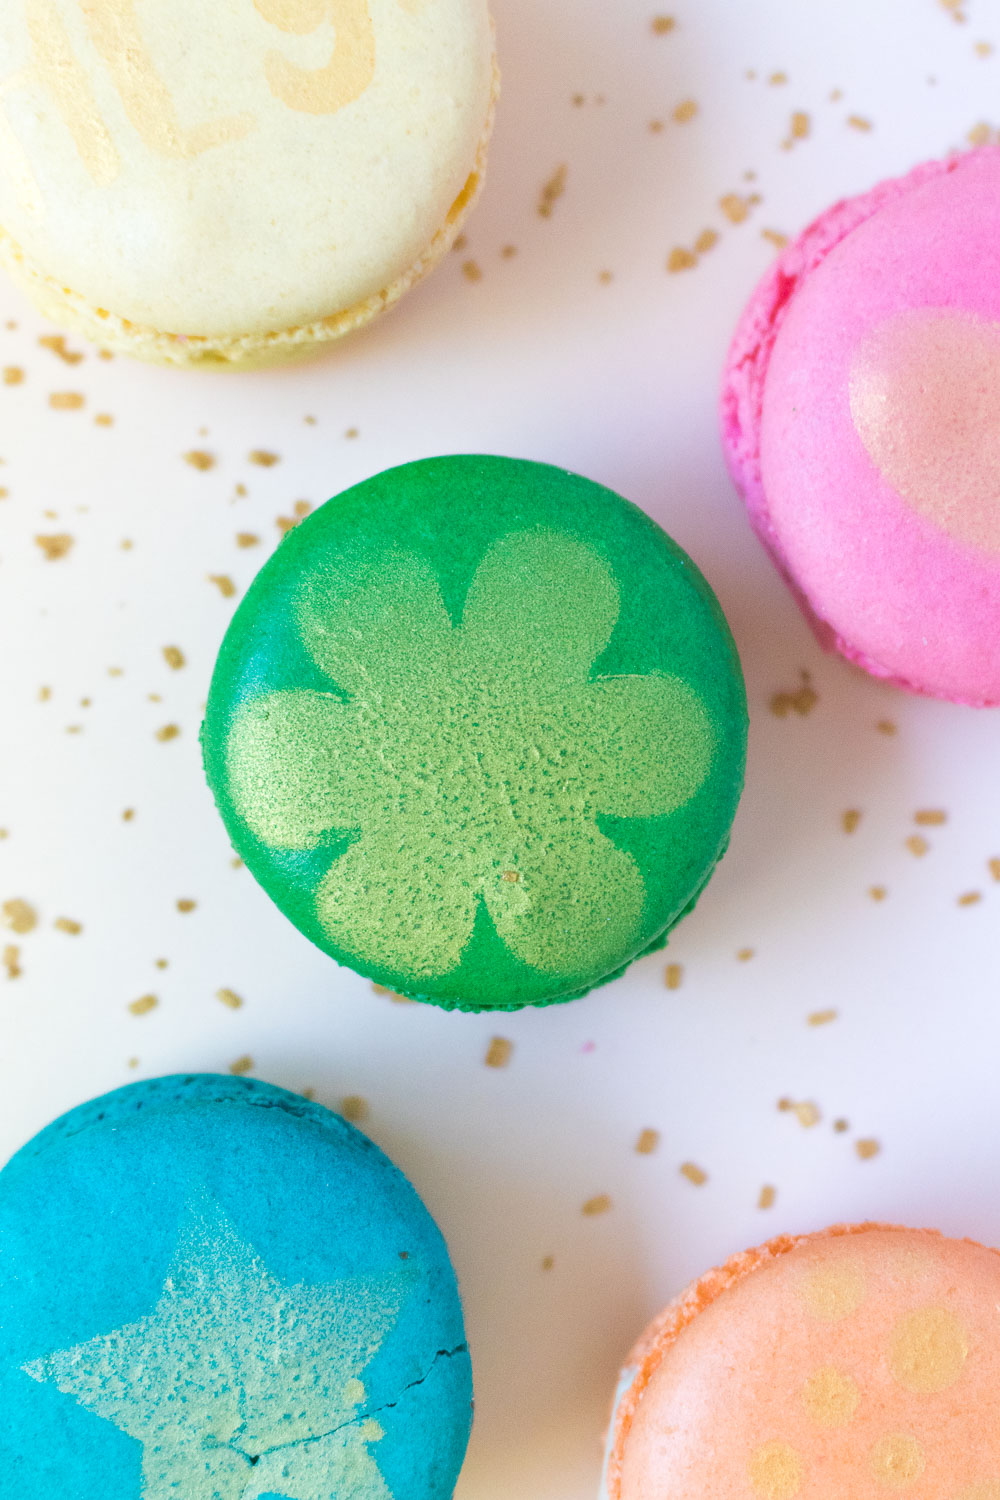 Carefully remove the stencil to reveal the image and allow to dry for several minutes. Since it is a spray, I would recommend doing this outside, but the spray will not travel very far. Mix it up, use multiple stencils and even colors to create pretty stenciled macarons that you can display for a party or any occasion! That is, if you can wait that long.
I quickly devoured the rest of the box of macarons, ha!

