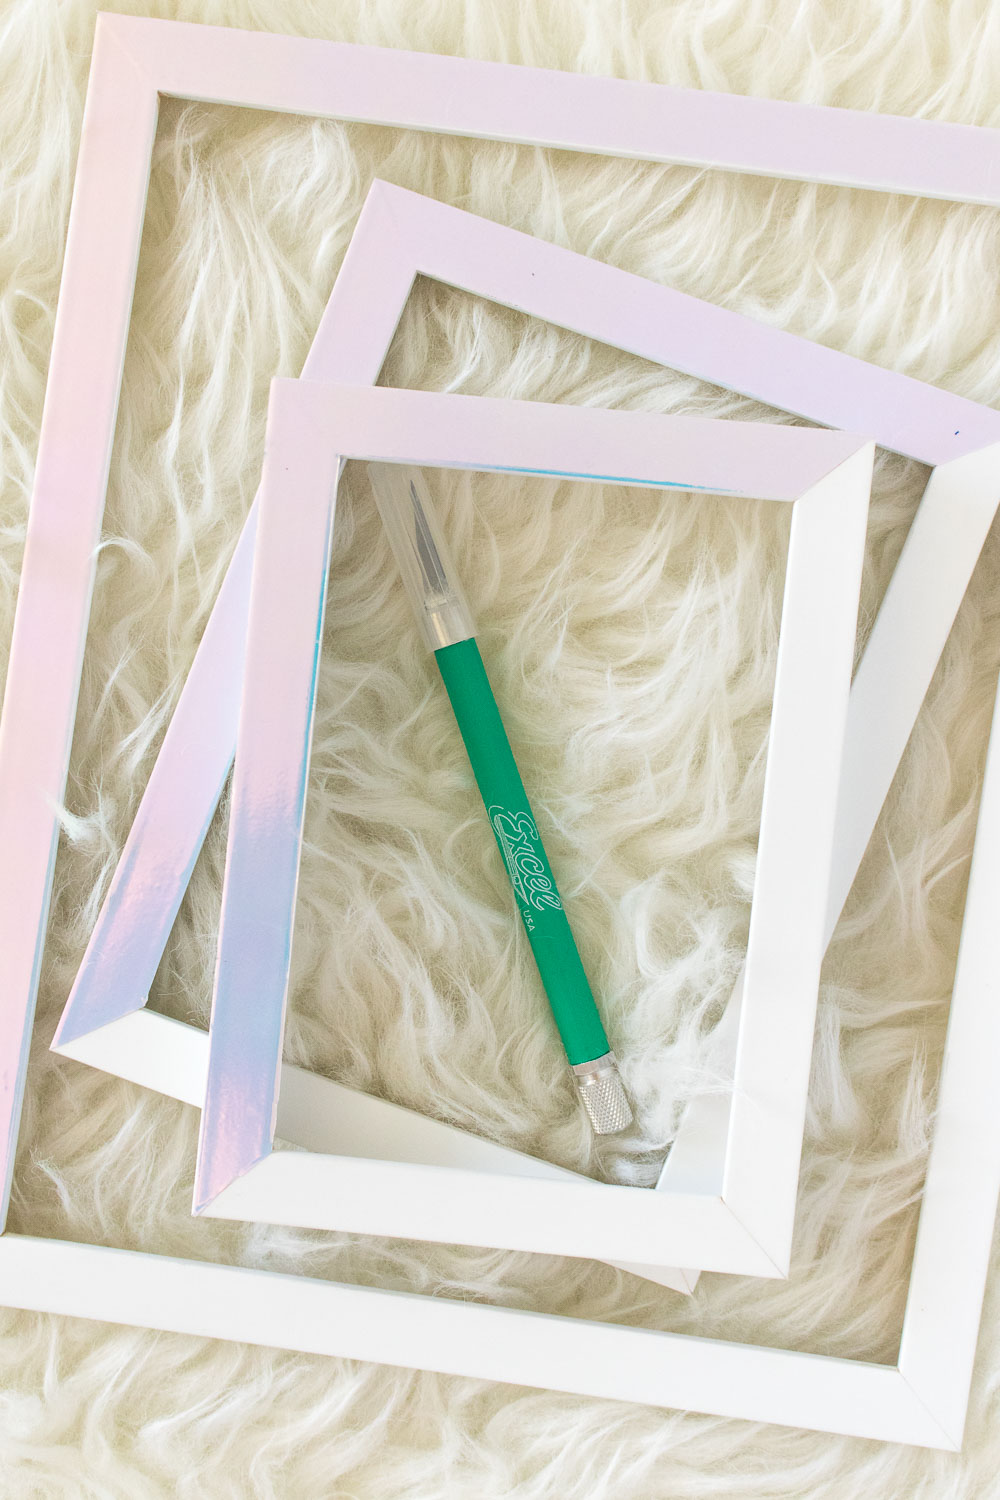
The following post is sponsored by Excel Blades
 Anyone else all about the 90s trend? I say, keep it comin’! I love all things holographic, so when I stumbled on holographic vinyl (OMG!!), I immediately bought it without a second thought. In order to add a pretty iridescent look to my walls, I made a set of these DIY holographic photo frames with my trusty Excel Blades hobby knife, and they are honestly one of my favorite DIYs this year. Not only are these holographic accented frames pretty but still elegant, they are incredibly easy to make with just a few supplies. I used my Excel Blades knife to make all of the cuts, and each one came out smoothly and perfectly sized for my frames. What else can I cover with holographic vinyl now?!
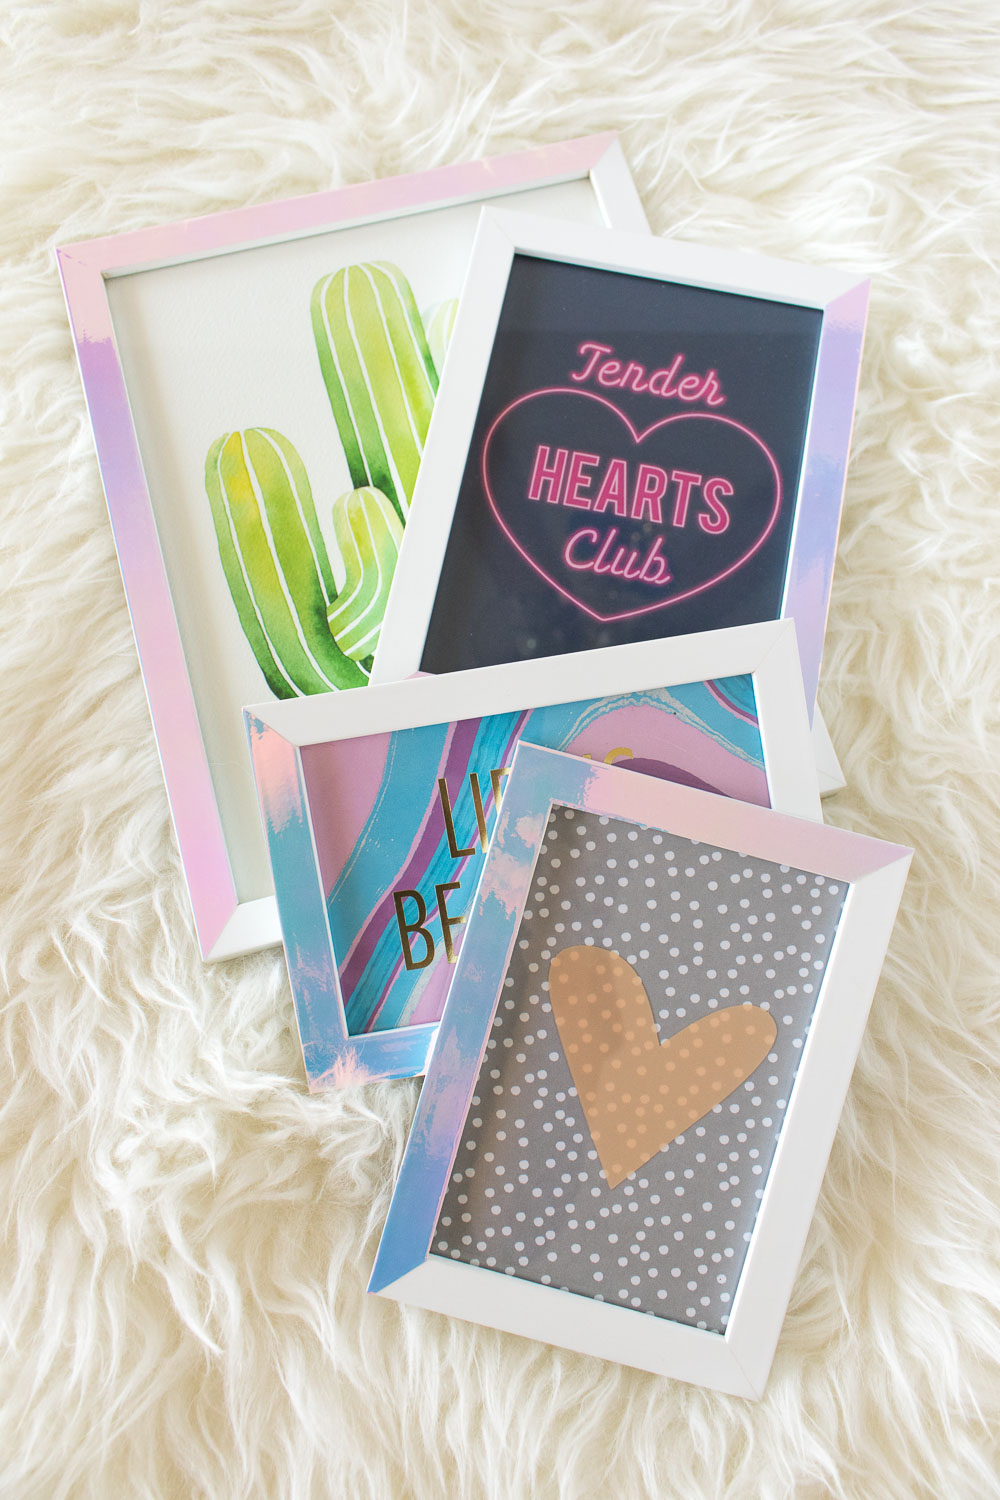
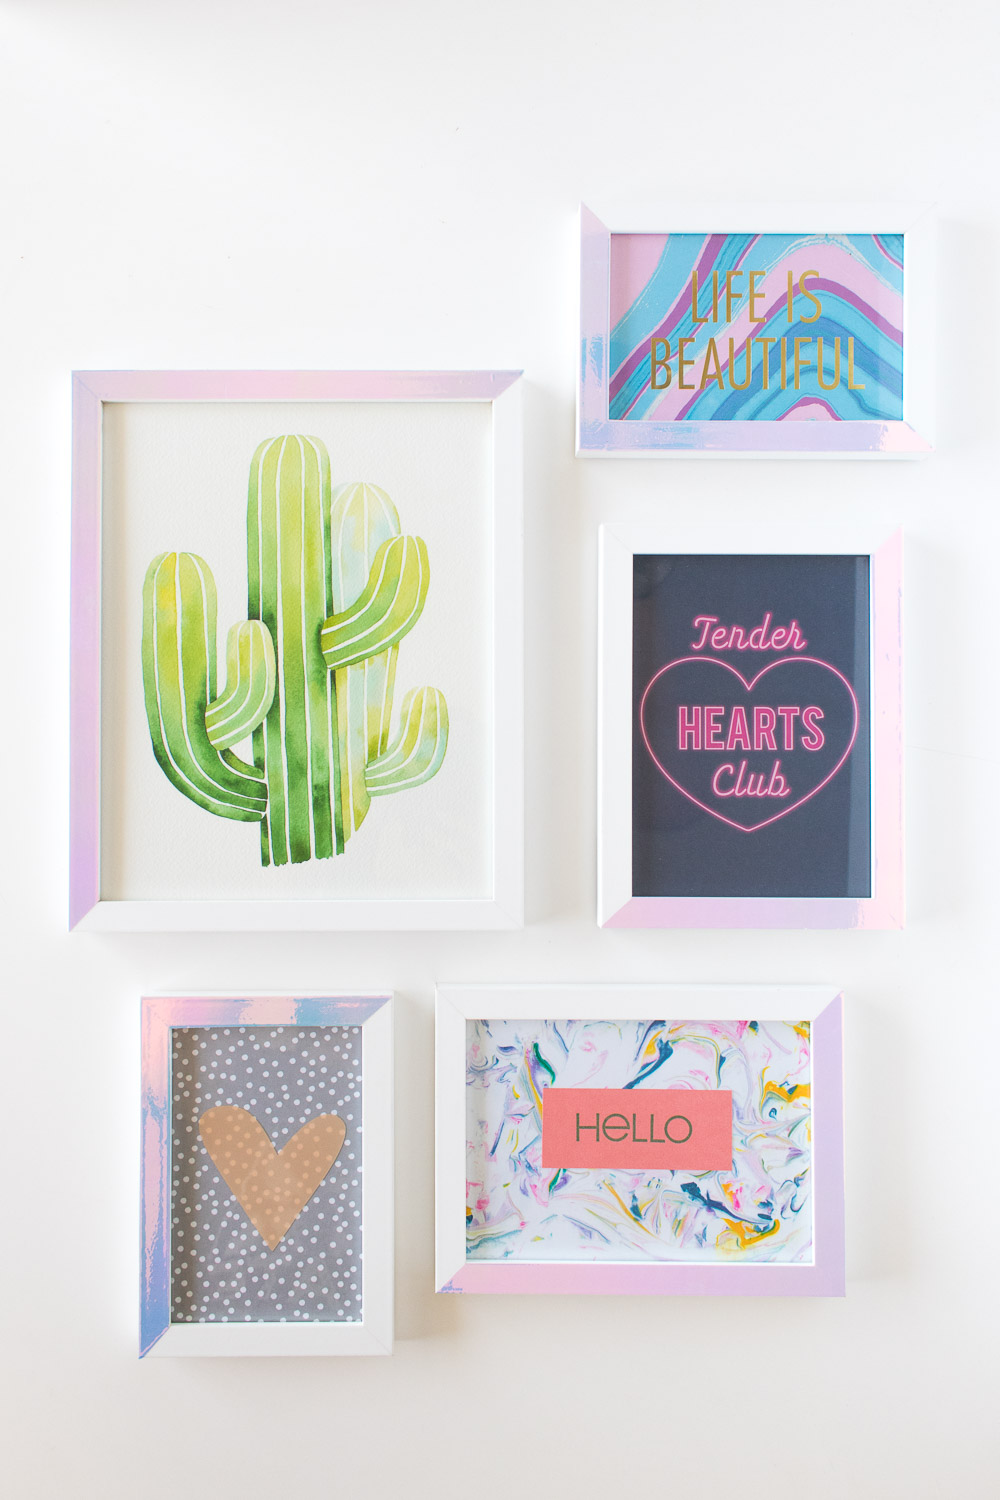 Another great thing about this DIY – it’s actually quite inexpensive. I picked up these frames for less than $5 each, and with the holographic accent, you’d never know they were such cheap frames. Win, win!
Rather than covering the entire frame in holographic vinyl (I was worried that would be overkill), I decided to cover just the corner and I’m so glad I did. It adds just enough to really pique your interest! By using the frames as a guide and an extra sharp blade like my Excel Blades hobby knife, I could cut small pieces of vinyl that were perfectly sizes. Thanks to the way I measured, I was able to create perfectly angled corners as well. Let’s get crafty!
Supplies:
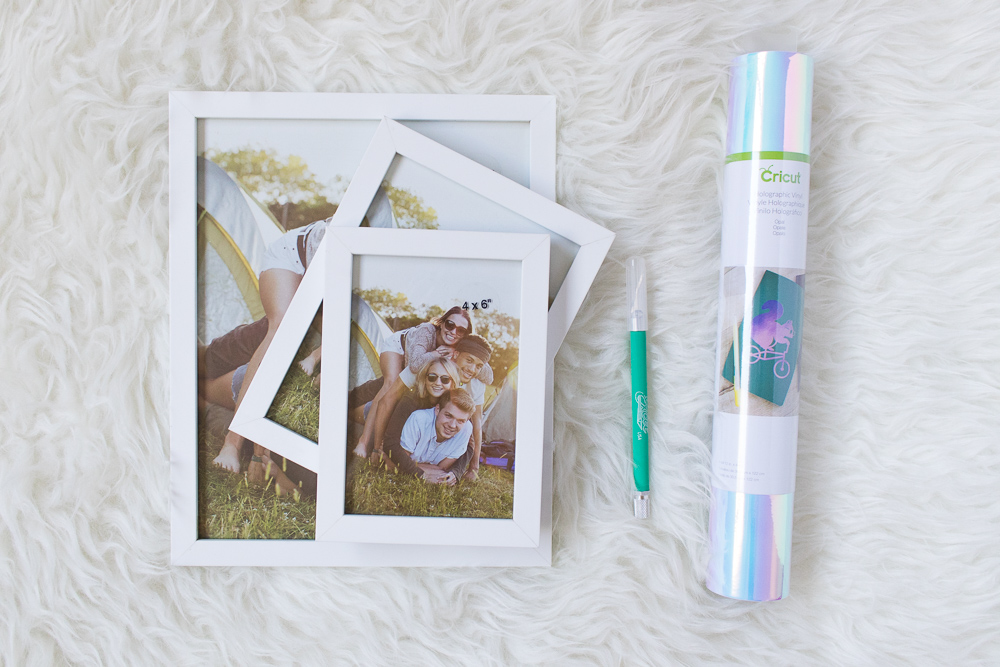
- White photo frames
- Holographic vinyl
- Excel Blades hobby knife
- Excel Blades cutting mat
Step 1: Remove the backing and glass from the frames so that you have only the white frame.
Step 2: Lay the holographic vinyl face up on the cutting mat on a flat surface, and place the frame face down at the corner of the vinyl.
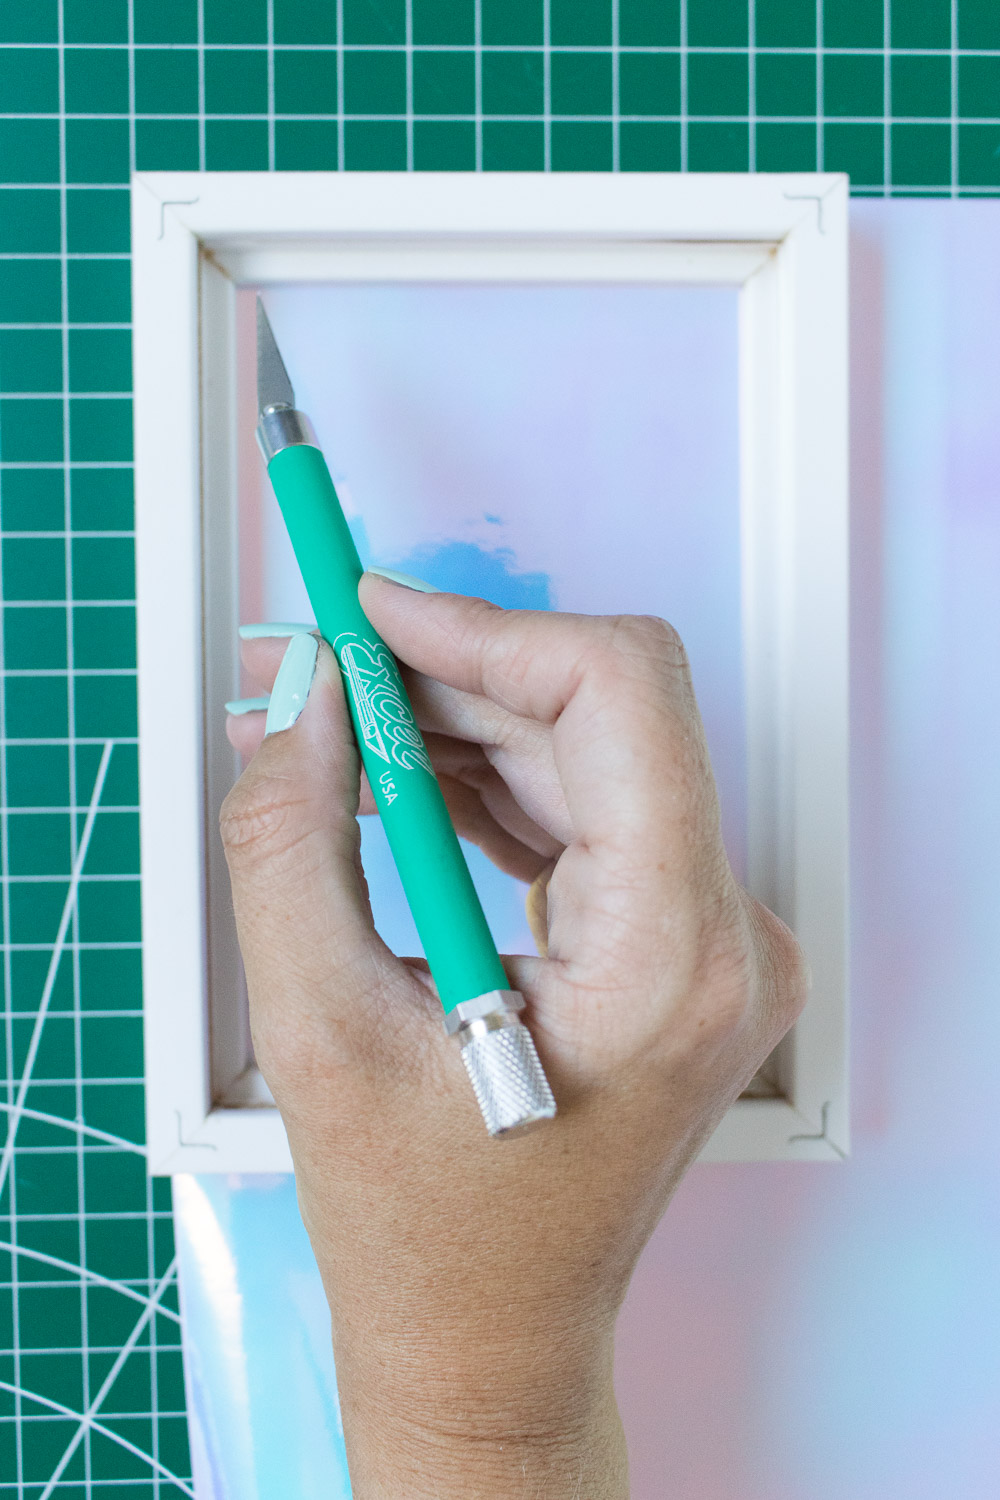 Step 3: With one hand holding the frame in place in the corner of the vinyl, use the other to trace the hobby knife along the inside of the frame. Because you are only cutting one corner, only trace the two perpendicular sides you want to have vinyl on them.
Note, take into account any “lip” on the frame (see above). This is why the frame should be face down on the holographic vinyl, which is face up.
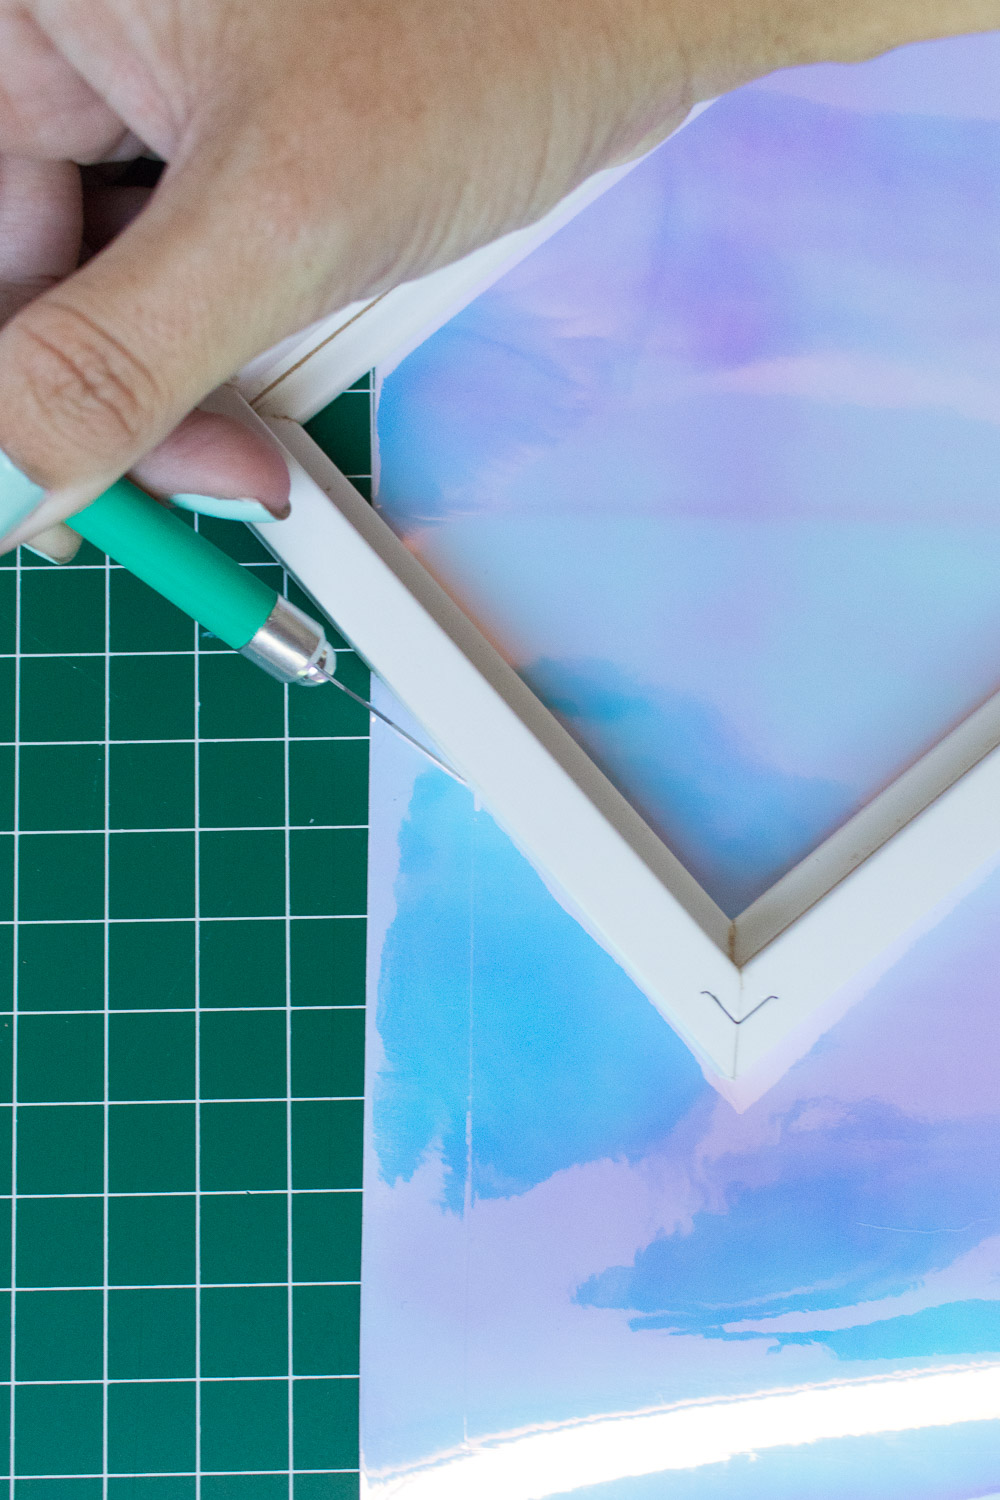 Step 4: Remove the frame and use it as a ruler to cut from the inside cut to the outside of the vinyl, creating the angled corner.
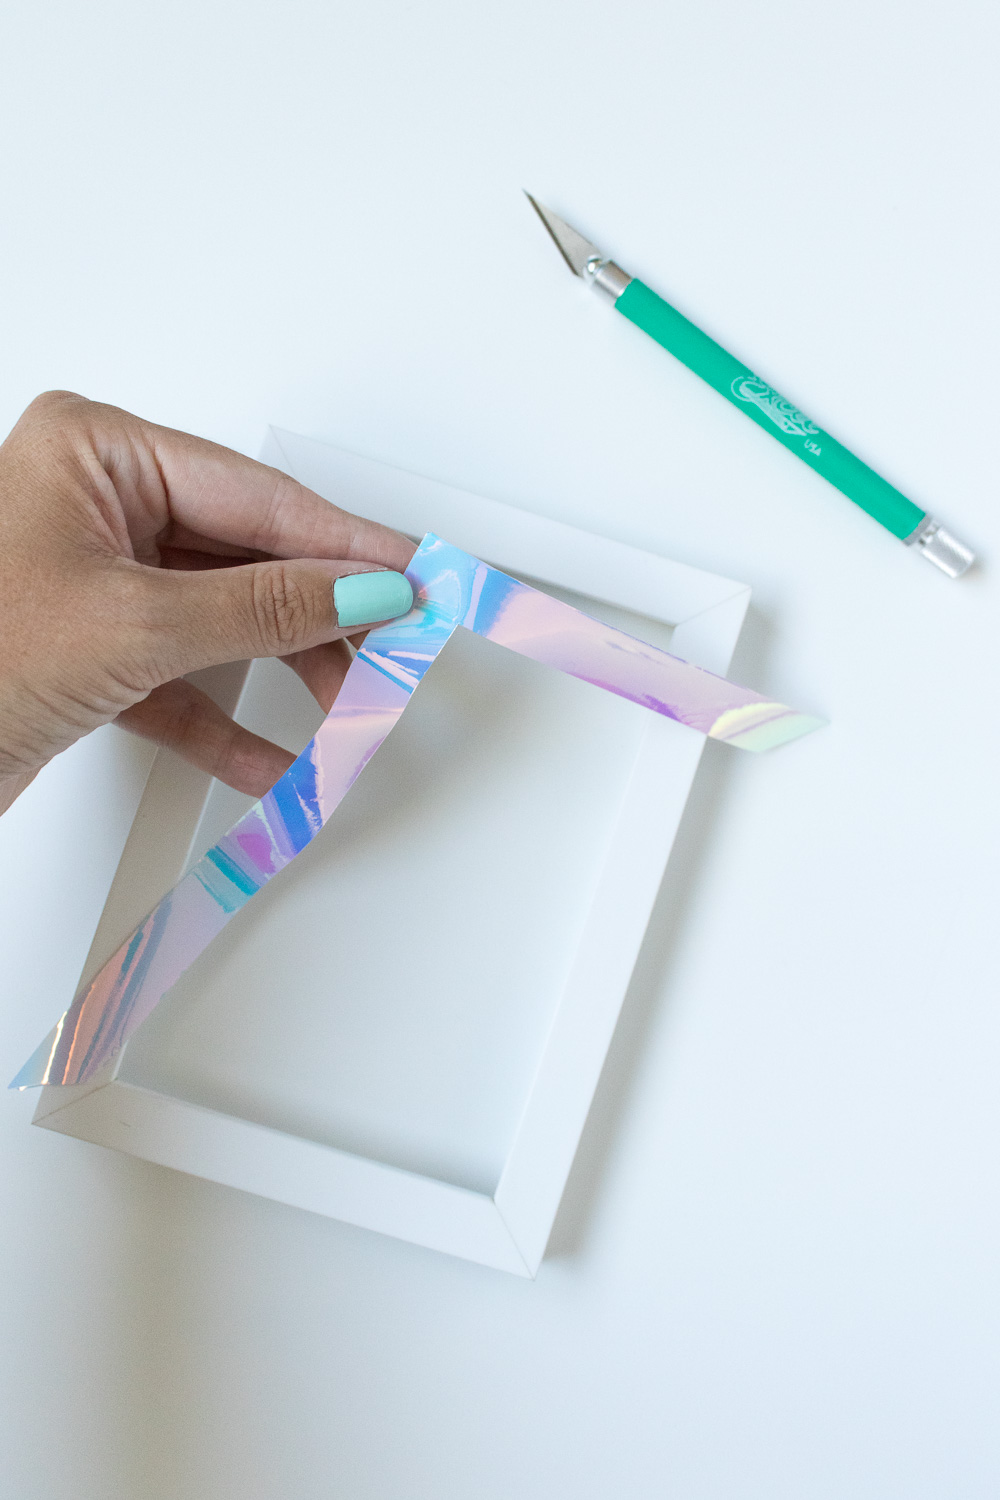 Step 5: Carefully peel the cut vinyl from the backing and position it on top of the frame, pressing with your hands until smooth.
Repeat with multiple frames in any size! You can do any side(s) of the frame by following the same steps and tracing the sides with a sharp blade.
Note, after the first one, you will need to cut along BOTH the inside and outside of the frame if you do not continue cutting along an edge.
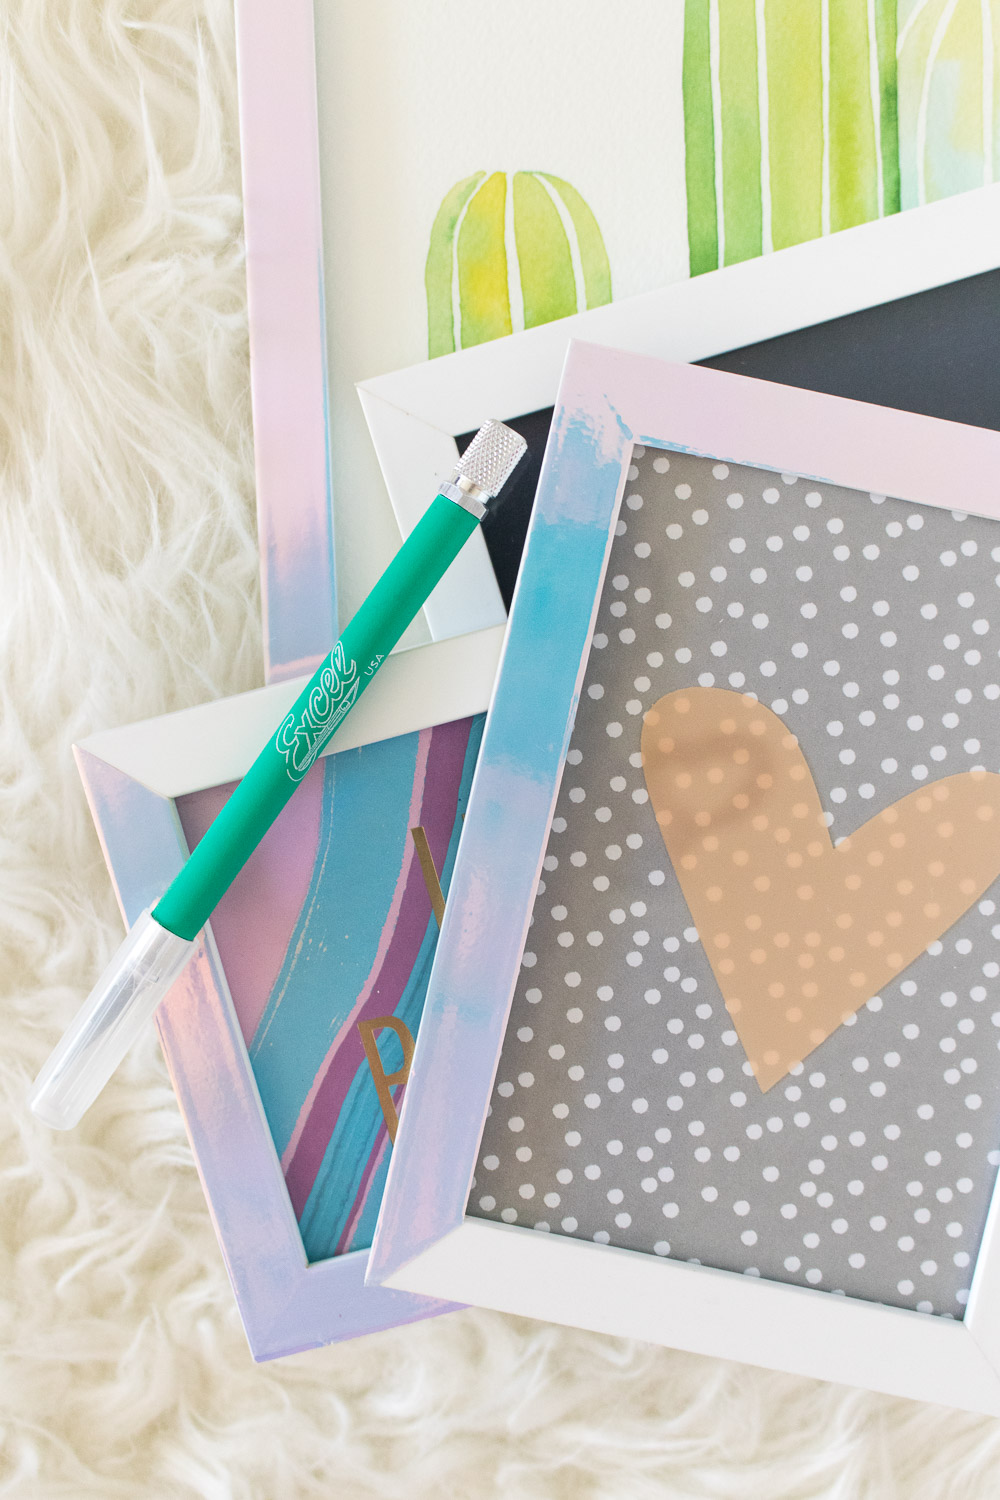
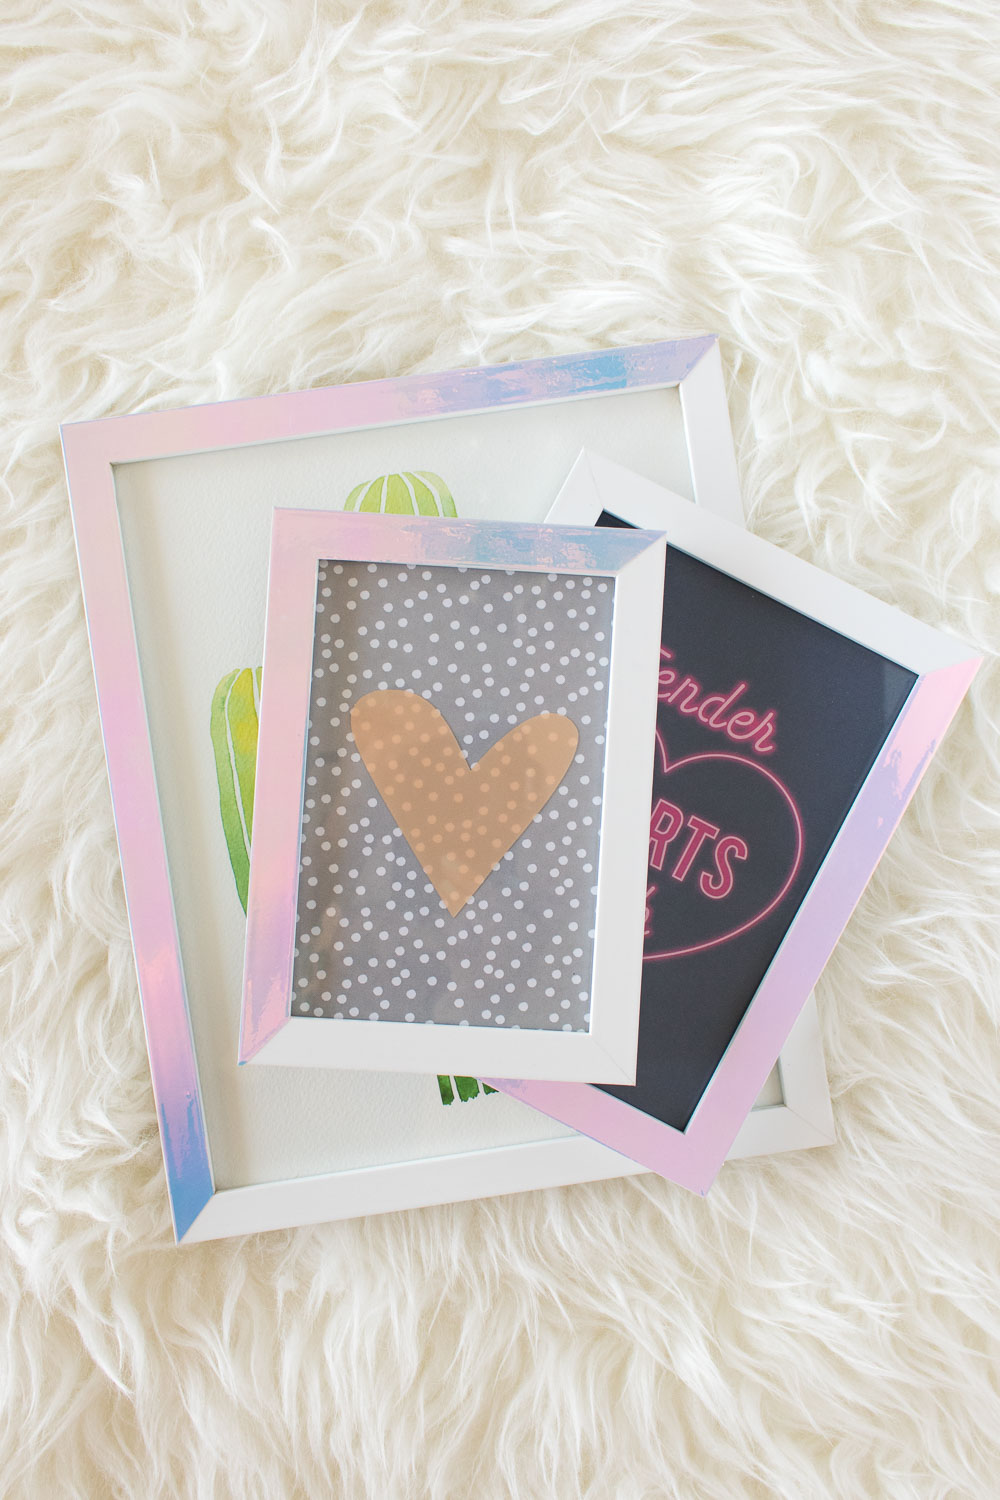 Now you can replace the glass, fill in a photo and replace the backing so you can display your new holographic frames in your home. I have one hanging in our kitchen now, and the others are propped up on shelves. Psst, my favorite tip for cheap wall art is to use cute cards as art! It’s such a money-saver.
Have fun with it, and remember you can use your Excel Blades hobby knife to do this with ANY type of vinyl if you want to switch it up again.
Thank you to Excel Blades for sponsoring this post. All opinions are my own. Thanks for supporting the brands that keep Club Crafted sharing!

