The following post is sponsored by Excel Blades
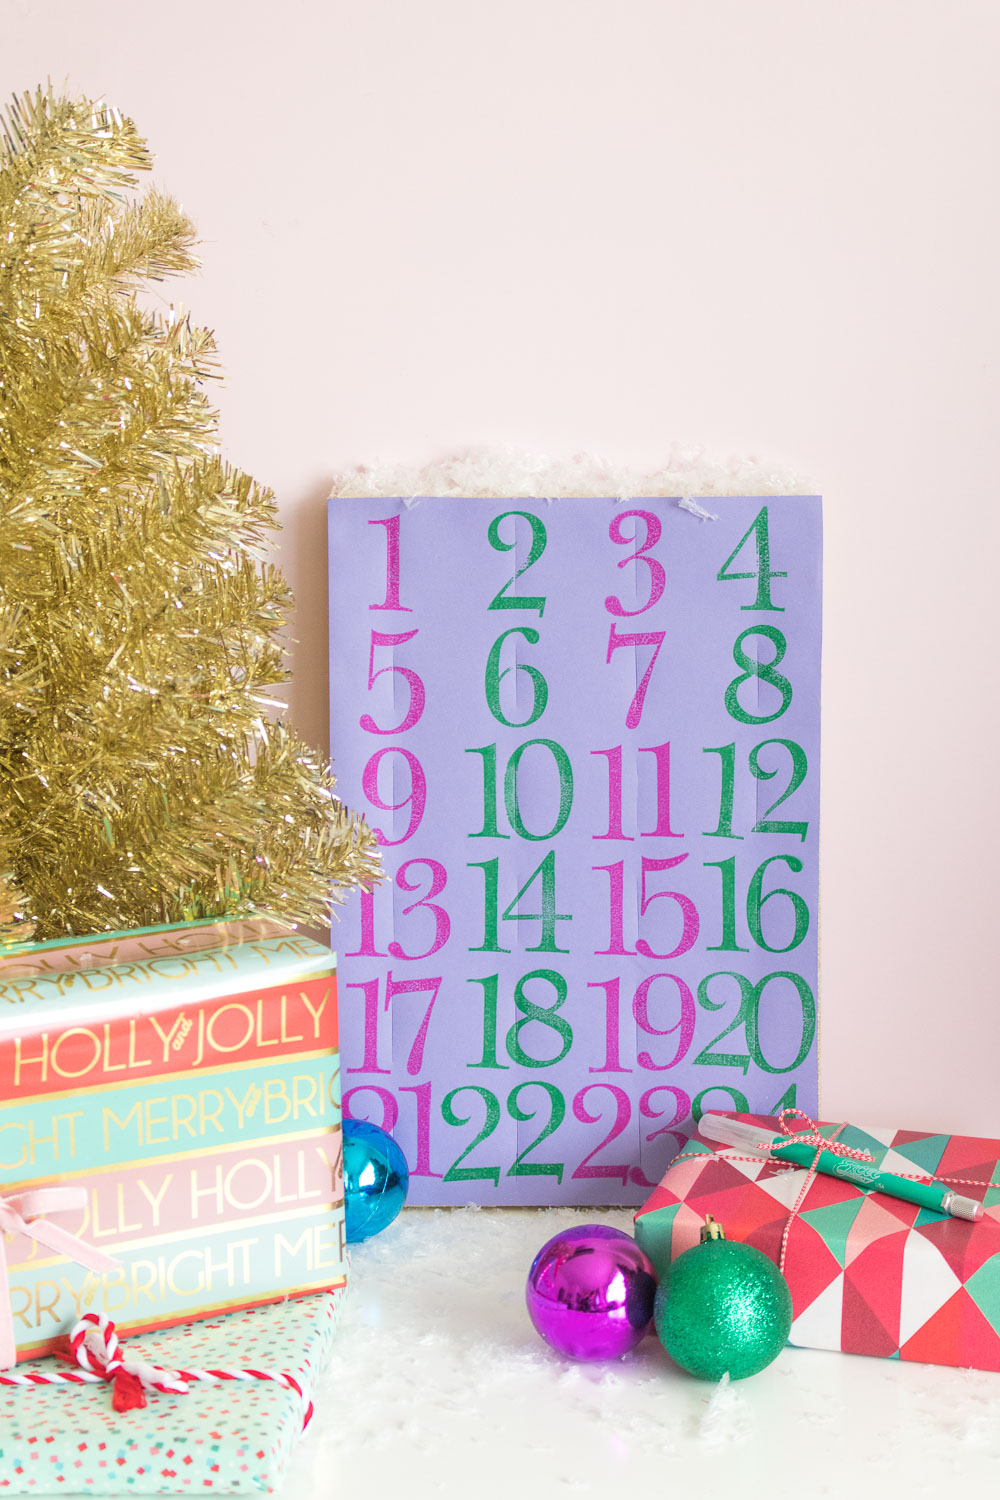
 I remember always having advent calendars at Christmastime growing up, and it’s something I look forward to doing for my kids one day. For now, I guess I’ll have to settle for making them for Andrew and myself, which means…more candy for me! After making a couple advent calendars over the years, I have finally found my favorite way to make one using a jewelry organizer as the perfectly sized base. Using my trusty Excel Blades hobby knife, I made a custom DIY paper advent calendar filled with candy, and you simply tear the paper each day to reveal what’s inside. December, here I come!
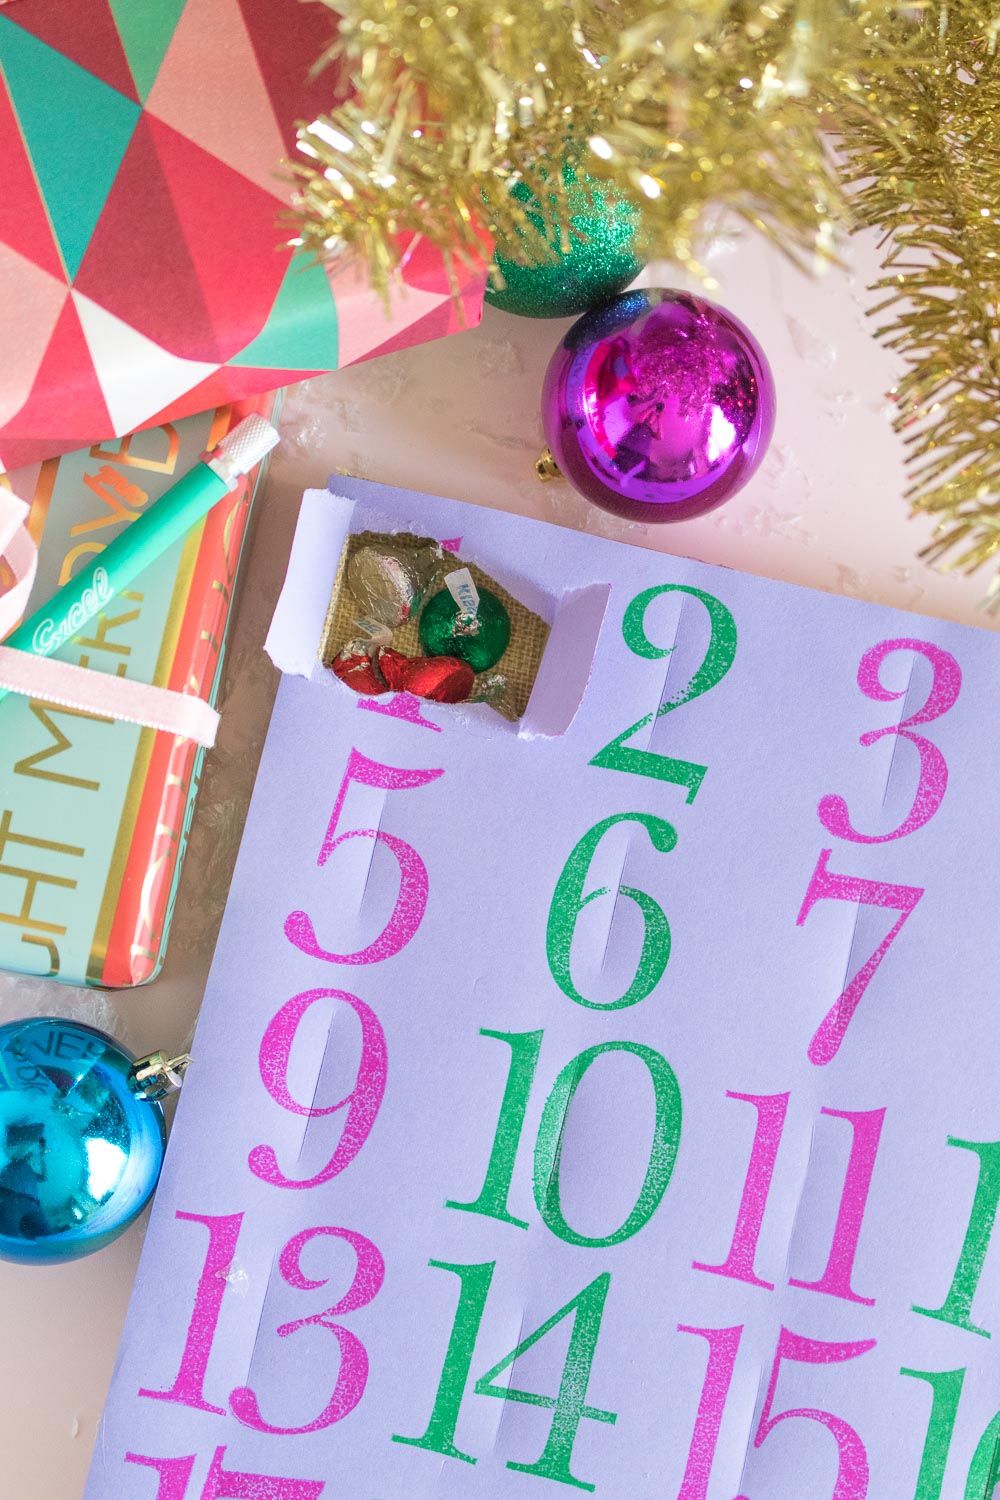
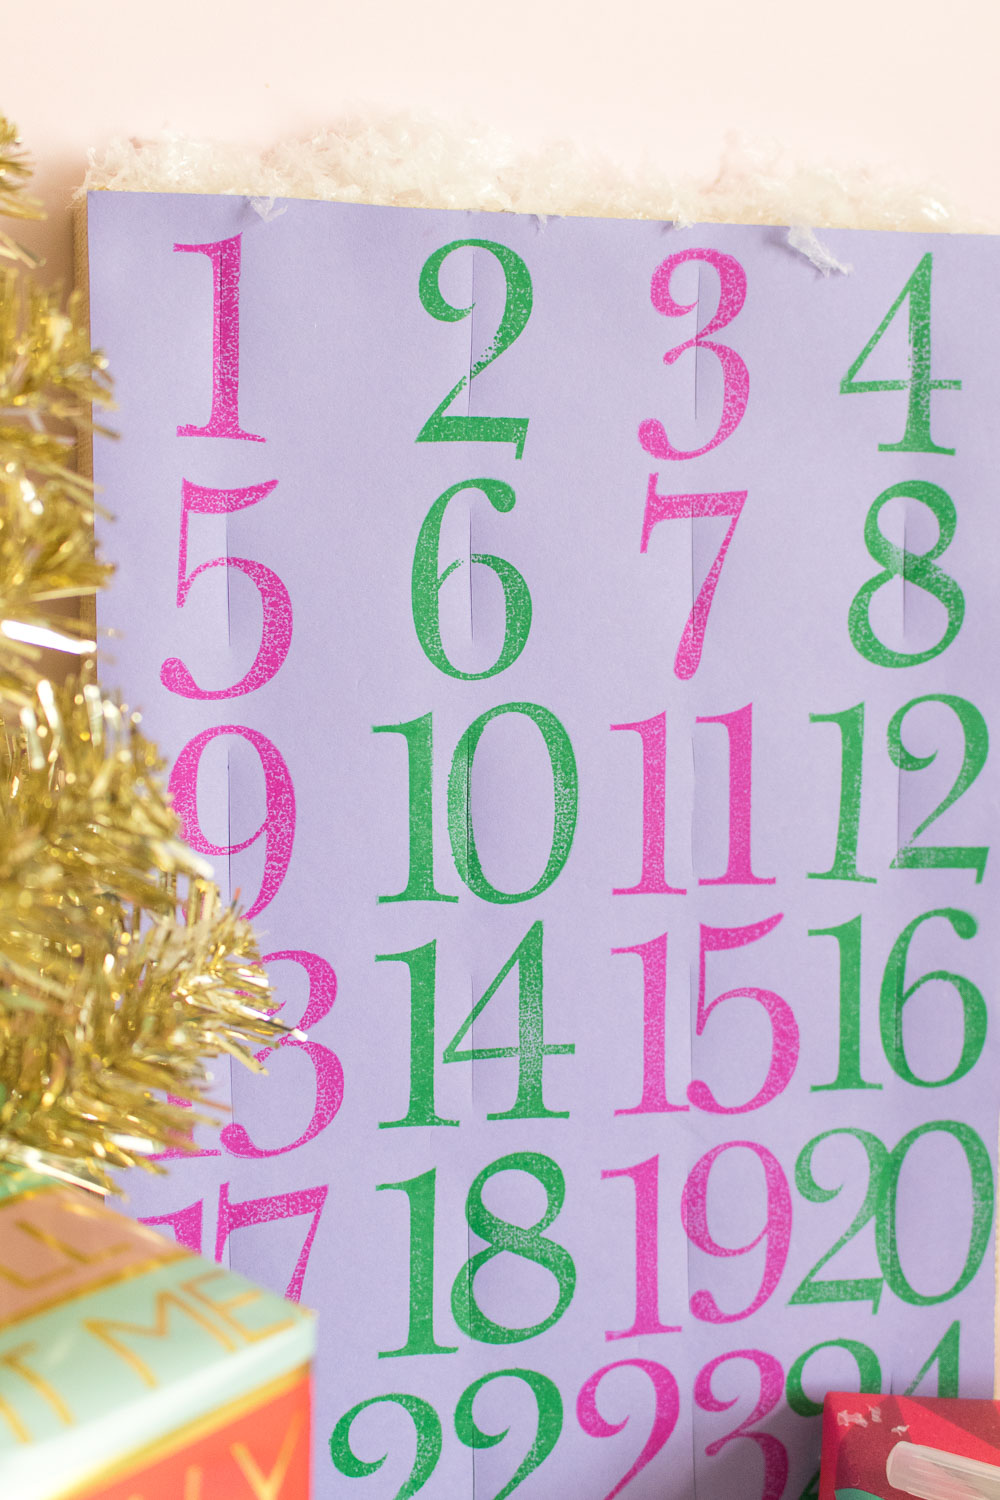
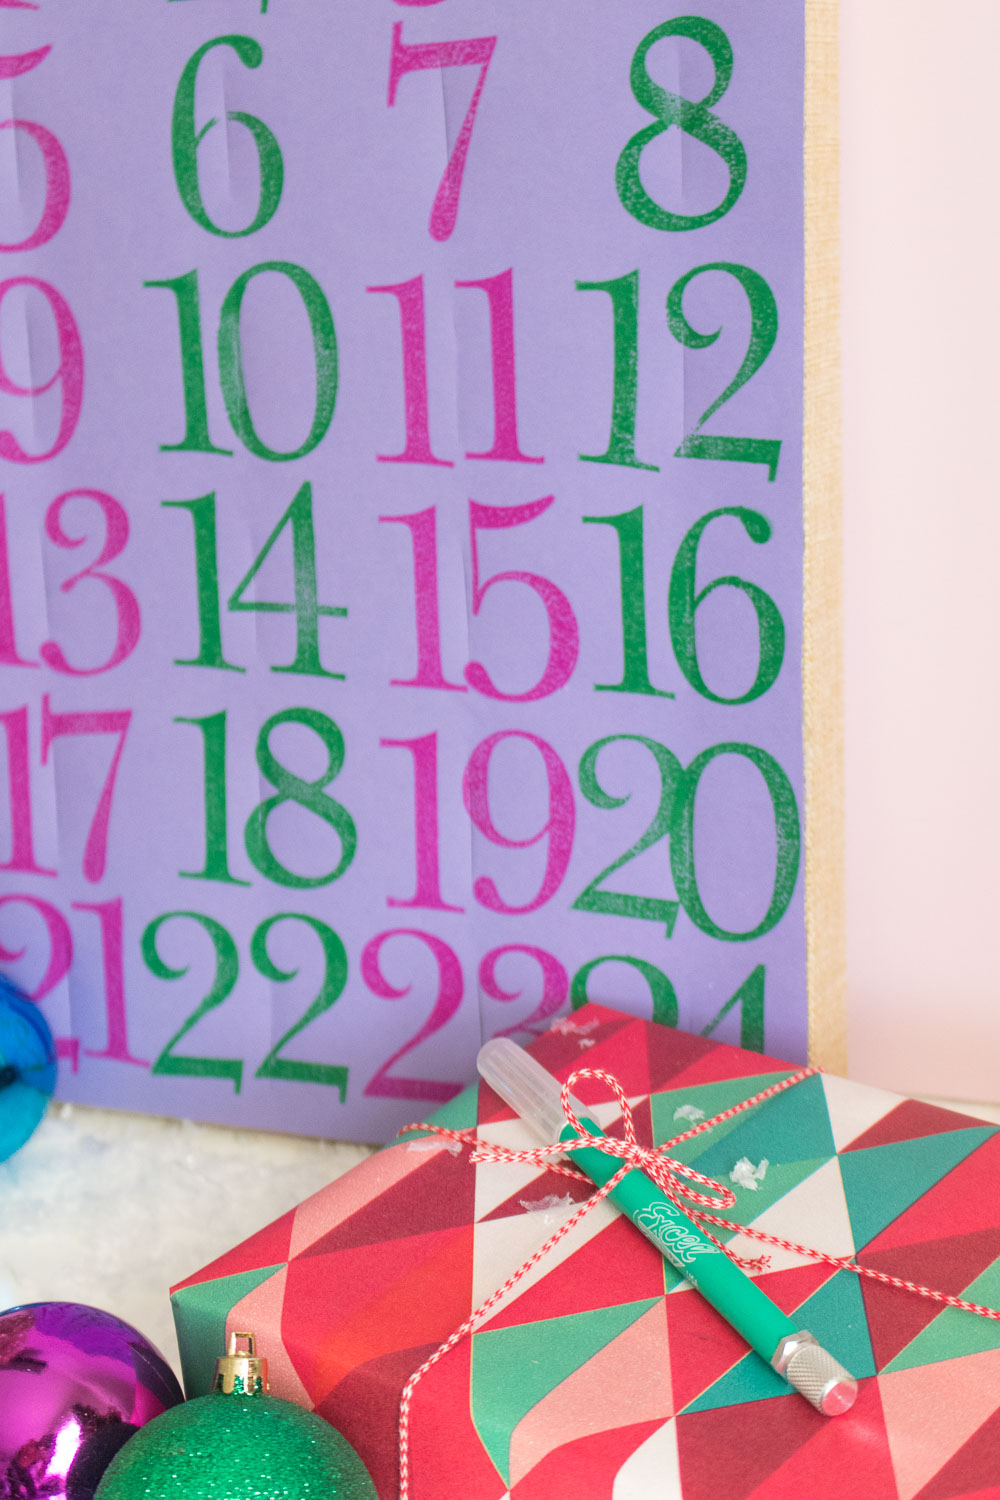 As long as you use a 24-cavity organizer for the 24 days leading up to Christmas, you’re good to go with this DIY. The hardest part of this project is measuring and cutting accurately, but with a ruler to guide you and a sharp hobby blade to cut through the paper easily, it shouldn’t be difficult to make. I made the numbers with large stamps and alternating pink and green ink – after all, traditional red and green is a little too traditional for my taste.
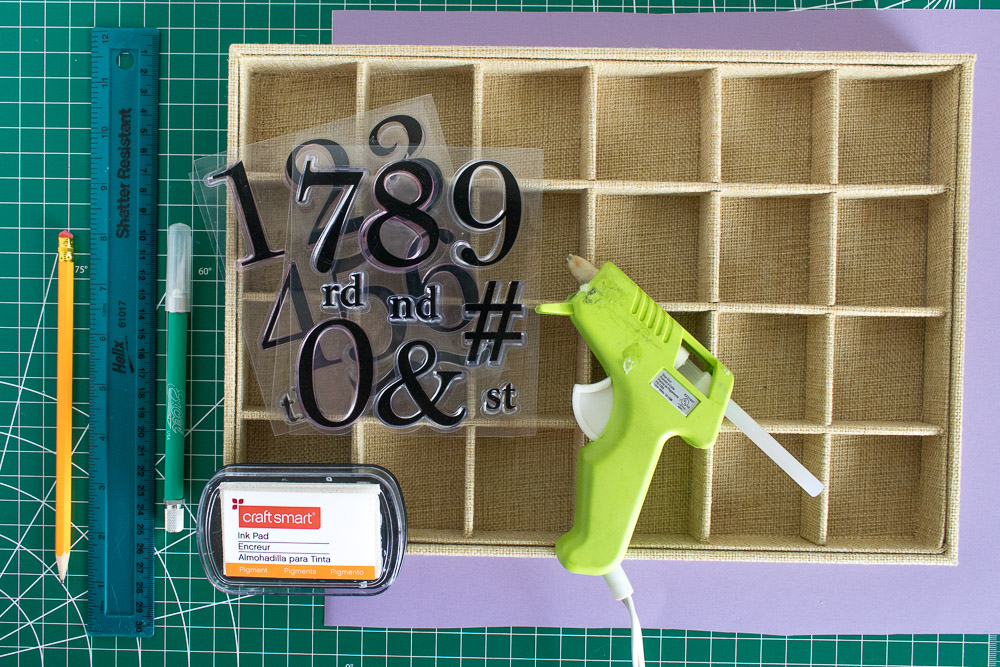
Supplies:
- 24-cavity jewelry container
- Poster board or cardstock paper
- Excel Blade hobby knife
- Excel Blades cutting mat
- Stamps/paint
- Glue gun
- Ruler
- Pencil
Note, I did end up choosing to use colored ink instead of white because it stood out better.
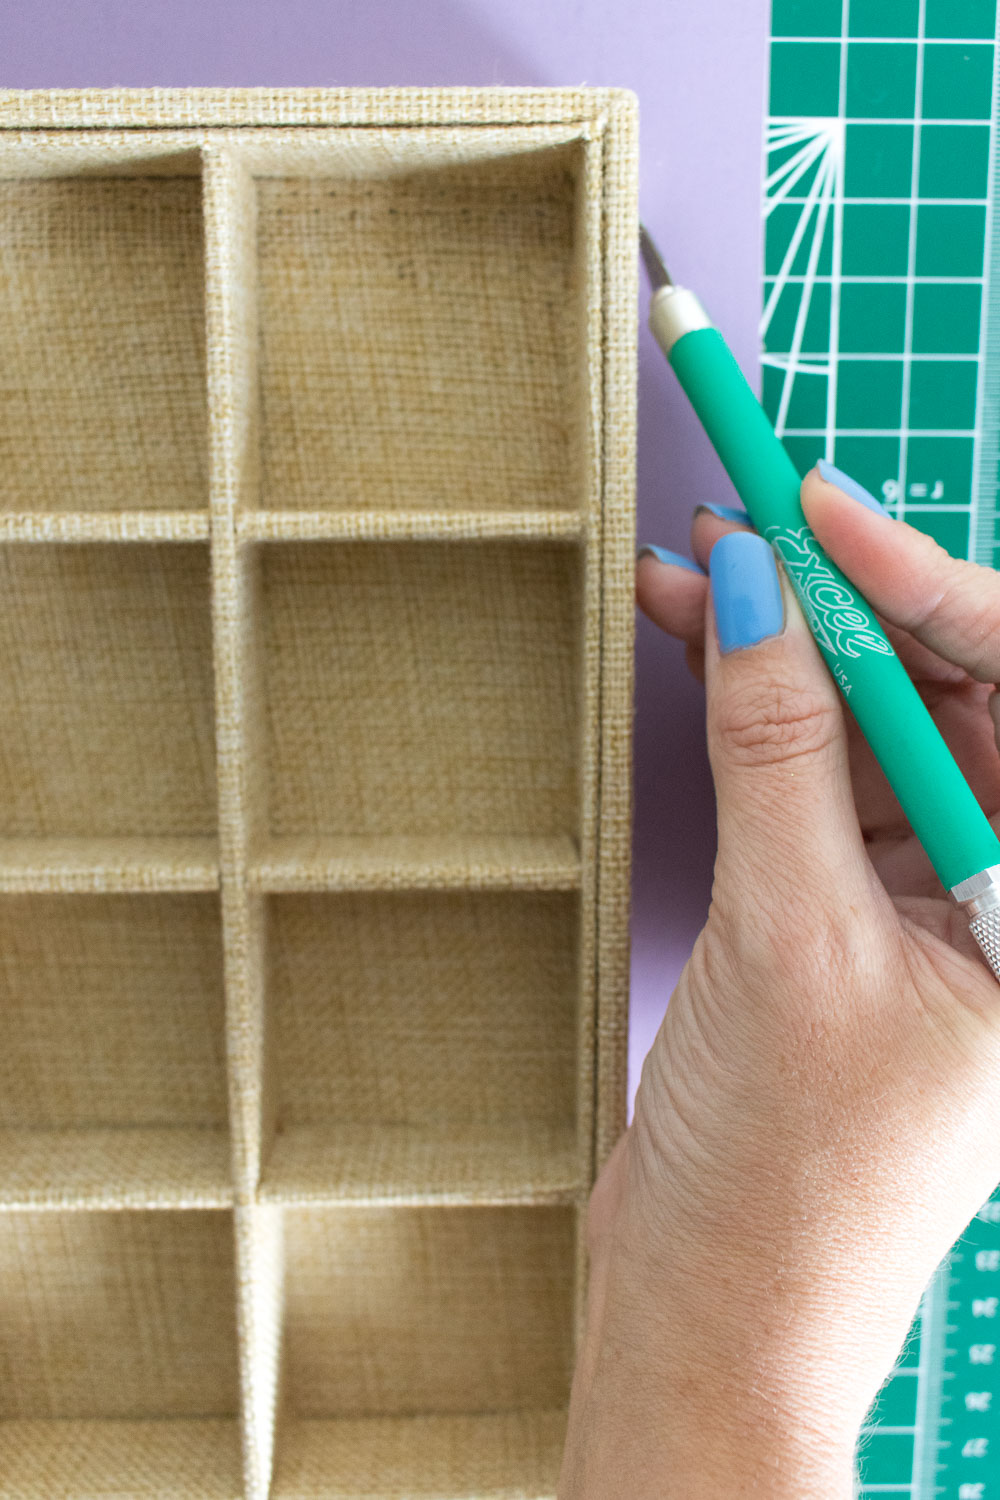 Step 1: Place the jewelry organizer on top of the poster paper and cut around the edge of the paper so that the it is equal in size to the organizer.
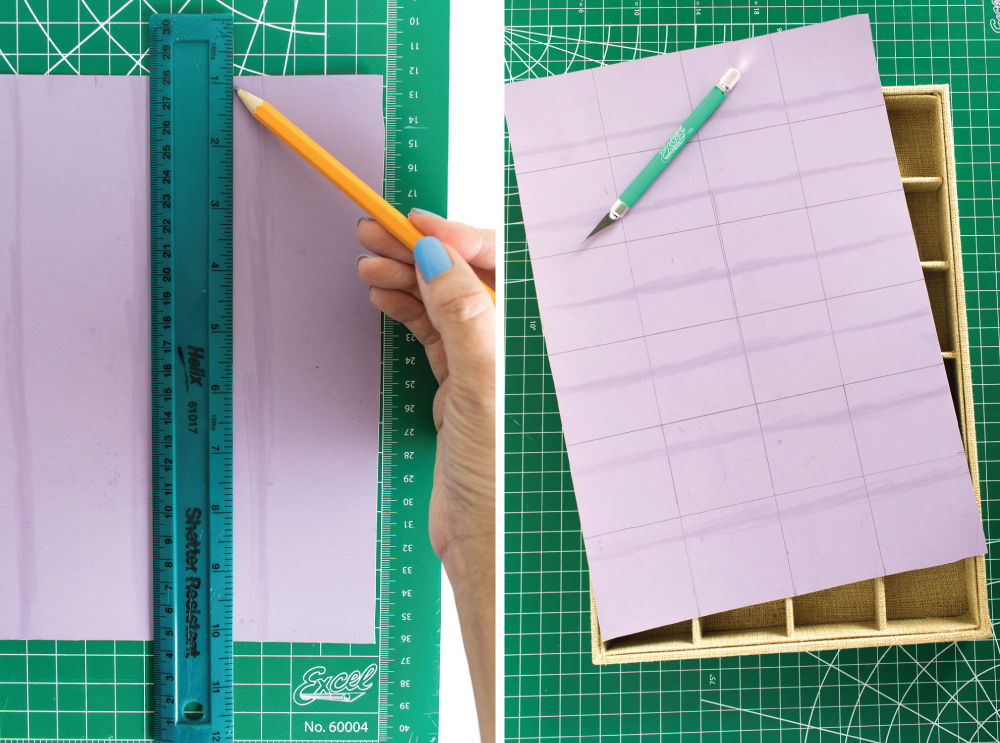 Step 2: With the ruler and pencil, measure and outline 24 equal-sized cavities on the backside of the poster so that the lines correspond with the cavities of the jewelry organizer.
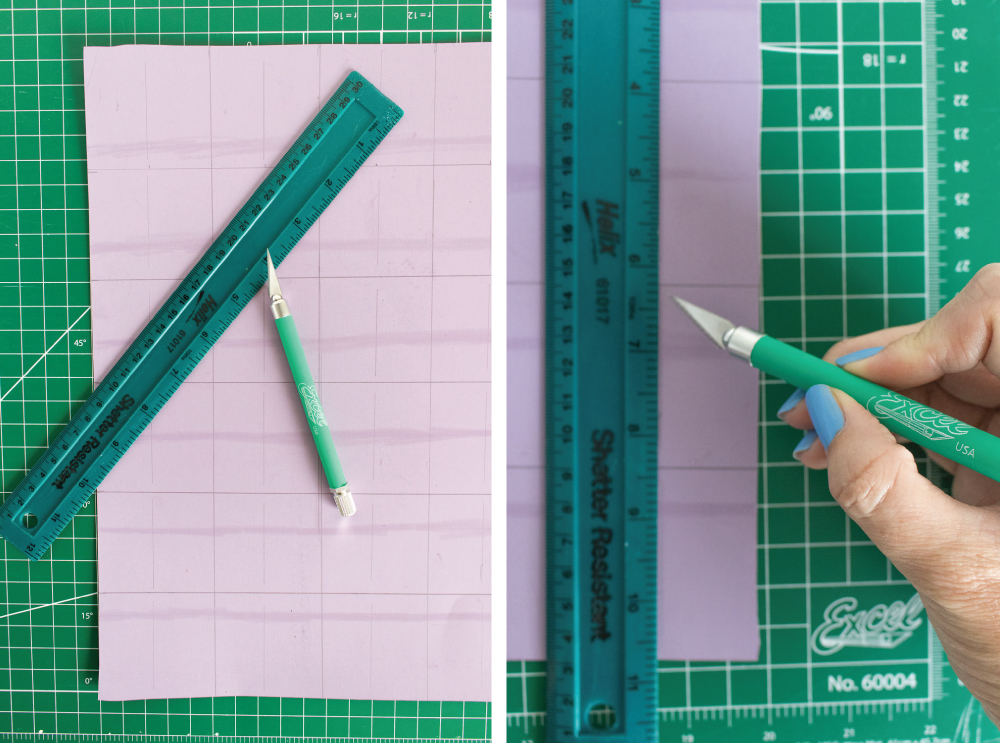 Step 3: With the hobby knife, cut a line down the middle of each box, leaving about 1/2 an inch between vertical lines. Each cut line will be the door to a cavity.
Step 4: Turn over the paper. Stamp/paint numbers 1-24 over each cut to mark where each cavity is.
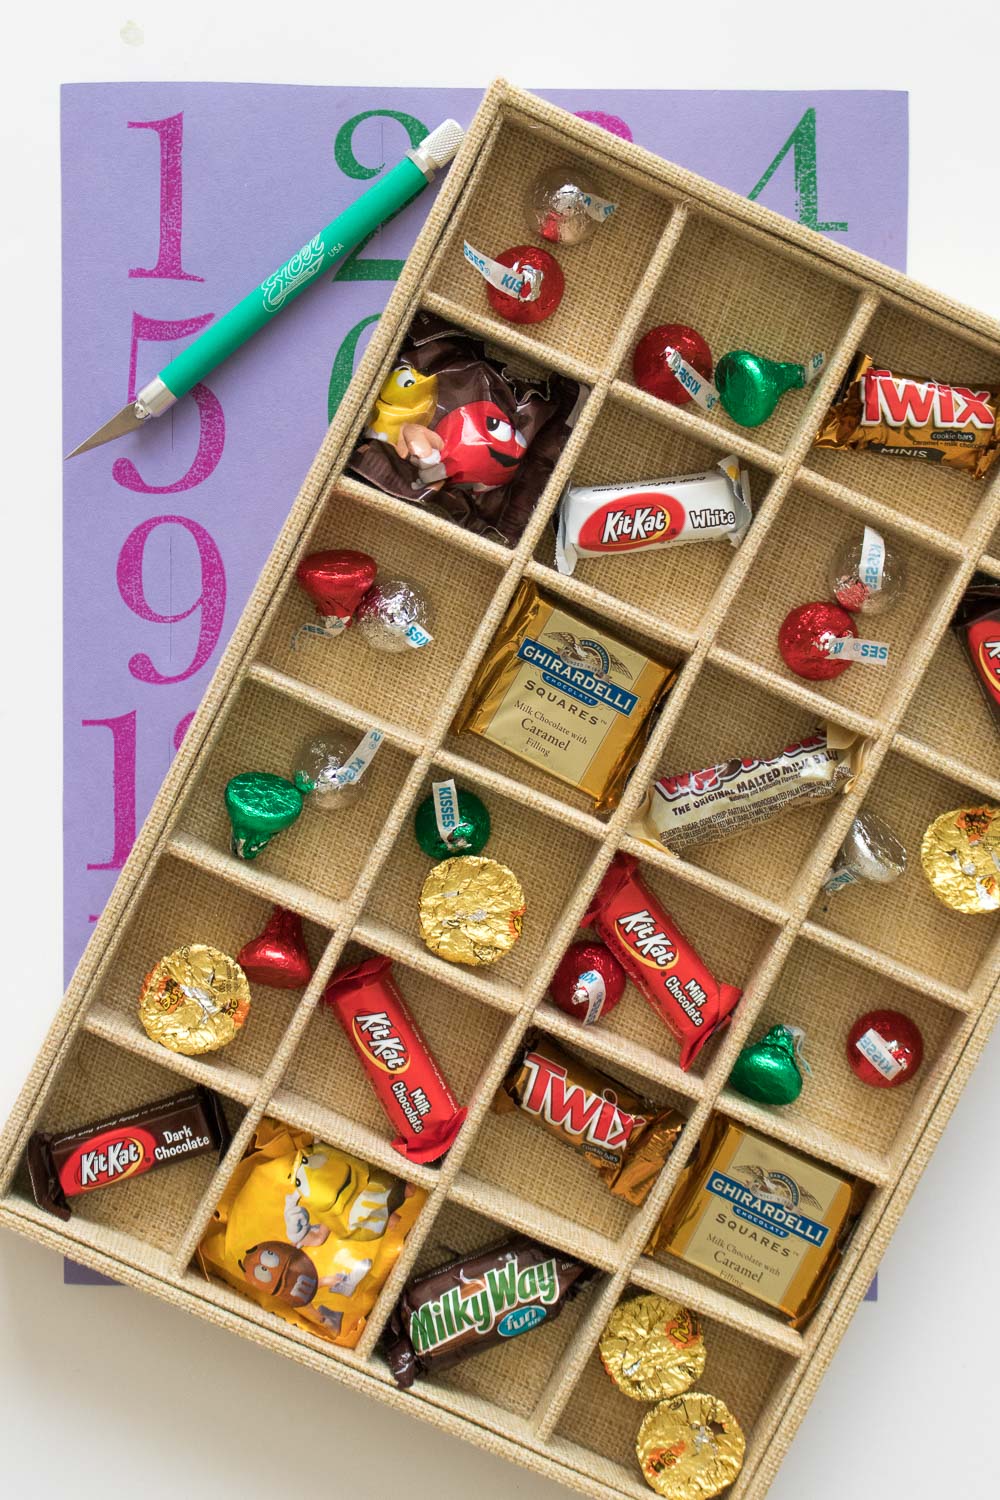 Step 5: Fill each cavity of the jewelry organizer with a piece of candy or even a small gift.
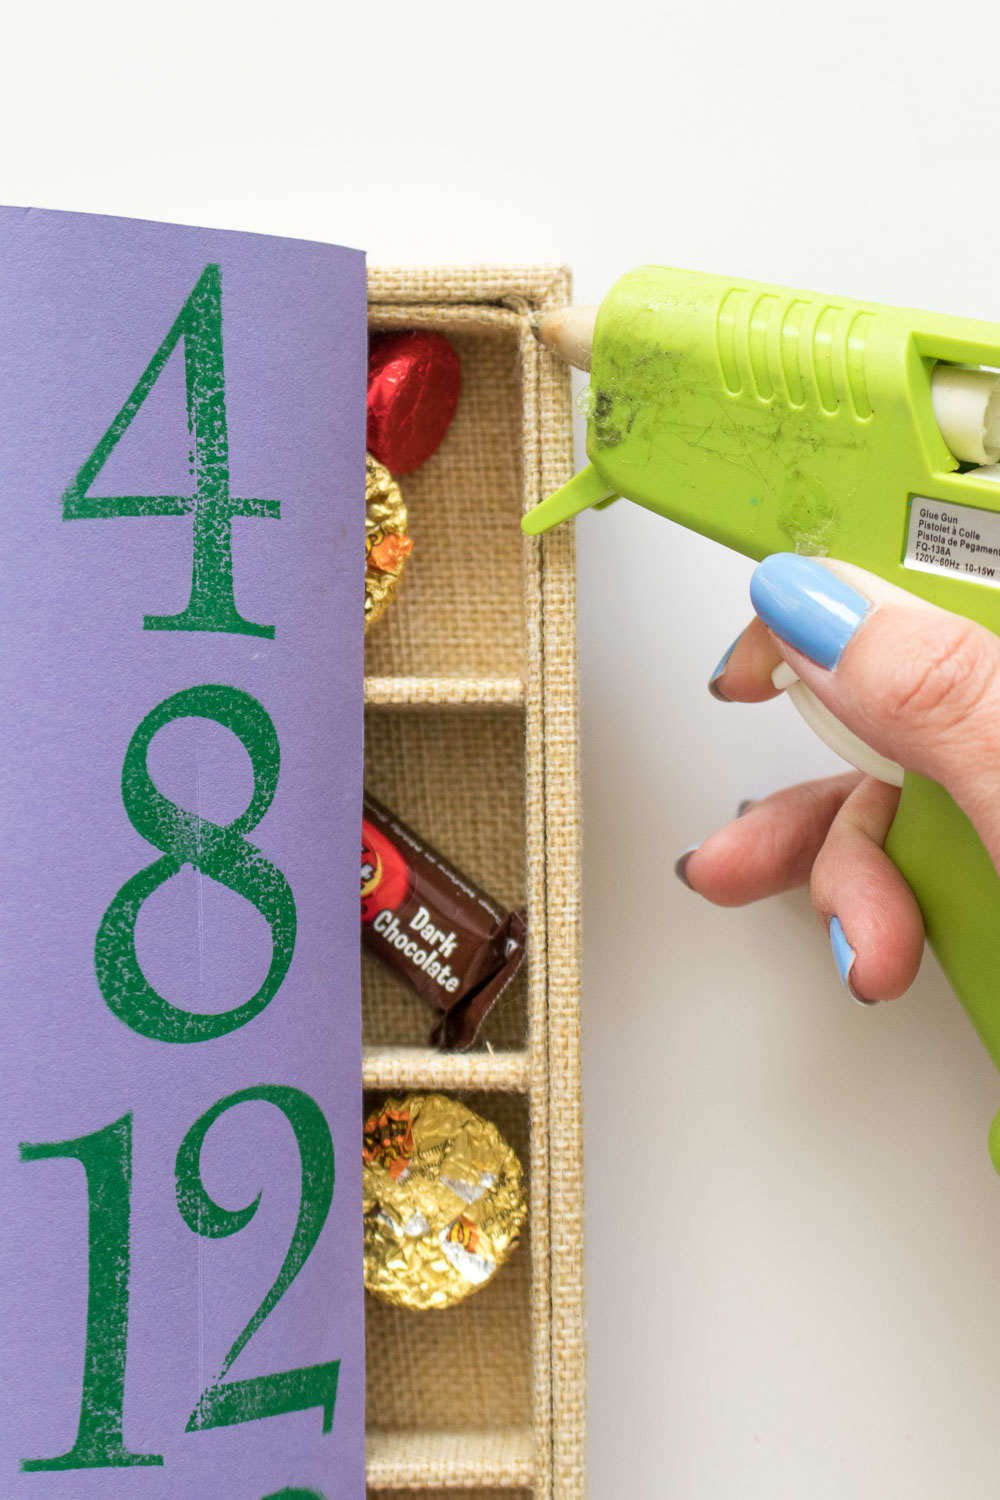 Step 6: Apply glue around the top edges and sections of the organizer and stick the paper face-up on top. Let dry and add additional embellishments if desired.
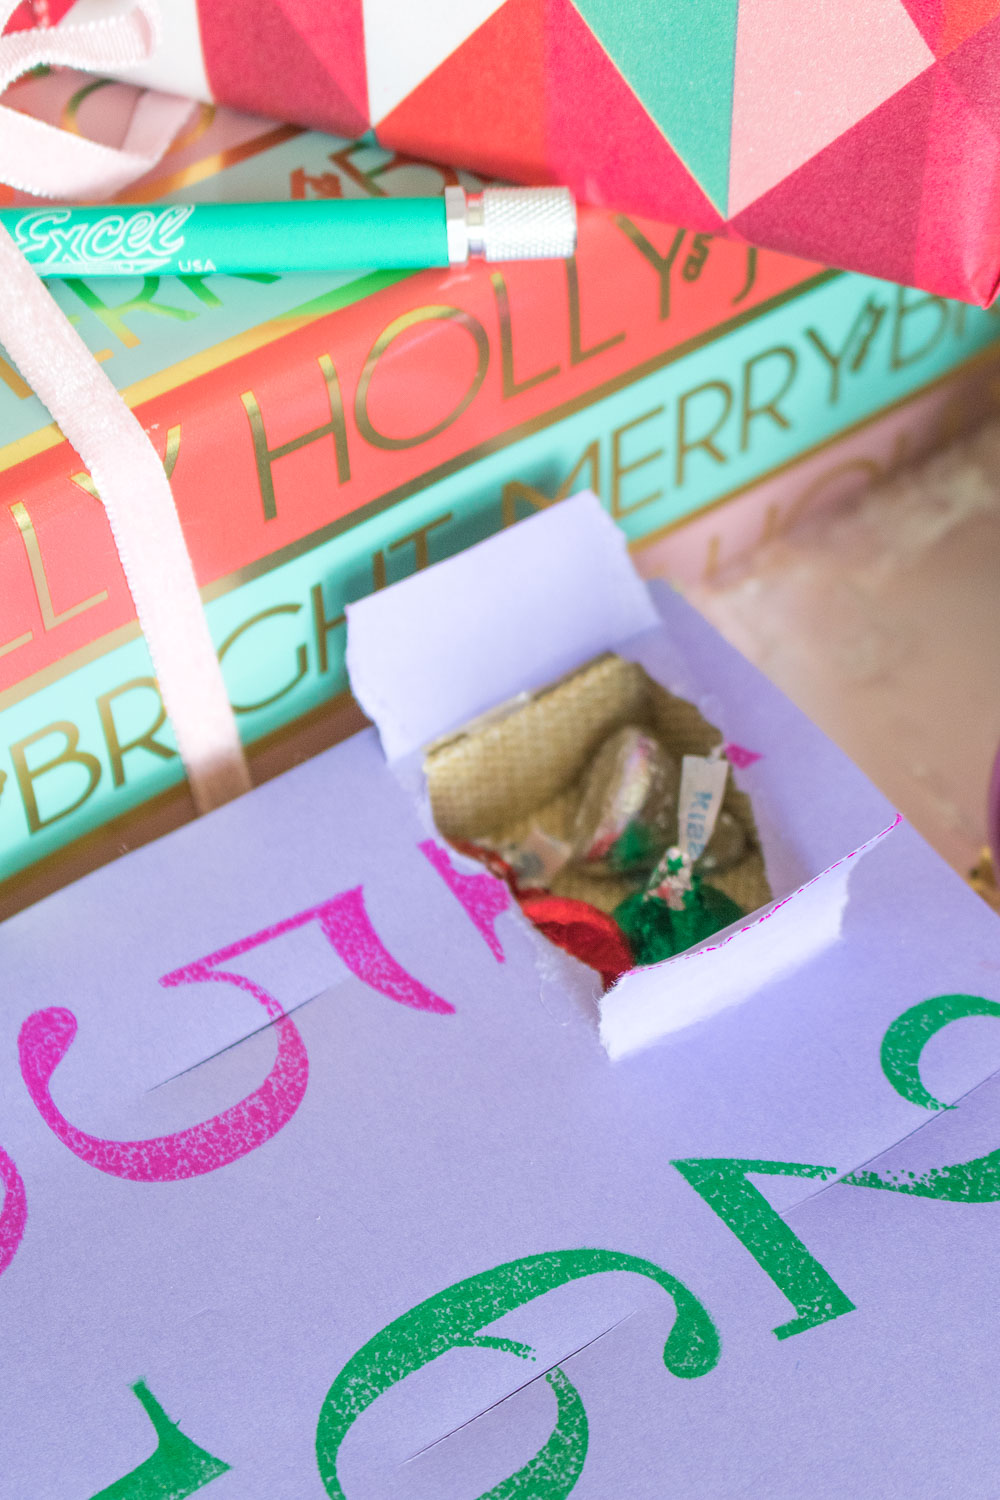
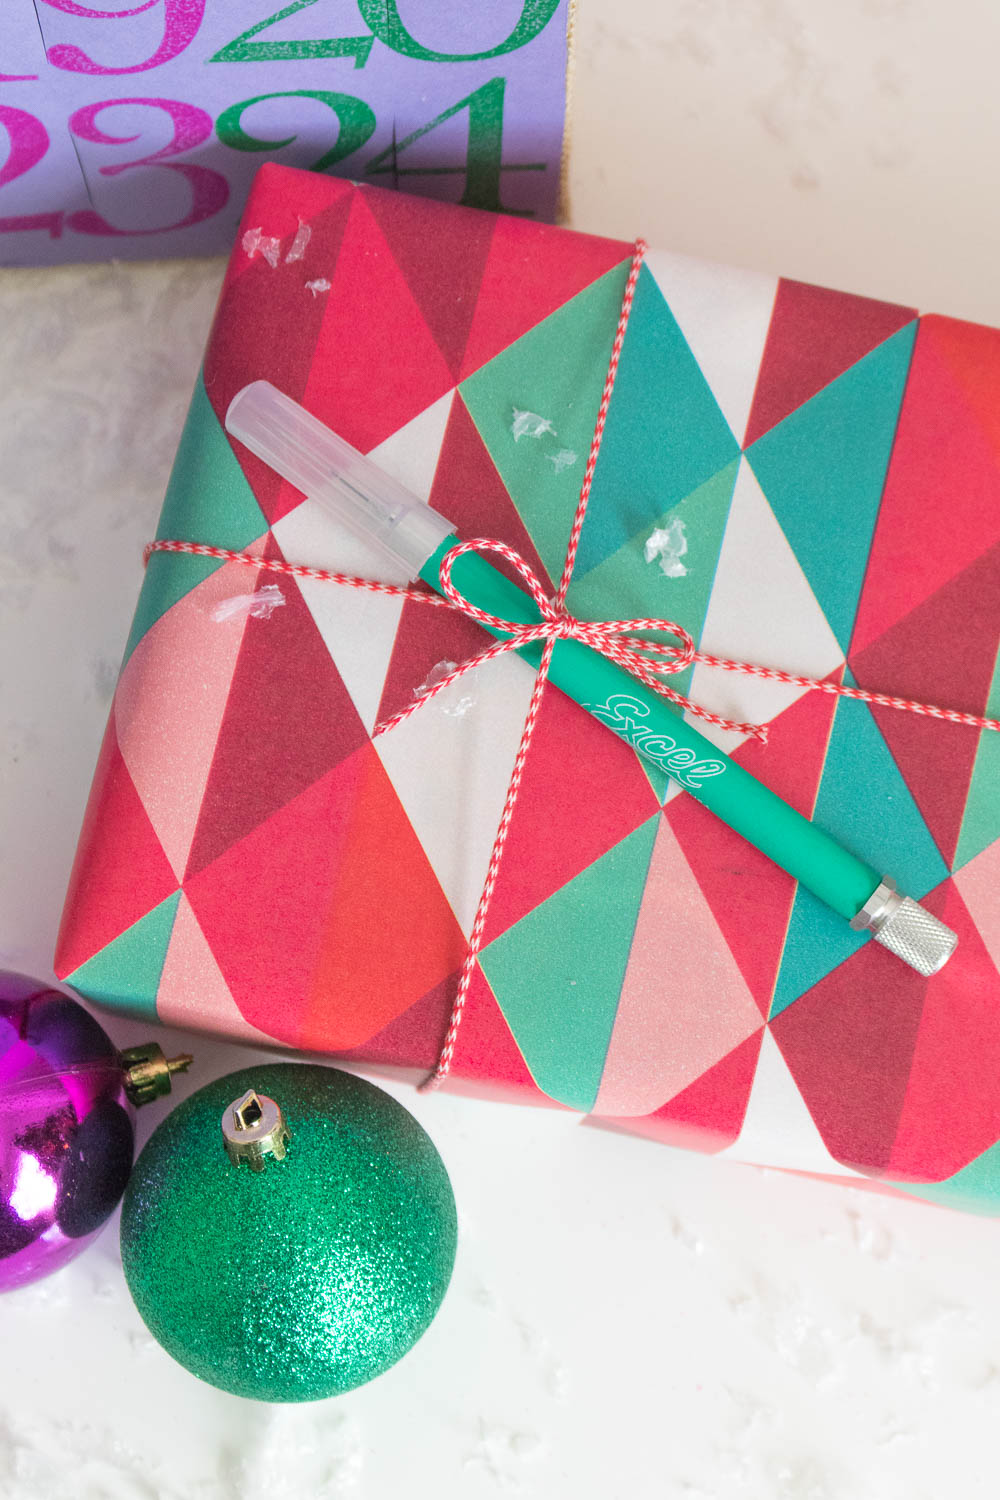 To Use: Press through the cavity of the day of December to reveal the gift inside!
The glue keeps everything held together so that you only pull apart one day at a time and it won’t make a huge mess. I’m looking forward to continuing to break into it throughout the month of December and enjoy all of the candy hidden inside. This is definitely my favorite time of year!
Thank you to Excel Blades for generously sponsoring this post. All opinion are my own. Please note that this post may contain affiliate links from which I may collect a small profit should you choose to make a purchase. Thanks for supporting the brands that keep Club Crafted making!

Milan
Amazing! I love all your crafts so much, thank you for helping me by creating this page.