The following post is sponsored by JOANN
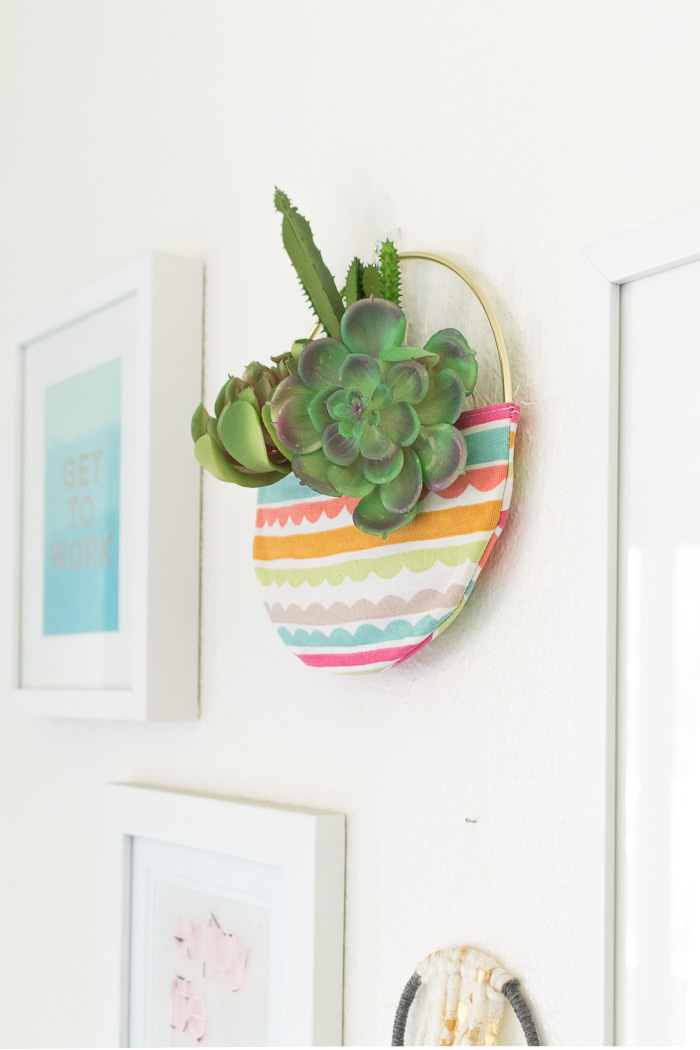
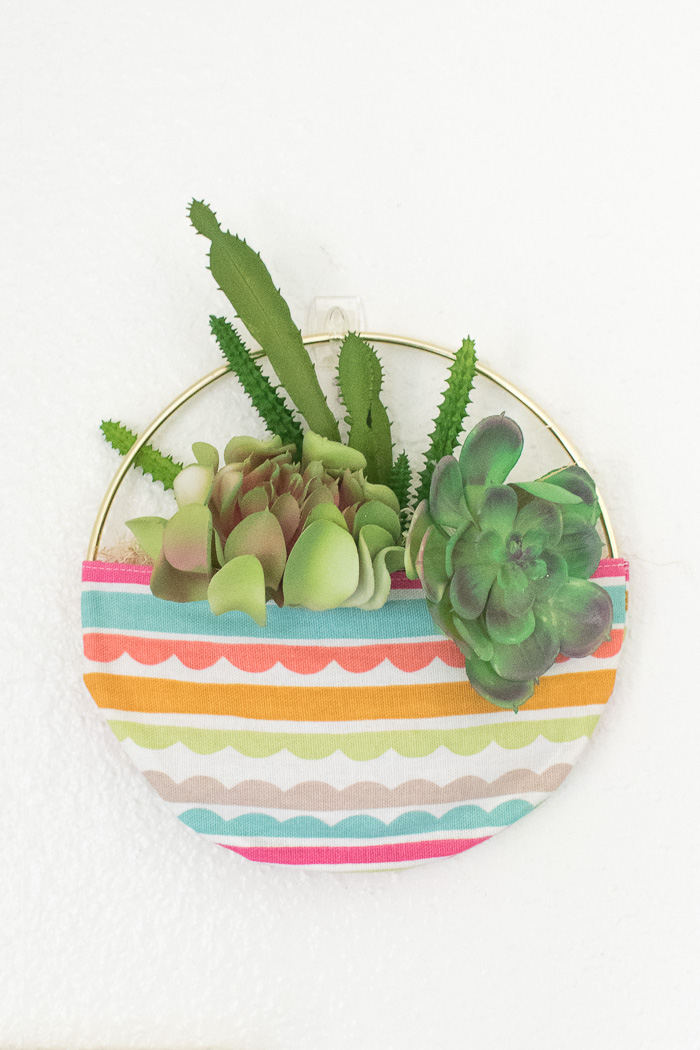
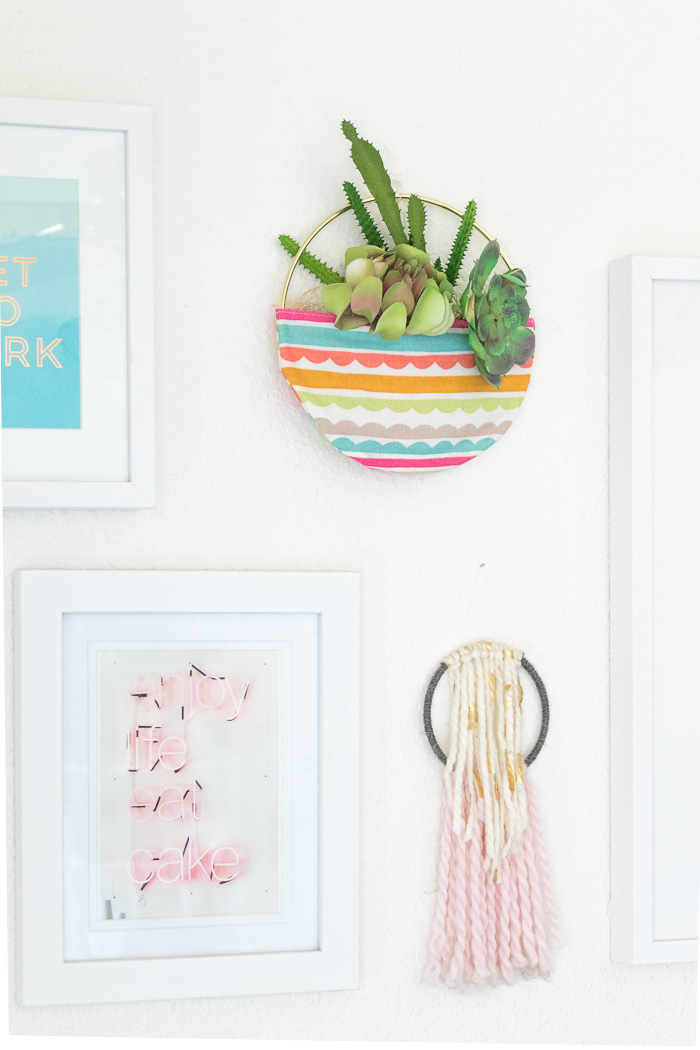
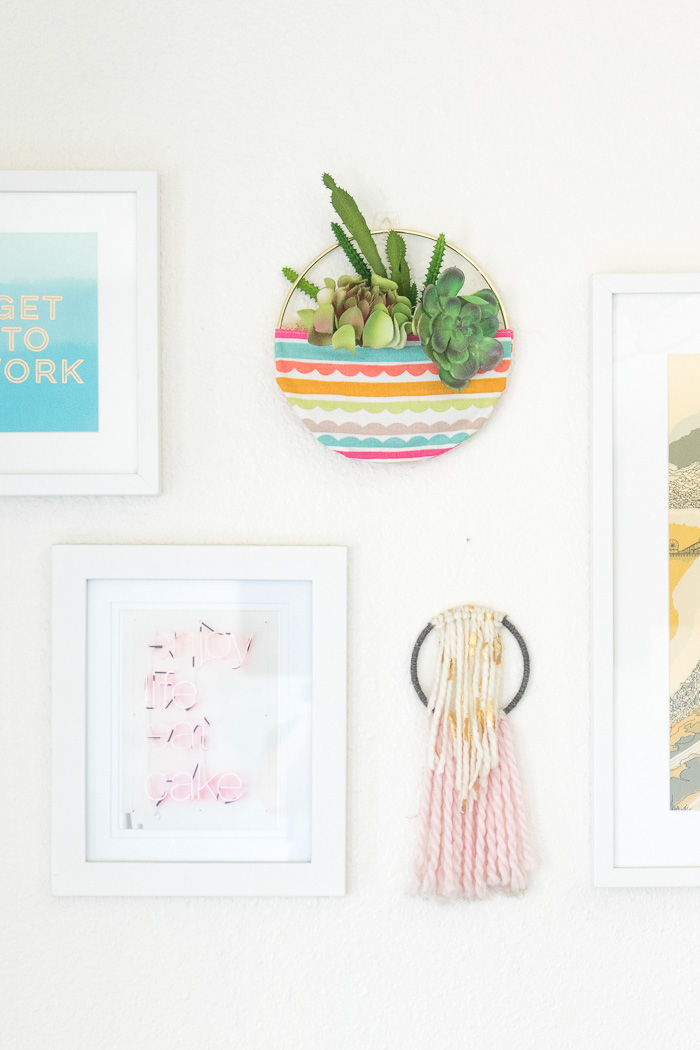
Despite my brown thumb, I LOVE having plants around the house. I swear I try really hard to keep everything alive, but fake plants are more my speed. Since I was getting antsy to make some home decor changes, I started by swapping out one of my photo frames for this simple DIY fabric pocket planter made with fabric and a macrame hoop! Filled with a few faux succulents, it adds some greenery to the wall in my dining room along with a pop of color from the fabric. Even though I can’t make any big changes around the house right now, it’s nice to switch up the decor on my walls once in a while, and this simple planter DIY was the perfect place to start.
I came across this colorful striped and scalloped printed fabric at JOANN, and I just couldn’t resist buying it for a project! As far as sewing projects go, I’d say this is a beginner sewing project. There’s little sewing involved, and the only part I’d find difficult for a beginner is sewing the curve of the bottom of the pocket, but it just takes a bit of patience. All in all, you can make this simple fabric pocket planter for your wall in less than 15 minutes.
As you’ll see, the only thing holding the fabric pocket in place is glue, so you can’t use any heavy materials inside of the planter. That’s why I used a lightweight straw-like filler and fake plants, creating a pretty look without the weight of soil (which I wouldn’t want with fabric anyway) or the weight of rocks, which are more common in planters.
Time: 15 minutes
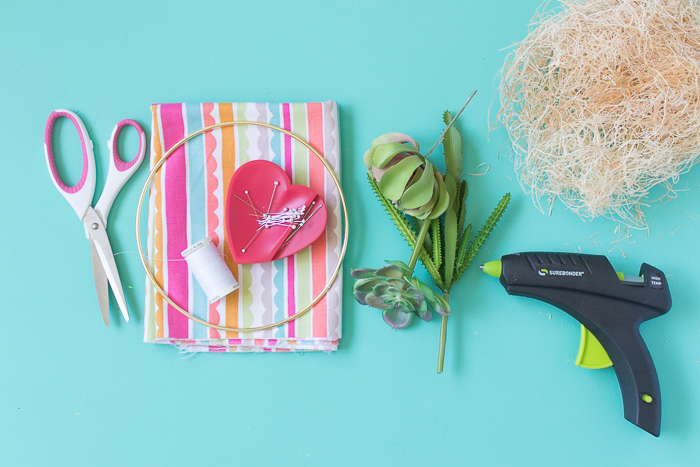
Supplies:
- 1/4 yard patterned heavy fabric (such as home decor fabric)
- 8 or 10-inch metal macrame hoop
- Lightweight floral filler
- Fake succulents or flowers (similar)
- Scissors
- Thread
- Pins
- Glue gun
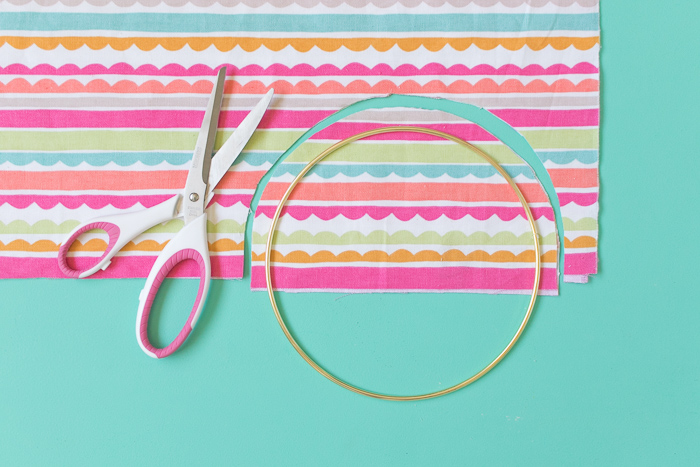
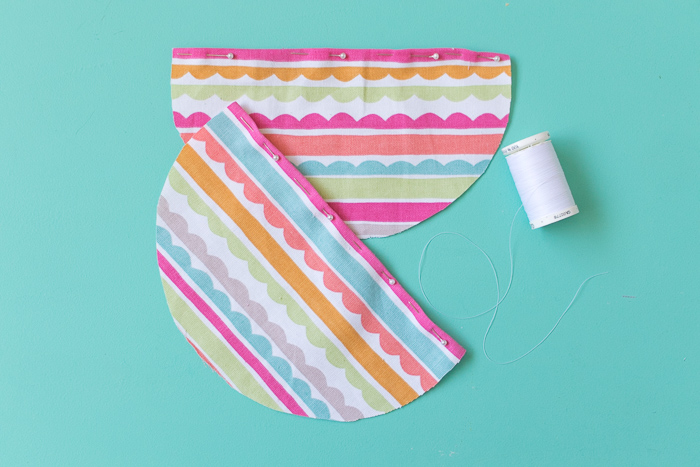
Step 1: Fold the fabric in half. Lay the macrame hoop on top, with about half of the hoop hanging off. Cut a half circle at least 1 inch wider than the hoop. These will make either side of the pocket.
Step 2: Fold the flat side of the pockets over about 1/2 inch and pin. Sew across for a clean look and trim excess strings.
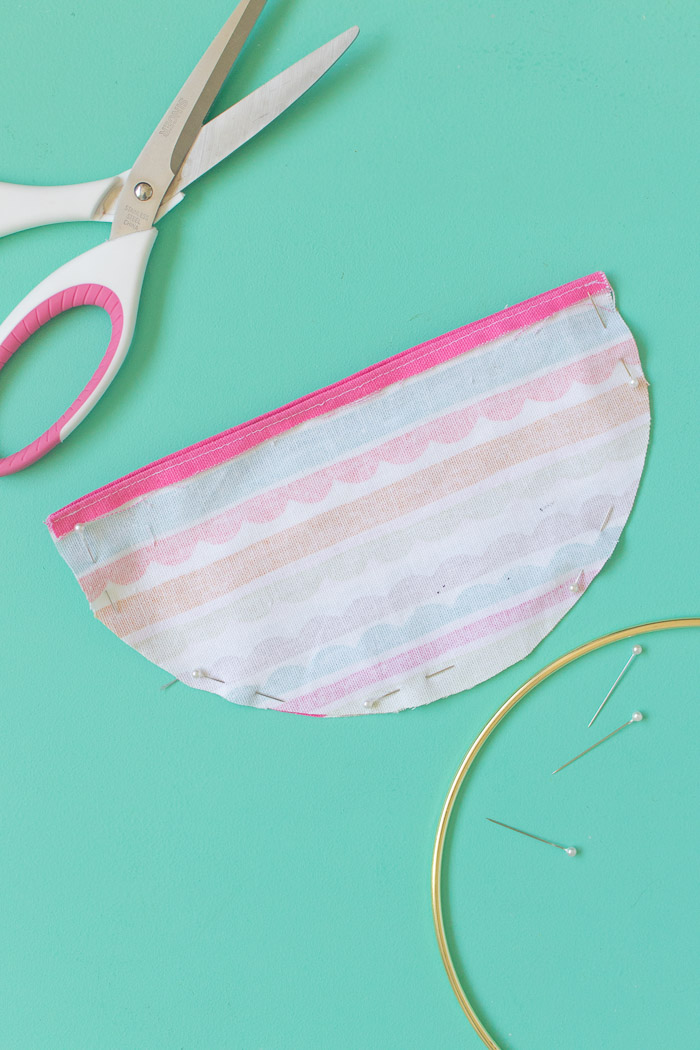
Step 3: Pin the right sides of the fabric together. Sew only along the curved edge with a 1/2 inch seam allowance. Back stitch at both ends. Then turn the pocket right side out.
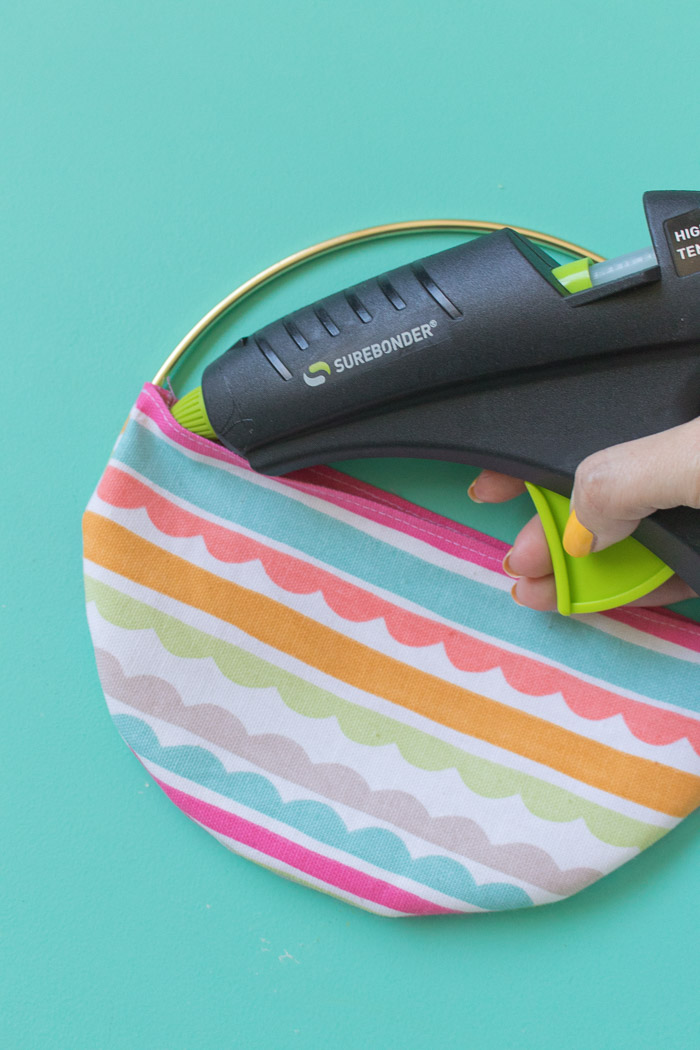
Step 4: Place the hoop inside the pocket so that it is snug and pushed to the bottom. Use the glue gun along the inside of the pocket to glue the hoop to the fabric, leaving the straight top unglued. This secures the pocket in place, so don’t be shy with the glue!
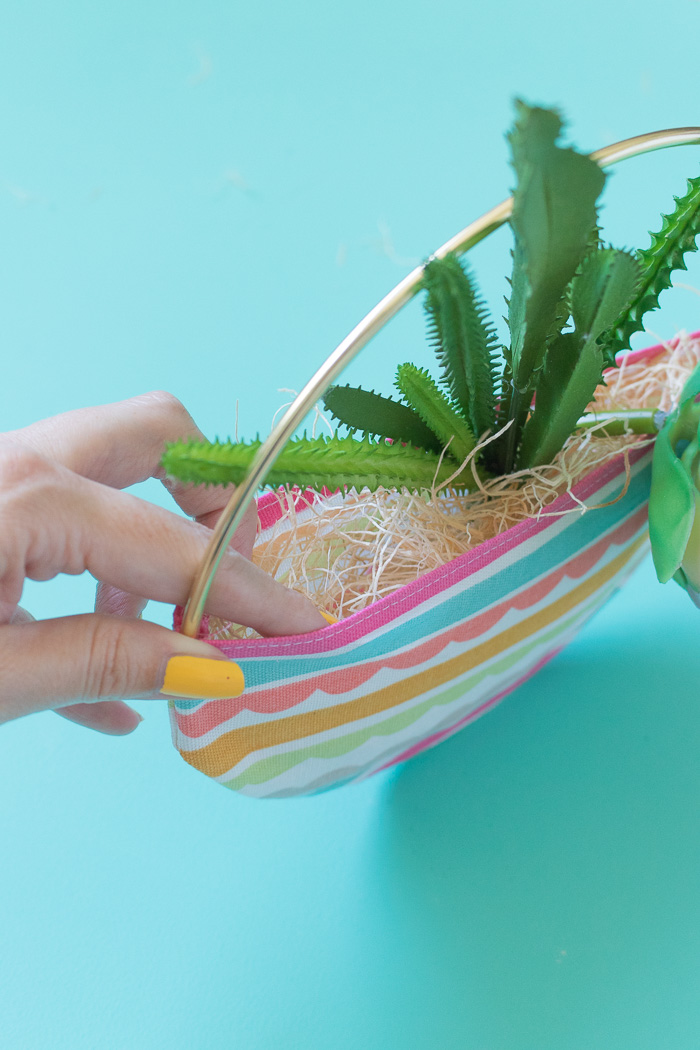
Step 5: Place some lightweight filler into the pocket and then insert succulent stems or flowers until full.
Remember, the glue is holding the pocket on, so you don’t want the pocket planter to become too heavy!
Hang your new fabric pocket planter from the top hoop on your wall using a nail or a command hook (recommended) and enjoy! I love the pop of color this adds to my dining room gallery, and it feels completely unique compared to all of the other planters in my home.
Thank you to JOANN for generously sponsoring this post. All opinions are my own. Thanks for supporting the brands that keep Club Crafted sharing!

