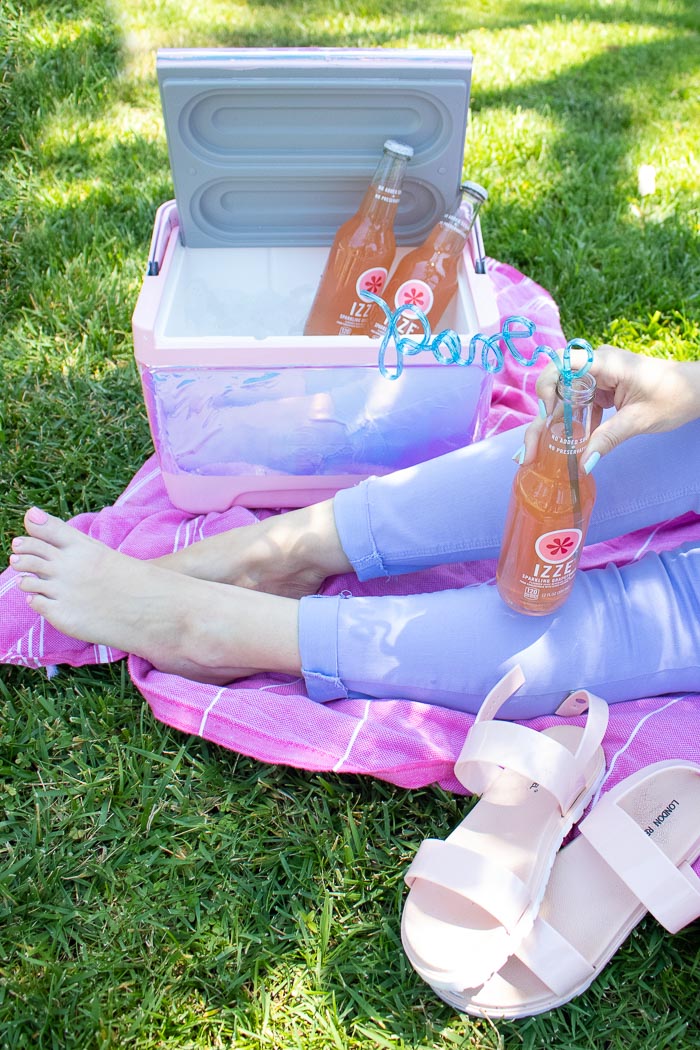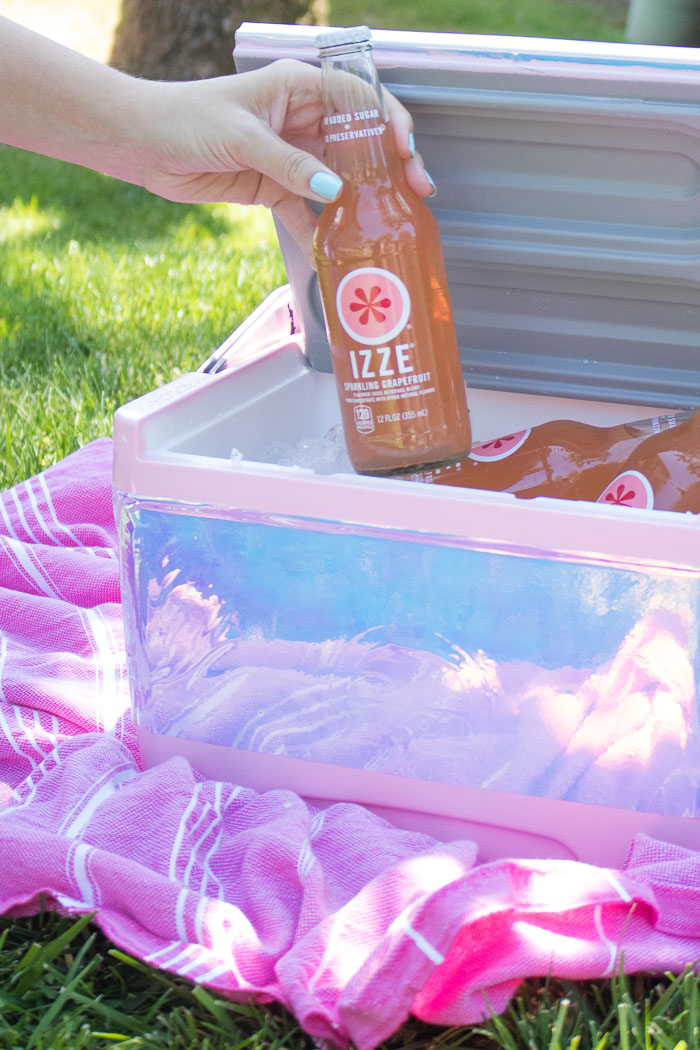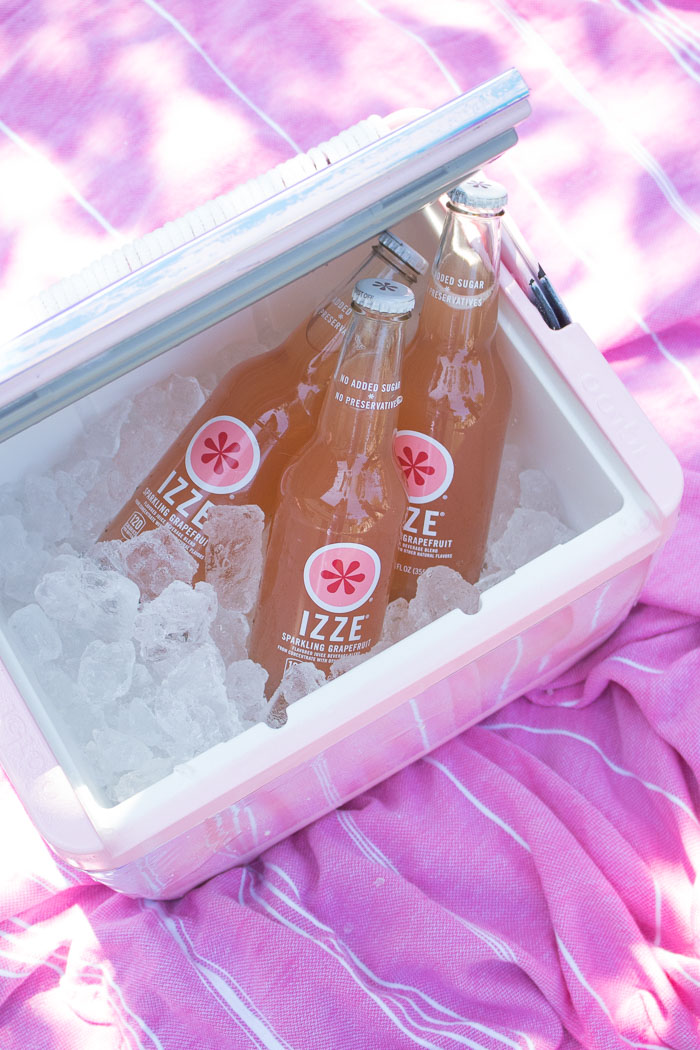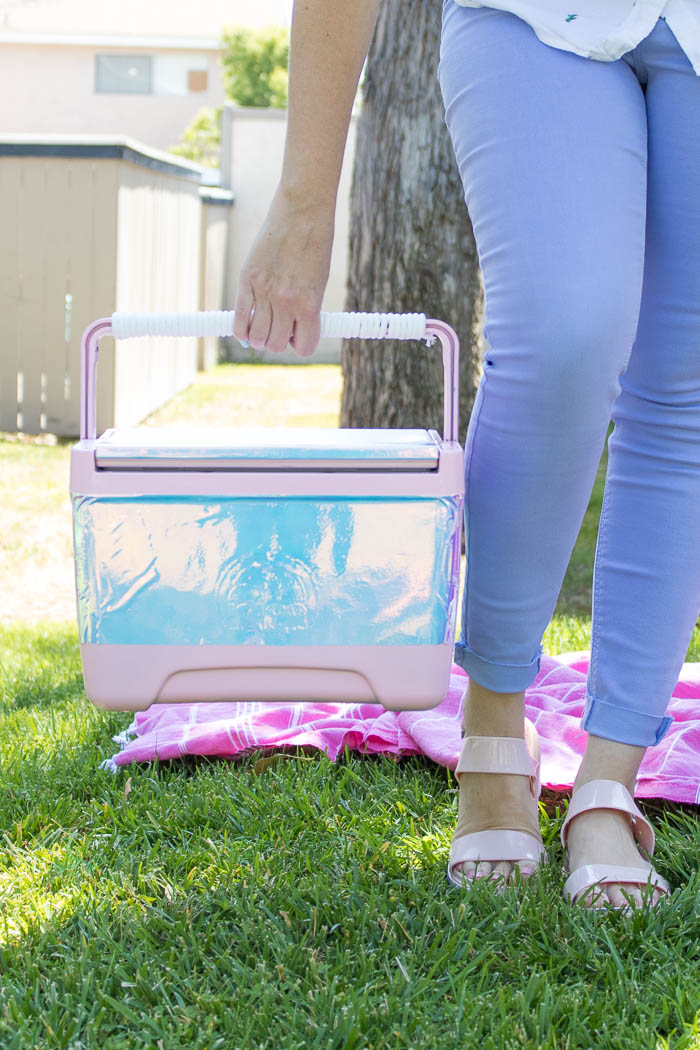
I was really surprised to realize that I didn’t own an ice chest or a cooler. (Honestly, I have no idea what the difference is between an ice chest and a cooler.) Since it seemed like a good product to have, I set out to buy one on Amazon (obvi) but they all seemed too boring for my taste. I knew I wanted something more original, and thankfully that’s what DIY is for! To jazz it up, I made this DIY holographic cooler with paint, rope and my favorite craft supply…vinyl. Now, this plain ol’ cooler looks like it fits in with my 90s dreams, and I’m much happier carrying it around! I’m planning a beach day with some friends soon and I can’t wait to take this holographic cooler along for the ride.
It’s no secret that I love holographic things, which is why holographic vinyl is basically the best thing since sliced bread for me. I’ve found a way to use it for SO many things!
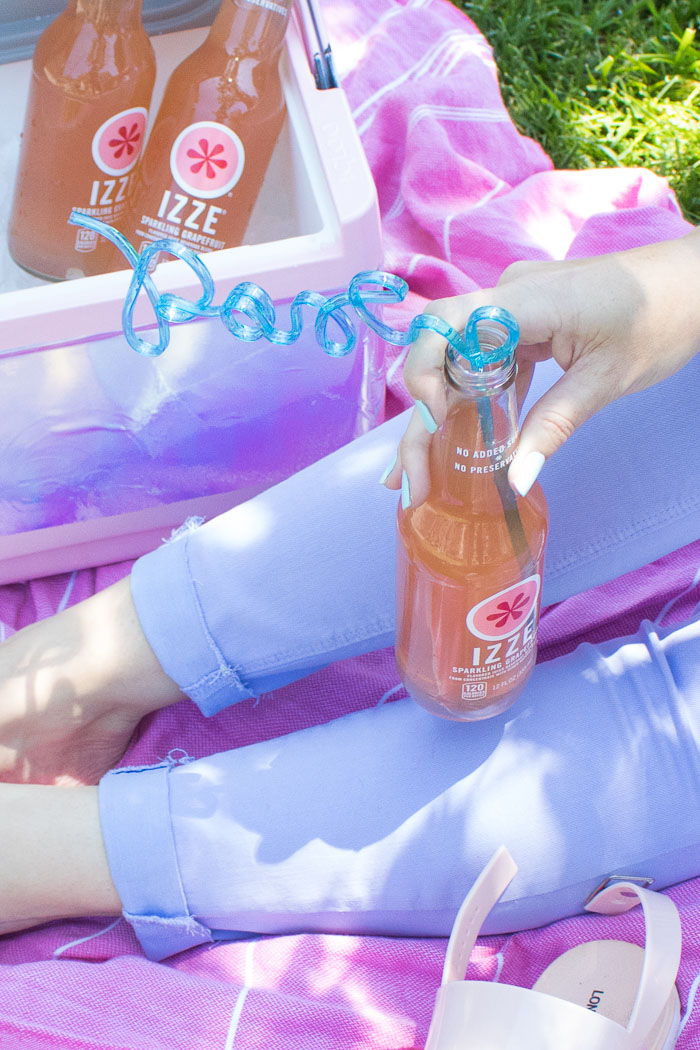
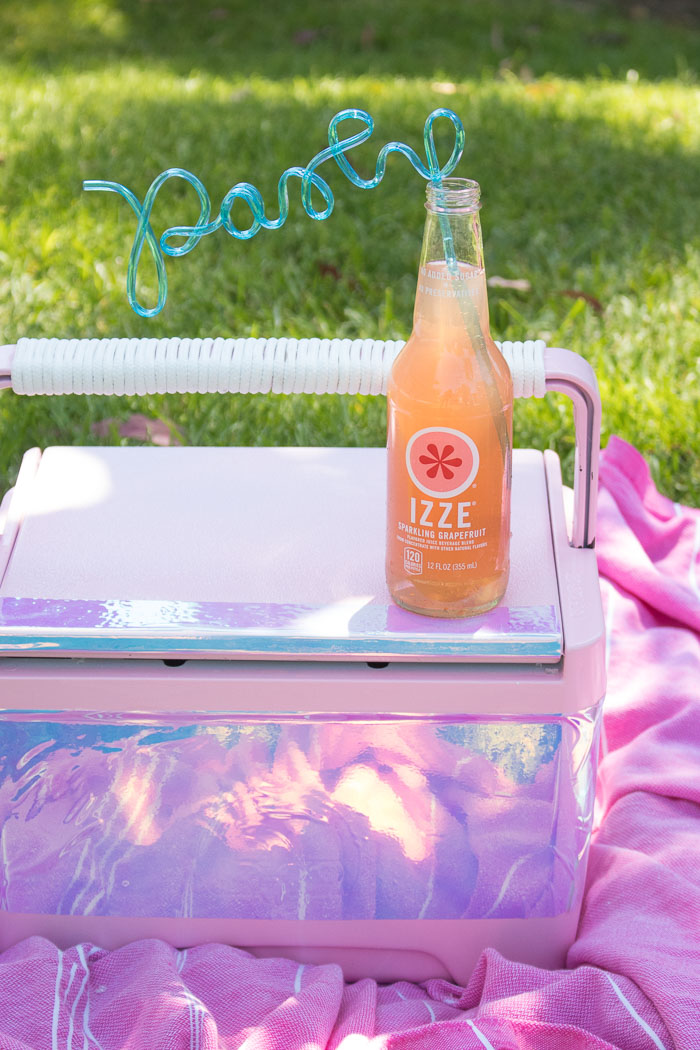
Side note: I giggle every time I use these straws because even though I know they say “party,” they totally look like they say “pasty.”
OK, let’s move on to the DIY and how to makeover a cooler for summer. The downside, as you can see from this photo, is that the hinge of the handle may not retain paint due to the movement, so proceed with caution.
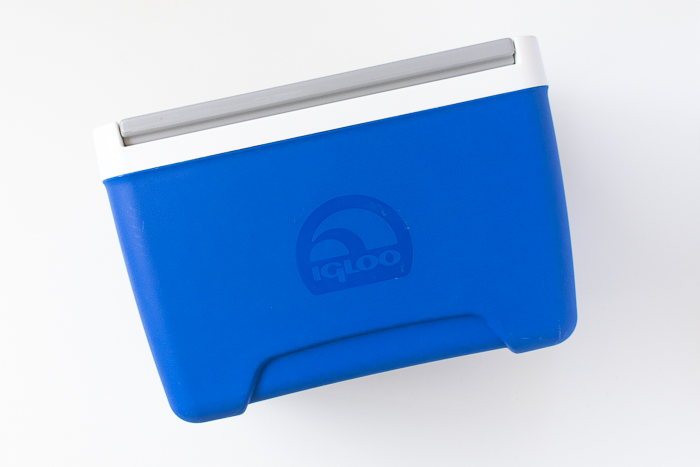
Here’s the before! I definitely prefer the after.
Time: 30 minutes + dry time
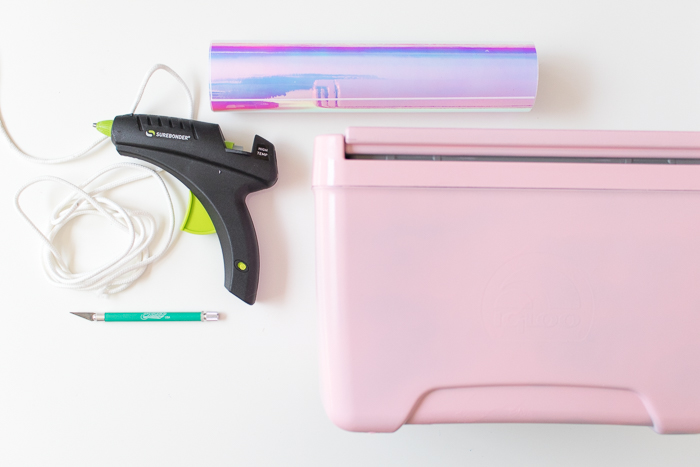
Supplies:
- Small cooler
- Spray paint (for use on plastic)
- Holographic vinyl
- Ruler
- Craft knife
- White rope
- Glue gun
Note, be sure to choose a spray paint designed to work on plastic. I’m finding that the paint on the handle chips easily due to consistent the movement.
Step 1: Give the entire cooler a coat of spray paint. The handle will be the most difficult part because of its consistent movement, so you can skip painting the handle if you’re satisfied with the original color.
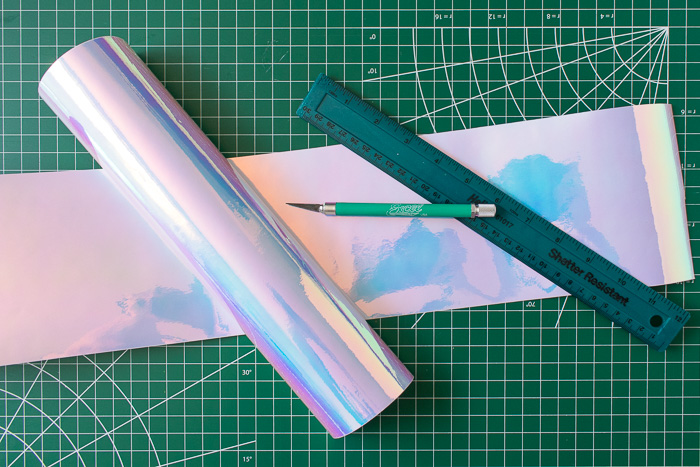
Step 2: Measure the height of the cooler and measure only the flat sections. Note the dip along the bottom of this cooler. Cut 2-3 pieces of holographic vinyl to this width, about 6 inches in this case.
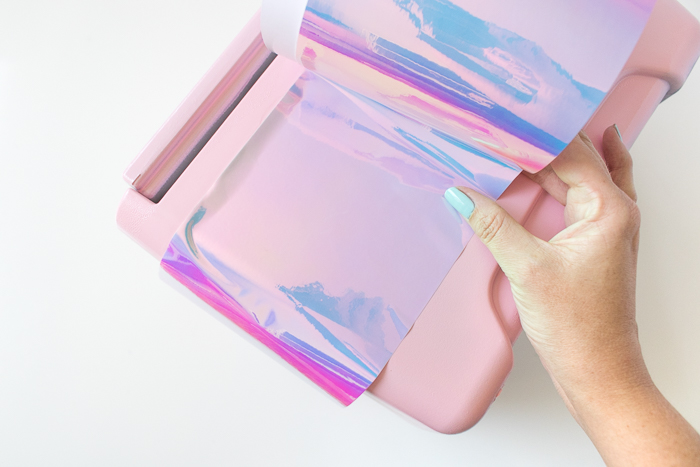
Step 3: Carefully peel away a section of the vinyl backing and apply at the top corner of the cooler. Smooth out one section at a time, wrapping the vinyl around the cooler. The corners may bunch up if the cooler is not entirely straight.
Step 4: When you are about to reach the end of one piece of vinyl, cut it at a corner of the cooler and start with another long piece. For best results, allow the overlap to occur only at the corners. Wrap all the way around the cooler.
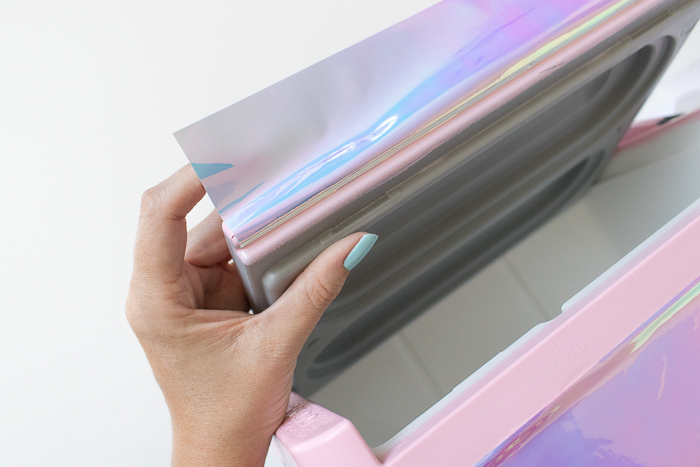
Step 5: Cut another piece of holographic vinyl to the width of the lid and about 4 inches tall. Carefully wrap it around just the front top of the lid and curl it underneath.
Alternatively, you could paint the top of the cooler a different color than the body.
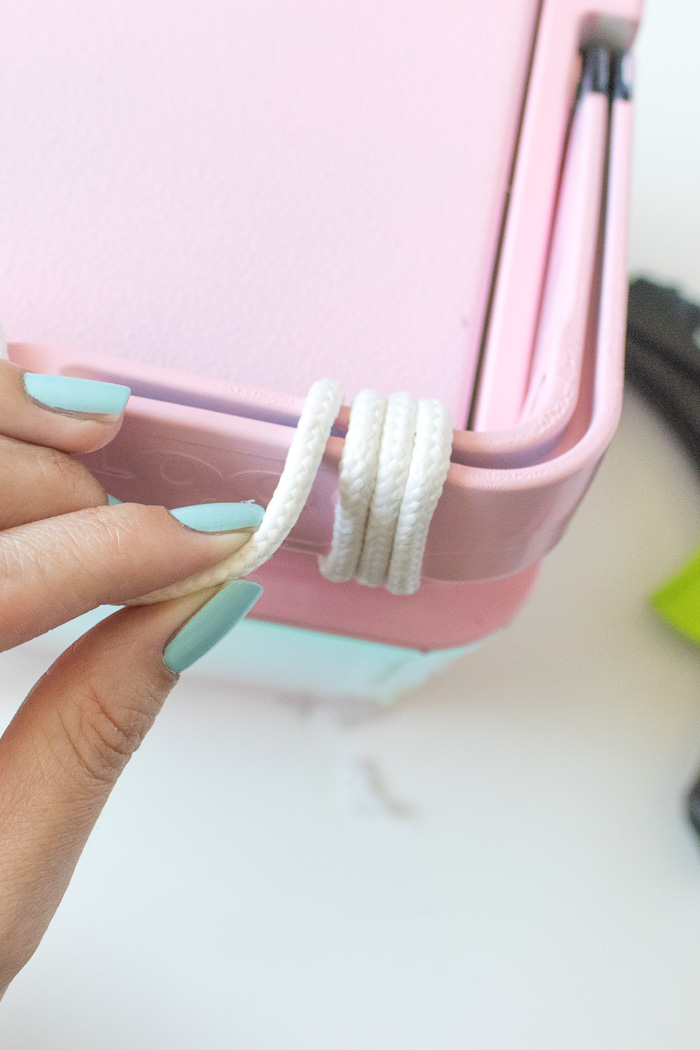
Step 6: Heat up your glue gun and glue the end of a piece of rope to the underside of the handle only along the top where it will be held. Wrap the rope, gluing in sections, all the way across the handle. Cut and glue down the end.
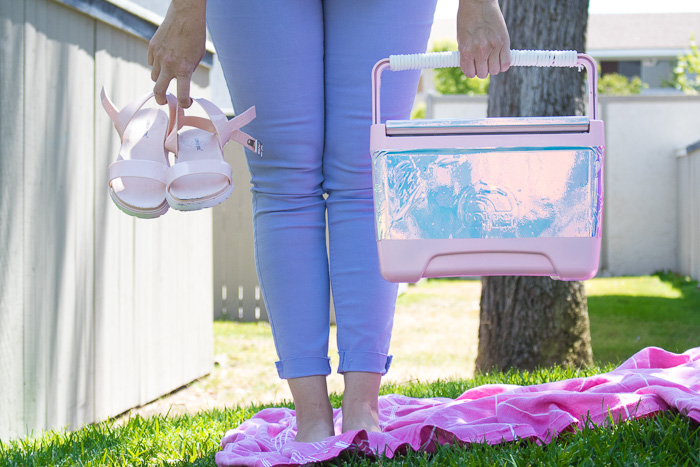
Now the ice chest is ready to fill up and take on an outing! I like this size because it perfectly fits a few drinks, which is ideal when it’s just the two of us. I can’t wait for another excuse to use it!

