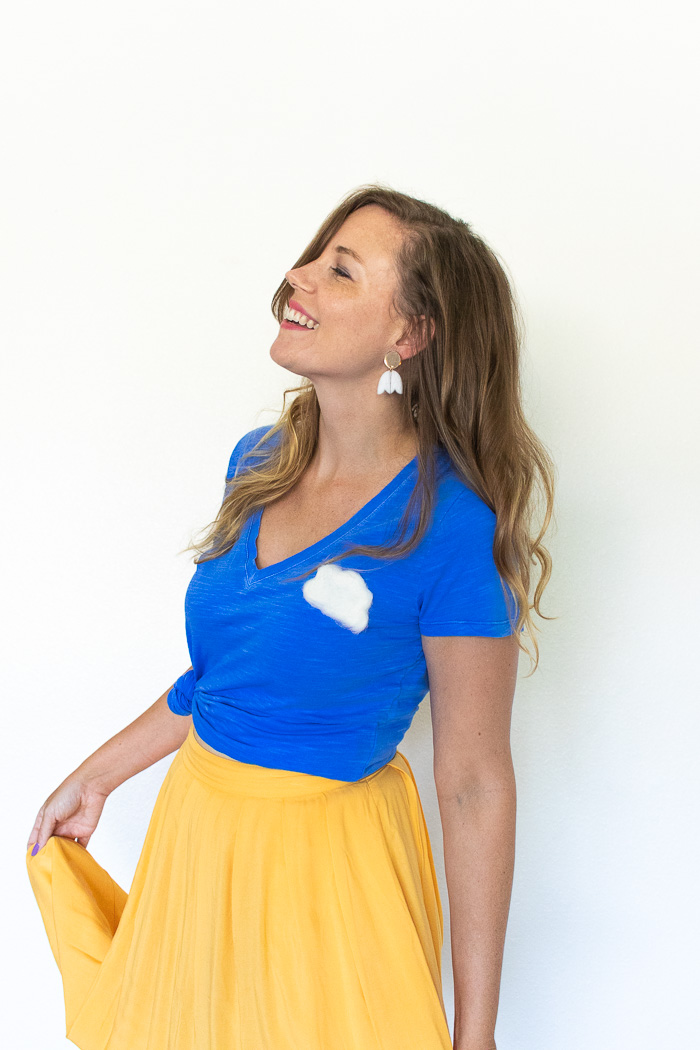
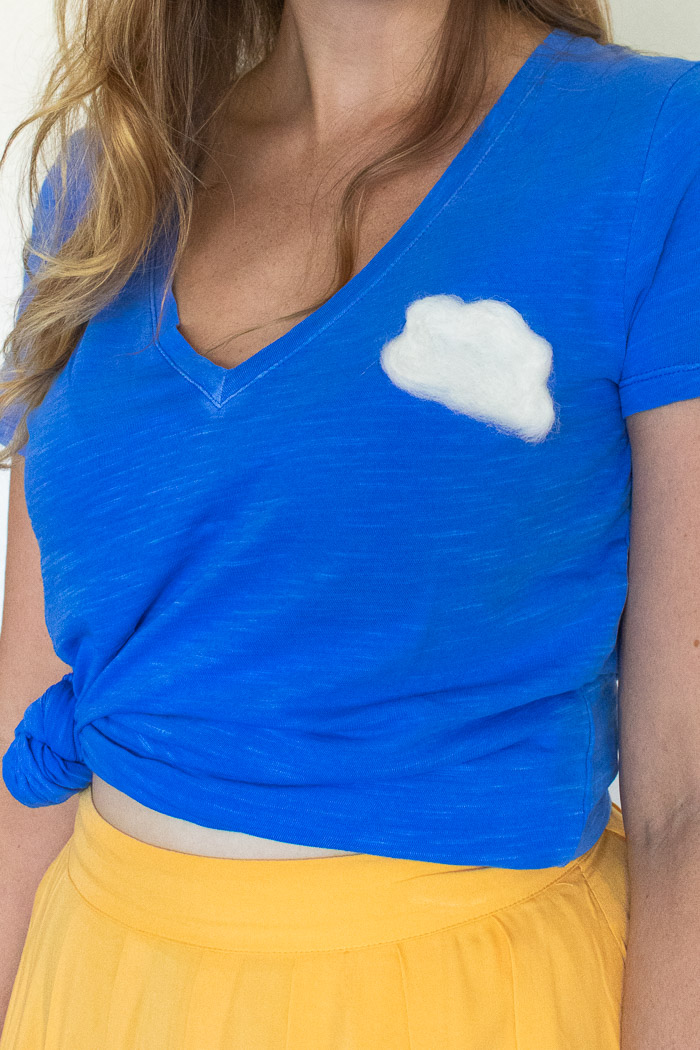
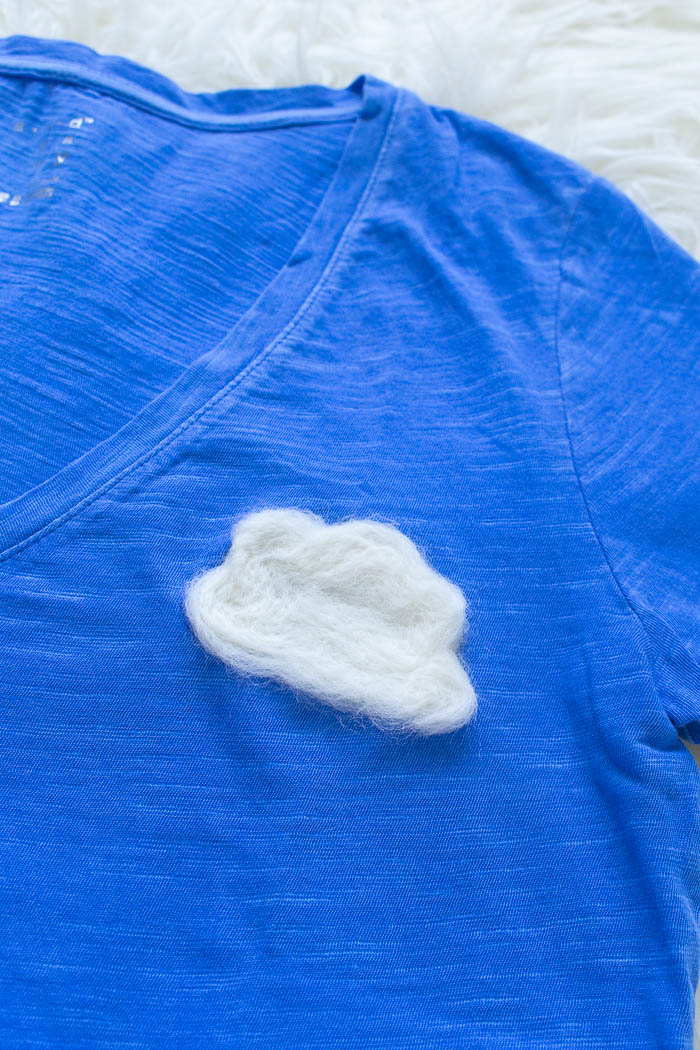
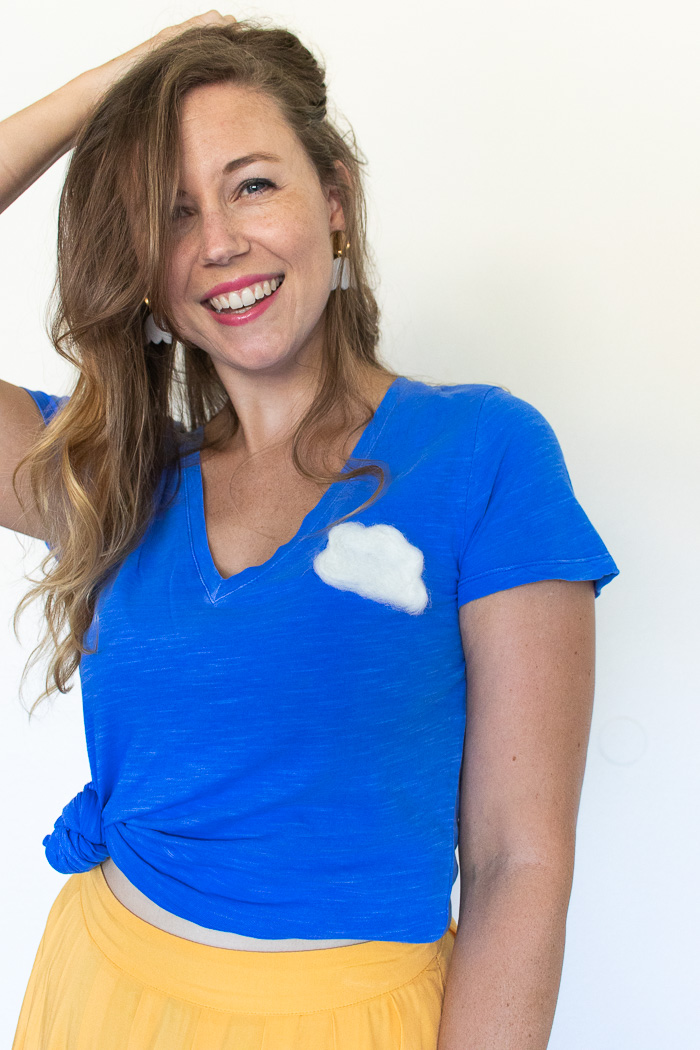
I know I should be focused on fall right now, but my mind is still in summer mode. This may very well be my last summer post of the year, but that’s not to say I’m not SUPER excited to fall (hellooooo Halloween DIYs)! To wrap up the summer, I went shopping for a bunch of new clothes that I absolutely didn’t need, and I came home with a pretty blue t-shirt that was just feeling a little blah. So what did I do? I DIYed it into a needle felted cloud t-shirt! Goodbye plain blue tee, hello cute flair t-shirt. Can I consider this flair? I don’t know what else to call it, but this cloud made a big difference, and I loved getting to use my needle felting supplies again. Seriously, this is a great beginner needle felting project to try!
First of all, shoutout to Target for getting me to spend $200 on clothes when I went in for something completely different. They just have SO many cute pieces right now!
Needle felting was really intimidating to me until I finally tried it a few months ago. Now, I’m ready to needle felt all the things! Since I’m not making sculptures, needle felting this cloud t-shirt is literally as easy as stabbing a needle into fabric within a stenciled area. Piece of cake! Because this cloud shirt came out so well, I think I want to add more needle felted flair to more of the shirts in my closet. Pick up any t-shirt and get ready to transform it!
Time: 15 minutes
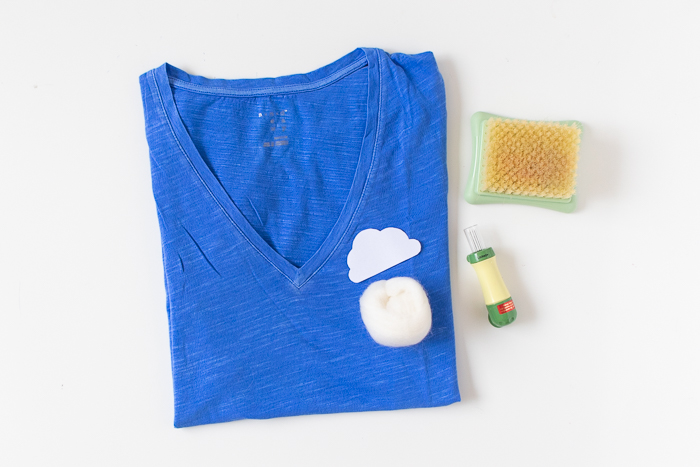
Supplies:
- Blue T-shirt
- Paper cloud template
- White roving wool
- Needle felting tool
- Needle felting mat
- Pen
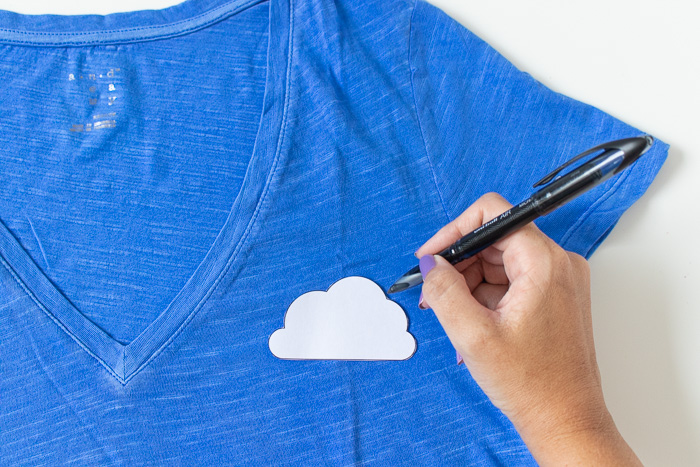
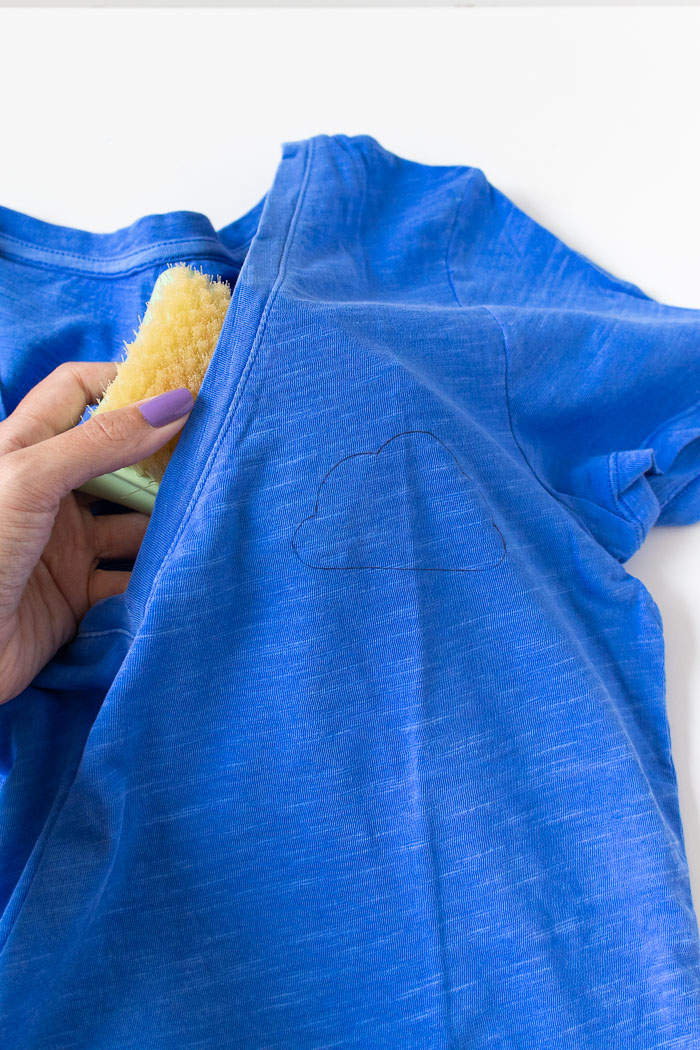
Step 1: Determine where you want the shape to be (mine is the upper left of the shirt). Cut out a cloud in desired shape and lightly trace the shape on the shirt, then remove.
Step 2: Place the needle felting mat inside of the shirt, just beneath the outline of the cloud. Make sure this part of the shirt is flat.
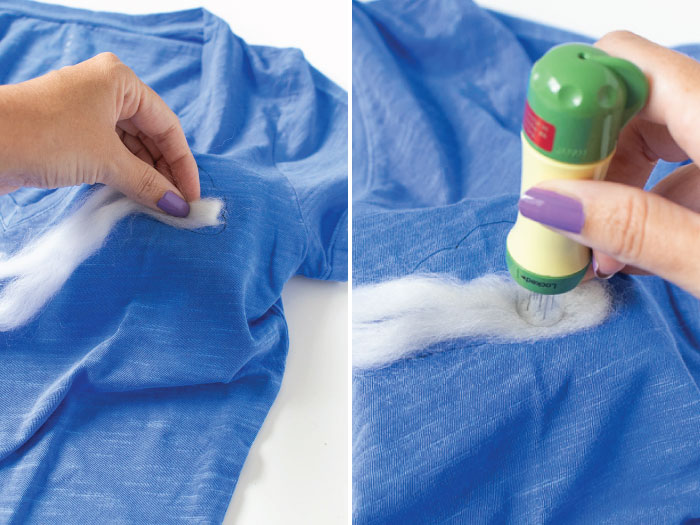
Step 3: Tear off a section of wool (you won’t need much) and place over the section you want to needle felt. Begin stabbing – for lack of a better word – the needle into the shirt, pressing the wool into the fabric. Work slowly to maintain the shape.
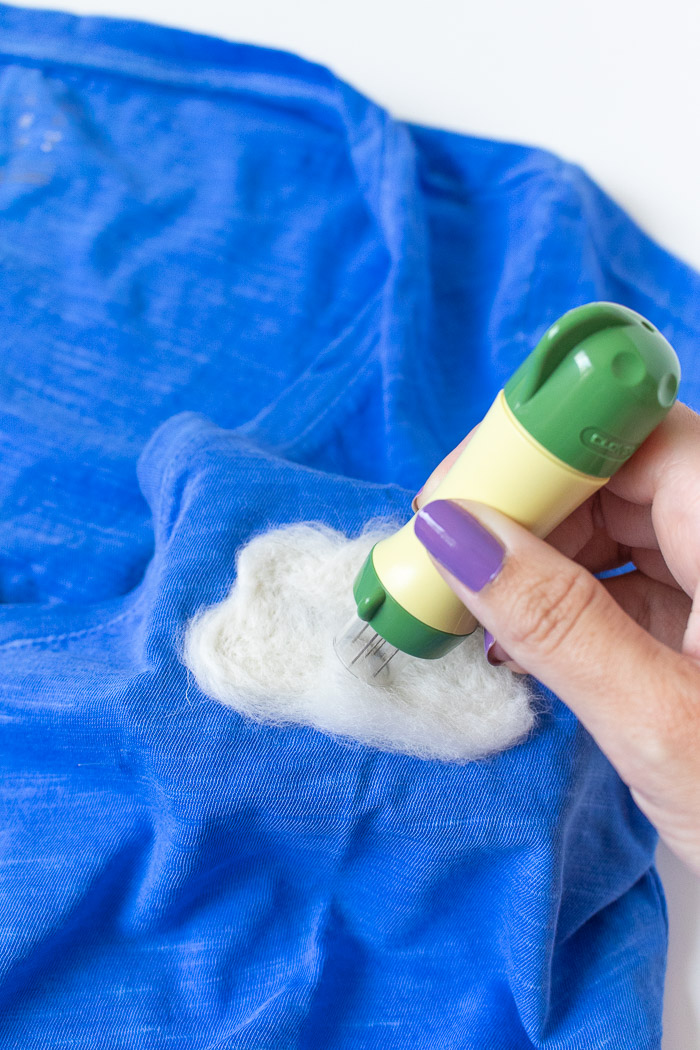
Step 4: Starting with the edges, slowly move the wool around and needle felt around the stenciled outline of the cloud. Then fill in until the cloud is full and the shape is clear.
Now you have a shirt no one else has! Well, except me!
For best results, I’d recommend hand washing your new needle felted cloud t-shirt so that the felt doesn’t damage. I was worried the inside would feel itchy, but I haven’t had any discomfort. If the felt on the inside bothers you, I’d recommend some kind of iron-on treatment or wardrobe tape on the inside of the t-shirt.
Psst, want more needle felting projects? Check out my needle felted rainbow pillow!



Natasha
Super cute! I’ve never done needle felting, but I’ve always wanted to try and I recently inherited a few supplies from my sister. This could be the perfect first project!
Holly Wade
NatashaYay, this is a perfect first project then!!