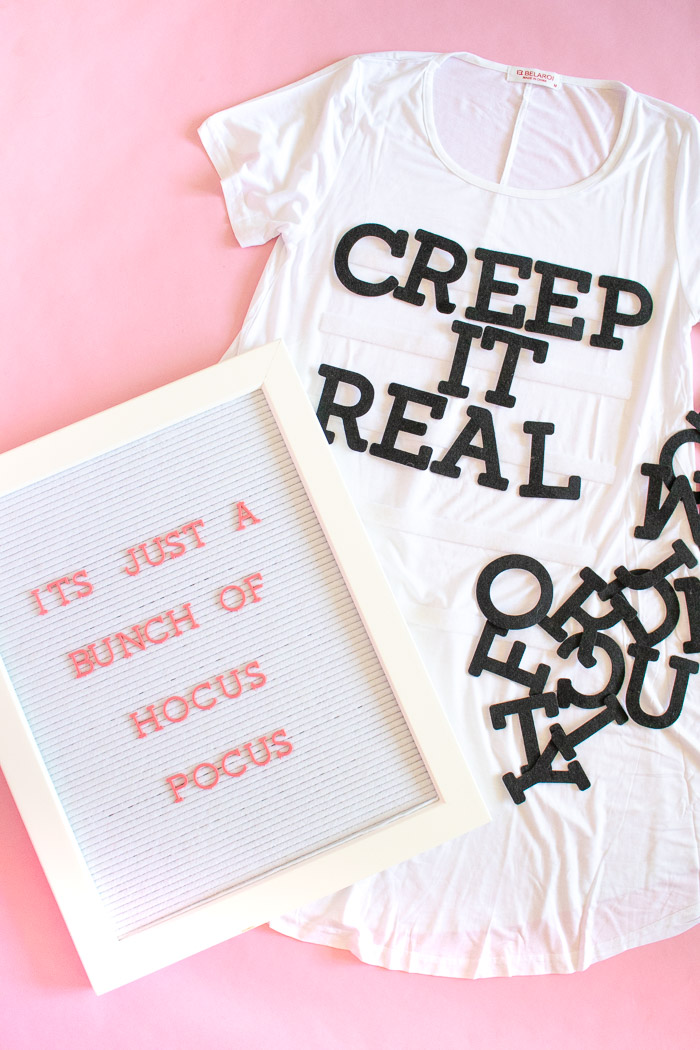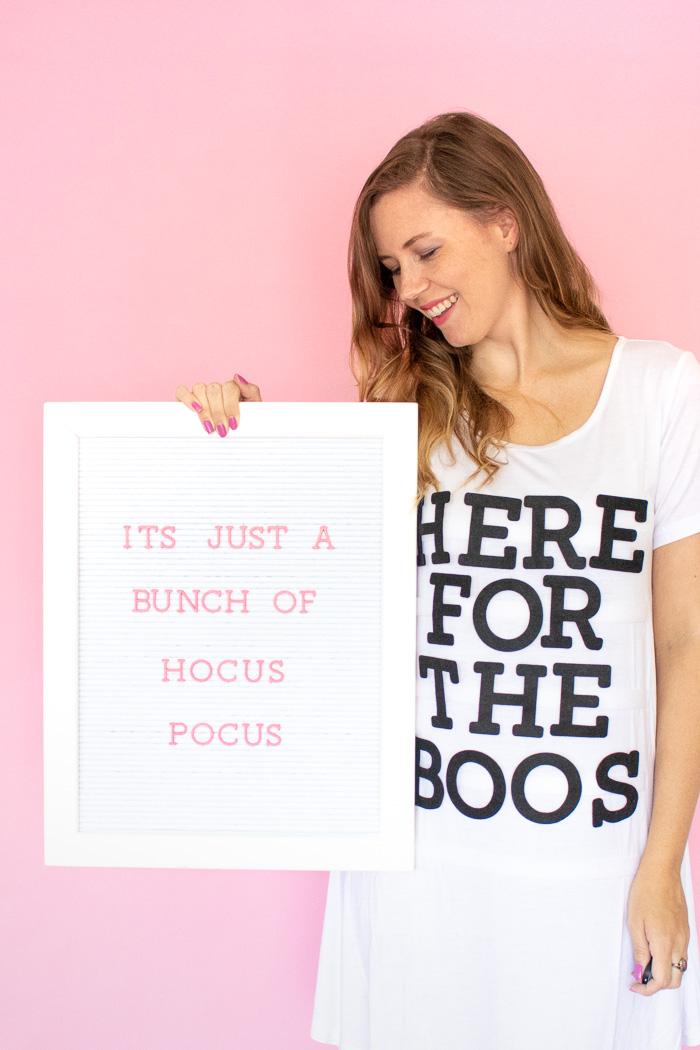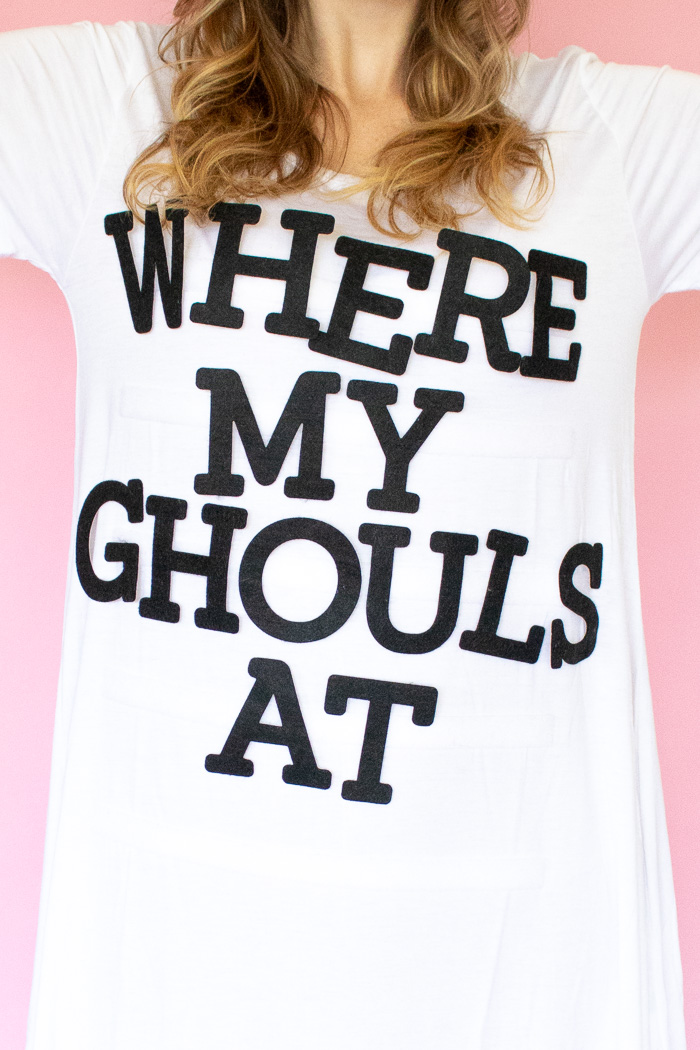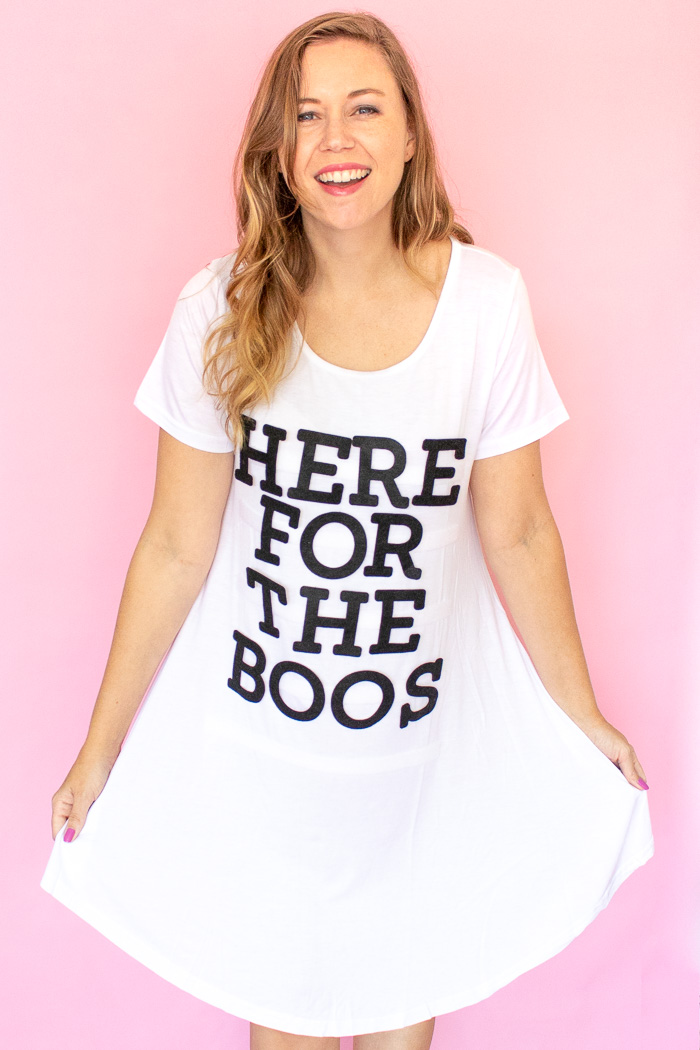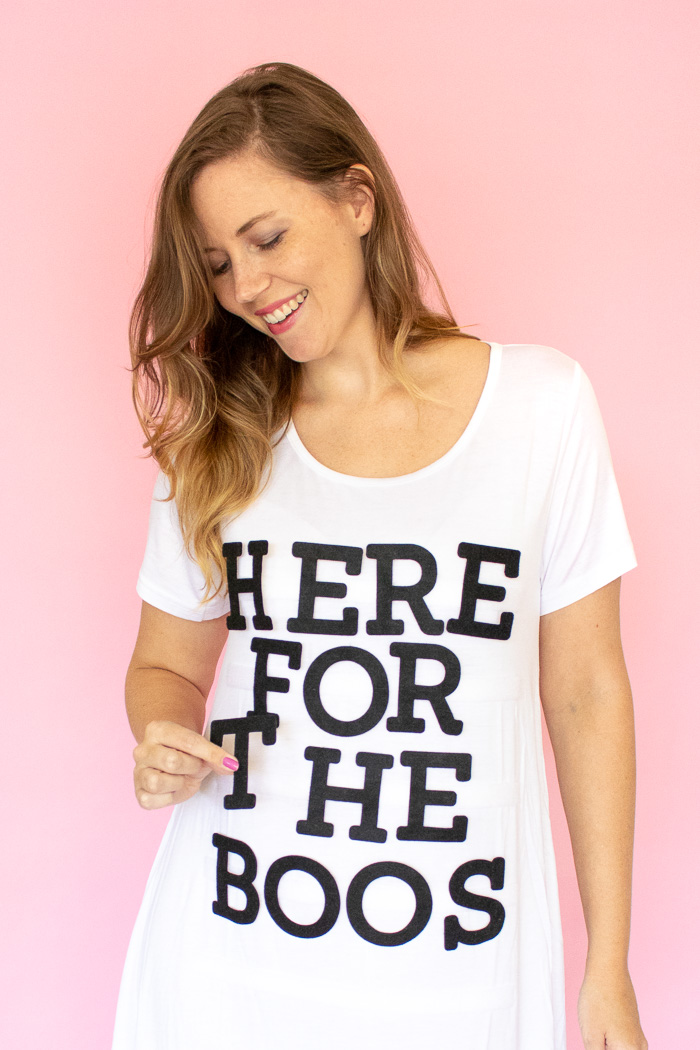
I think it’s safe to say our obsession with letterboards isn’t going away any time soon. I know mine isn’t! To celebrate my love of letterboards, I thought I’d go ahead and turn myself into one for Halloween! This easy letterboard costume is made with velcro so that the felt letters are easily interchangeable. I can’t even tell you how much time I spent rearranging letters to make goofy Halloween puns, but I narrowed it down to just three to share with you all! You might even like wearing this interchangeable letterboard dress for any ‘ol day of the week so you can rearrange the letters over and over again.
This is a really quick and easy Halloween costume if you use pre-cut letters. If you want to custom cut them with a Cricut machine or Silhouette (here’s a tutorial for cutting felt with Cricut) then it will take much longer, but you’ll be able to choose the size of your letters. The ones I used are quite large, which means I can’t fit very long words onto the dress. All of the supplies are linked below!
I’ve been using this white letterboard from JOANN a lot lately, but I also still love my DIY ombre letterboard I made earlier this year.
Time: 20 minutes
Supplies:
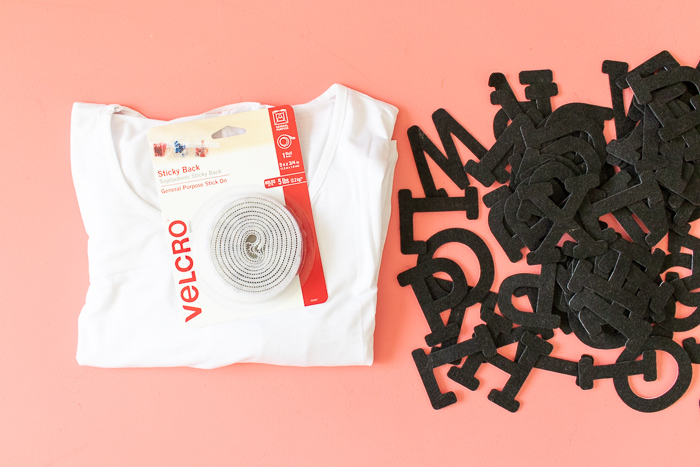
- White dress (or desired color)
- Peel-and-stick velcro, white
- Large black felt letters
- Scissors
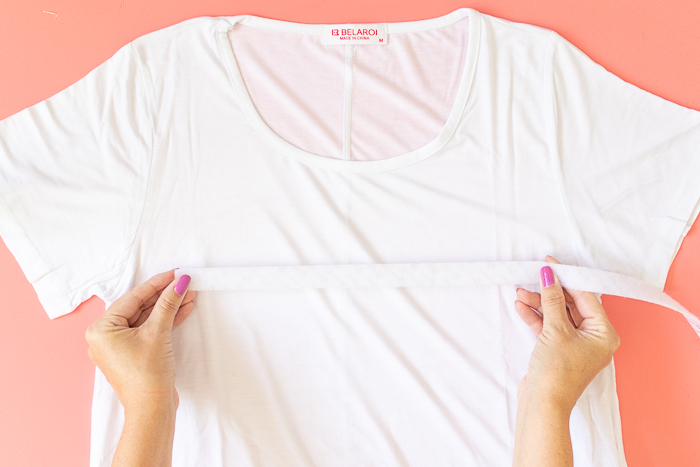
Step 1: Lay the dress out flat and measure how long you want each line of velcro to be across the front of the dress. Keep in mind that you want the letters to be visible, so you don’t want the velcro to run seam to seam, just along the bust with a few inches of space on either side.
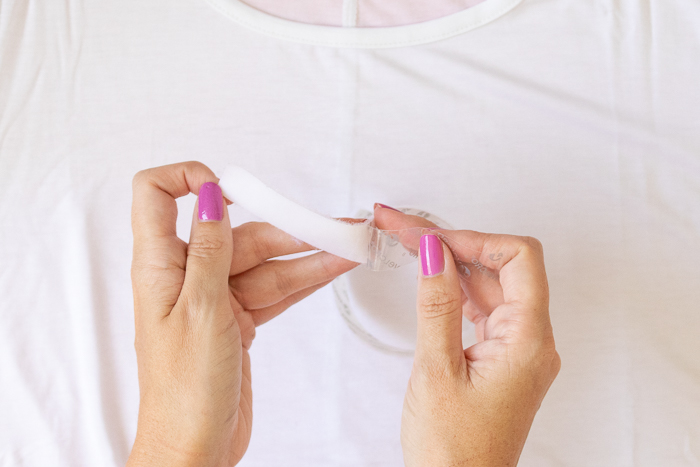
Important: Note, I used only the soft side of the velcro and will attach the rough side to the letters. If your letters are all felt (rather than a smooth back like mine) then you can adhere the rough side to the dress and the letters will stick without additional velcro.
Step 2: Cut the SOFT velcro into 5 equal-sized pieces and remove the backing in order to stick to the front of the dress (see note above).
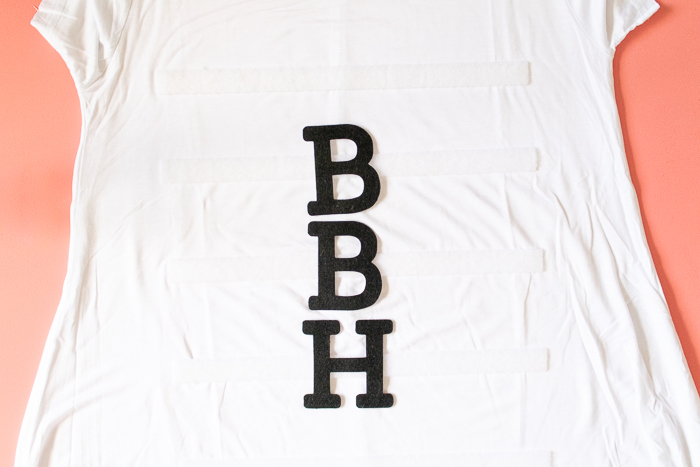
Step 3: Place each piece of velcro on the dress, several inches apart. Use your letters to determine how much space you need between each line of velcro.
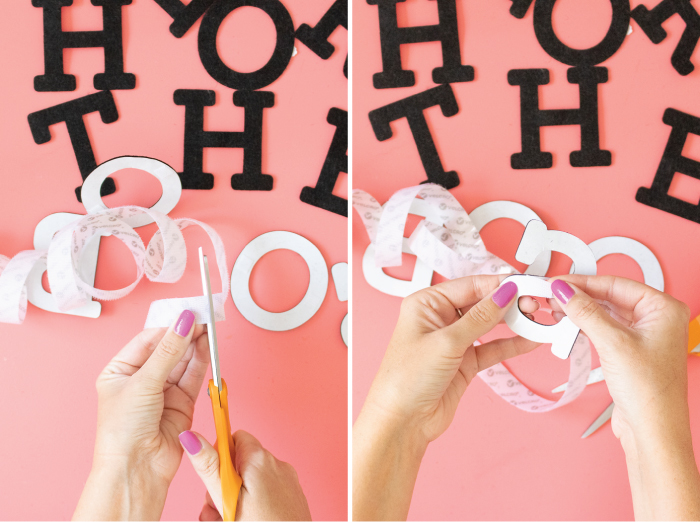
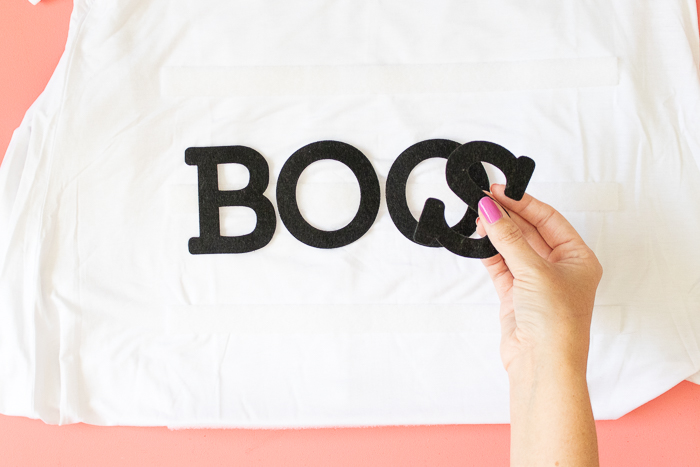
Step 4: As you can see, my letters have smooth backs. If that’s the case, cut small pieces of rough velcro, peel away the backing and stick to the backside of the letters. Make sure the velcro is in the approximate middle of the letters so they’ll be even on the dress.
Step 5: Then you can start attaching your letters to the dress! I found it easiest to do this with the dress laying flat rather than wearing it.
Rearrange the letters as much as you want to create goofy sayings! I think I’ll just wear this letterboard dress whenever, not just for my Halloween costume!
Please note this post contains affiliate links from which I may collect a small profit should you choose to make a purchase. I only link to products I personally use or recommend.

