How to Customize Gift Wrap with Cricut Explore Air 2 (+ an Instagram Giveaway!)
The following post was created in partnership with Cricut + JOANN
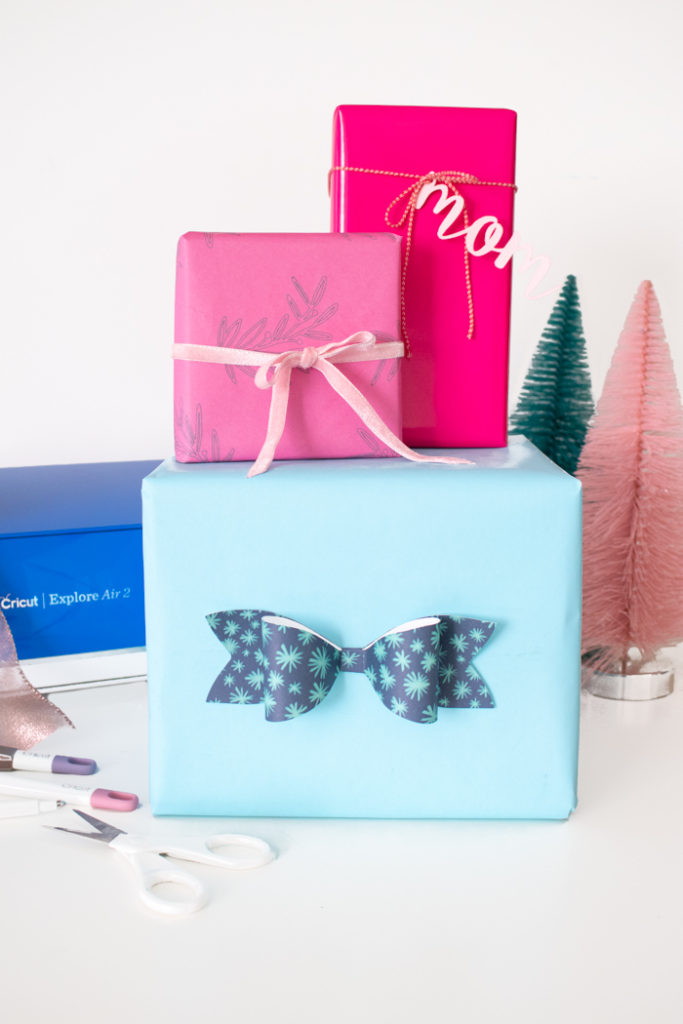
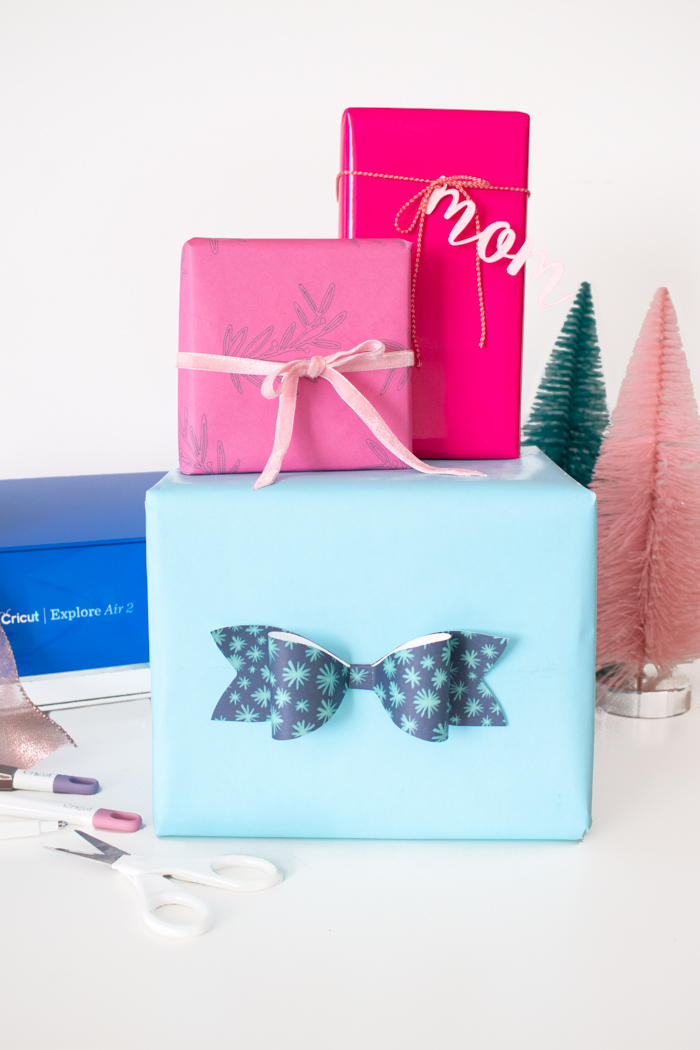
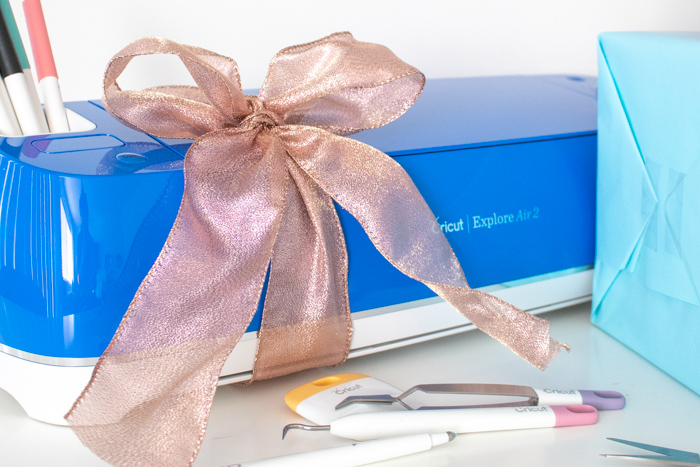
I’m always more excited about wrapping gifts than I am about buying them. Probably even more than receiving them. Gift wrapping is strangely therapeutic. (Please tell me I’m not the only one??) This year, I’m choosing to go ALL OUT with handmade gift wrap to celebrate Christmastime with the help of the Cricut Explore Air 2. More specifically, you can see I’m using the new Cobalt Cricut Explore Air 2, available exclusively at JOANN! Be sure to head over to my Instagram and comment/tag a friend for a chance to win a $50 JOANN gift card so you can buy new supplies for your Cricut! (giveaway ends 12/14)
Now I’ll walk you through how to customize gift wrap with a Cricut machine to make gifts that truly stand out, including my personal favorite way to customize your own wrapping paper. Ready? Let’s make!

Make Custom Wrapping Paper with Cricut Pens
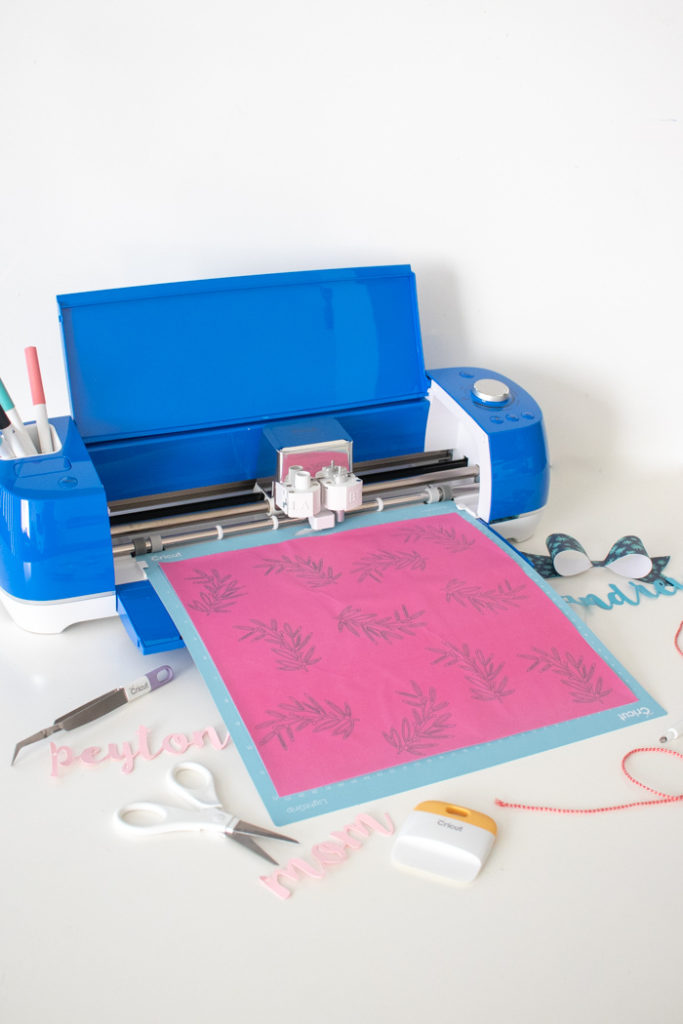
Every time I use Cricut pens, I’m actually shocked by how much detail they can draw. Thank goodness too because I can’t draw anything! For small packages where you only need small sheets of wrapping paper, you can quickly and easily make custom wrapping paper with Cricut pens. I used my Cricut Explore Air 2 to draw winter branches all over a piece of paper and wrapped up a small box with it. Watching it draw out each branch is truly mesmerizing.
Step 1: Insert your desired image to the Cricut Design Center. Adjust to size.
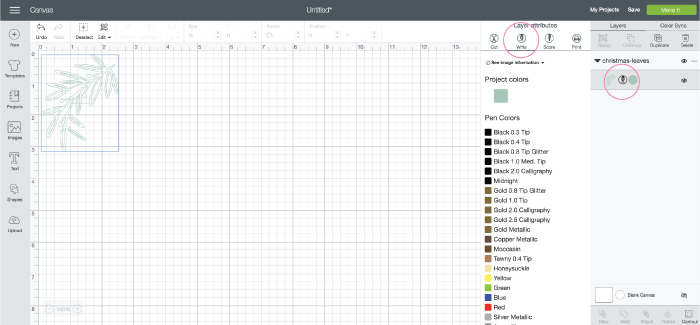
Step 2: On the right side of your screen, click your image. Then click “write” to change it from a cut image. Choose the pen you’ll be using from the dropdown menu.
Step 3: Copy/paste the design multiple times to repeat all over your paper. When you’re ready, click “make it.”
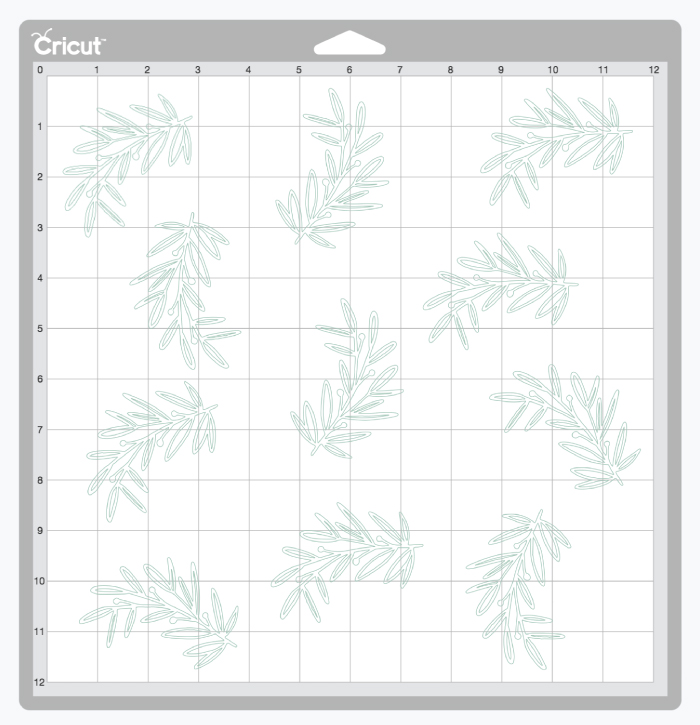
Step 4: Rotate each image and rearrange them so that it creates a somewhat random pattern that completely covers your paper.
Note, I’d recommend using traditional thin paper, not cardstock for gift wrapping. For best results, I’d also recommend a Light Grip Cricut Mat to prevent tearing.
Step 5: Place your paper on a sticky mat and load your Cricut Explore Air 2. Load “clamp A” with your desired pen according to the directions on your screen. I used
Step 6: When you’re ready, click the flashing GO button on your Cricut to begin drawing. Then remove the mat and carefully peel away your new custom wrapping paper!
Wrap up a small box with your new drawn wrapping paper and top it with one of the next Cricut DIYs below!
How to Cut Paper Bows with Cricut
Step 1: Download this bow template and upload to the Cricut Design Center. Adjust to your desired size.
Step 2: I added my name tag designs (below) to the same project and changed each piece to a different color to differentiate the papers I want to cut. This way, you can do multiple things at once!
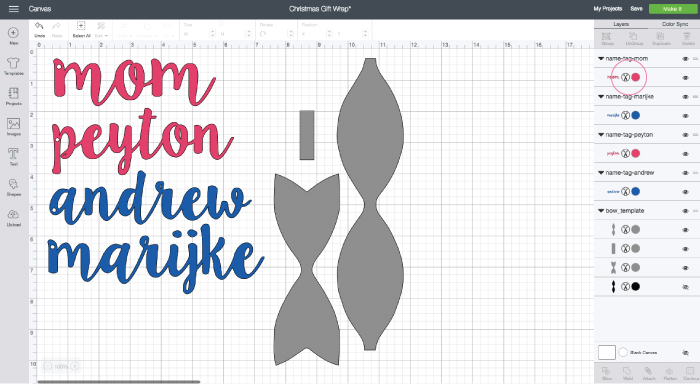
Step 3: Place pattered or solid colored cardstock on a Cricut mat and load your machine. Adjust the dial to “cardstock,” click “Go” to cut and remove the bow pieces from the sticky mat once finished.
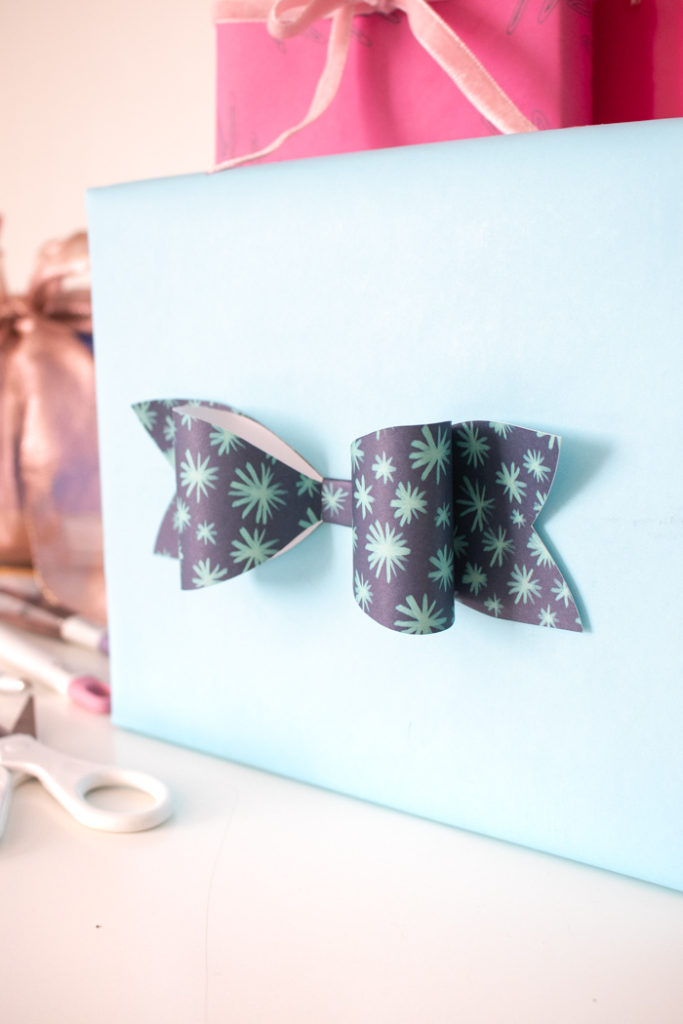
Step 4: With the largest piece, bend the sides in to meet in the middle and secure with double sided tape (pattered side facing out). Use the small strip of paper to fold around the middle, securing with tape on the backside. Lastly, add double sided tape to the back and stick to remaining ribbon piece.
Now you can add the bow to any gift with a bit of double sided tape! Mix and match patterned bows and gift wrap too!
How to Cut Cursive Name Gift Tags with Cricut
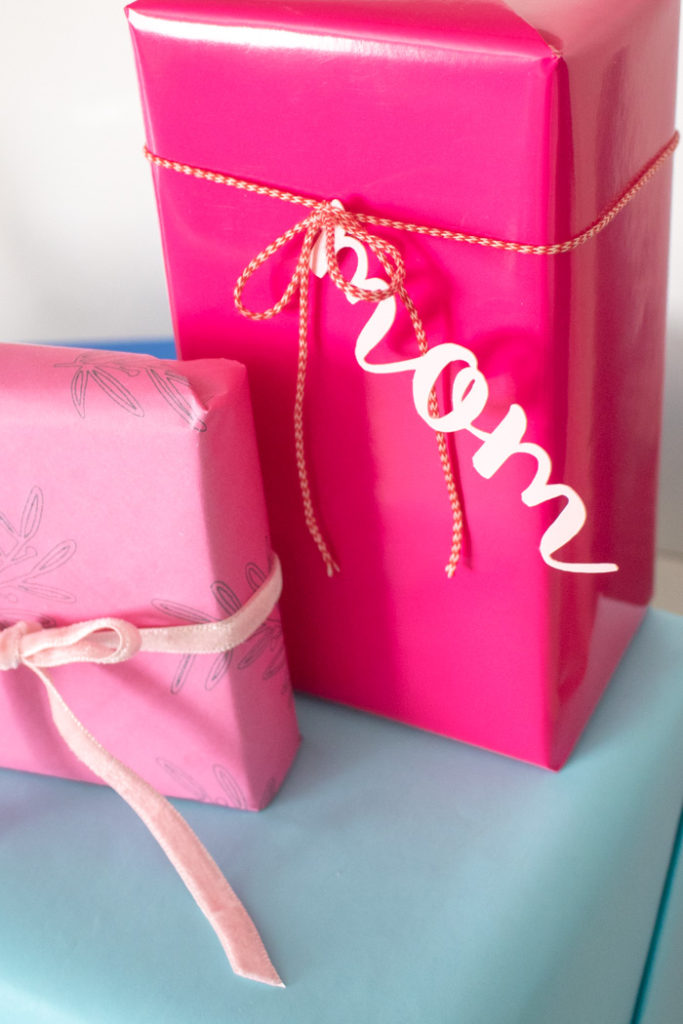
I’m picky about gift tags, and I don’t usually bother purchasing them. Instead, I make my own! Using my Cricut Explore Air 2, I made a set of cursive name gift tags with a small hole for attaching to the ribbon of gifts. Sometimes, I’ll create them in my design software, then upload a PNG file to the Cricut Design Center to cut, but you can also make these directly in the design center using the instructions below.
Step 1: Insert a text field, type the name in lowercase and change the font to a calligraphy font that will connect each letter together (I use one called LillyBelle). Adjust the sizing and letter spacing as needed so that each connects and is the appropriate size for your gift.
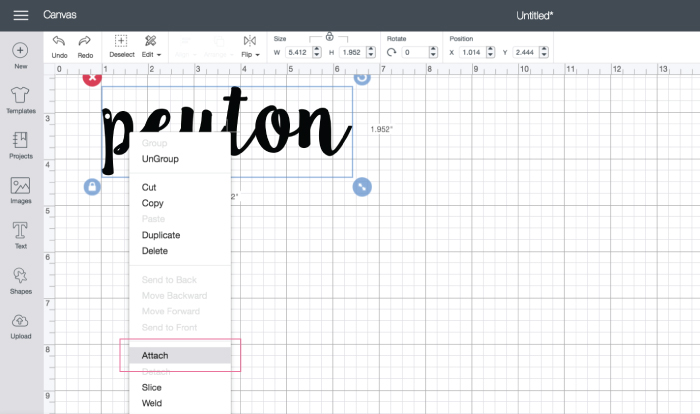
Step 2: Create a small circle and place it over the letters to cut where the opening will be in your gift tag. Select both designs, right click and choose “attach” so that Cricut knows they belong together.
Step 3: When you’re ready, load a mat with your desired cardstock paper and cut.
Then you can simply thread each name tag onto string or ribbon for adding to your Christmas gifts!
Don’t forget to visit my Instagram @clubcrafted to enter to win a $50 JOANN gift card! With so many new Cricut embellishments to explore, you’re going to love it!
PS, love Cricut?! See all of my #cricutmade projects.
Thank you to Cricut and JOANN for generously partnering with my on this post. All opinions are my own. Please note this post contains affiliate links from which I may collect a small profit should you choose to make a purchase. Thanks for supporting the brands that keep Club Crafted making!
This is a sponsored conversation written by me on behalf of JOANN & Cricut. The opinions and text are all mine.
