

Isn’t it weird how we tend to jump from all-Christmas-all-the-time to Valentine’s Day immediately after the new year? Luckily, Valentine’s Day gives me a reason to add pink to EVERYTHING! I’m excited to kick off Valentine’s Day this year with a simple sewing project for the DIY felt heart tote bag with vinyl lettering. Felt is very easy to work with, so this simple tote bag comes together quickly with an E.E. Cummings quote, “I carry your heart with me.” Pack it up with school supplies, a picnic or even your overnight clothes!
PS, if you haven’t already, I would really appreciate it if you fill out my 2019 reader survey!
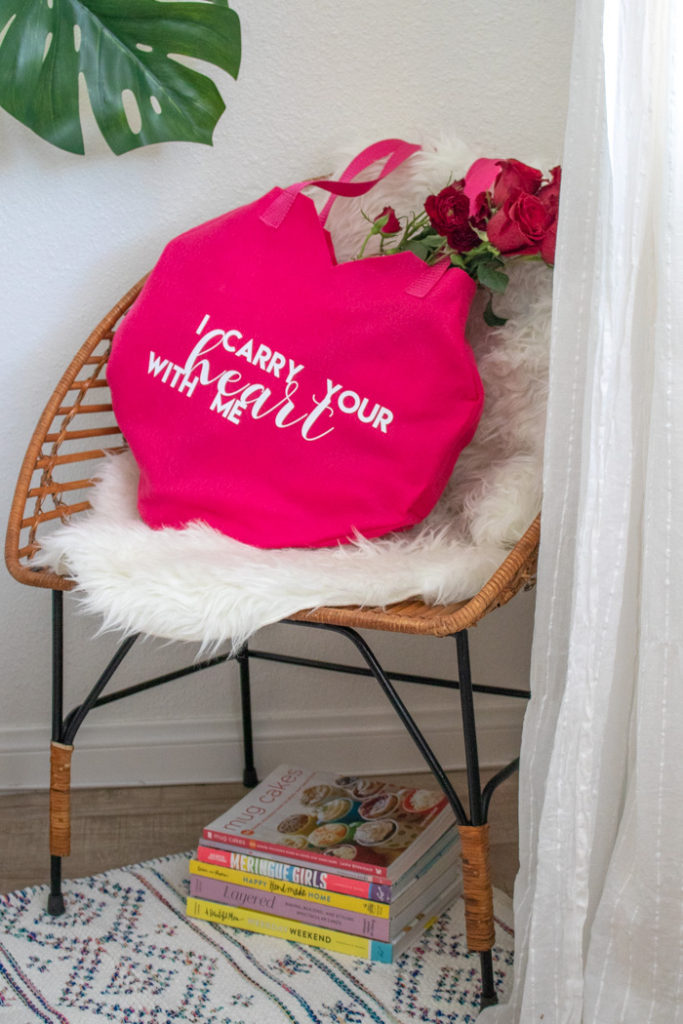
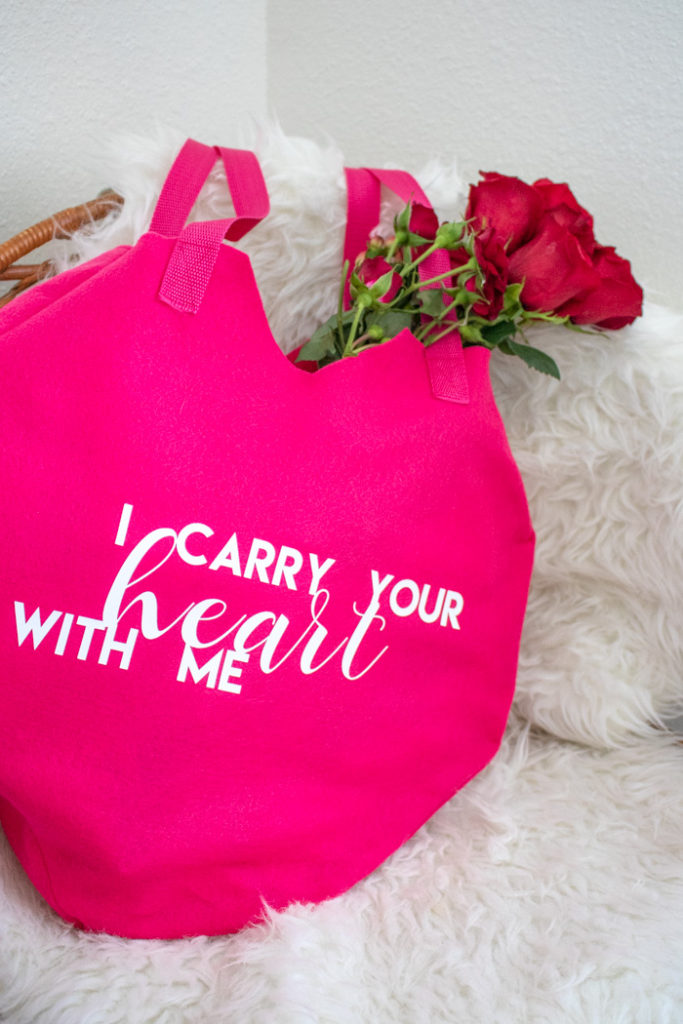
This is the first time I’ve used iron-on vinyl on felt, and I’m thrilled to say it worked! I had intended to leave the bag plain, but once it was finished, it didn’t actually feel finished.
Now, I look forward to carrying around this heart tote bag not only for Valentine’s Day but for any occasion!
Time: 40 minutes
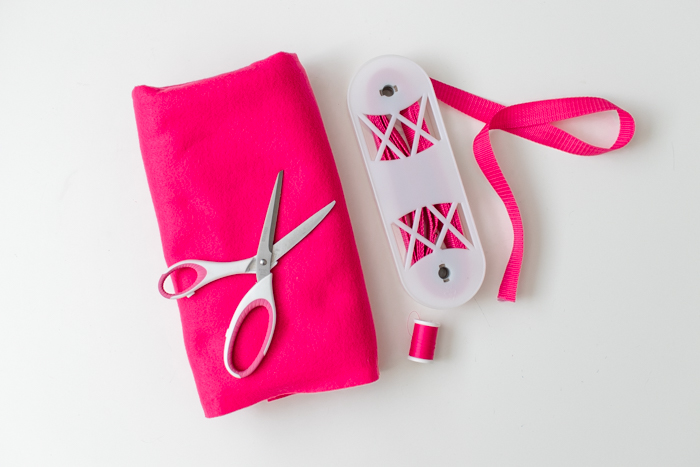
Supplies:
- 3/4 yard pink felt
- Fabric scissors
- Pins
- Matching thread
- 1 yard belting, pink
- White iron-on vinyl, optional
Step 1: Cut a long strip of felt about 3 inches wide. Set aside.

Step 2: If desired, tape 4 pieces of paper together to create a template for cutting out your square heart shape. Then use it as the stencil to cut two large square hearts from the remaining felt.
Note, size is adjustable, but mine is about 14 inches wide. For best results, fold the paper template in half and cut to ensure it is symmetrical.
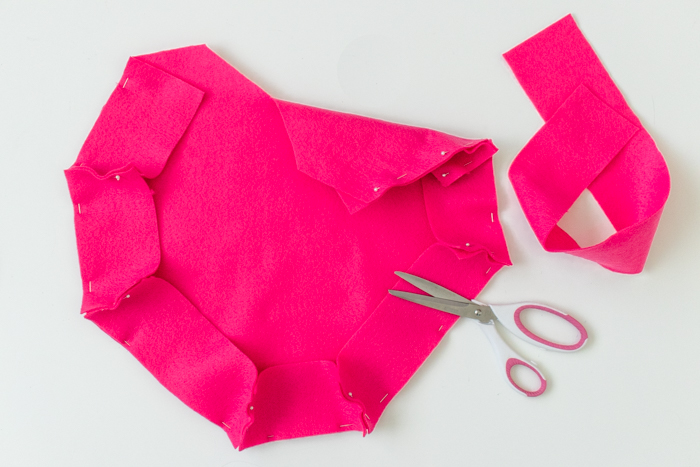
Step 3: Starting at the sloping sides (NOT the square top) of the heart, pin the long strip to the edges of the heart. At the end of a section, trim the strip and then pin them together again and continue all the way around the edges until you reach the other side.
Note, the reason I cut them into sections is to maintain some of the squareness. You can also pre-measure them, sew them together, then pin them, but I found this way to ensure more accurate results. It’s entirely about your preference!
Step 4: Once pinned, sew each section together, and then sew the strip all the way around.
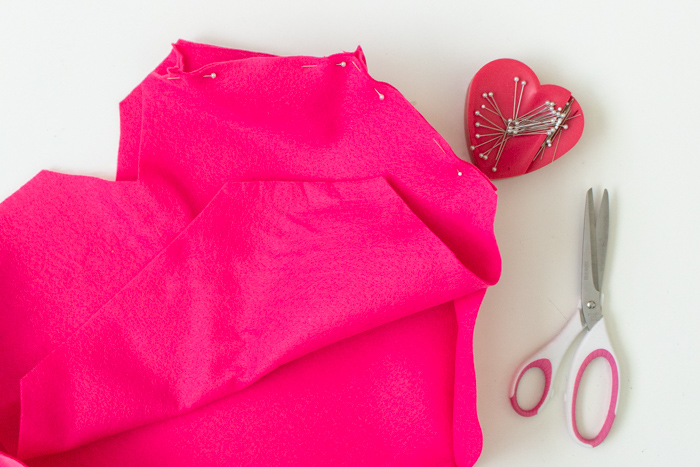
Step 5: Place the second heart on top, pin in place and sew again. Right sides remain together.
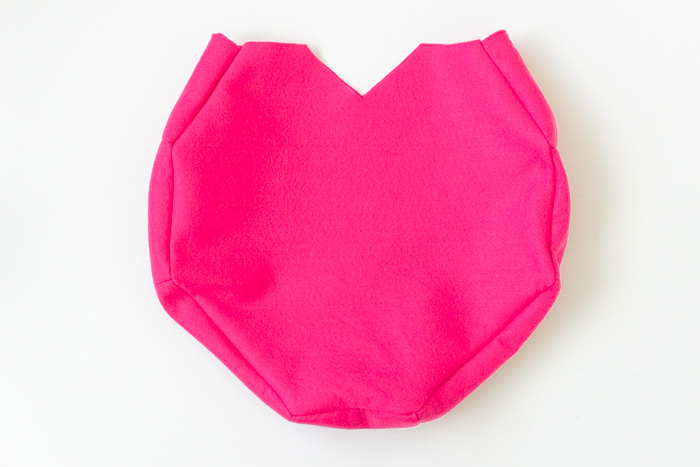
Step 6: Once finished, trim all threads and turn the bag right side out.
Step 7: Cut two pieces of belting to about 30 inches. Pin one strap to each outside side of the bag, making sure the sides are even.
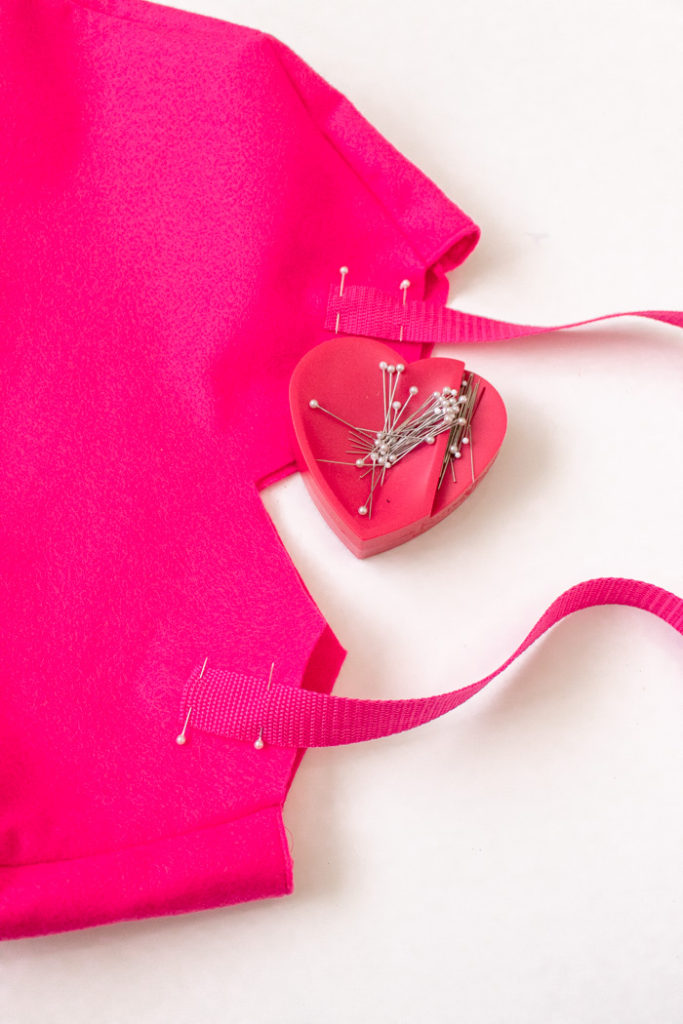
Step 8: To sew the straps on, sew a large rectangle with an X inside for stability. Repeat with all 4 sections.

Step 9: If desired, use a Cricut or similar machine to cut iron-on vinyl lettering and iron to the front of the bag. Note, for best results, iron on a lower setting with a dish towel between the vinyl and the iron, and allow extra time to adhere to the felt.
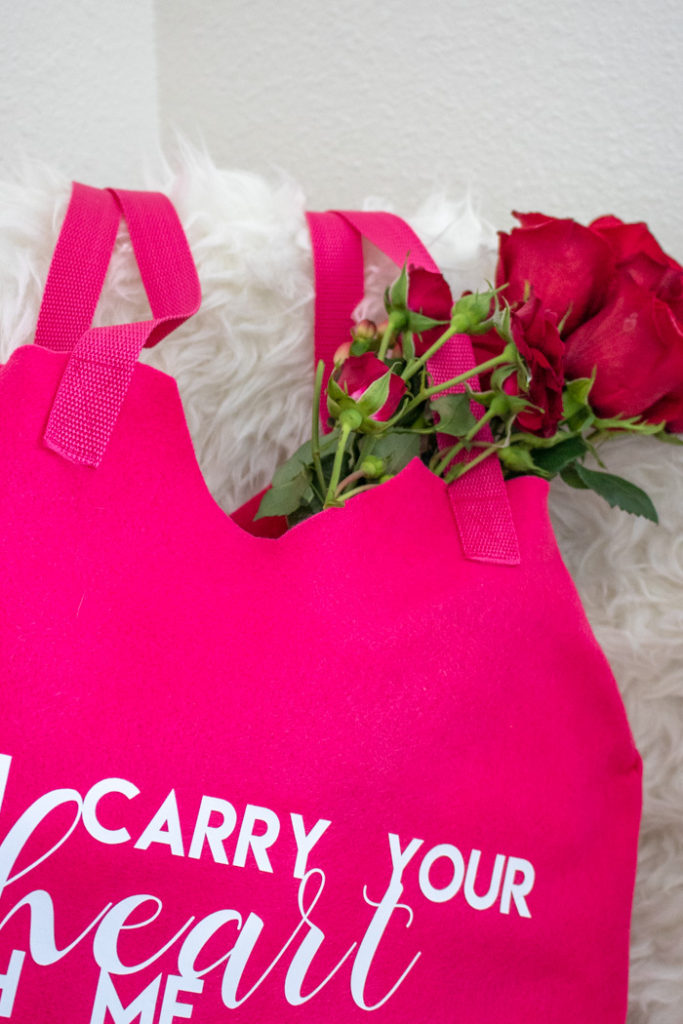
What saying would you add to your heart tote bag??
PS, check out this DIY conversation heart banner for a way to use extra felt!
