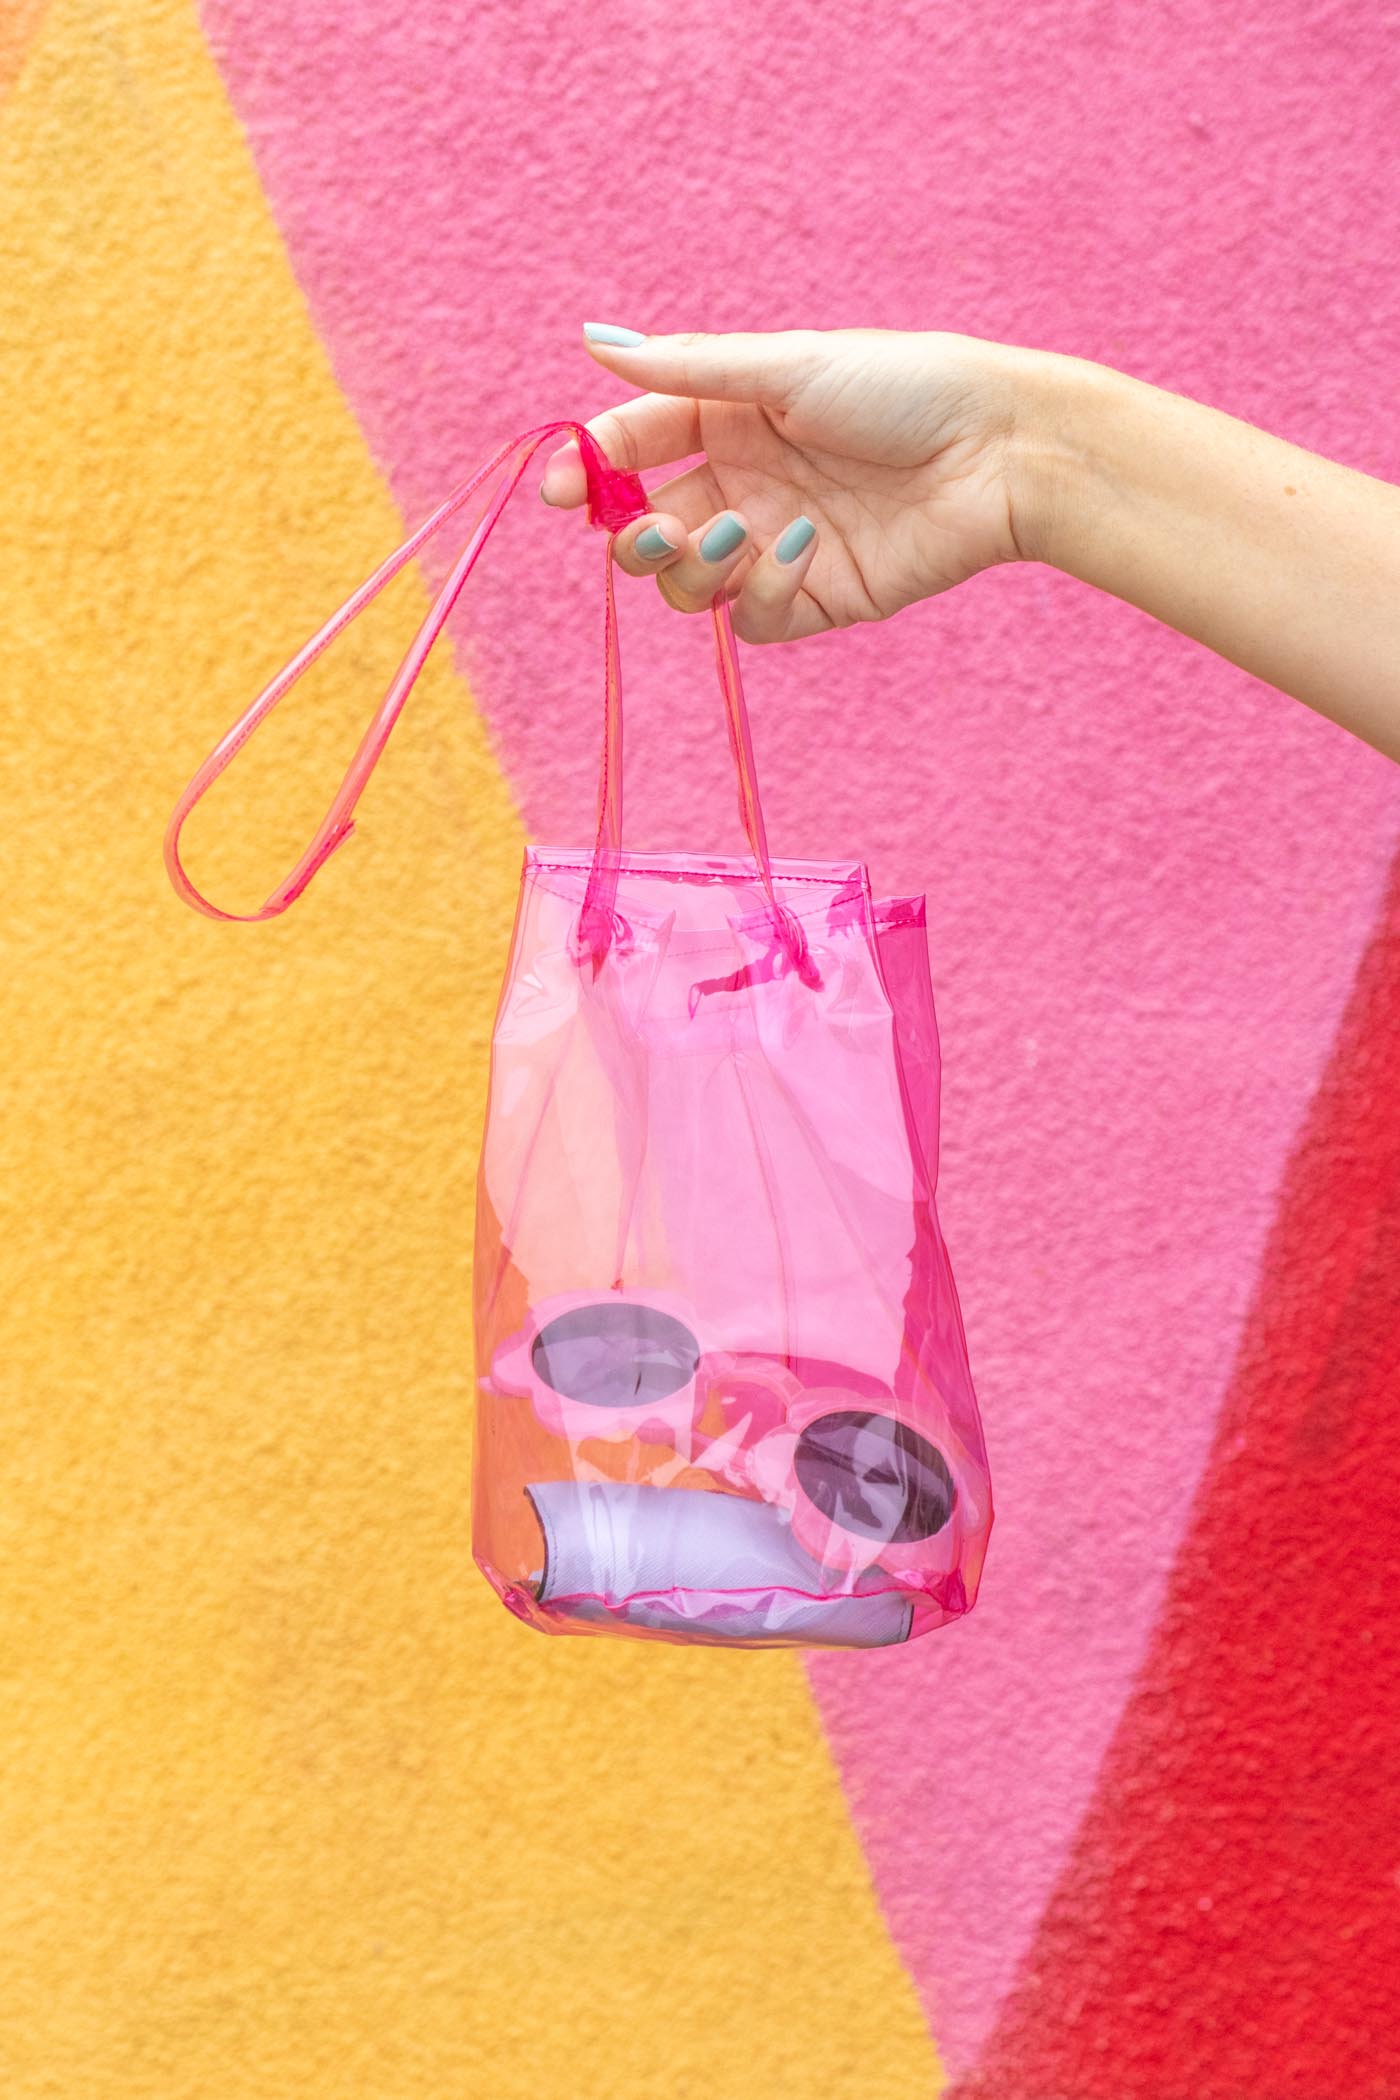
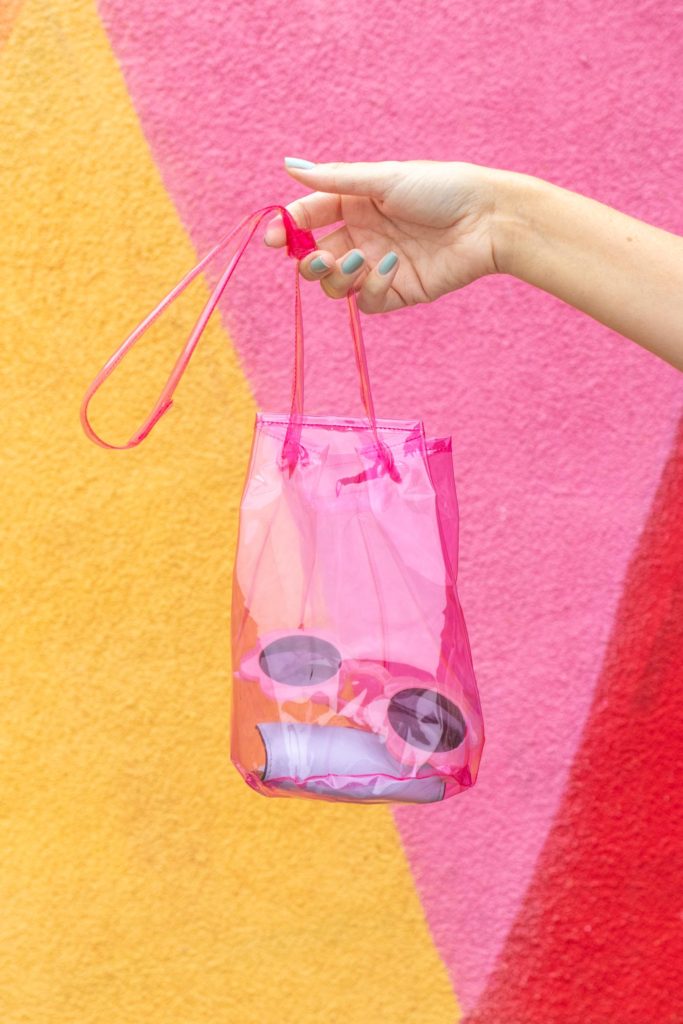
During one of my last JOANN trips, I spotted this colorful clear vinyl fabric and knew it was PERFECT for making a vinyl bucket bag! Clear bags are a big trend right now, and this pink vinyl was just calling my name. Whether or not you want to use the same type of fabric, you can still follow this tutorial for how to make a vinyl bucket bag that’s perfect for all your summer adventures. Honestly, DIY bucket bags are surprisingly easy to sew, so I want one of these vinyl draw string bags in every color now!
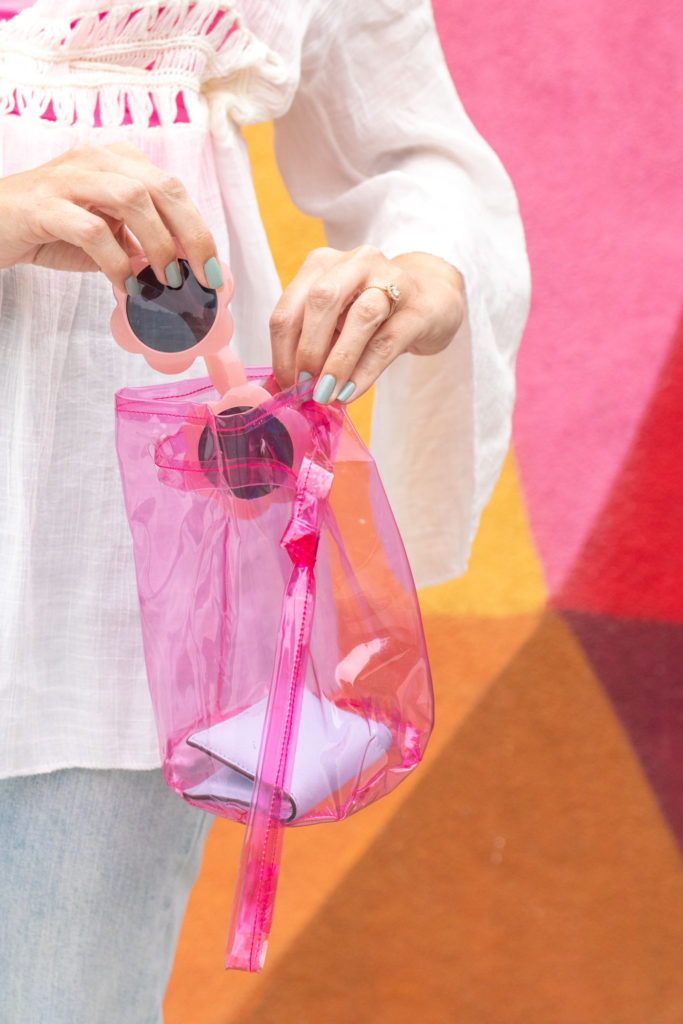
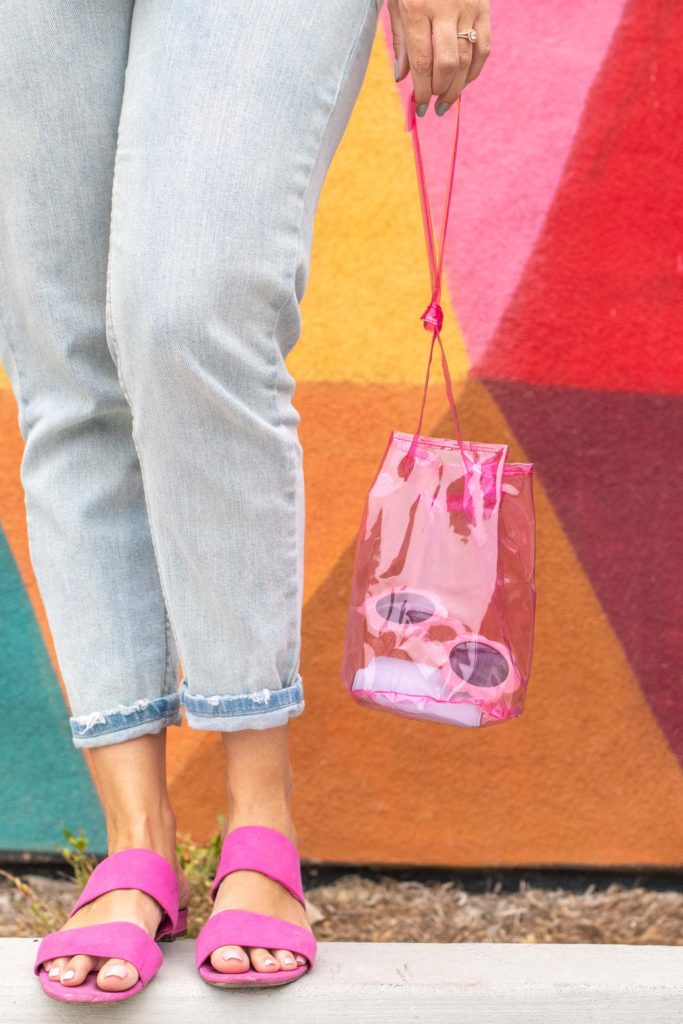
I consider this vinyl bucket bag a bucket bag because of its round bottom that resembles a bucket, but you could also call this a DIY draw string bag because it is closed with a draw string strap. The combination of the two make this vinyl bucket bag the trendiest thing I own right now, ha! No, really, I’m not trendy and I’m not cool 😂
This is a beginner sewing tutorial that I hope anyone can follow! The most difficult part of this bucket bag tutorial is sewing the rounded bottom because the fabric has minimal movement, so it just takes a little patience. Any problems? Thank god for seam rippers! Don’t worry though – it won’t come to that. Have fun with this DIY bucket bag!
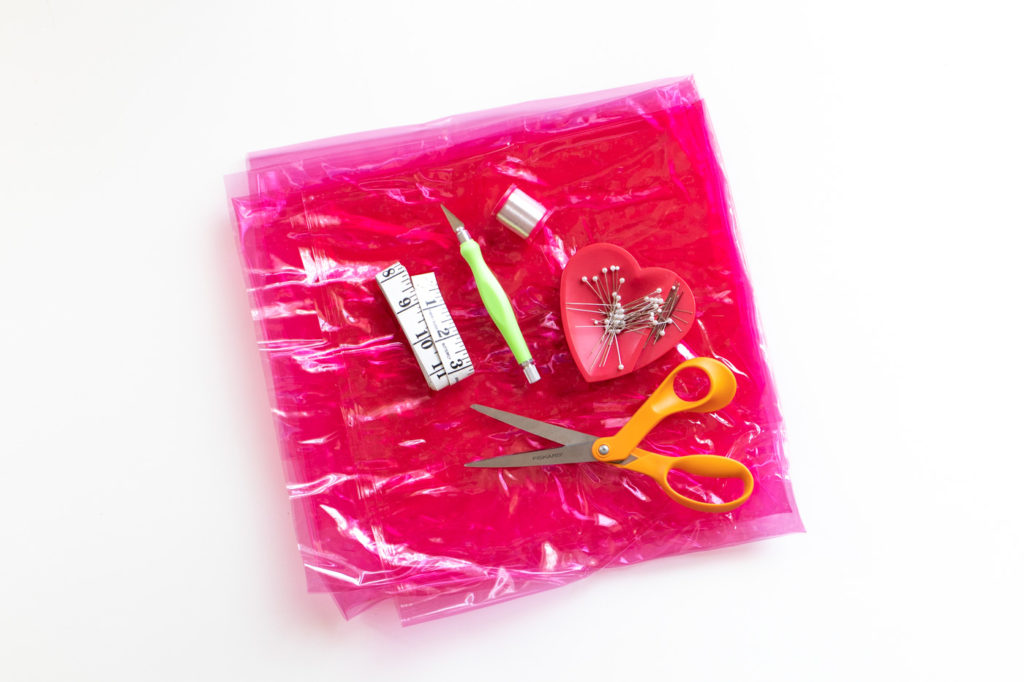
Supplies:
- 1/4-yard colored clear vinyl
- Scissors
- Craft knife
- Clear or matching thread
- Pins
- Measuring tape
This particular clear vinyl fabric is not available online, so I recommend visiting your local JOANN store to find it (similar here).
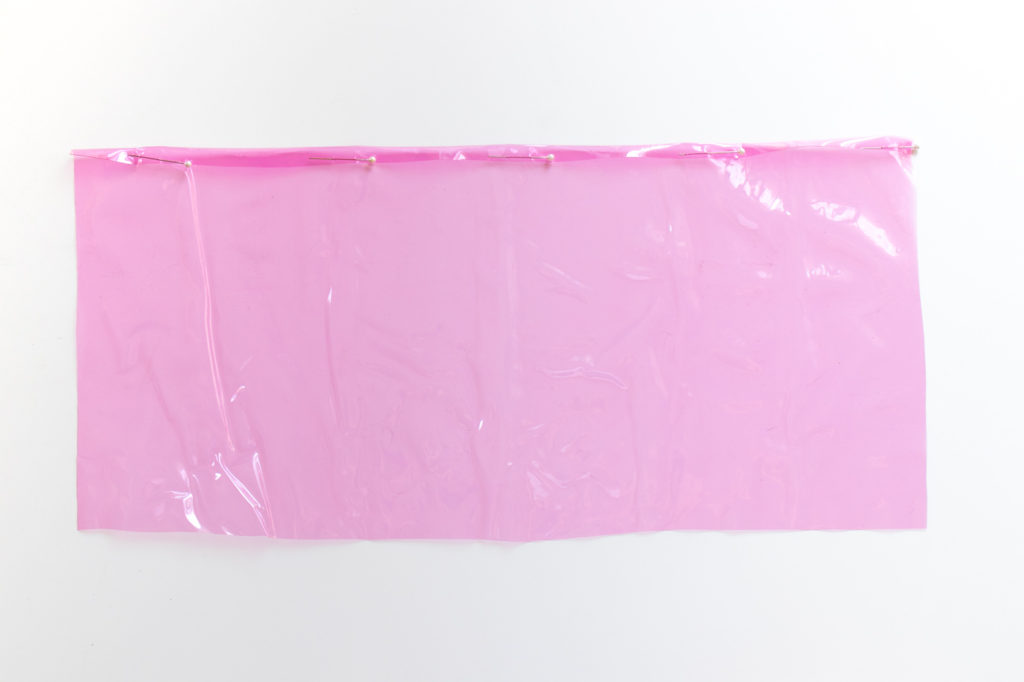
Step 1: Cut a piece of vinyl about 18 x 9 inches. Fold a thin seam along one long edge and pin. Sew across, back stitching at each end.
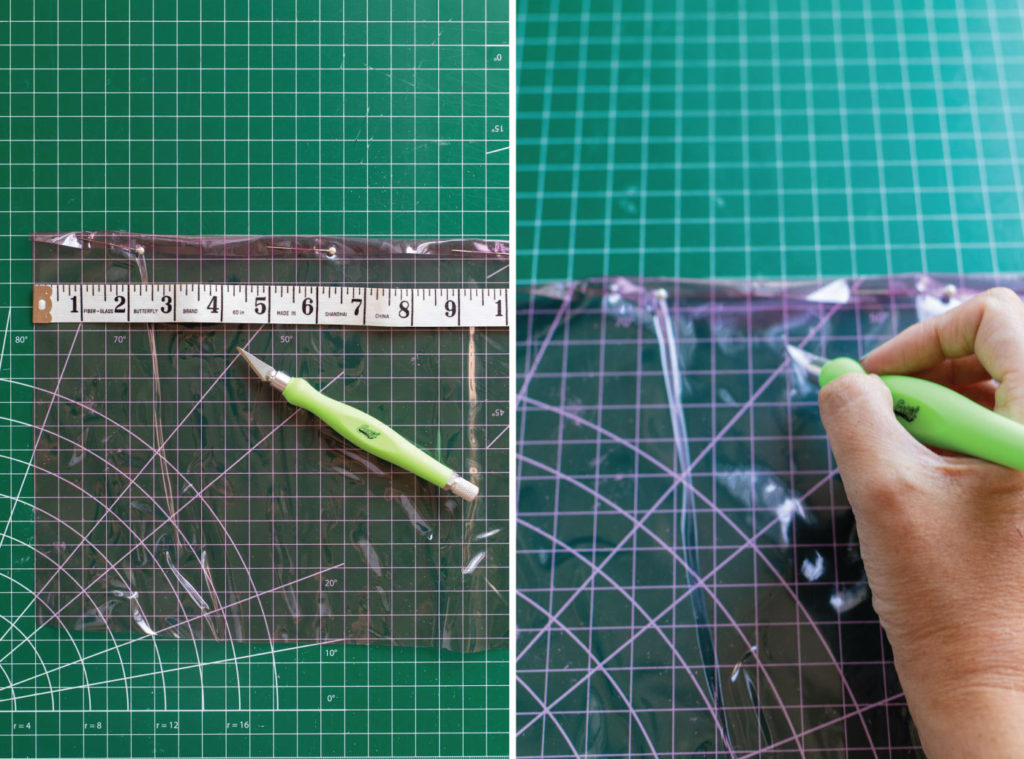
Step 2: Lay out the vinyl rectangle on a safe cutting surface. Use a measuring tape or ruler to measure approximately every 2 inches across the top (seam side), starting about 1 inch from the seam. Cut straight, equal sized lines about 1-inch long. These openings will hold the bucket bag strap.
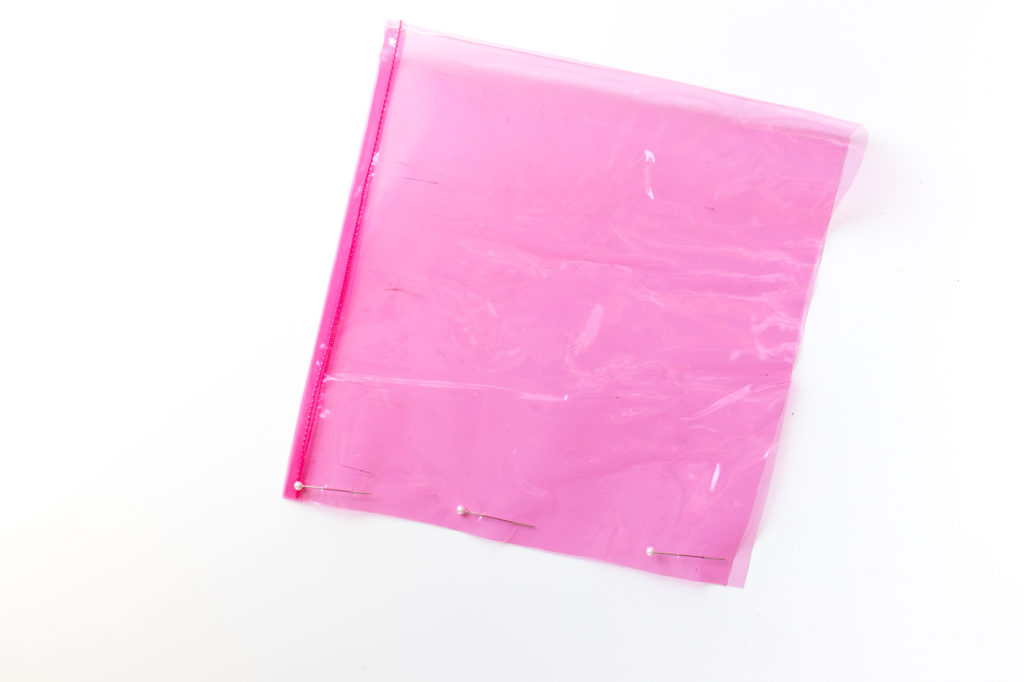
Step 3: With the wrong side facing out, fold the vinyl in half and pin. Sew along the edge.
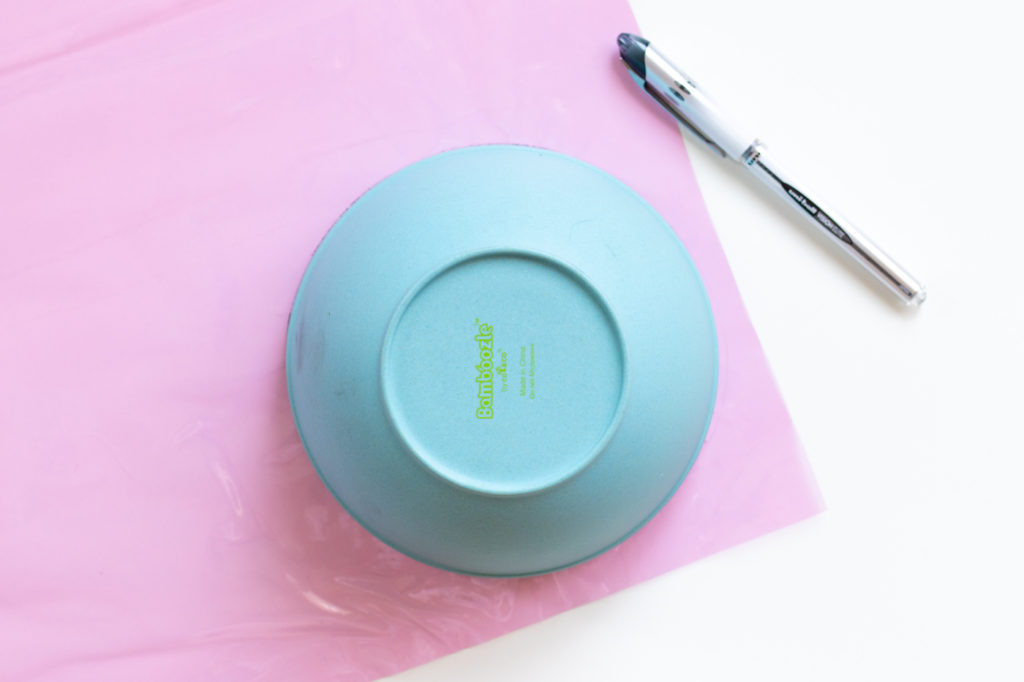
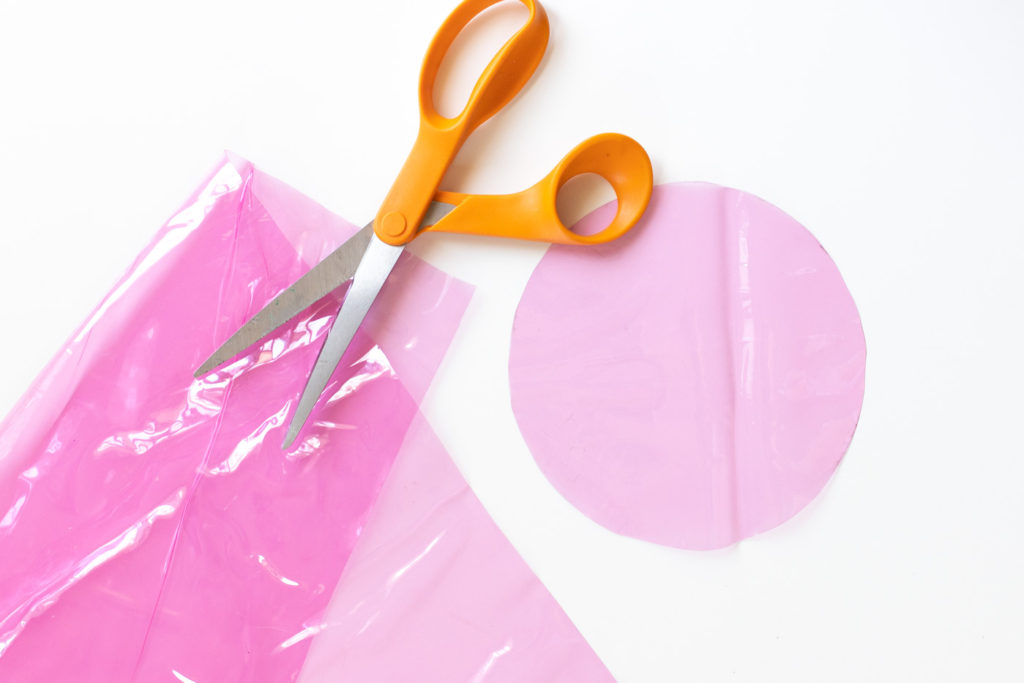
Step 4: Use a bowl or other template to cut a circle out of the remaining vinyl about 6 inches wide.
Note, you can use a pen to lightly trace the bowl. Once the circle is cut, use a damp cloth to remove remaining marks.
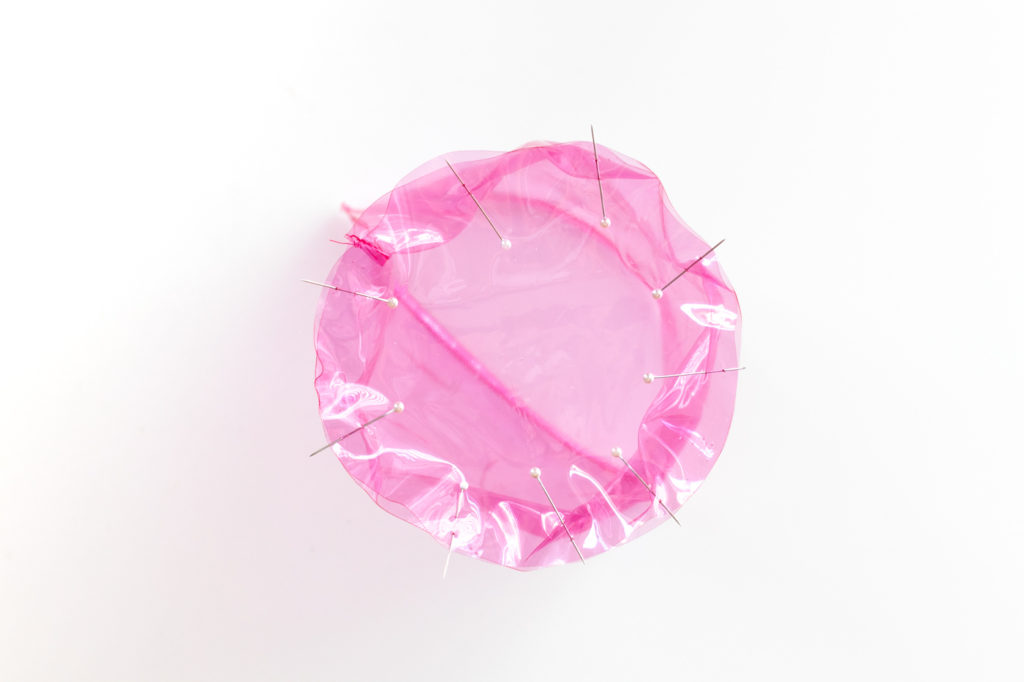
Step 5: Leave the vinyl wrong side out. Pin the vinyl circle to the bottom (no seam) side of the bucket bag. Then carefully sew all the way around so that the bag maintains its round shape.
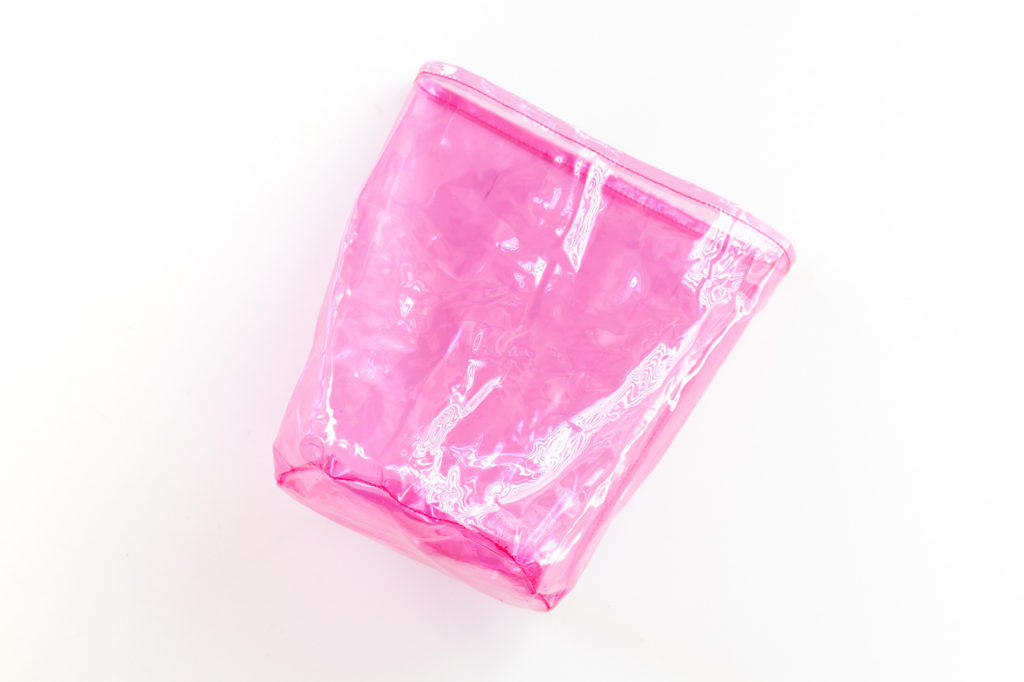
Step 6: Trim excess thread and turn the vinyl bucket bag right side out, reshaping as needed.
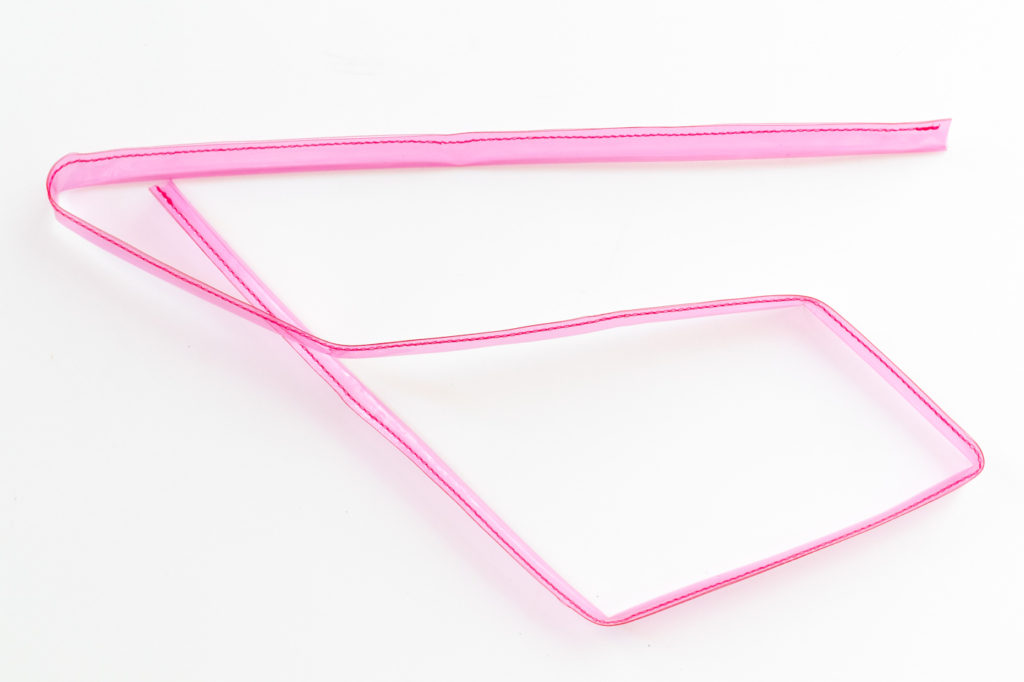
Step 7: Cut a very long piece of vinyl 1-inch wide to make the bag strap. Fold it in half and sew down the entire strip.
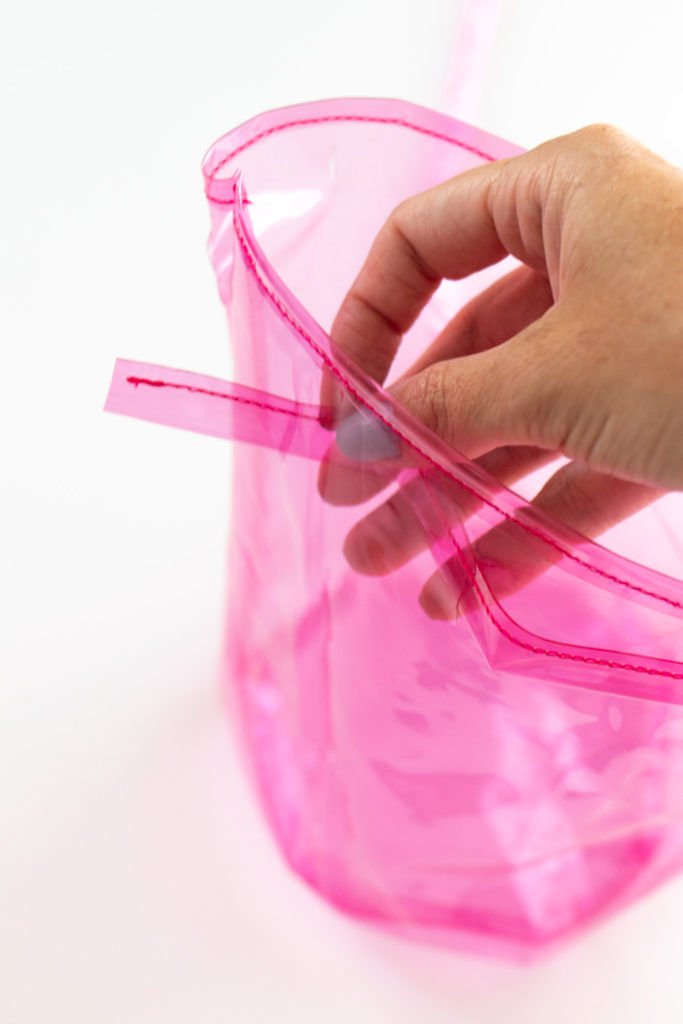
Step 8: Thread the sewn strap in-out through the cuts in the top of the vinyl bucket bag. When you reach the end and both sides of the strap are together, pull somewhat tightly and knot the strap.
Step 9: Lastly, join the loose ends of the strap together in a loop. Layer one side on top of the other slightly and sew in place. (You can trim the straps to your desired length before sewing in a loop.)
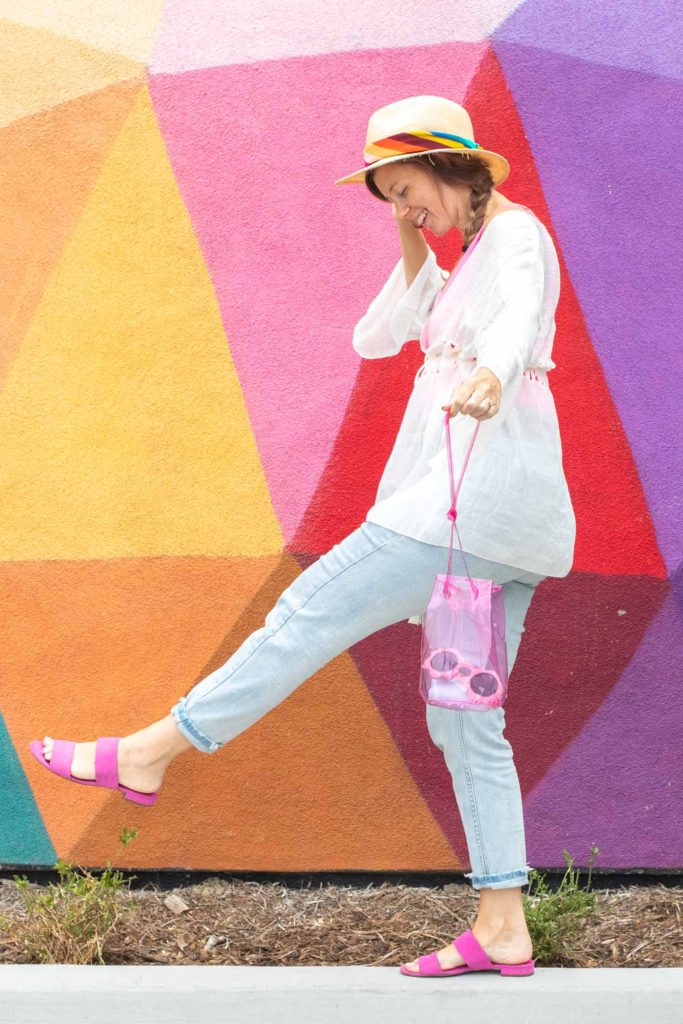
Now that you know how to sew a vinyl bucket bag, you’ll want one in every color vinyl you can find! I know I do now! I’ve been using this bag for over a week now and it’s my new favorite, so I hope you’ll love your new DIY bucket bag as much as I do! I took it on our excursion to the beach last weekend and, I have to admit, it was nice to quickly see where everything in my bag was without the digging!
PS, how cool is this mural in Laguna Beach?!
