The following post is sponsored by JOANN + Rust-Oleum
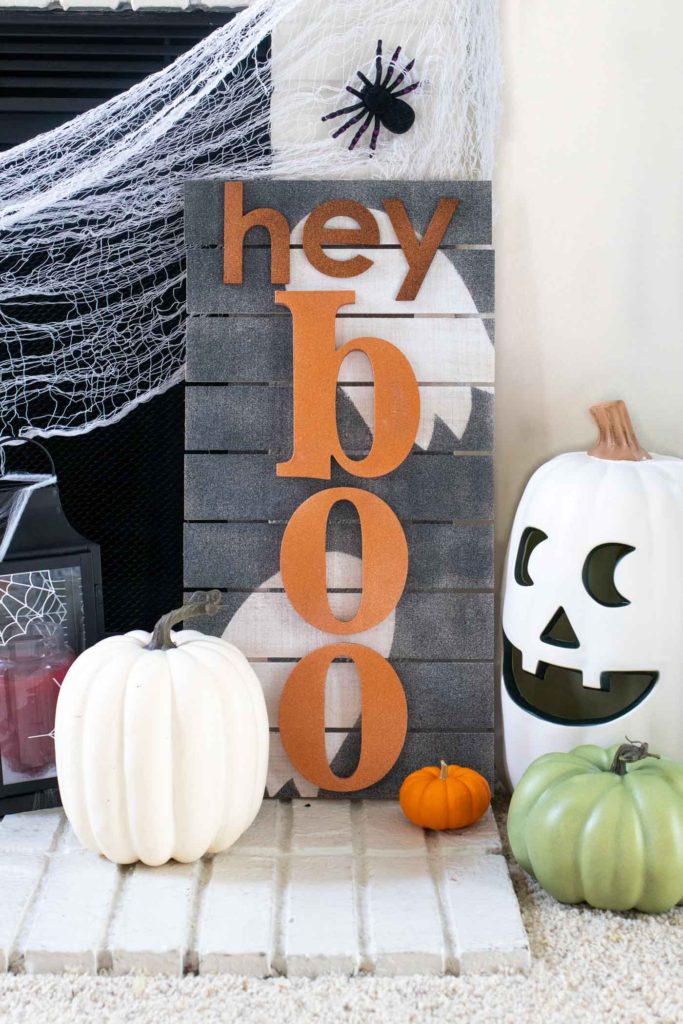
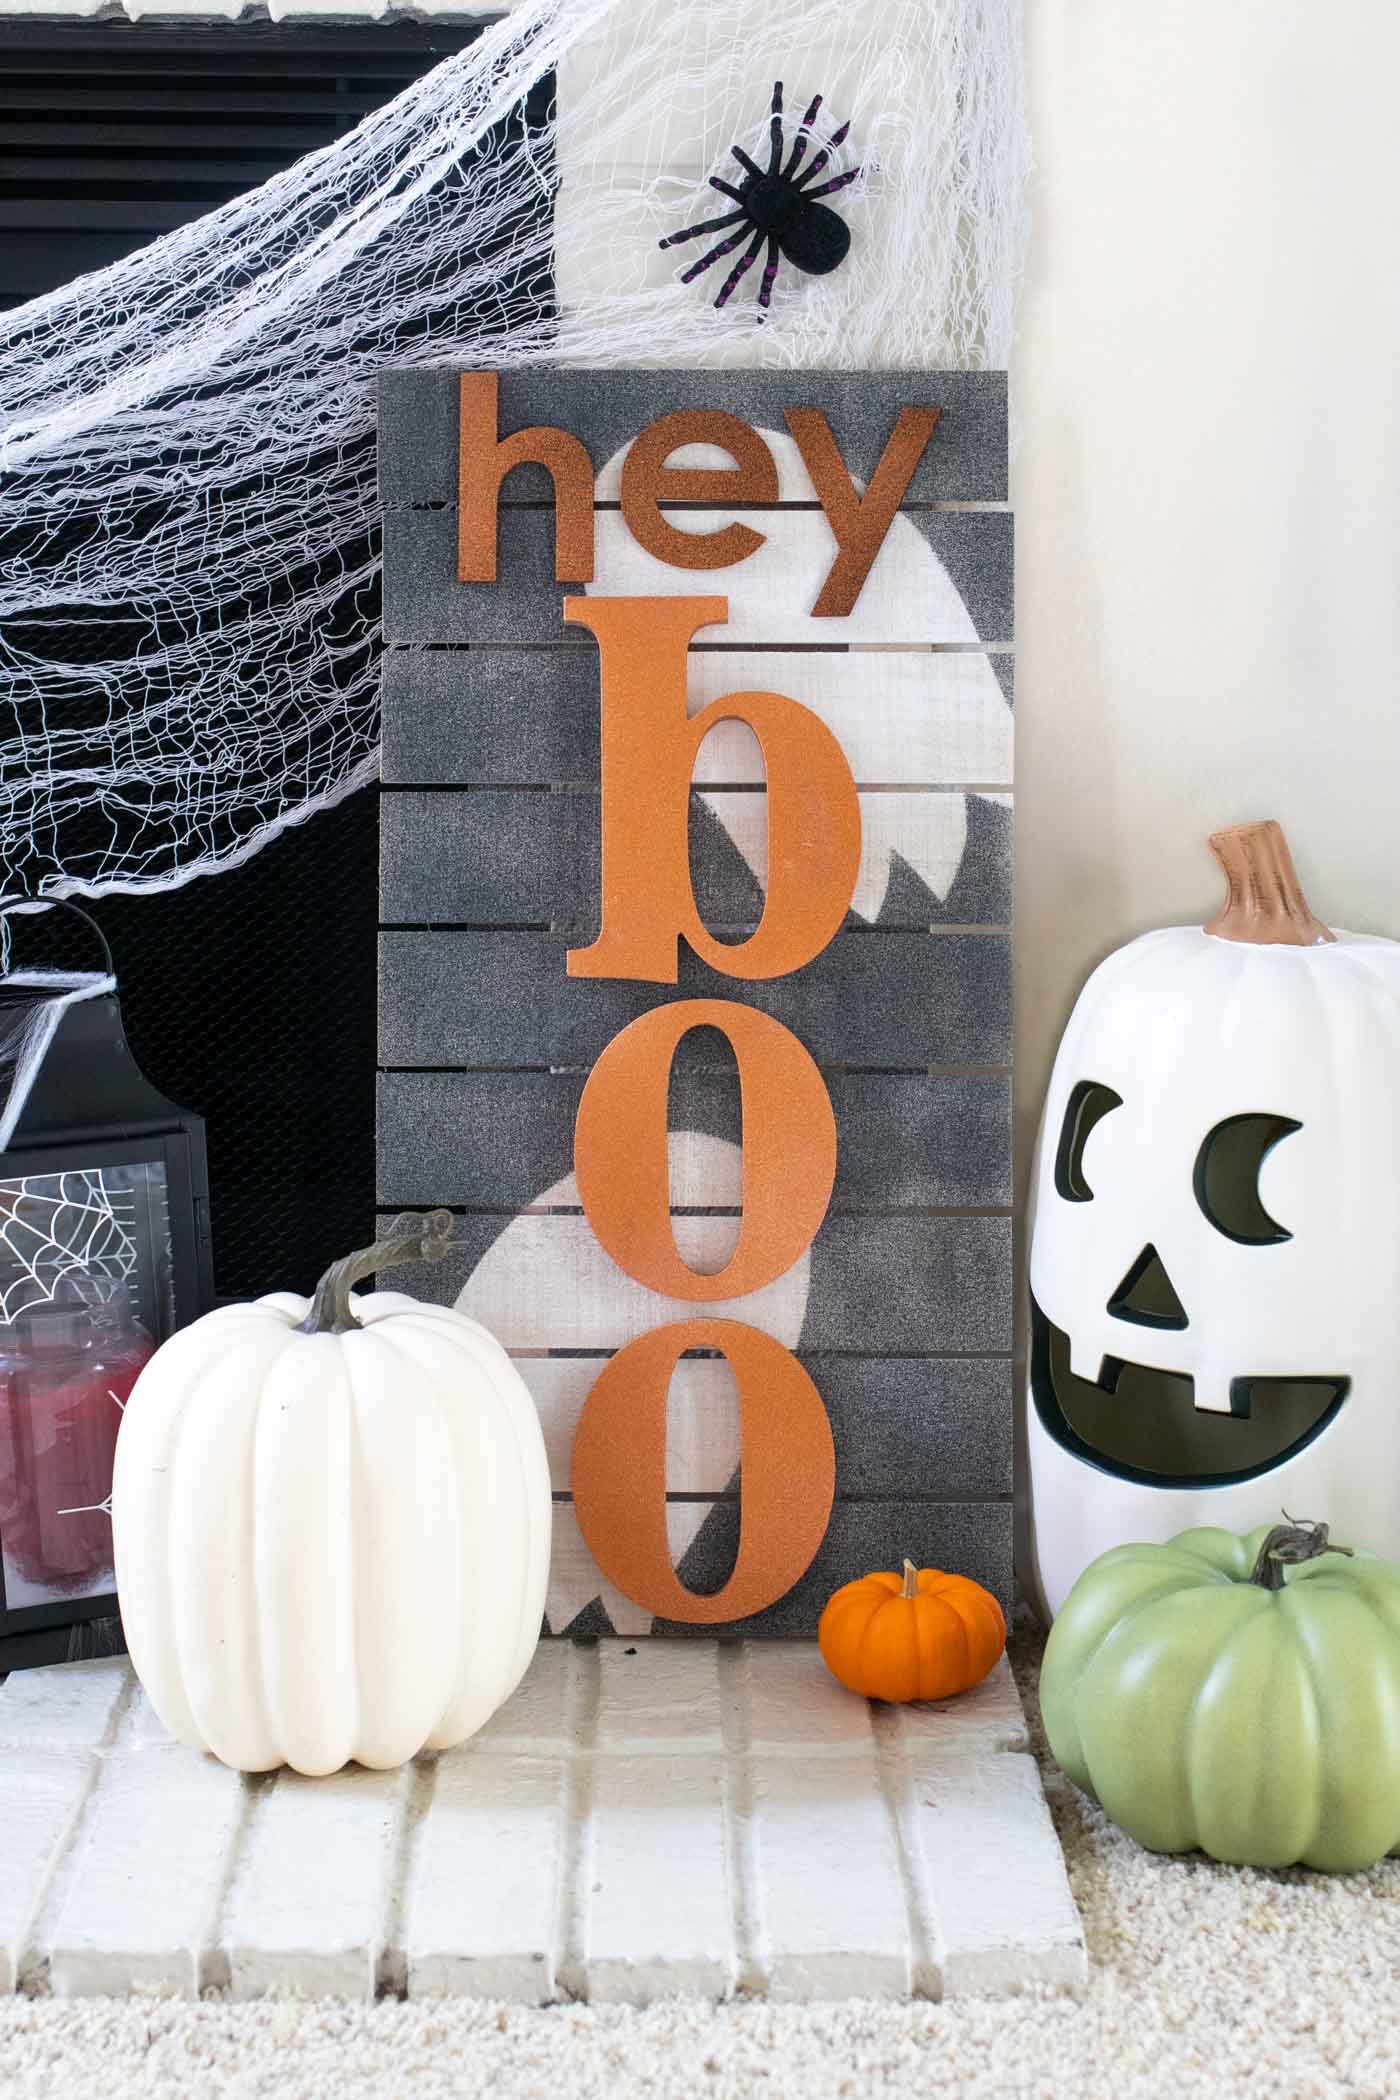
You know I love a good pun, and what better way to greet your guests than with a punny Halloween sign that welcomes them with “hey boo?!” I got to play around with Rust-Oleum’s NEW Imagine collection of spray paints, featuring new types of finishes available at JOANN. The new Rust-Oleum Imagine Glitter paints and a wood supplies from JOANN were perfect for creating this wooden Halloween sign with ghost silhouettes. You can hang it or prop up indoors or outdoors for fun Halloween decor. After all, my Halloween style is anything but scary!
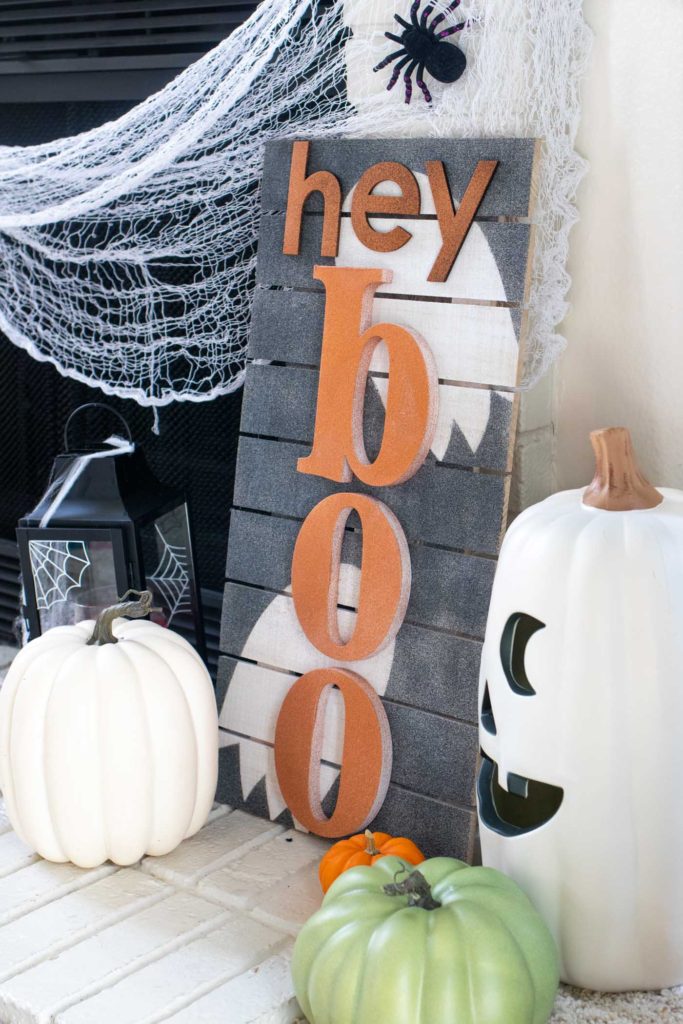
Halloween puns are my favorite. I think we could officially dub Halloween the most punny holiday!
Pick out your favorite pun and head to your local JOANN to pick out a background and letters. I combined two letter styles to spell out my “hey boo” sign. Grab your favorite color combination of Rust-Oleum spray paints and get to work! For best results, consider making this punny Halloween sign over the course of two days to allow the paint plenty of time to dry between steps.
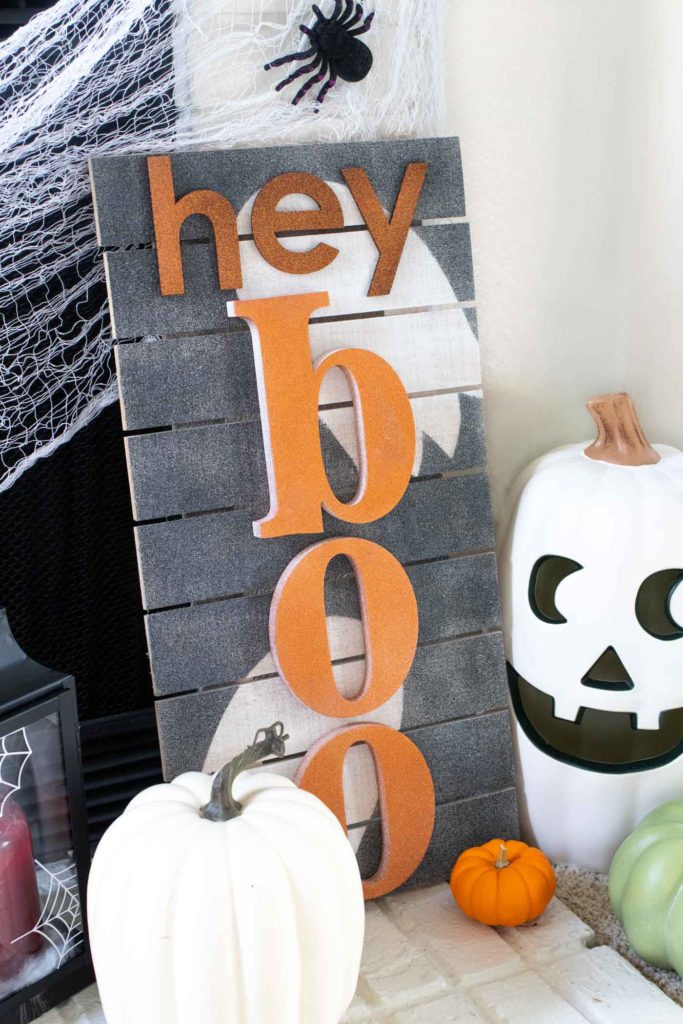
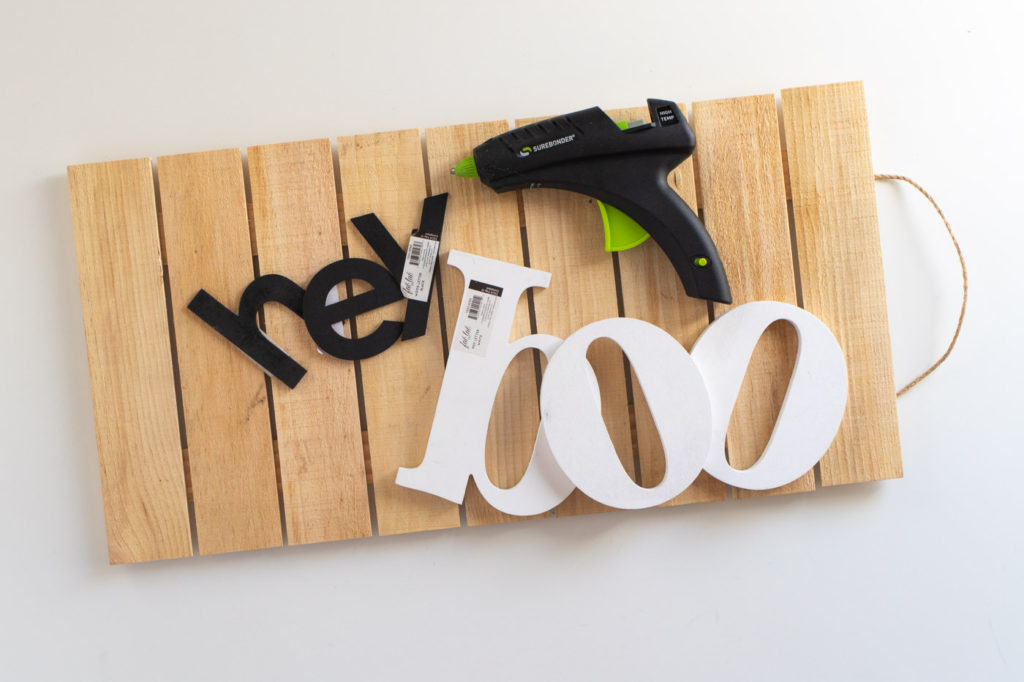
How to Make a Custom Wood Halloween Sign
Supplies:
- Wood plank background
- Wooden letters
- Paper
- Harvest Orange Rust-Oleum Imagine Glitter spray paint
- Midnight Black Rust-Oleum Imagine Glitter spray paint
- Linen White Rust-Oleum Imagine Chalked spray paint
- Rust-Oleum Imagine Clear Glitter Sealer
- Glue gun
- Latex gloves
Make sure you check that your desired letters/saying fit comfortably on your punny Halloween sign background before you begin!
Step 1: On a covered surface in a well-ventilated area, spray the entire wood background with the white chalk paint. Paint two coats if needed to achieve your desired result.
Note, because the background is made of unfinished wood, it has a rustic look.
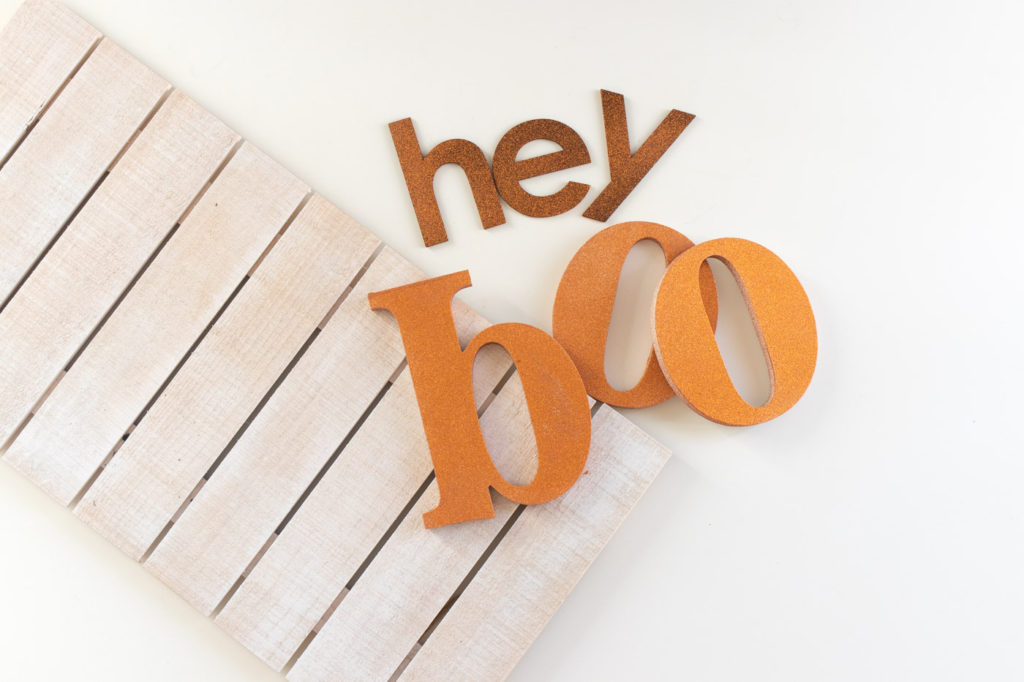
Step 2: Paint the letters with the orange glitter paint. Spray with 2-3 coats so that the letters are completely coated with colored glitter.
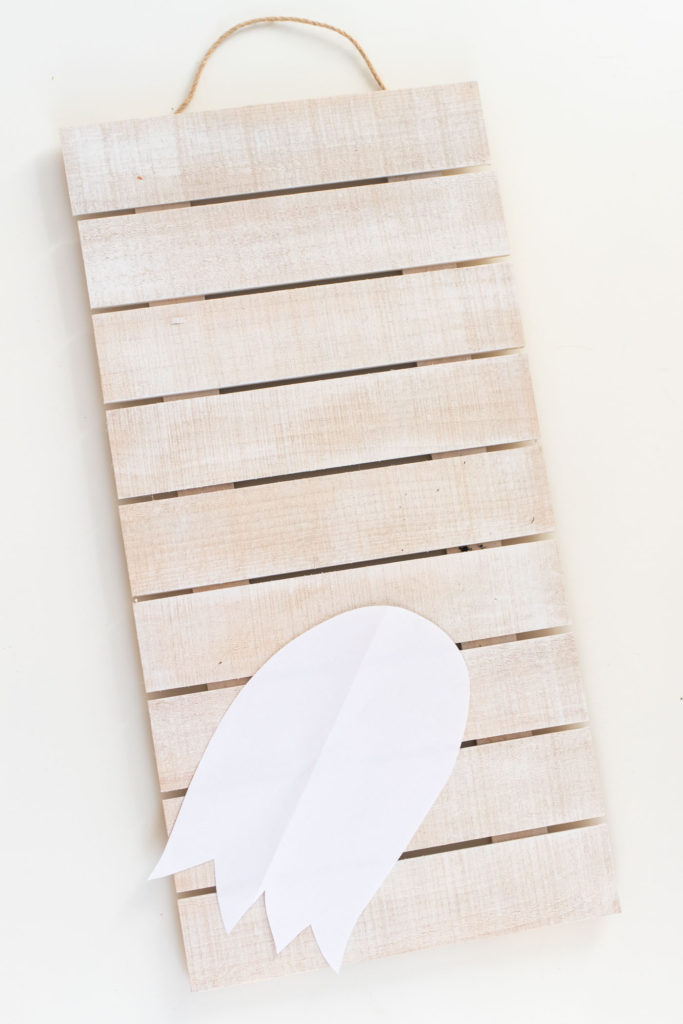
Step 3: Cut out two ghost shapes from regular printer paper or cardstock. Arrange them in your desired pattern on top of the dried background. You can use a little tape underneath to hold the papers down (optional).
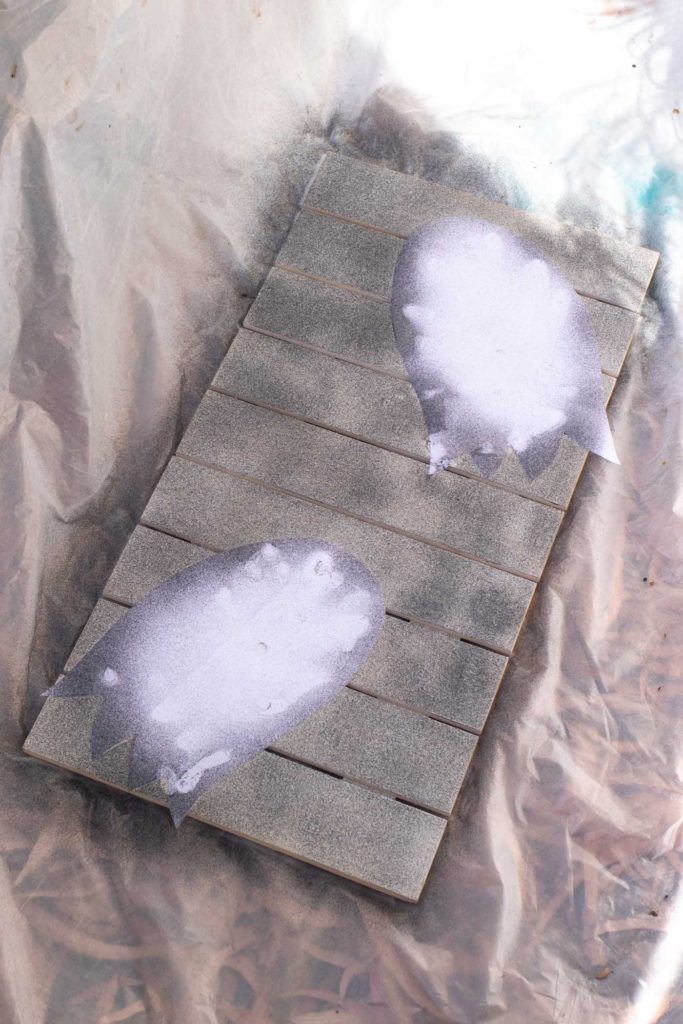
Step 4: Put on the gloves to protect your hands from the paint. Spray the background with the black glitter paint, using your gloved hands to hold down edges of the paper as you go. This will help ensure a crisp pattern. Paint at least two coats (above is one coat).
Step 5: Once the paint is dry, arrange the letters on your background. Generously glue them in place.
Step 6: Lastly, paint the entire punny Halloween sign with a coat of clear sealant. This will help seal the paint and protect it from the elements if you choose to hang it outside.
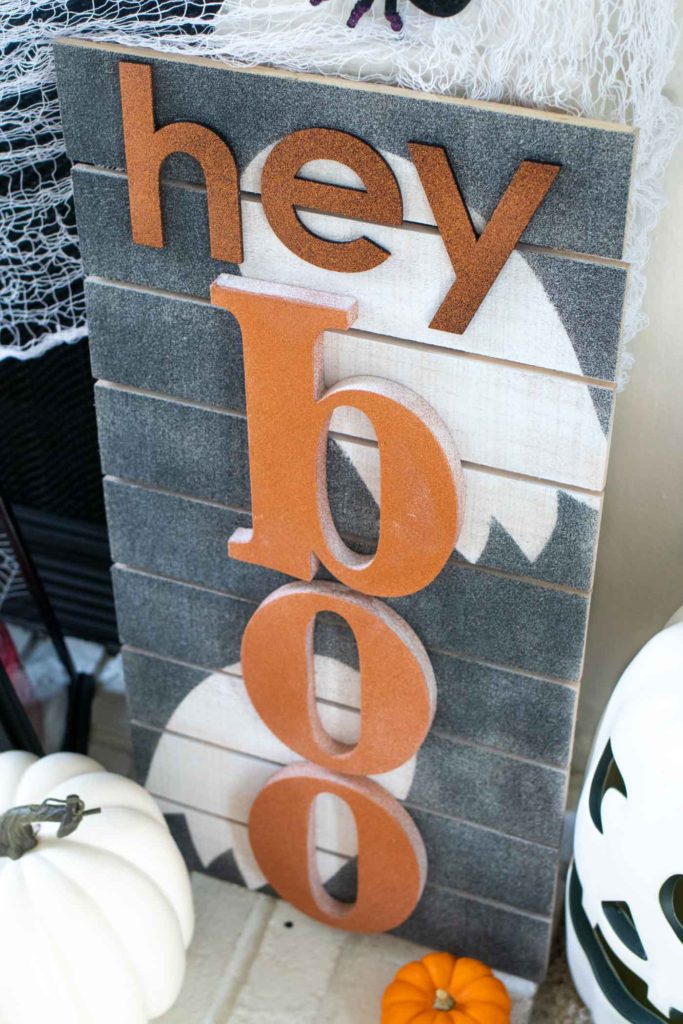
Now you can hang the wooden Halloween sign up or prop it against something to show your holiday spirit!
Thank you to JOANN and Rust-Oleum for sponsoring this post. All opinions are my own. Please note this post contains affiliate links from which I may collect a small profit should you choose to make a purchase. Thanks for supporting the brands that keep Club Crafted sharing!
