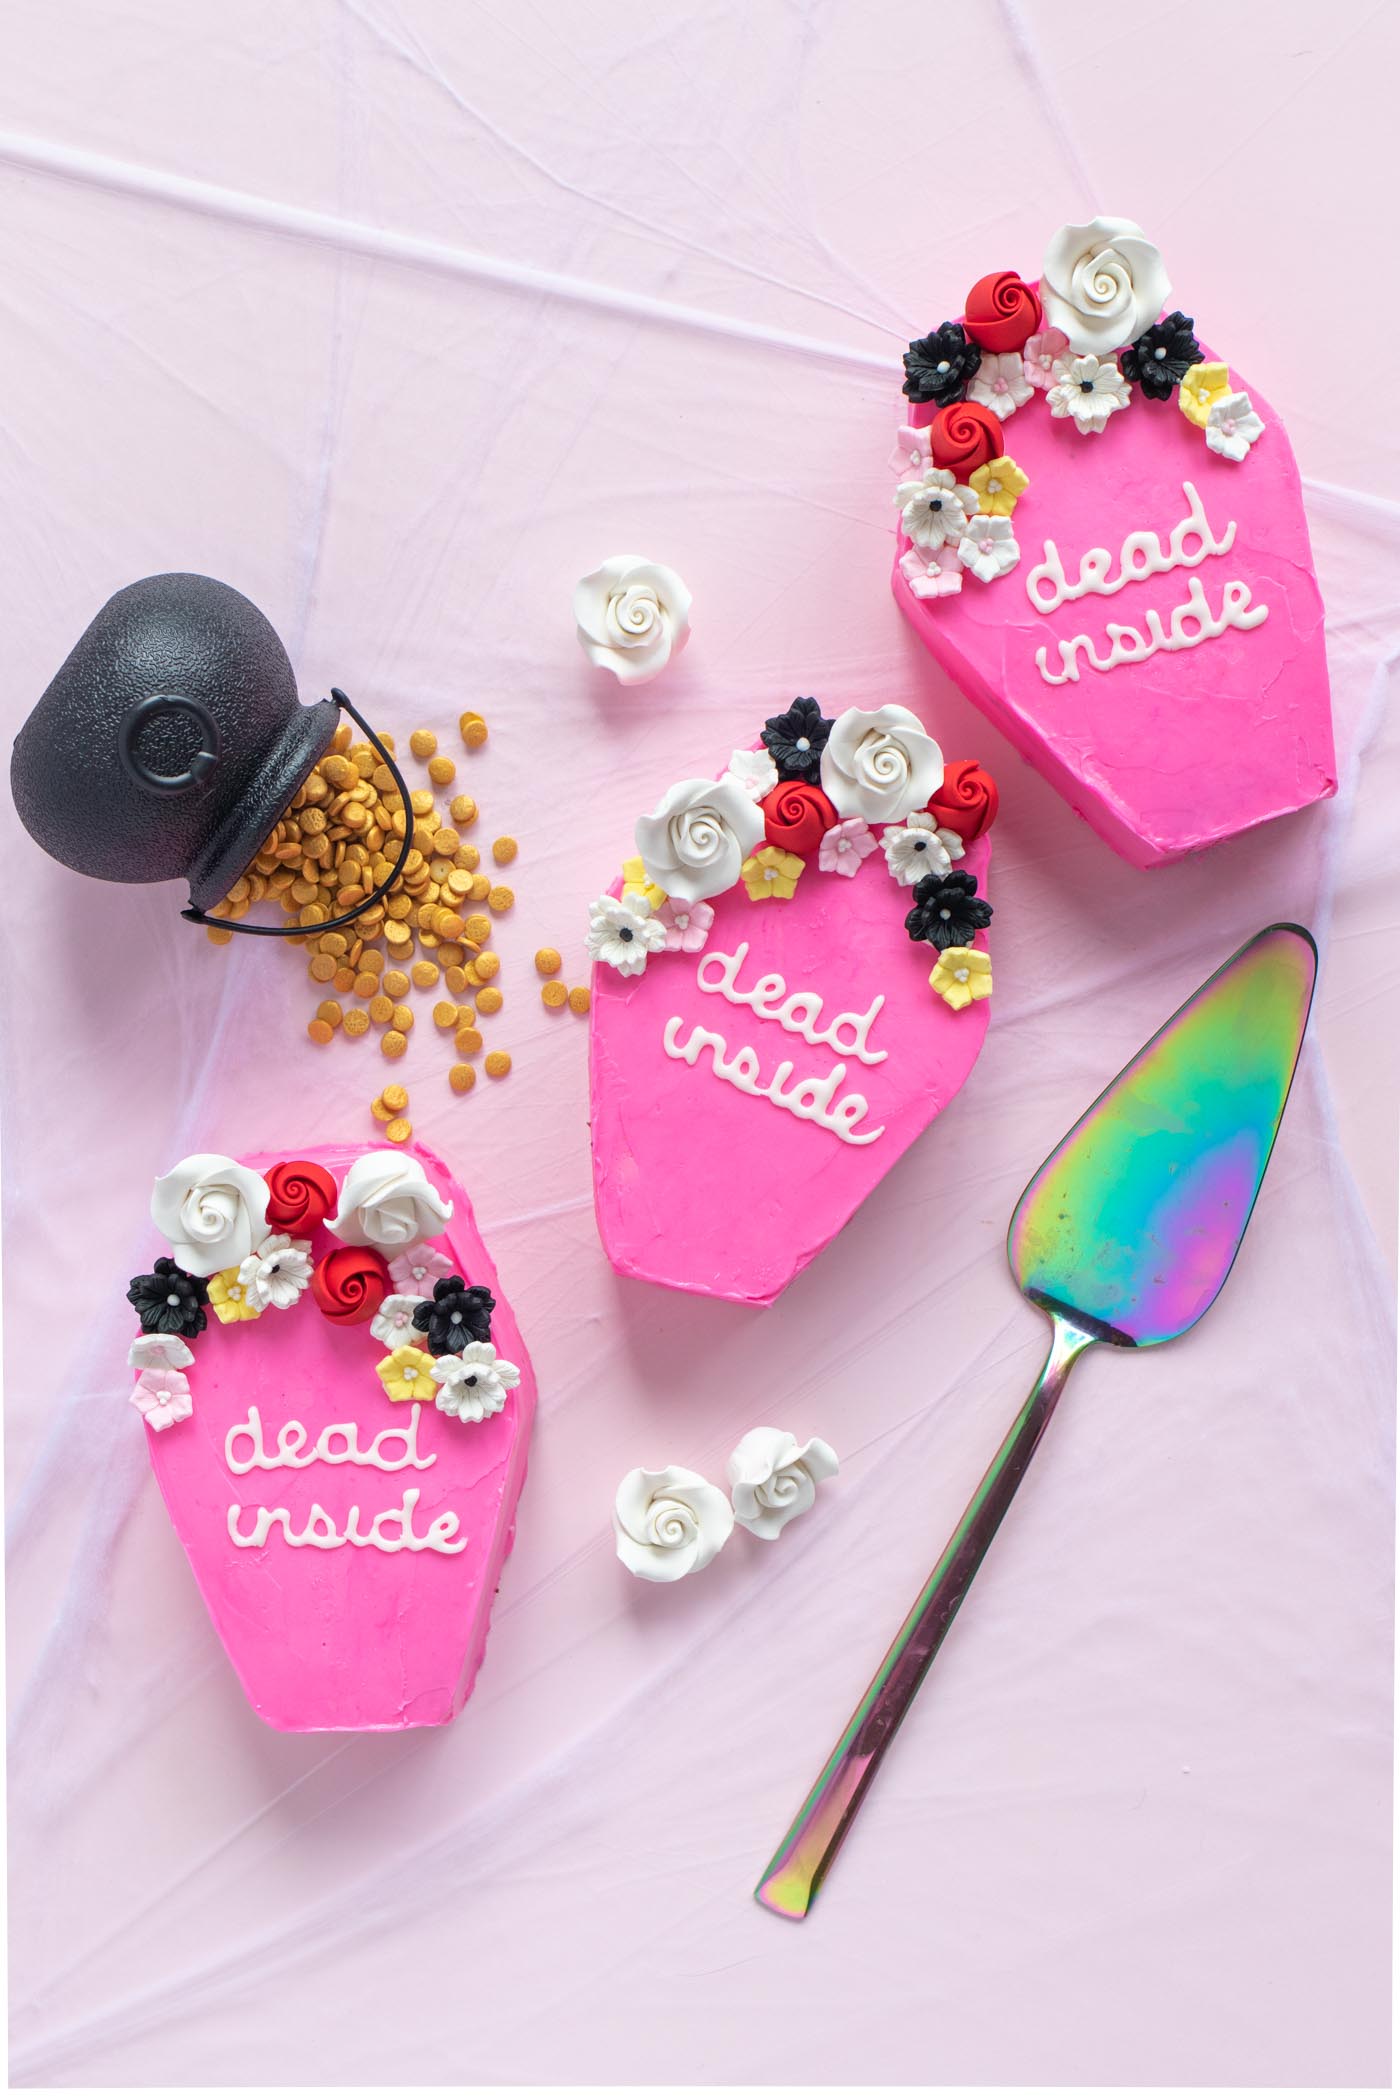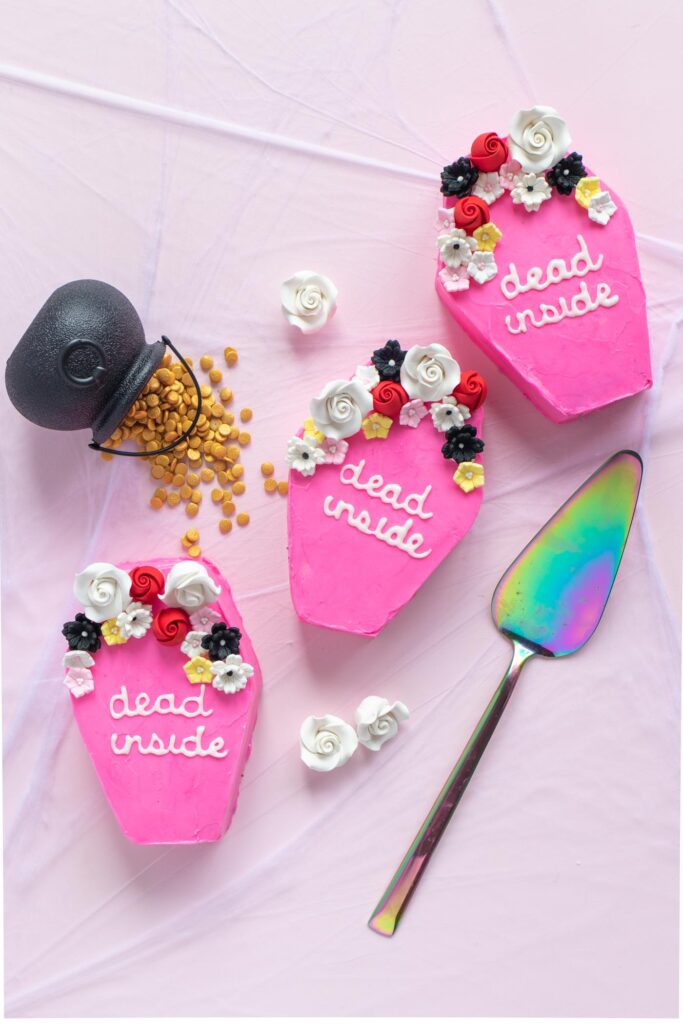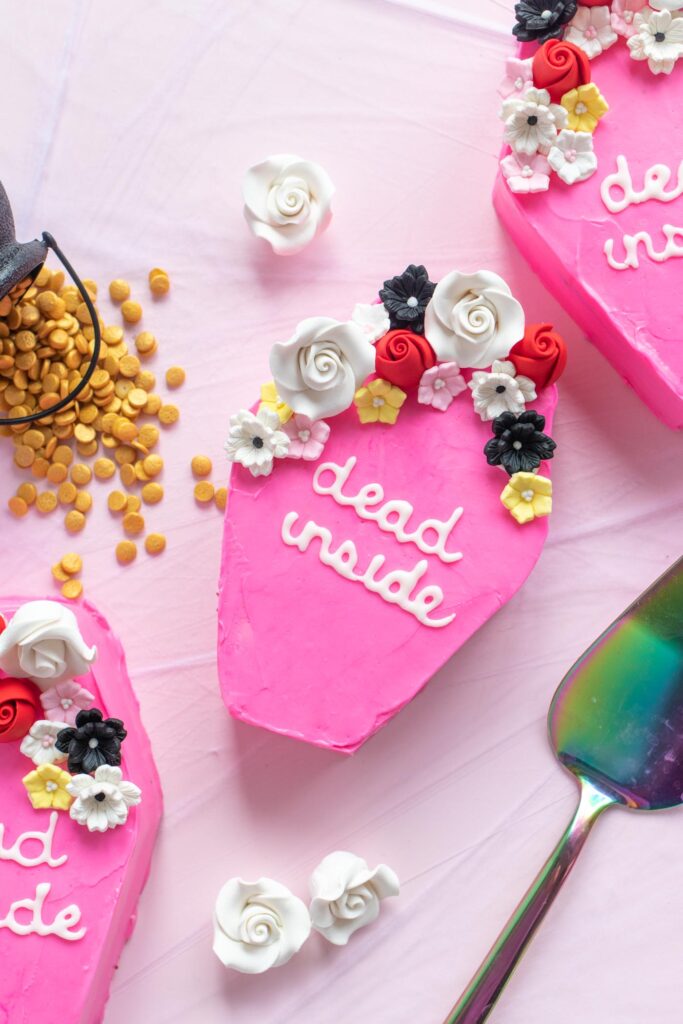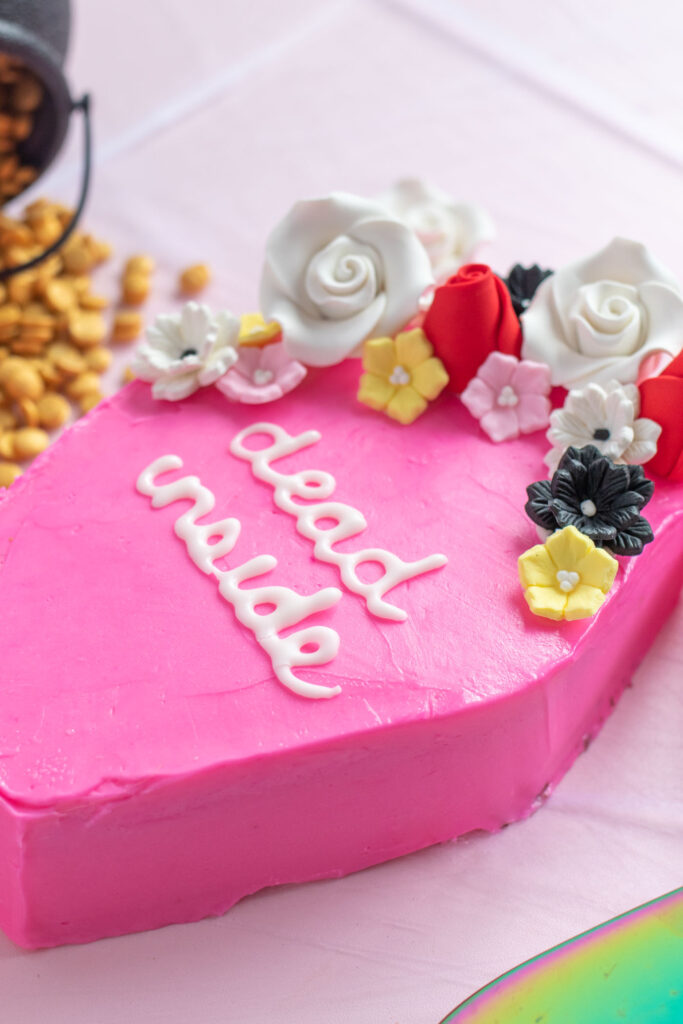

Sometimes you just love color but you also feel dead inside, ha! As a millennial, it’s always fun to poke at the stereotypes and make fun of the slang we all tend to use (like the exaggerated “dead inside”). To celebrate Halloween this year, I made a set of pink mini coffin cakes decorated with bright pink frosting, icing flowers and “dead inside” written in royal icing. You can make them as individual cakes for a Halloween party or gift them to friends! Have fun with it and mix up the design with your favorite colors and flavor combinations.

Grab your favorite cake mix and get baking! I used a simple chocolate cake for these mini coffin cakes, but you can use any you’d like. My classic vanilla cake is also a good go-to recipe.
Here’s how to make your mini coffin cakes with a mix of store-bought and homemade accessories! Remember, boxed cake mix is also amazing.
Supplies:
- Cake recipe of choice
- 9 x 13 baking pan
- Large coffin cookie cutter
- Vanilla buttercream
- Pink food coloring
- Icing flowers, variety of styles
- Printout of “dead inside”
- Wax paper
- Angled spatula
- Pastry bag
- Small round piping tip
For the Royal Icing:
- 2 cups powdered sugar, sifted
- 1 1/2 tbsp meringue powder
- 3-5 tbsp water
How to Cut Out Mini Coffin Cakes
Step 1: Bake your cake in a 9 x 13 cake pan according to recipe instructions. Allow to cool completely and remove from the pan.
Step 2: Depending on the height of the cake, level the cake into two equal layers. If your cake is not very thick, thens ship. Then press the coffin cookie cutter into the cake to cut out the shapes.
Step 3: Prepare the buttercream frosting and dye your desired color, such as a bright pink. Layer the cakes with frosting. Then apply a crumb coat of frosting and refrigerate. Finish the cake with a smooth layer of frosting using the angled spatula. Refrigerate until the frosting is hard.
How to Write Letters in Royal Icing
Step 4: Prepare the royal icing. Sift the powdered sugar in a bowl and add the meringue powder. Add the water one tablespoon at a time and whisk to incorporate. It should be thick enough that dripping icing takes at least 10 seconds to spread back into the icing.
Step 5: Print out a paper with “dead inside” typed in your desired font. Make sure it will fit your cake. Lay it on a flat working surface and place a piece of see-through wax paper on top. Tape in place.
Step 6: Move the royal icing to a pastry bag fitted with a small round piping tip. Carefully trace the letters of “dead inside” onto the wax paper. Repeat as many times as needed. Let the letters sit at room temperature for several hours until completely hardened.
Note, it’s best to make more than you’ll need just in case some break!
Step 7: Now it’s time to decorate the mini coffin cakes! Use extra royal icing to add store-bought icing flowers around the frosted coffin cakes. Then carefully peel the wax paper away from the letters to place them on your cakes. If they break, that’s OK! They will fit back together.

Now get ready to party like the undead! It took me a few tries for the lettering to turn out right, so take time to practice if needed. This was a new technique for me, so I’m happy with the turnout! Happy Halloween, friends!
