The following post is sponsored by JOANN
By now, you’ve probably caught on to my love of Happy Planner. As I inch closer to our wedding date (eek!), I wanted to organize our wedding documents, track to-do lists and manage our budget. Using several journaling and budget accessories from JOANN, I started planning a wedding with Happy Planner! I keep a copy of my wedding contracts, corral my receipts, create bullet journal lists, make inspirational pages and, most importantly, track my most important expenses.
We’re six months out now, and Andrew and I still have a lot more money that we hope to raise in order to create the wedding and honeymoon that we want. My goal is to carefully track every bill, wedding payment and expense that may come up so I can focus on saving. In this case, I’m planning my wedding with Happy Planner accessories that I’ve customized into my own book. So many possibilities!
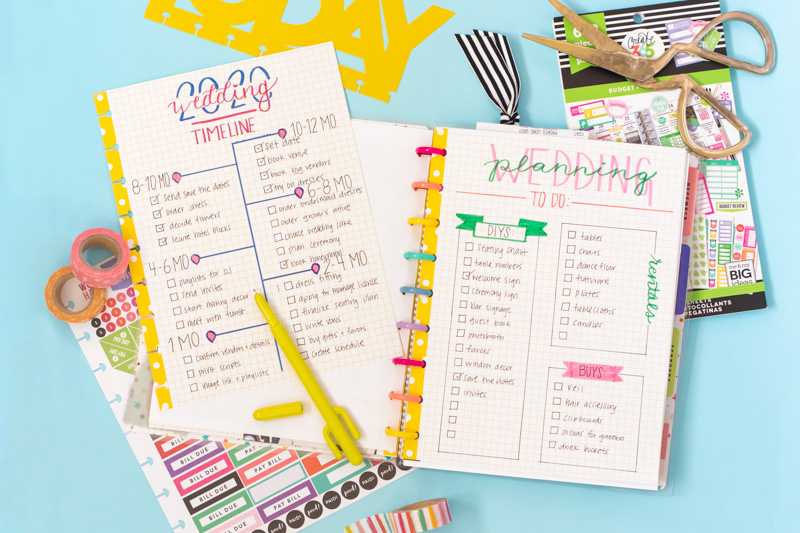
This is my first attempt at bullet journaling. Using the full-sized note pages for Happy Planner from JOANN, I created a timeline of important deadlines leading up to our wedding this June. Then I broke down other items into a checklist of to-dos. By combining different budget accessories, I have a calendar, expense tracking sheets, an array of budget stickers and classic note pages to work with. I combined them into a classic Happy Planner notebook.
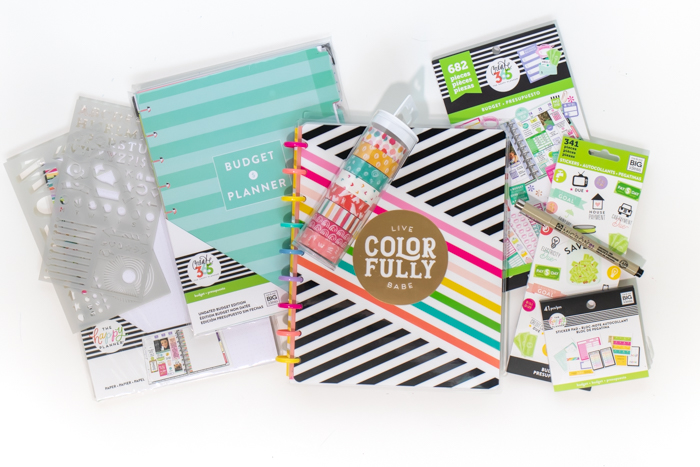
First, let’s go over a few supplies that are helpful for organizing your Happy Planner if you’re planning a wedding and a strict budget:
- Happy Planner Budget Edition Expansion Pack
- Budget Sticker Pads
- Budget Sticker Book
- Washi Tape (I love this pack!)
- Happy Planner Classic Paper Punch
- Happy Planner Grid Notes
- Bullet journal stencil (similar here)
- Pens
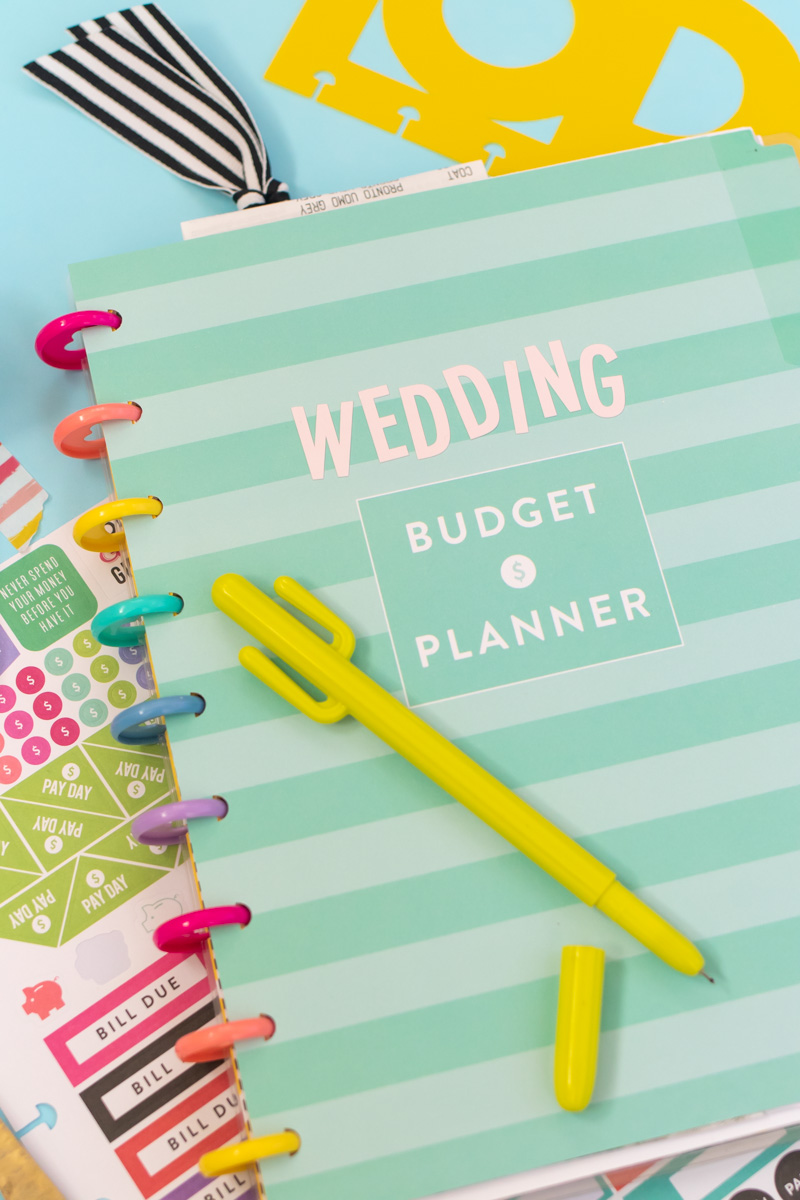
HOW I’M PLANNING A WEDDING WITH HAPPY PLANNER BUDGET ACCESSORIES
Here’s what you’ll find in my Happy Planner wedding planner:
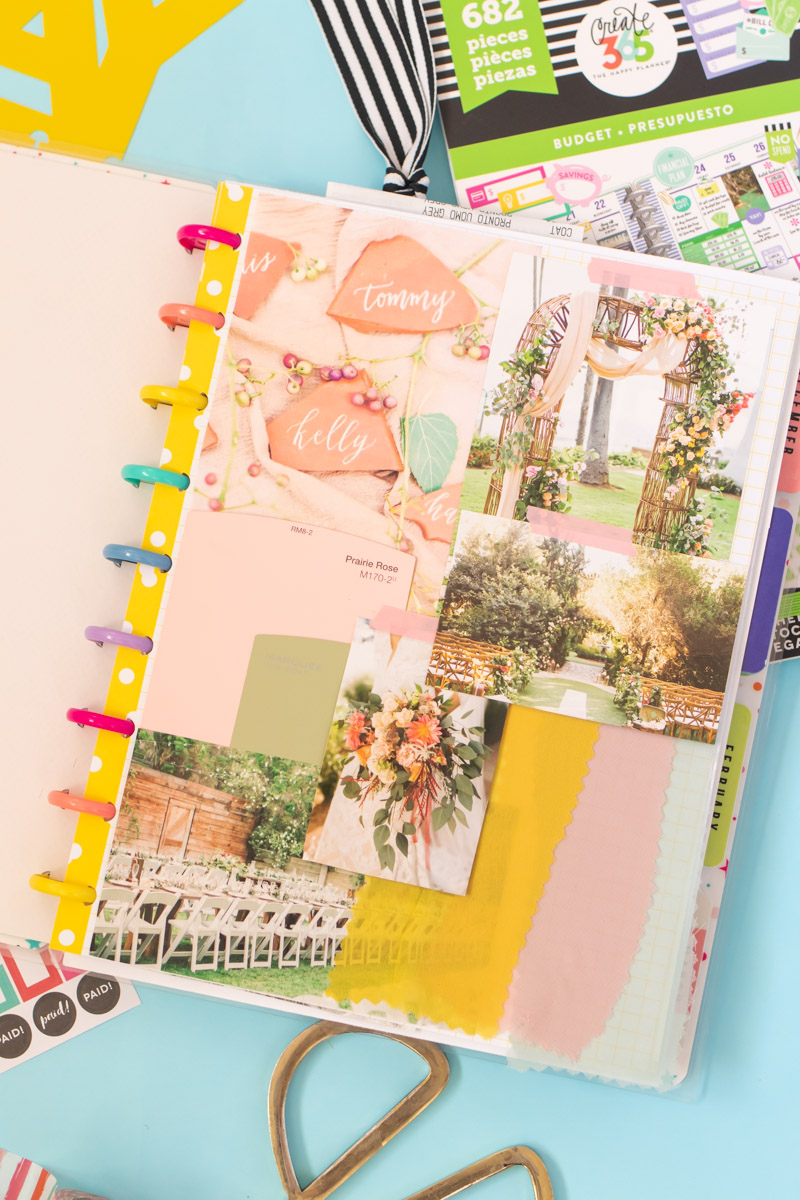
Inspiration Page: Because I had to take down my wedding inspiration board eventually, I moved the images to my Happy Planner. I layered my favorite pieces onto plain note pages in the book to keep track of my wedding vision.
Journaled Lists: Using a variety of pens, a ruler and grid note papers, I made lists and timelines. It’s easy to customize Happy Planner note pages to plan different aspects of the wedding! I combined different lists to boxes. The grid paper is perfect for making checkboxes!
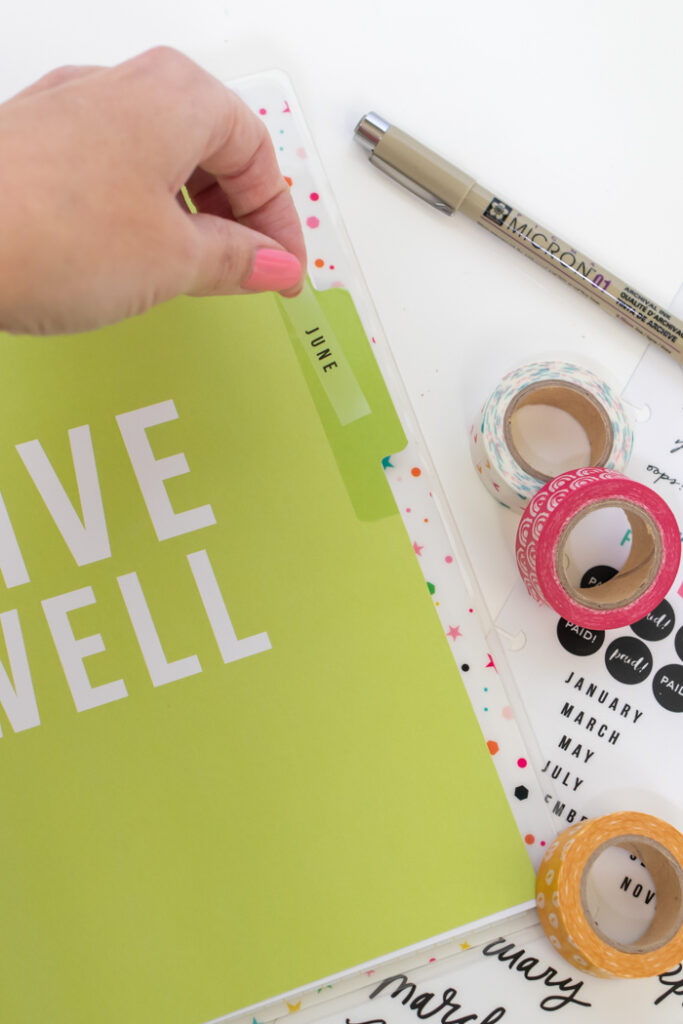
Psst, did you also notice my TODAY divider? That’s a DIY from the blog archives.
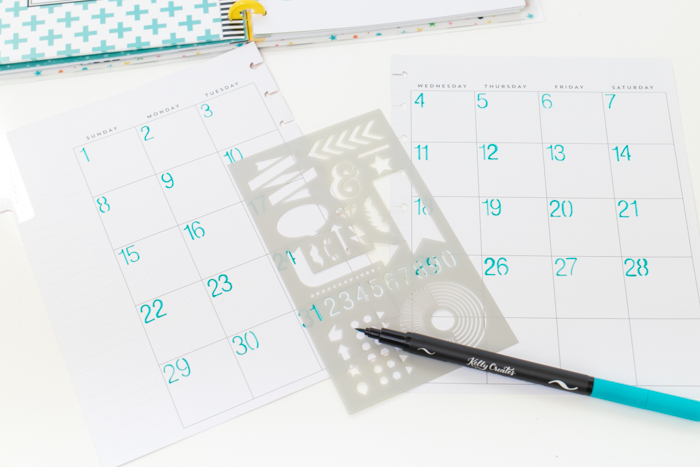
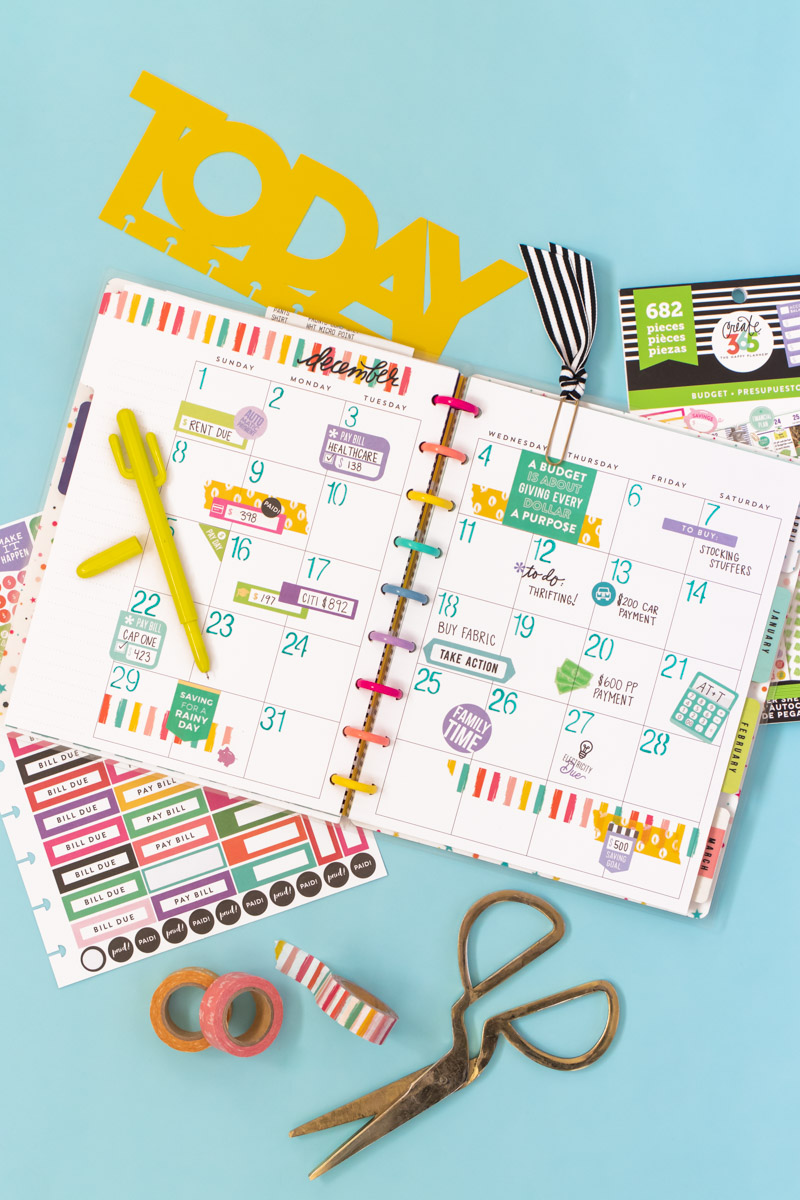
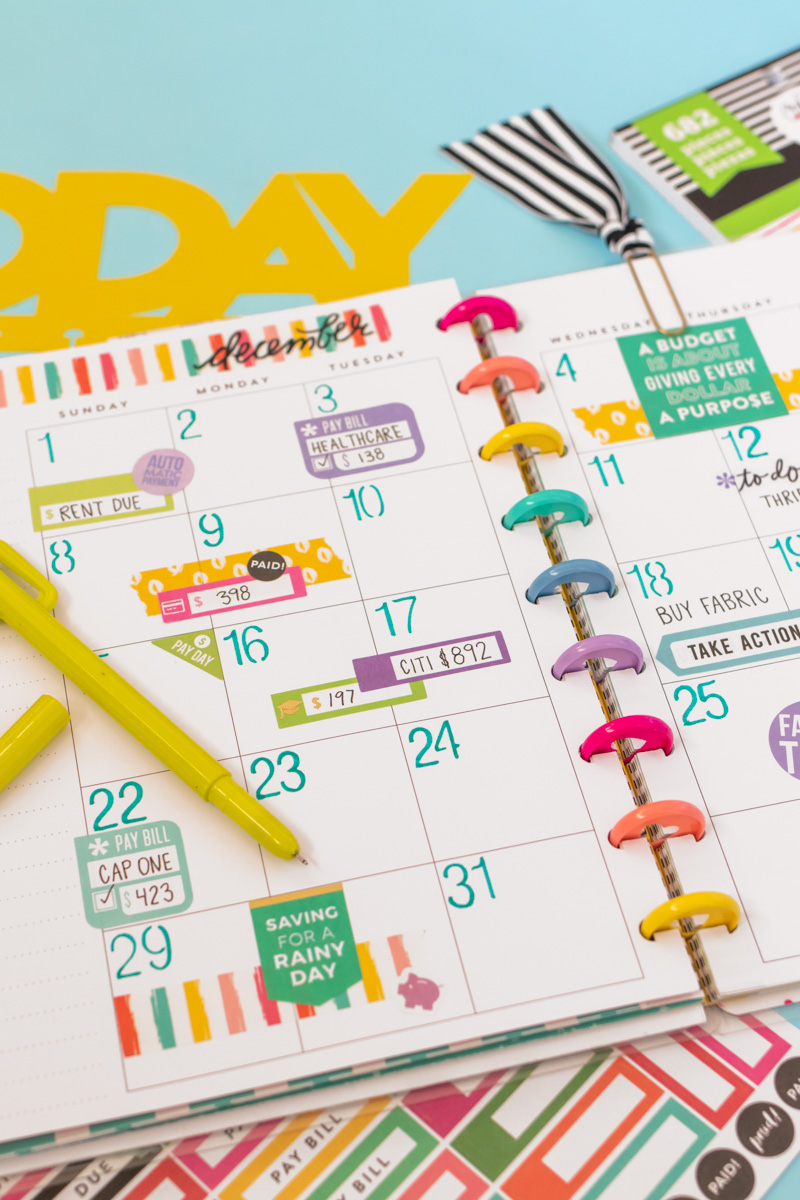
Monthly Budget: Among other pieces, the Happy Planner Budget Expansion Pack from JOANN comes with six customizable monthly calendars. They’re perfect for budgeting when I’m planning a wedding with Happy Planner! The pack comes with stickers so that you can choose any six months you want. I created the numbers using a stencil and a colored pen. Then I can keep track of major wedding deadlines, timelines and other daily expenses/bills.
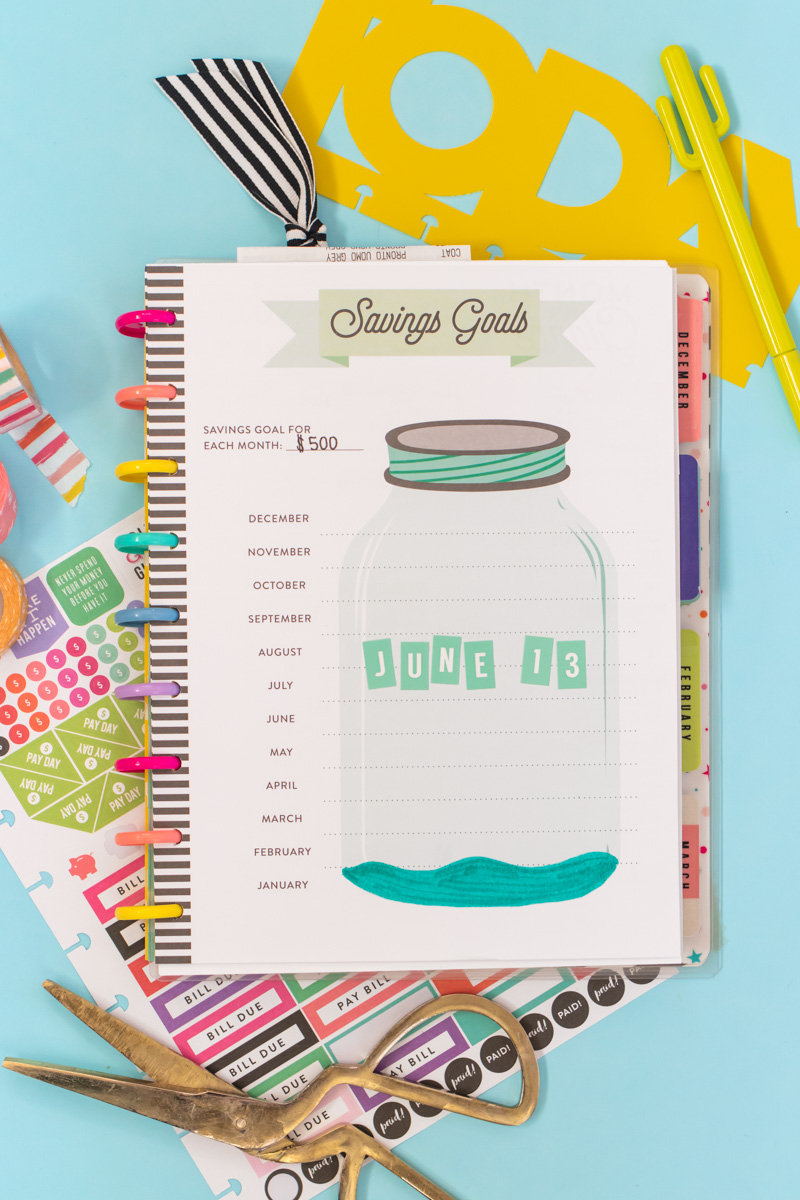
Savings Goals: I used the “Savings Goals” page in the expansion pack as well. I’m focused on raising our goal by our wedding date, so I added the date with stickers and began marking our progress.
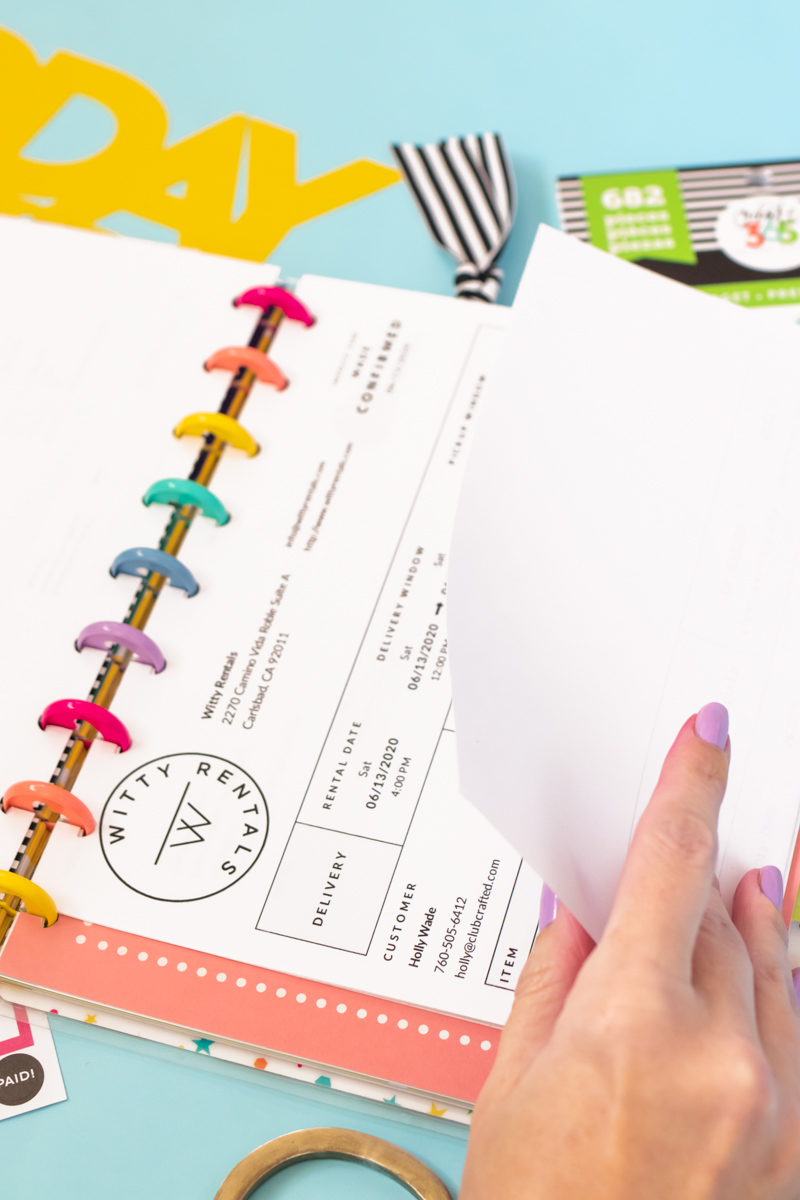
Receipts and Contracts: In addition to digital copies, I print out my contracts on classic paper. Then I punch the short end to insert into my Happy Planner and simply fold them to fit inside. It makes it easy to keep my contracts organized! In the same section, I compile receipts in a folder insert. Planning a wedding with Happy Planner now means I’ll have all of my information compiled for the big day, hopefully making it easier on my day-of coordinator.
And that’s how I’m planning a wedding with Happy Planner! See more details about my Happy Planning process with my current planner here. You can insert anything and everything related to wedding planning in your planner to customize it. I still have a long way to go, so I’m sure it’s about to get very, very FULL!
Thank you to JOANN for generously sponsoring this post. All opinions are my own. Thanks for supporting the brands that keep Club Crafted sharing!
