The following post is sponsored by RubberStamps.com
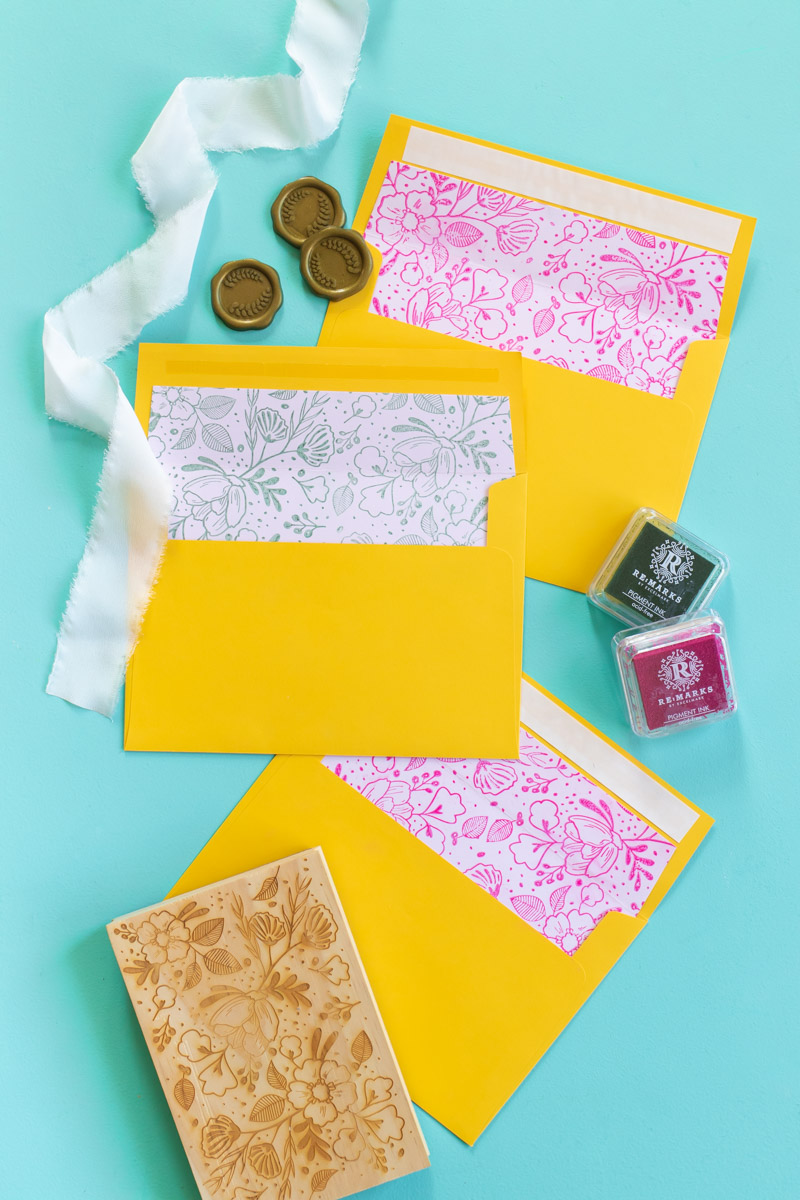
I’m inching closer to our wedding date, so it’s time to talk stationery! As we prepare to send out our official wedding invitations (eek, it’s getting close!), I’m adding custom elements to our stationery, such as adding these stamped envelope liners. Using a beautiful floral patterned stamp and inks from RubberStamps.com, these simple DIY envelope liners are the perfect fit for our wedding theme. In addition to pre-made stamps like this one, you can create a variety of custom stamps at RubberStamps.com – I look forward to sharing one of their custom stamps with you very soon! For now, here’s how to upgrade your wedding stationery (or any party invitation or happy mail) with colorful stamped patterns.
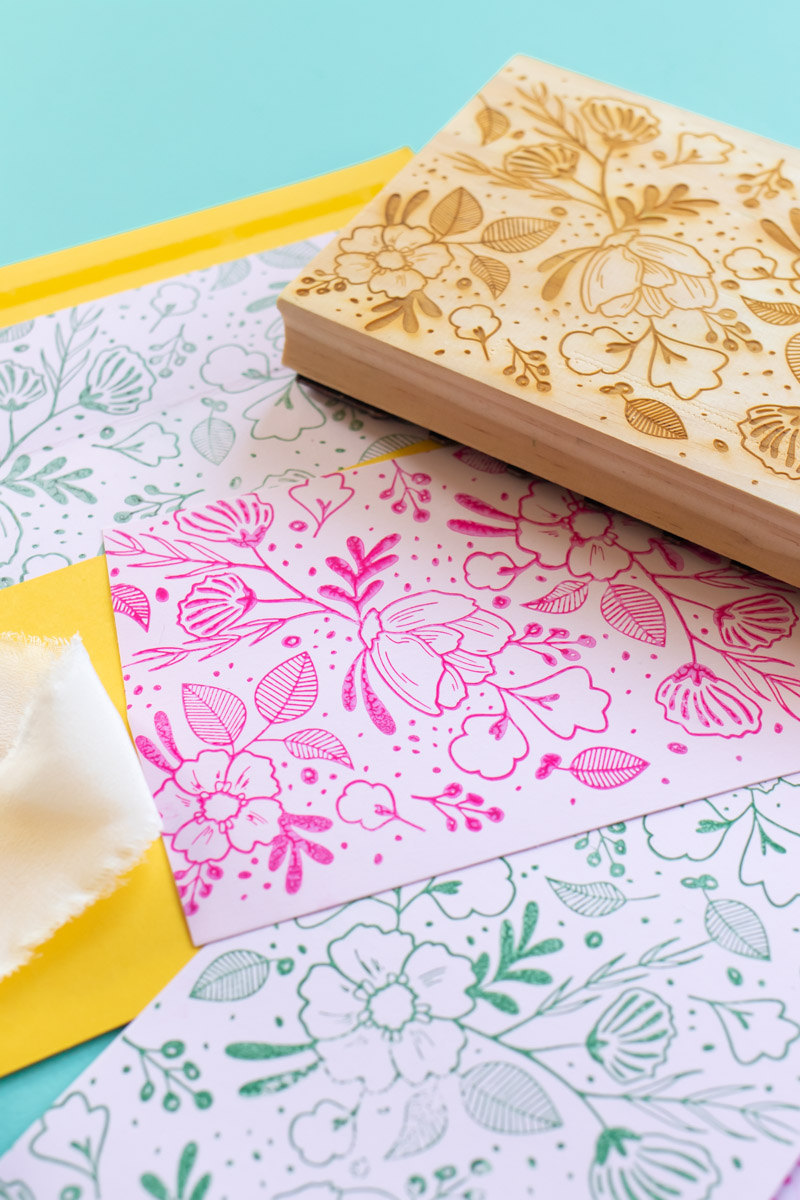
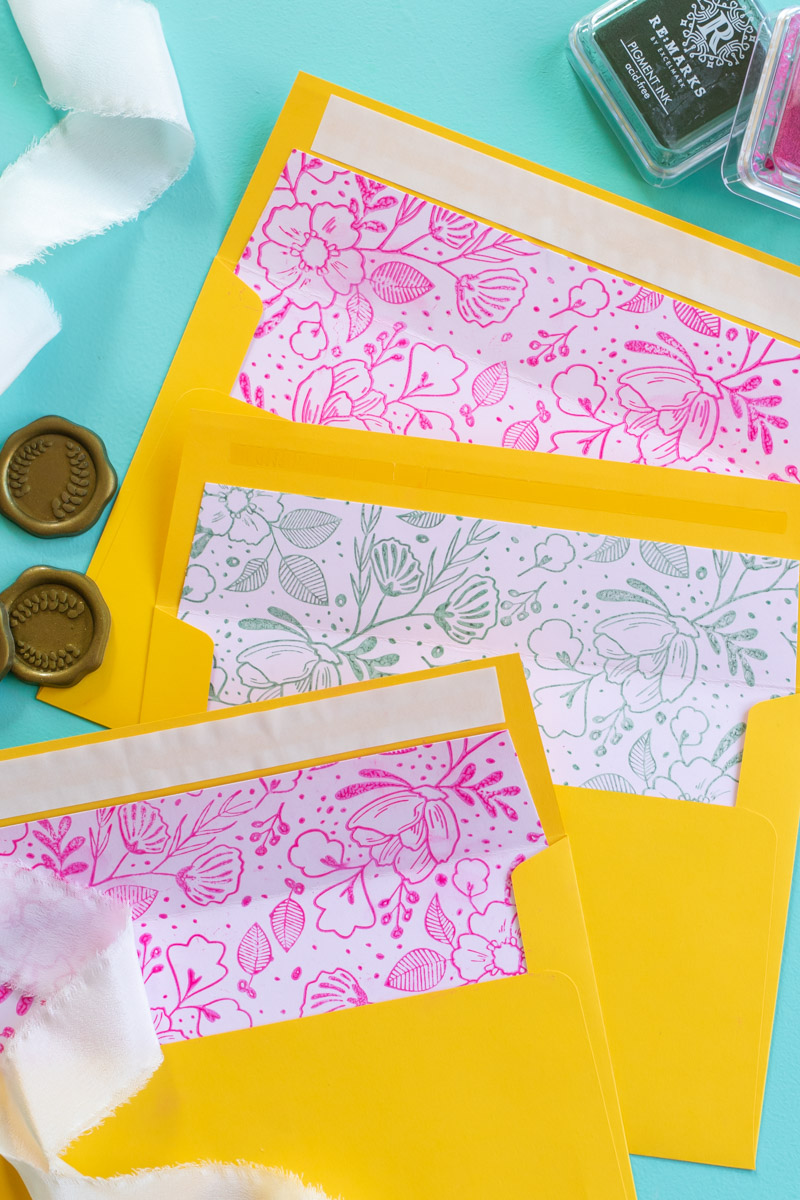
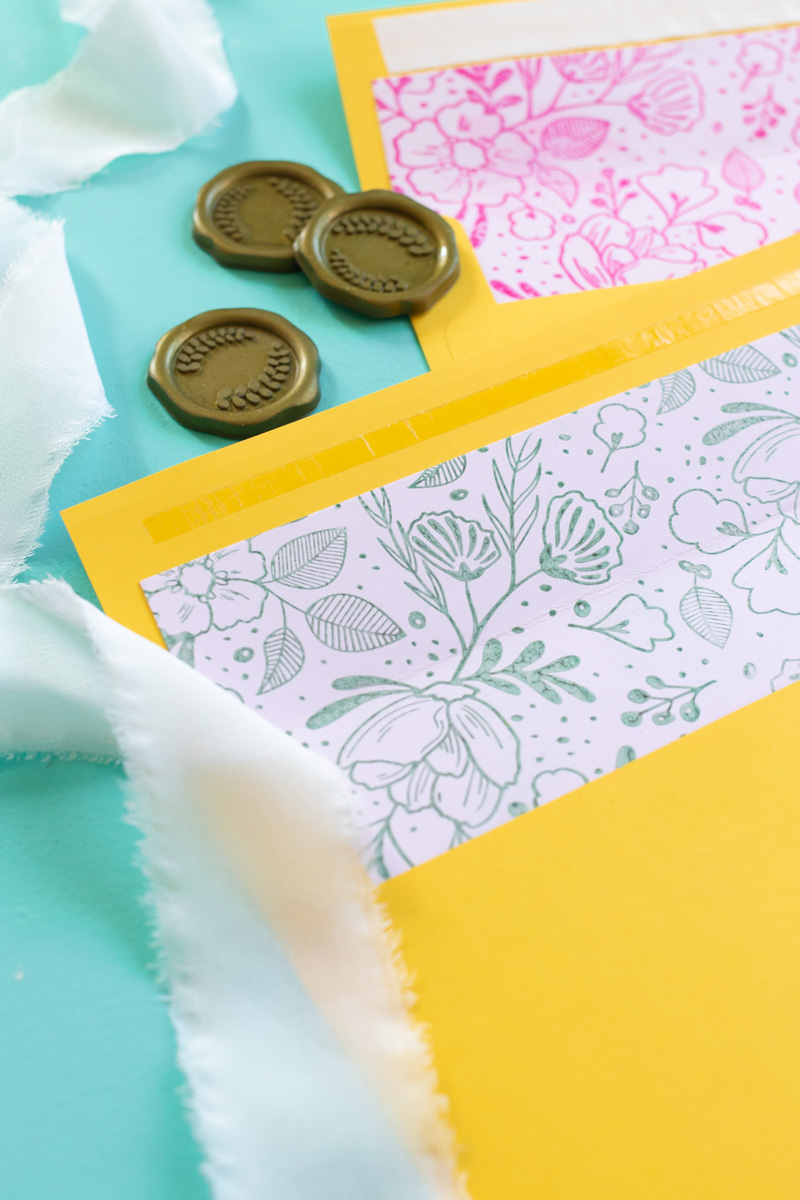
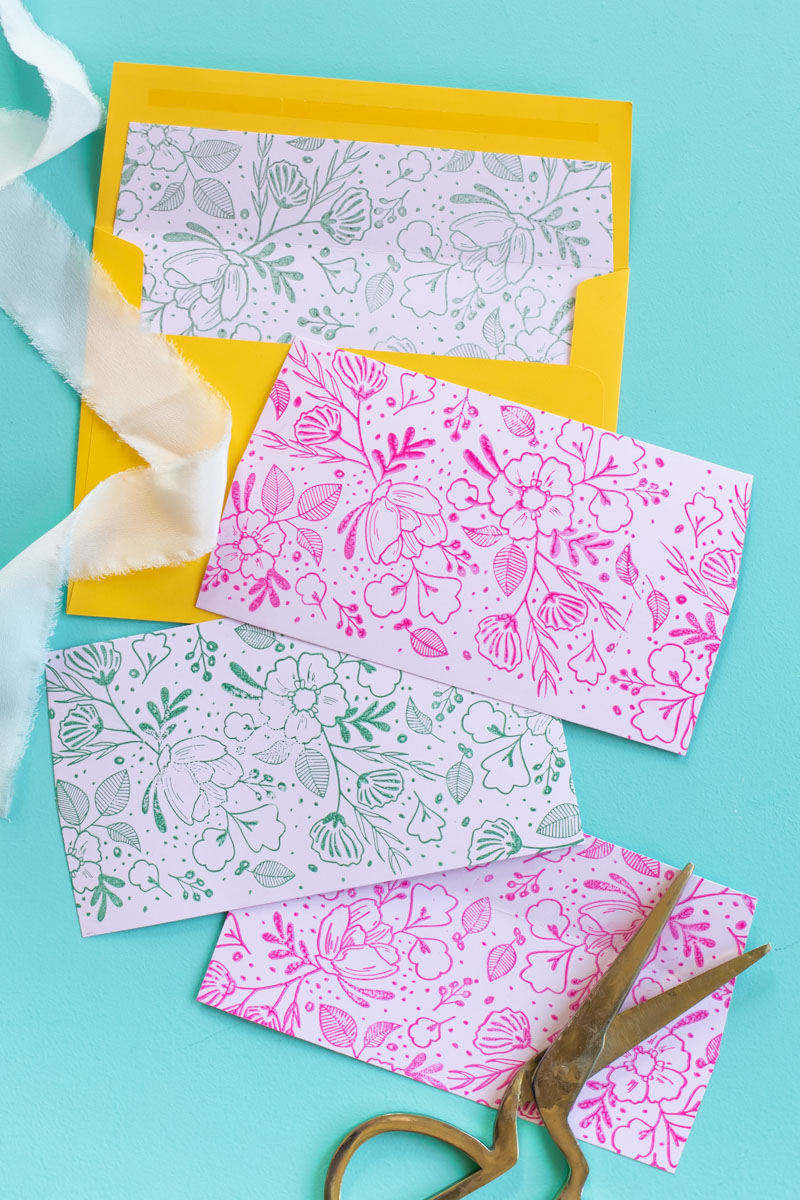
Because we’re getting married at a botanic garden, I’ve been capitalizing on all things FLORAL for the wedding decor (surprise, surprise). As soon as I saw this large floral stamp on RubberStamps.com, I knew it was perfect! Using the common colors throughout our wedding palette, I created these stamped envelope liners to peek out from bright yellow envelopes.
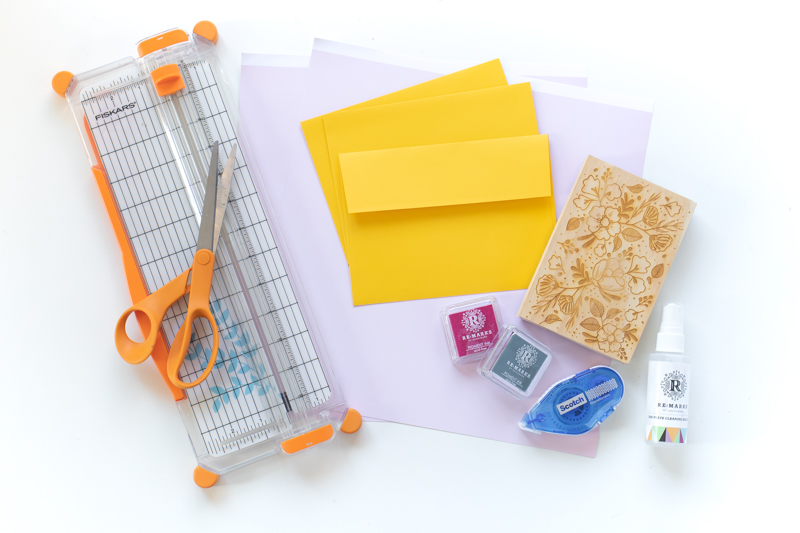
Supplies:
- Envelopes
- Colored cardstock (coordinate with envelopes)
- Paper cutter
- Large floral stamp
- Stamping pigment ink pads (I used Raspberry Pink and Forest Green)
- Stamp cleanser
- Double sided tape or a glue stick
- Scissors, optional
How to Make Envelope Liners with Floral Stamps
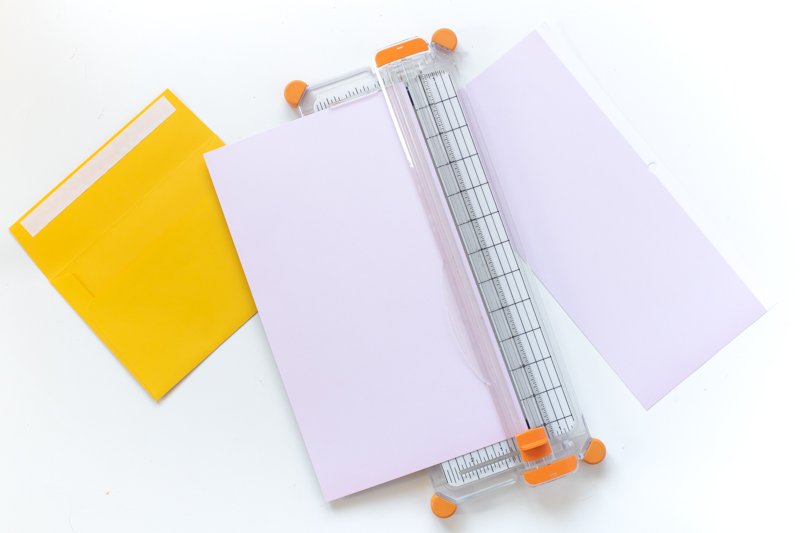
Step 1: Cut a piece of cardstock to the approximate width of the envelope. This example is for a 5 x 7 envelope, so the stamped envelope liners are 7 inches wide.
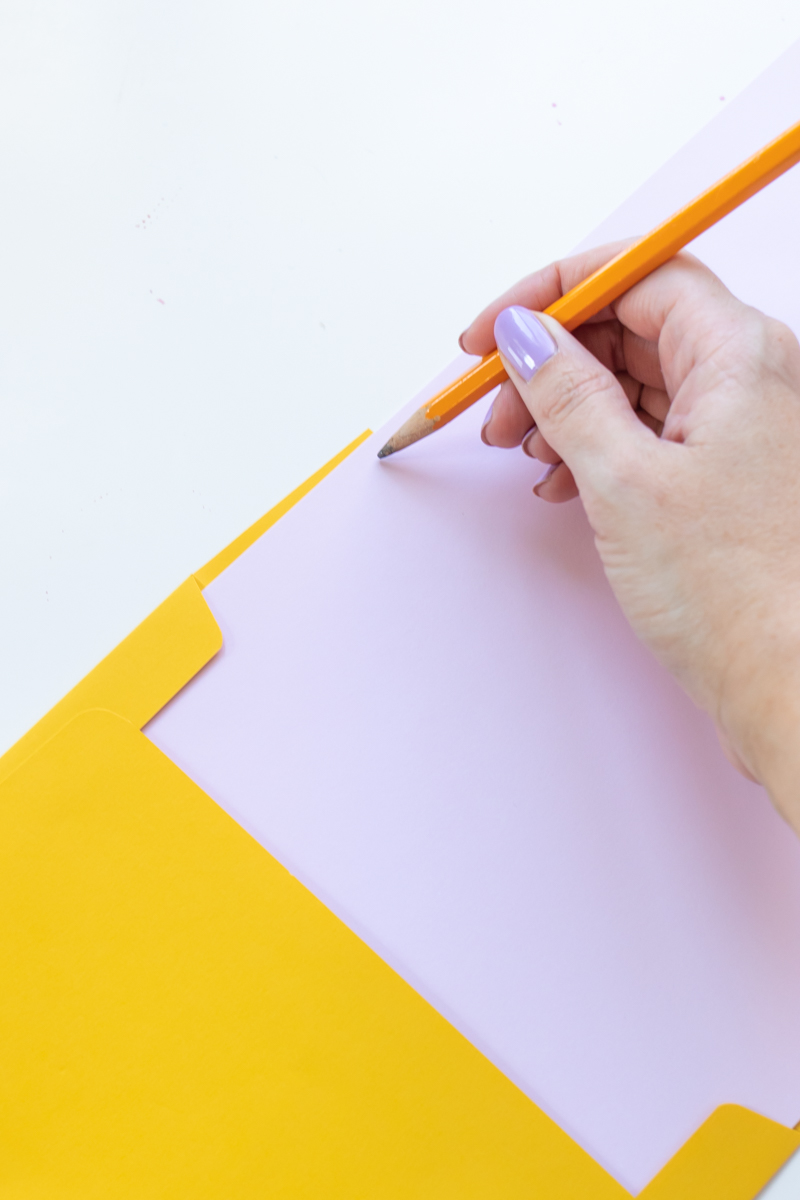
Step 2: Insert the cardstock into the envelope until it’s about halfway in. Mark where to trim to size. Keep in mind that you don’t want to cover the sticky part of the envelope.
Alternative Option: If you’re using another style of envelope, you can also trace the envelope closure onto the paper and cut it out! This will help you match the correct shape.
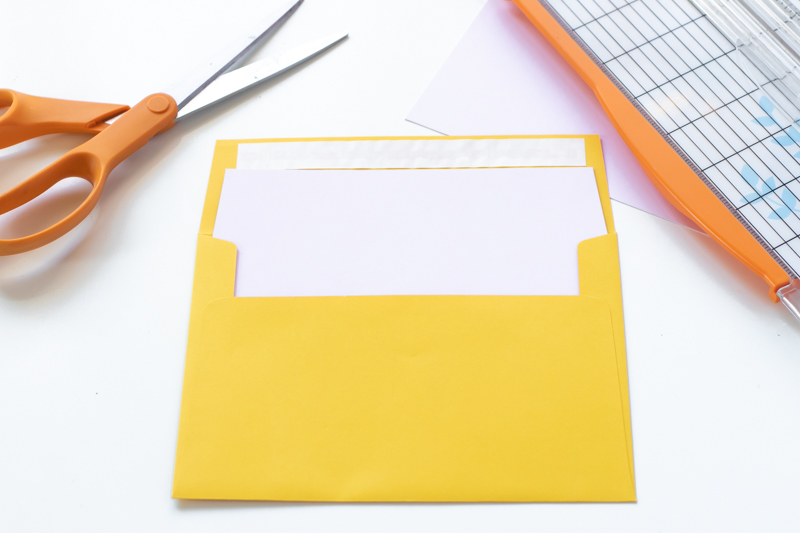
Step 3: Cut the envelope to size. I added a slight taper to my sides to fit the envelope. Then check that it fits before stamping.
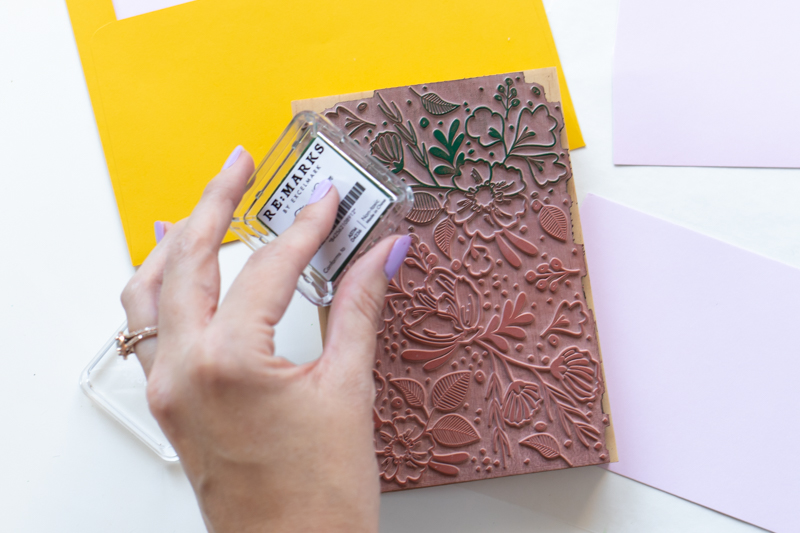
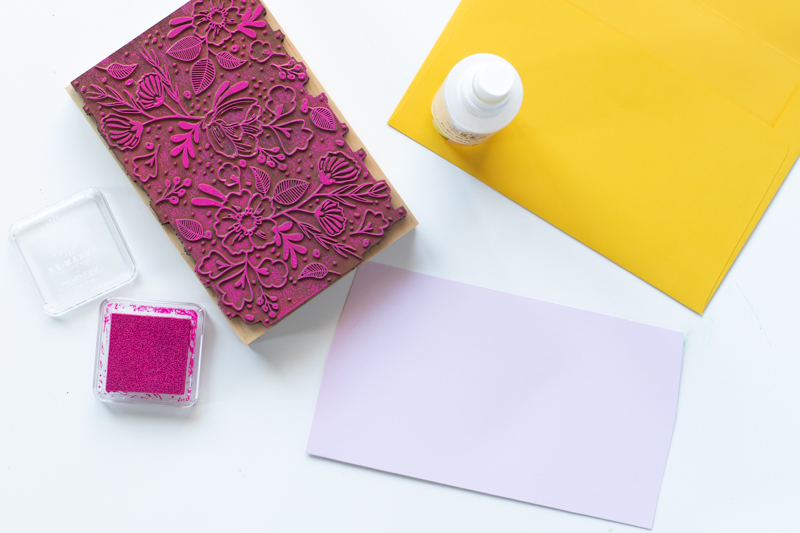
Step 4: Apply ink to your stamps. With a stamp this size, it’s easiest to dab the ink onto the stamp until you can see it’s fully colored. Place the cut envelope liner on newspaper or wax paper to protect your work surface. Then carefully press the stamp down onto the cardstock. It will not cover the whole piece. Carefully remove the stamp, re-ink and apply again. Match up the pattern as best you can for a seamless appearance. The jagged edge of the stamp makes this easy. Let dry.
Note: In these examples, I use a pigment ink that is slower drying. They can smudge easier then (although you can speed the process with a heat gun), but they produce extra vibrant colors. You don’t need a lot of ink to achieve beautiful results.
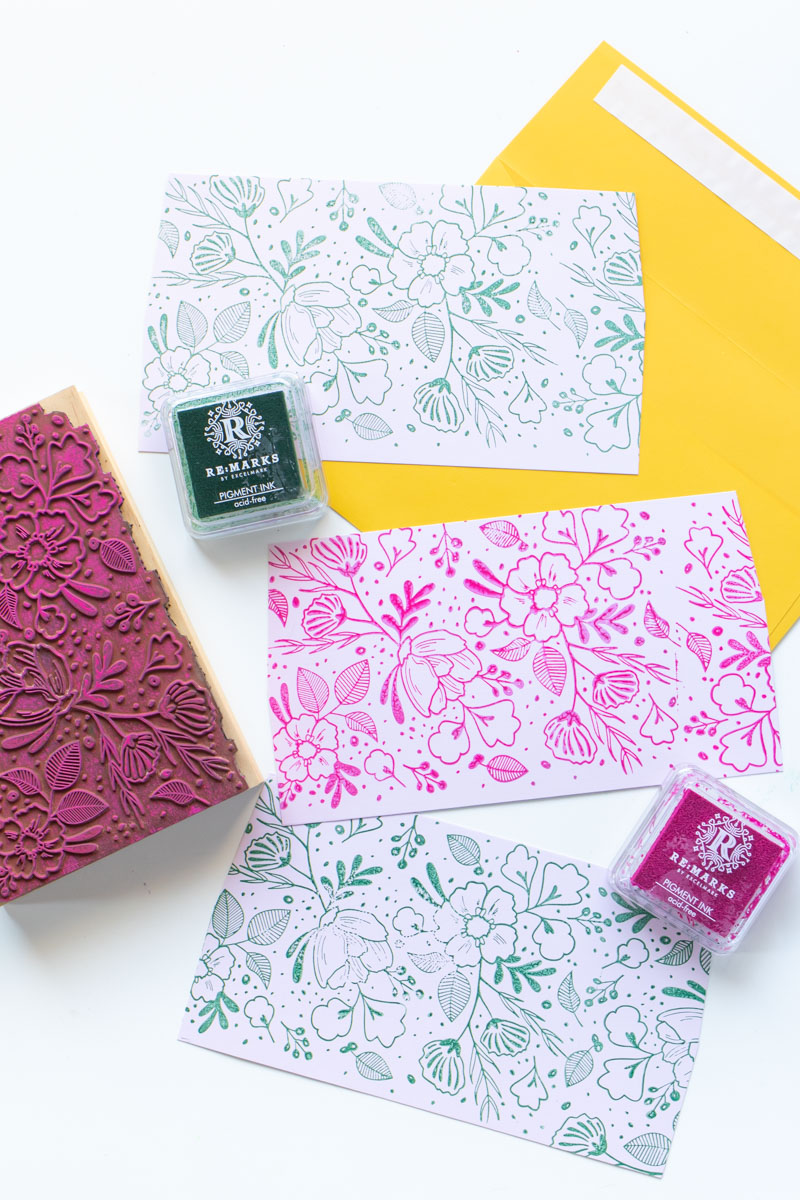
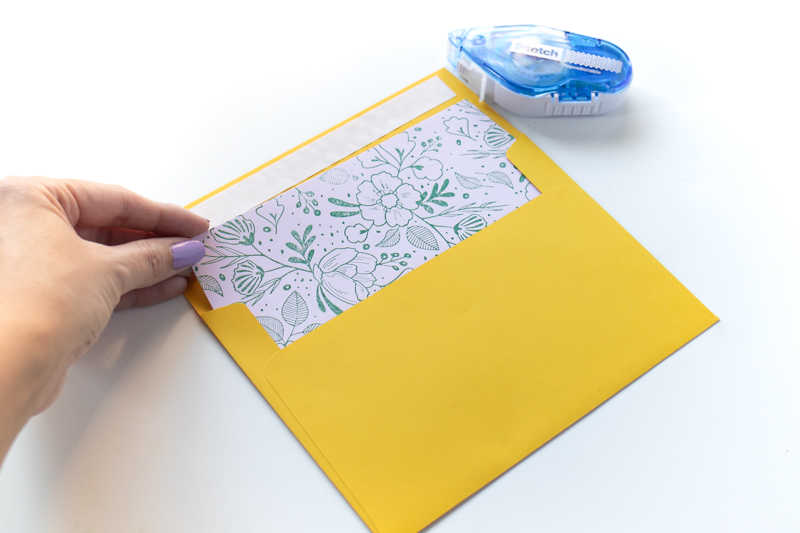
Step 5: Once dry, transfer the stamped envelope liners to your envelopes. Apply double sided tape or other glue to the backside and insert into the envelope until the top meets the envelope adhesive.
Be careful with your ink! It can smudge if it’s not dry yet, so give it plenty of time to dry.
Step 6: Carefully fold the envelope over to crease the envelope liner. Lightly press until the adhesive holds.
Optional: Now that you have a beautiful floral outline, you can even color in the flowers with colored pencils if you want to take it one step further!
How to Clean your StaMPS
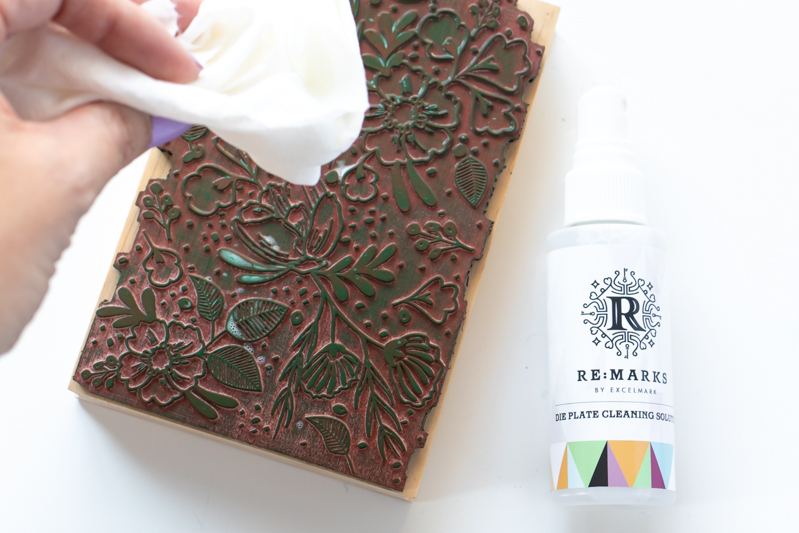
For best results, clean the stamps immediately with a stamp cleaning spray. You will also need to clean well between colors. Spray with the cleaning solution and dab with a paper towel or cloth until you’ve removed the ink. To check that it’s ready to use again, press onto a blank piece of paper. If nothing transfers, your stamp is clean!
Be sure to visit RubberStamps.com to grab the supplies to make your own DIY envelope liners! How else should I incorporate this floral pattern into my wedding DIY plans?! Stay tuned for more wedding projects over the next few months.
Thank you to RubberStamps.com for sponsoring this post. All opinions are my own. Thanks for supporting the brands that keep Club Crafted making!
