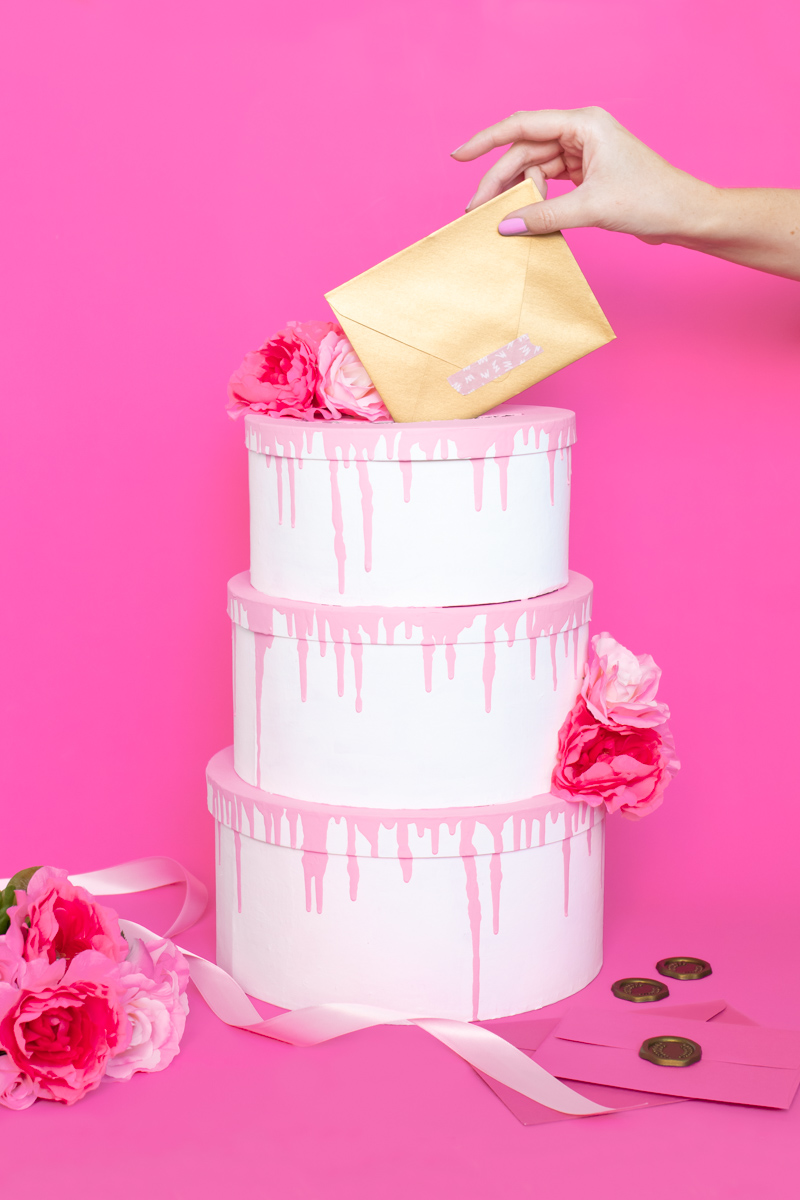
Whether you’re looking for a card box DIY for your wedding, other event or even Valentine’s Day, I’ve got you covered! I had the idea to make my own card box for our wedding this summer, and I decided to stack the boxes to create a faux tiered cake card box complete with a “chocolate” drip and flowers! This tiered cake style makes it easy to customize to fit your wedding style – whether that means adding a colorful drip, flowers, a cake topper, sparkles, ribbon or even sprinkles. Simply set up the tiers for the card box DIY and take it from there. I’m honestly SO excited to feature our cake card box at the gift table now!
My first job when I graduated college was working at a boutique PR firm. My boss was planning her wedding at the time and knew I was crafty (this was pre-Club Crafted), so she asked if I would make her a card box. It was my first attempted card box DIY, and although I’m sure I did a lot of things differently this time, I’m still proud of that first project! It gave me the inspiration to try to make one for my own wedding.
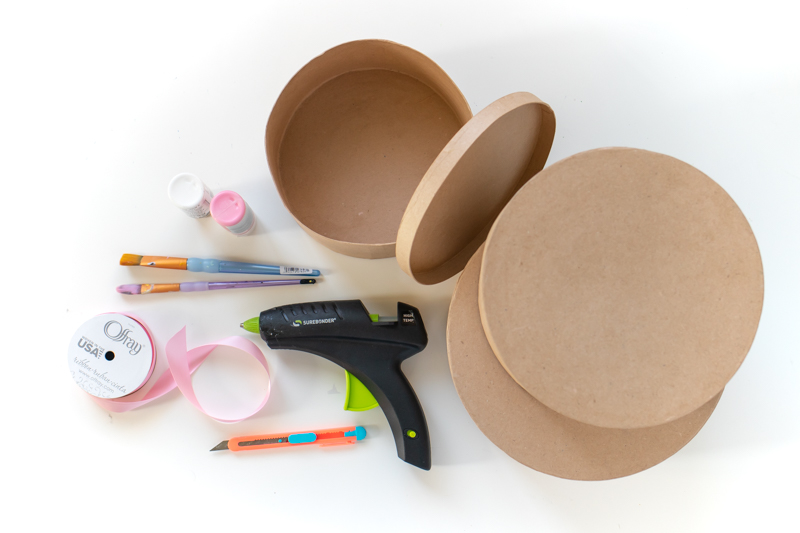
Supplies:
- Circular mache boxes, 3 sizes
- Craft knife
- Ruler
- Circular cutting tool, recommended
- Cutting mat
- White paint
- Colored paint (optional)
- Paint brushes
- Paint trays
- Glue gun
- Faux flowers, optional
- Ribbon, optional
How to Make a Card Box that Looks like a Cake
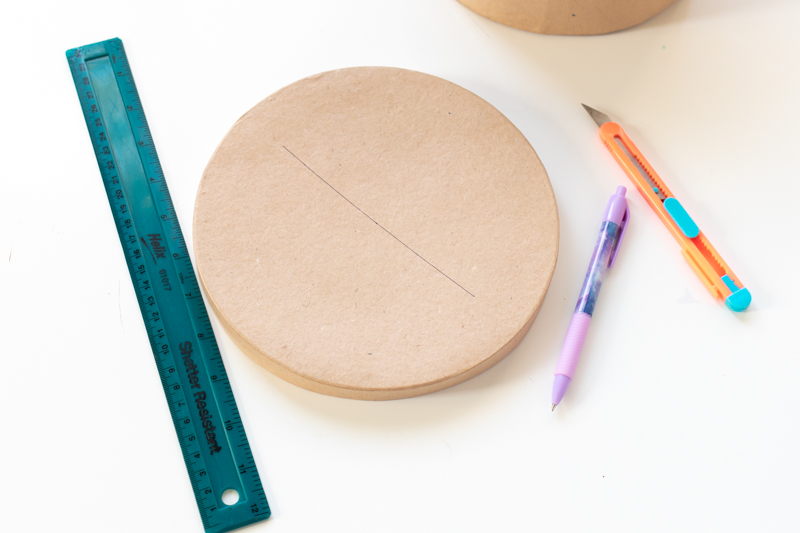
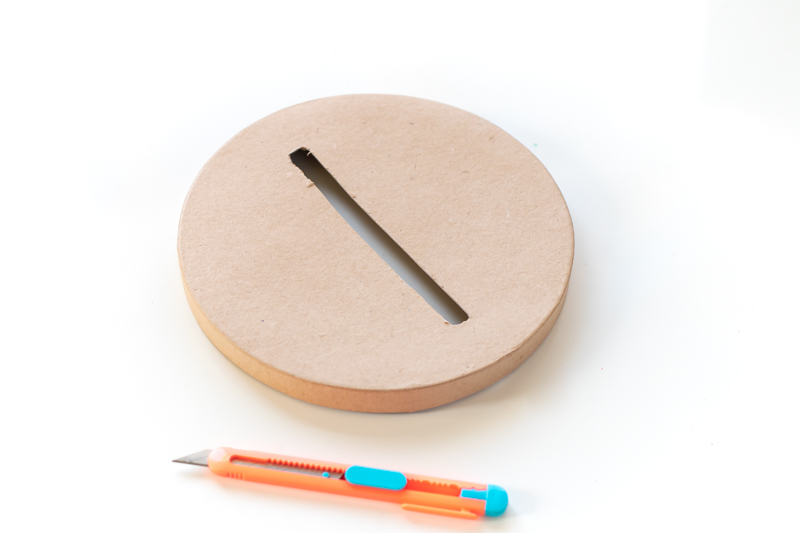
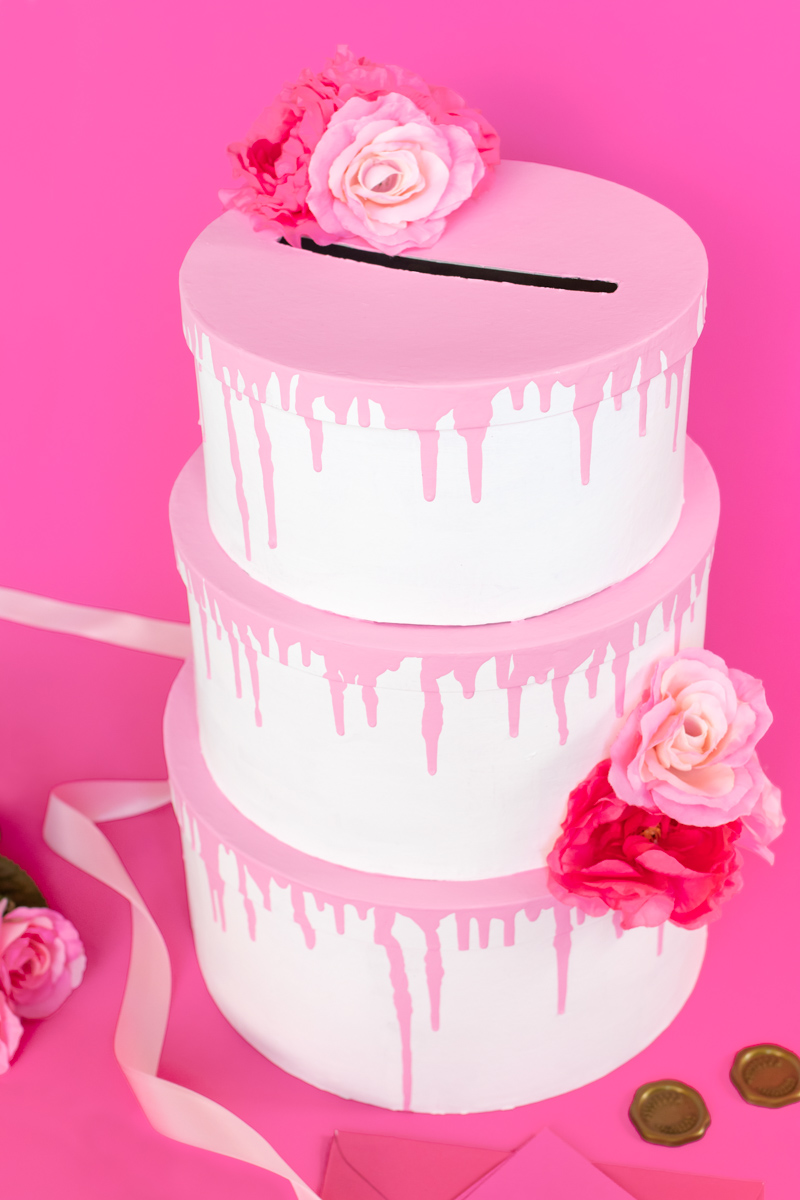
Step 1: Measure the approximate middle of your top tier. Draw a straight line. Then carefully cut a rectangle large enough to fit an envelope. Mine is about 5.5 in x .5 in.
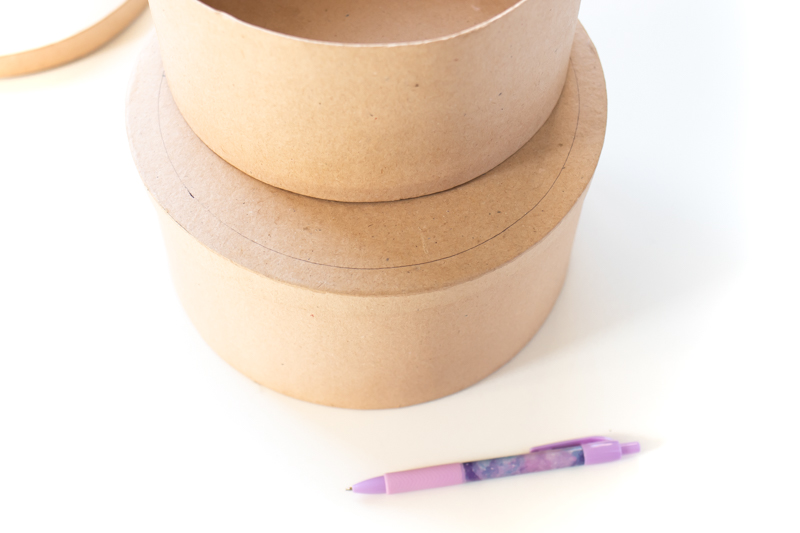
Step 2: Stack the boxes and use a pen or pencil to mark where the fit together. This allows you to determine how wide to make the cuts.
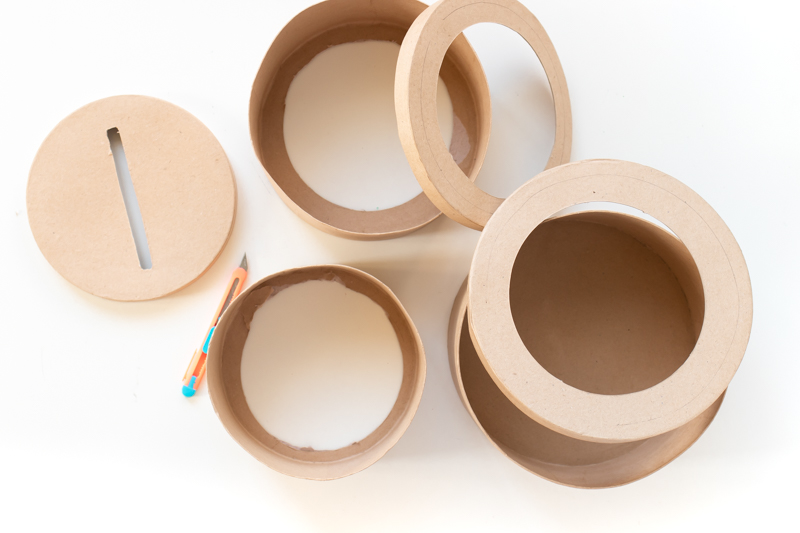
Step 3: Cut large holes in the lids of the two remaining tiers and the bottoms of the top and middle tiers. They must be large enough for envelopes to fall through but still have enough of a “lip” for the boxes to stack. If you have a circular cutter, it will help you get more even cuts. However, you will not be seeing them so they don’t have to be pretty.
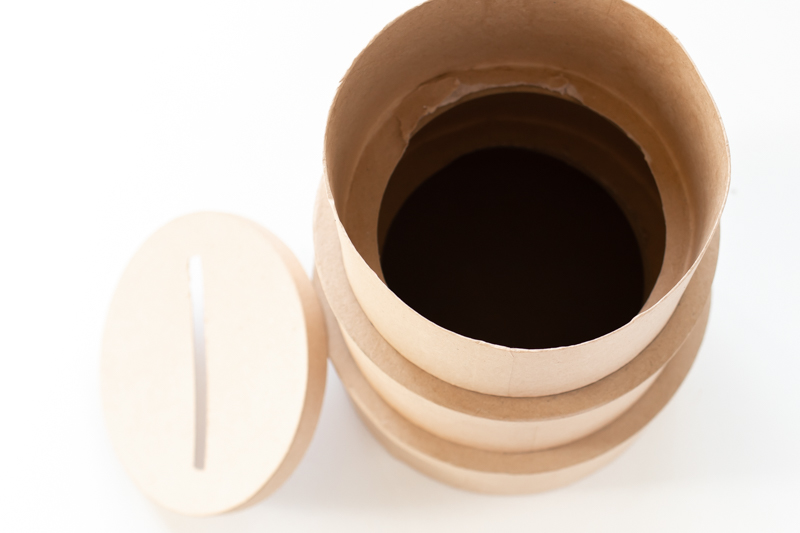
Step 4: Stack and glue them in the middle of each tier to create the tiered shape of your cake card box. You should be able to see a large hole all the way to the bottom. Place the top lid back on.
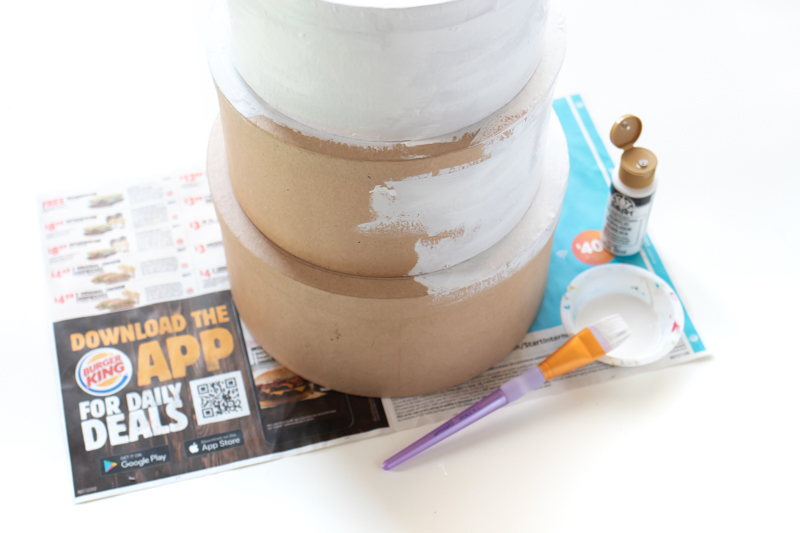
Step 5: Then paint the entire structure white or your desired base color. Let dry and paint a second coat.
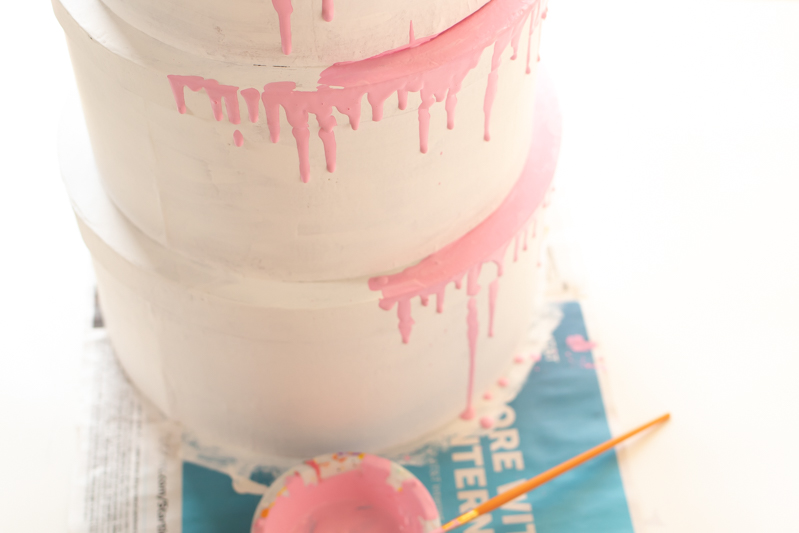
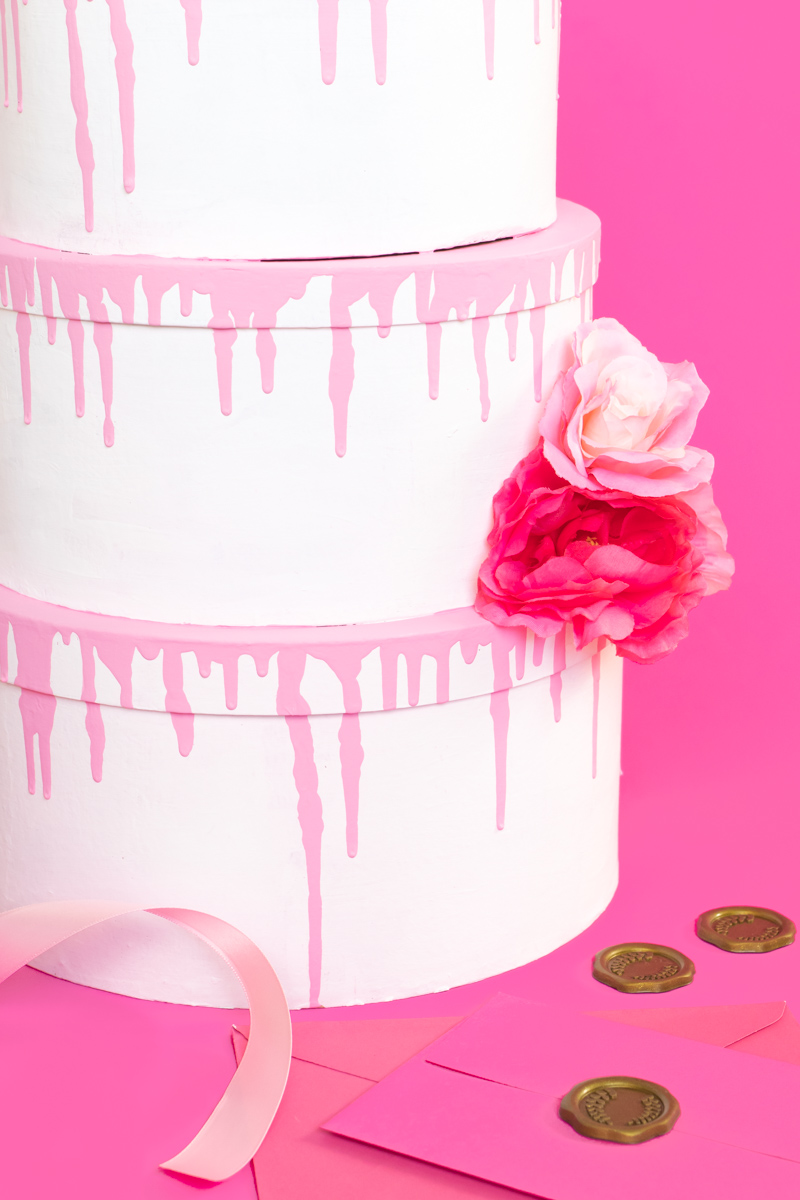
Step 6: To make a “drip,” thin out your colored paint with water until it falls off your paintbrush like a thick liquid. Carefully dip the brush into the paint and allow to drip from the top of the tier at different levels all the way around. Although this is time consuming, it creates a very realistic drip on the cake card box with texture. Fill in the lid tops as well to make it look like a more realistic cake.
Step 7: Once dry, make any touch-ups to the paint on your cake card box. The drips may need to be cleaned up in some areas, especially if there are gaps at the lids.
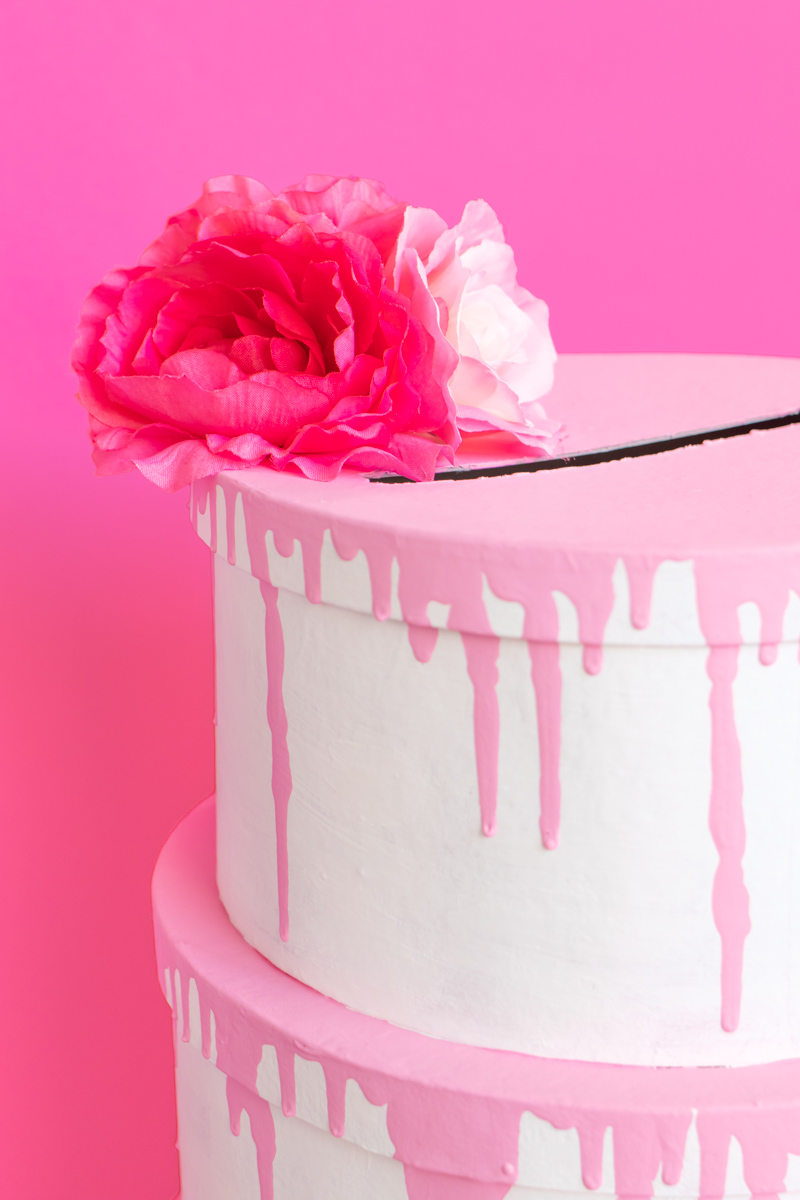
Step 8: Lastly, add embellishments! Remove the stems of flowers and glue them in bunches to the tiers of the card box.
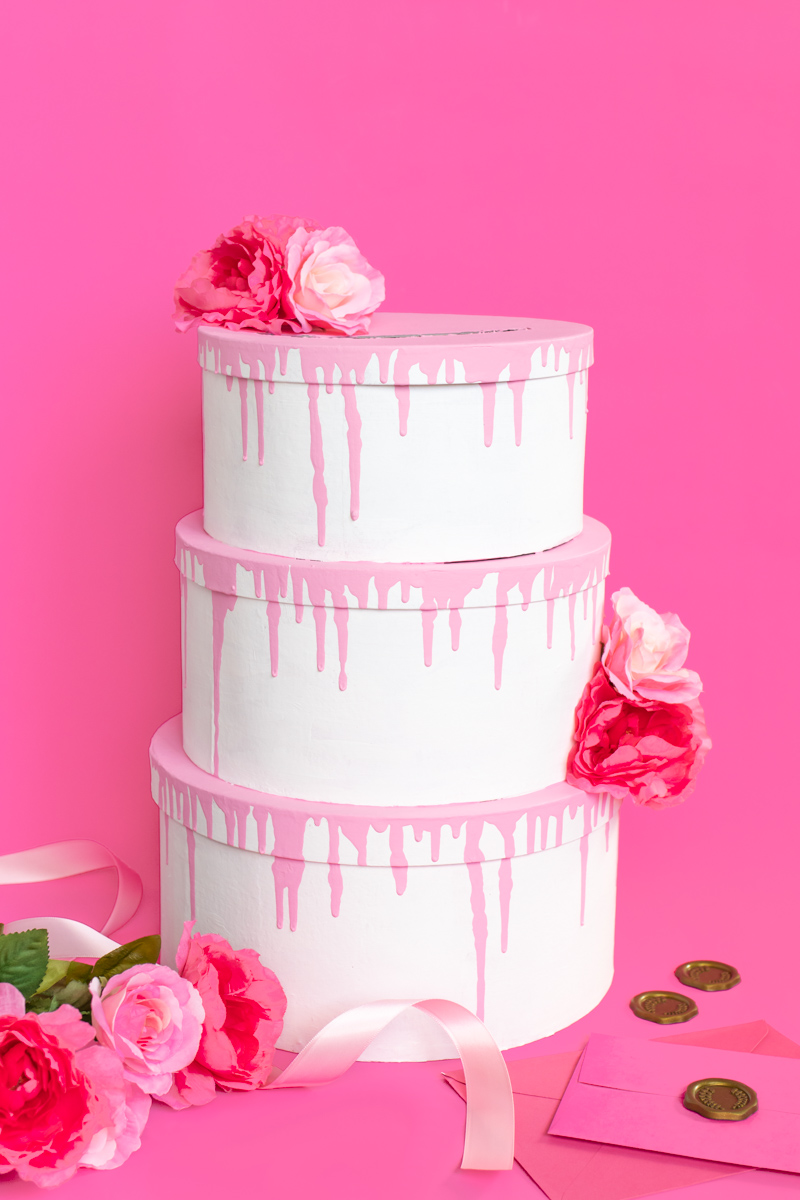
Customize your card box DIY however you like! Drop in envelopes, and once it’s full, you can simply remove any one of the lids to retrieve the cards inside. Plus, you can reuse it for other occasions!
What do you think? Does this card box look like it could pass for a cake?!
Check the archives and keep following along for more wedding DIY ideas!
