The following post is sponsored by Tulip
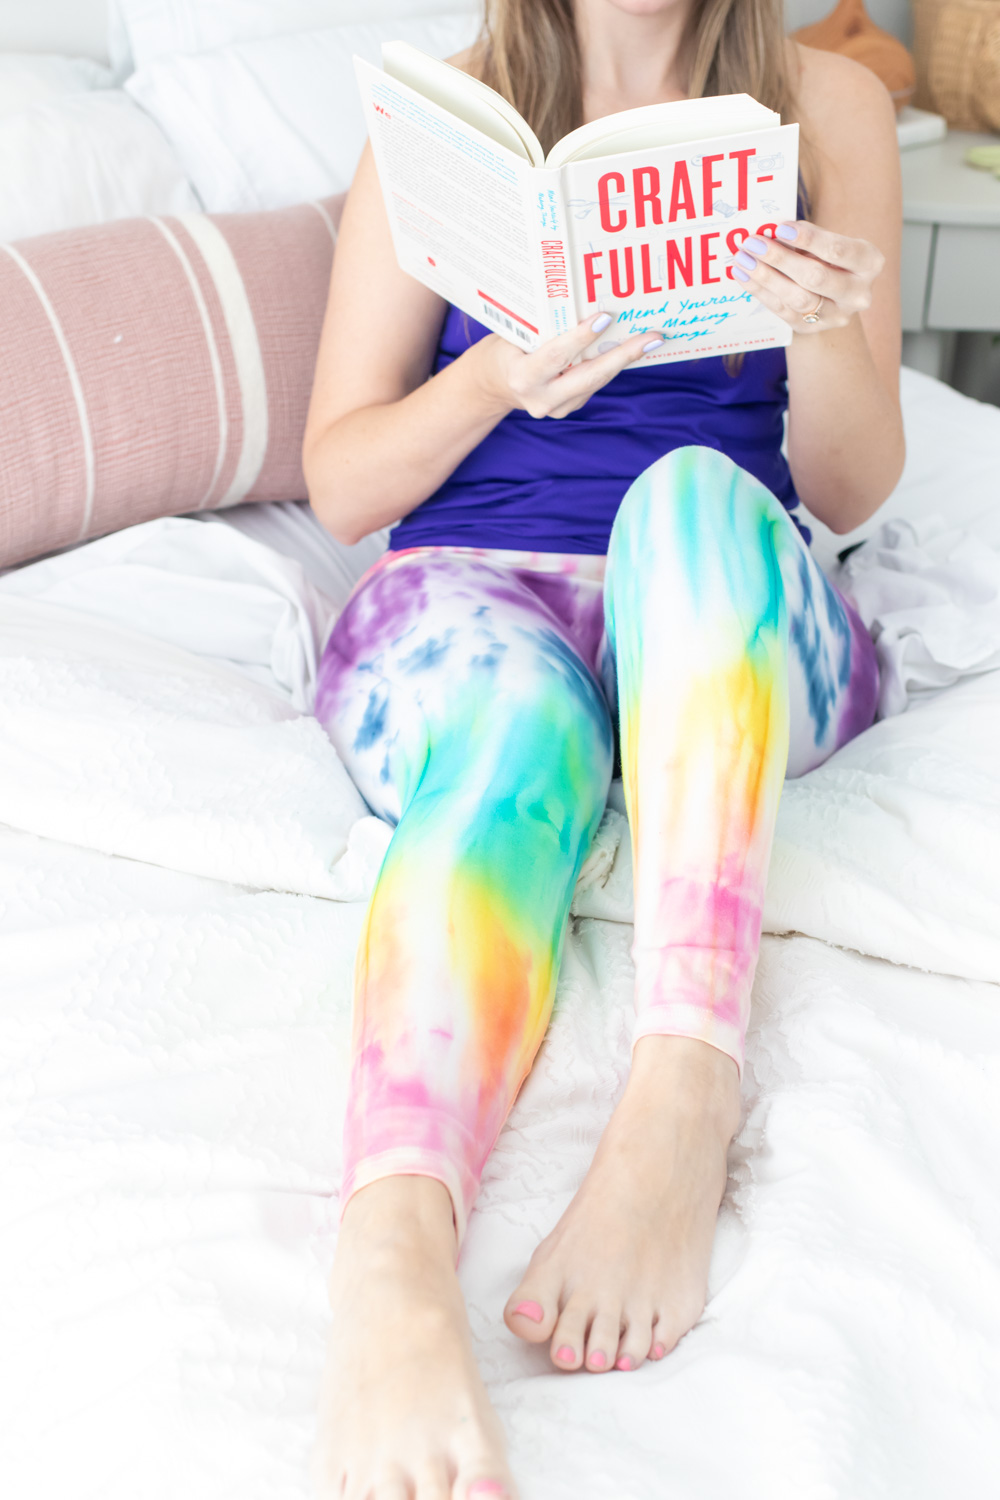
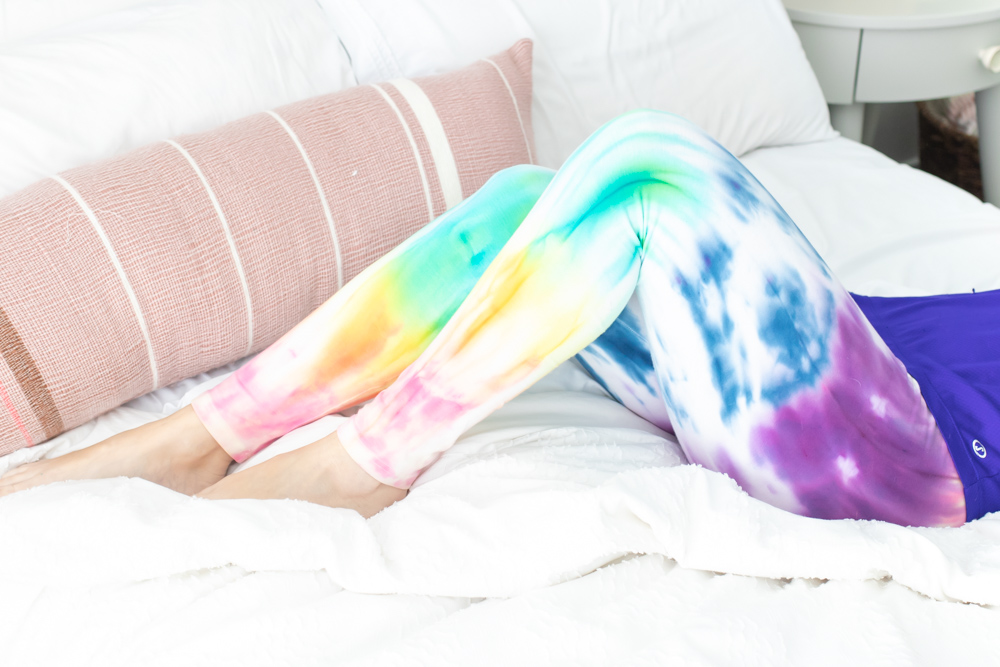
We could all use more rainbows, especially in our wardrobes! Like many of you, I have been living in my comfy clothes at home, so these rainbow tie dye leggings were the perfect addition to my closet. It’s no surprise I love rainbows, so when Tulip asks me to share a project with their Rainbow addition of the classic One-Step Tie Dye Kit, I knew it was meant to be. A pair of comfy leggings is the perfect blank slate for making your favorite tie dye patterns. Tulip tie dye kits make tie dye as easy as possible for you – mix, rubber band, dye and rinse. It’s the perfect way to make tie dye without special supplies skills! Here’s how to try this rainbow tie dye technique at home on leggings or other pieces of clothing.


As with most tie dyes, make sure to use natural fibers. I linked the cotton leggings I used below because the fabric takes on dye very well. Most leggings contain spandex, so I would recommend choosing a pair with less than 10% spandex. The key to making tie dye leggings look right is to fold the two legs together. This will help you achieve a symmetrical look!
Supplies:
- White cotton leggings (or natural fiber material)
- Tulip One-Step Tie Dye Kit, Rainbow
- Wire rack
- Plastic for covering work surface
- Plastic wrap or large plastic bag
You can tie dye fabrics wet or dry. Most of the time, as with these rainbow tie dye leggings, I make sure the fabric is very damp first so that the dye absorbs better. You should always use pre-washed fabric, so dye them fresh from the wash or wet them when you’re ready. This is totally up to you!
How to Tie Dye a Pair of Leggings
Step 1: If tie dyeing wet fabric, submerge pre-washed leggings in water until damp. Wring out excess water.
Step 2: Mix your dyes! Eight colors come in the Rainbow tie dye kit. I used six of them to make my rainbow. Add water to the fill line on the bottles and shake vigorously until the dye is completely absorbed.
Step 3: Cover your work surface to protect it from dye. Fold the leggings in half so that both legs will be symmetrical. Then rubber band them 6-7 times up the length of the leggings.
Step 4: Place the damp leggings on top of a wire rack. This will prevent dye from pooling. Then apply the dye in sections up the leggings following your desired pattern. I started and ended with pink. Leave plenty of white spots for the dye to seep into! Then carefully flip the leggings over to dye the other side.
Step 5: Wrap the rainbow tie dye leggings in plastic wrap or a plastic bag. Set aside for 6+ hours for the dye to set.
Step 6: Carefully unwrap the tie dye and trim away the rubber bands. Then open up the fabric to reveal the pattern on your new rainbow leggings!
Step 7: Rinse the leggings in cool water until it runs clear. Then wash separately and dry normally.

Now you have a pair of rainbow tie dye leggings that are bound to match every single shirt you own! You can bet I’m living in these most days. Stay tuned for more tie dye techniques with Tulip!
Thank you to Tulip for generously sponsoring this post. All opinions are my own. Please note this post contains affiliate links from which I may collect a small profit should you choose to make a purchase. I only link to products I personally use or recommend. Thanks for supporting the brands that keep Club Crafted sharing!

Helen C
What a ray of sunshine these are! I love the effect, and a wonderful thought at this time. 🙂 xx
Helen | Helen’s Fashion, Beauty & Lifestyle Blog