The following post is sponsored by Tulip
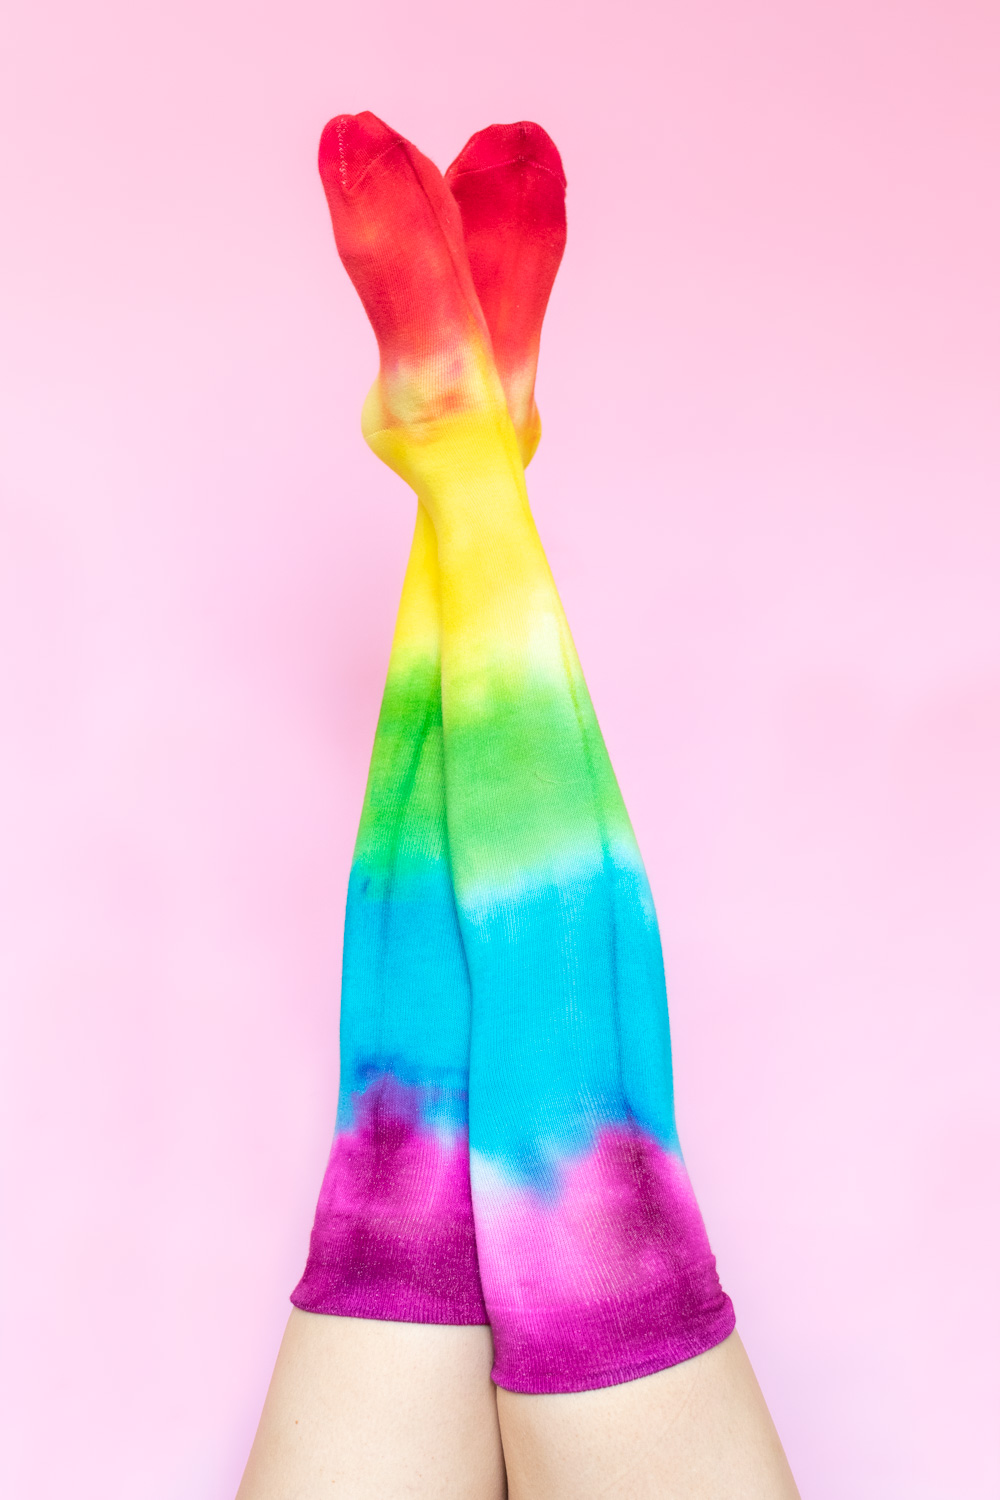
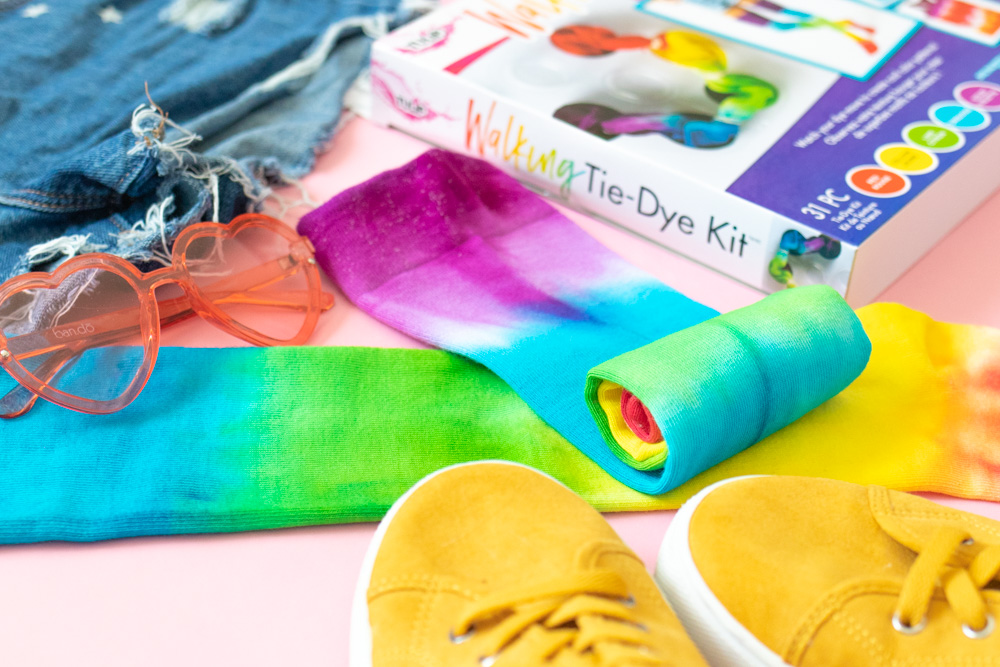
You know I LOVE the idea of being a walking rainbow, and I think you’re here because you do too. Using the newest Walking Tie Dye Kit by Tulip, you can make thigh-high rainbow tie dye socks that will turn any outfit into a head-turner! If you’ve ever been to a pride parade, you know how much of a hit these rainbow socks would be. No matter the occasion, these tie dye socks are fun and easy to make! Unlike other kits (you can see all of my tie dye tutorials here), this one allows the dye to “walk” across the fabric by itself, creating gradient effect on these rainbow socks. Watch the video below to see how it works!

This kit includes 5 colors to make your rainbow socks. Because the colors “walk” as the socks rest in the dye, you’ll see colors like orange form on their own where the red meets the yellow. However, you can also mix your own colors! There’s more than enough powdered dye to mix your own colors for your tie dye socks. Keep in mind, you may want to change the number and spacing of rubber bands if using more colors.
Supplies:
- Tulip Walking Tie Dye Kit
- Thigh-high socks, cotton
- Popsicle sticks or stir sticks
For best results, you always want to use natural materials (like cotton) for tie dyeing.
How to Make Rainbow Socks with Tie Dye
Step 1: Submerge the socks into cool water until soaked. Wring out excess water so they are completely damp.
Step 2: Fold each sock in half lengthwise. Then wrap four rubber bands tightly around the sock, creating five sections. This means you have one “section” for each color in the kit. Set aside.
Step 3: Add about 3/4 of a packet of powdered dye to each section in the plastic tray. Then add water until cavity is almost full. Mix well with a disposable stick until powdered is dissolved. Repeat with a different color in each cavity for making rainbow tie dye socks.
Step 4: Grab both socks together. Carefully place each section between the rubber bands in its own color. If needed, use a disposable stick to press the section into the cup so that you can see the color.
Step 5: Allow the socks to set in the dye for about 8 hours. The dye will “walk” and spread into an ombre rainbow. Then carefully remove from the dye cups and cut away the rubber bands.
Step 6: Lastly, rinse each section of the socks in cool water until it runs clear. Wash the rainbow socks separately and dry normally.


Now your rainbow tie dye socks are ready to wear! Life is more fun with a little rainbow added, right?
Did you see the rainbow tie dye hat I made for Pride Month too?!
Thank you to Tulip for generously sponsoring this post. All opinions are my own. Please note this post may contain affiliate links from which I may collect a small profit should you choose to make a purchase. I only link to products I personally use or recommend. Thanks for supporting the brands that keep Club Crafted sharing!
