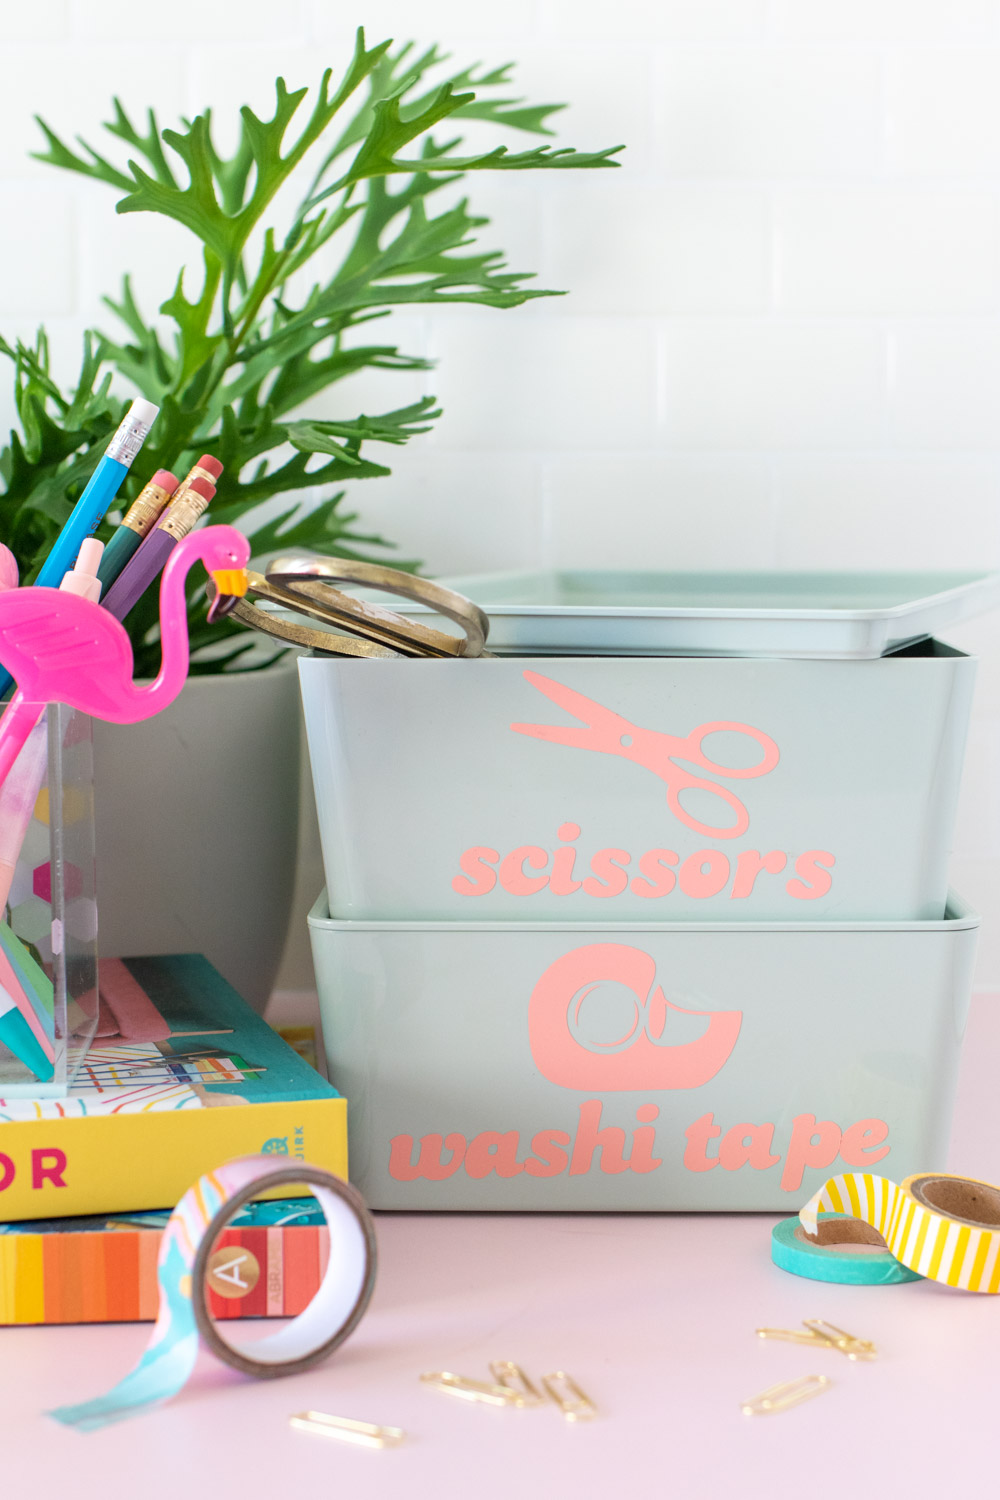
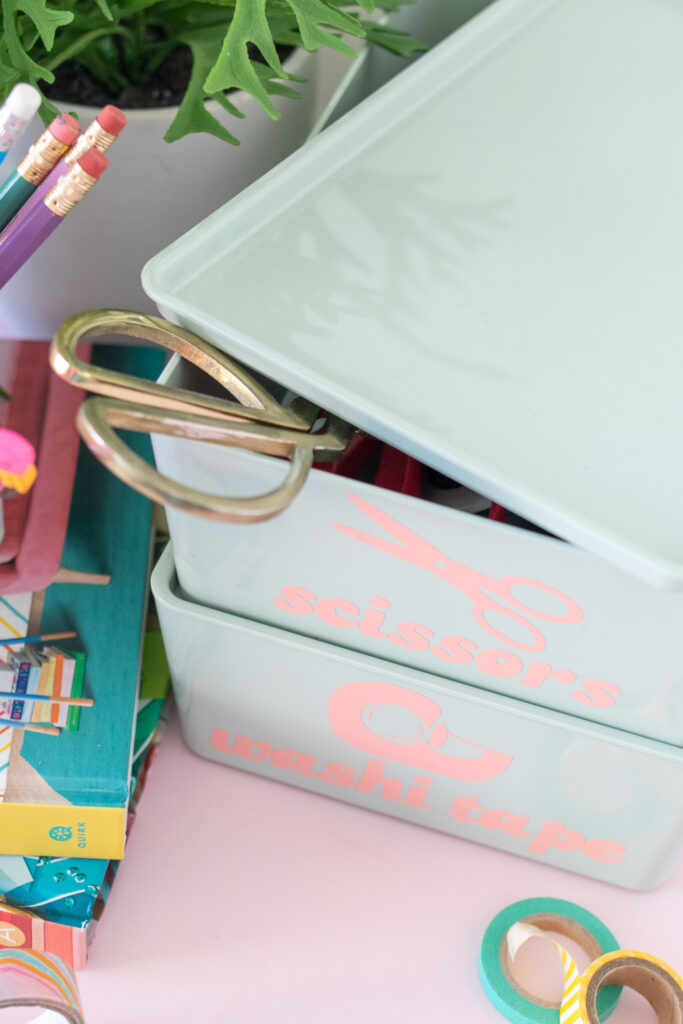
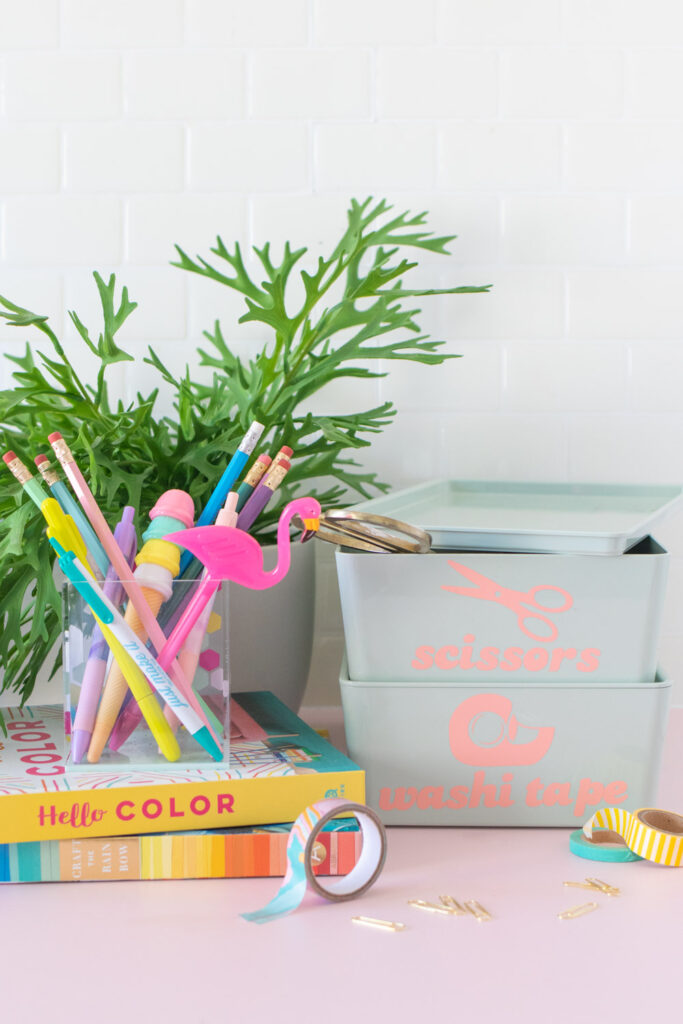
Ever since I received my Cricut Joy, I’ve been playing around with my favorite ways to use it to cut various projects. In addition to making easy work of homemade cards (the card mat is a lifesaver!), I tested out the matless cut feature. With Cricut Joy, you can feed vinyl directly into the machine without a mat! I used this feature to make a set of easy DIY vinyl labels with Cricut Joy! My studio is filled with boxes of craft supplies. Most of them have classic blue painters tape on them and are labeled with a marker. Then I hide them in the closet because they aren’t very cute. It was time for more attractive storage! I updated this set of green IKEA storage boxes with simple vinyl labels using artwork available in the Cricut Design Space. Keep reading for all the details!
Although I did receive my Cricut Joy at no cost to me, this is not a sponsored project. As you can see in the archives, I simply love my Cricut machines! Click here for more projects to make with Cricut. You can absolutely create these labels with a Cricut Explore Air or Cricut Maker as well.
As you can see, my DIY vinyl labels are nothing out of the ordinary. I’ve shared the link below to my files if you want to recreate them at home! However, this is just an example of how you can create your own labels in the design software. You’ll probably want to create different labels with different images to fit your storage. There are many images in Cricut Design Space you can use, or you can download many free images online and upload them!
How to Design and Cut Labels with Cricut Joy Vinyl
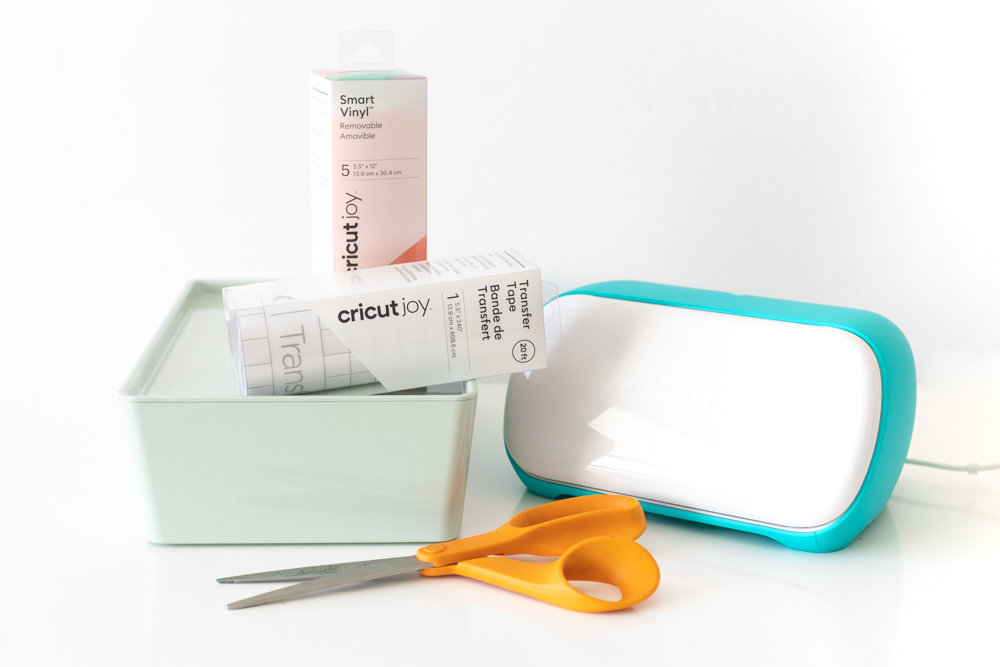
Supplies:
- Cricut Joy
- Removable Vinyl in desired color(s)
- Transfer Tape
- Plastic storage boxes
- Scissors
- Weeding tool (recommended)
- Scraper tool (recommended)
Note, make sure to use Cricut Joy-branded vinyls if you want to cut without a mat. Otherwise, you can use your traditional vinyls with a mat.
Step 1: Design your labels! You can find my pre-designed scissors and washi tape vinyl labels in the Cricut Design Space. You do need a subscription to cut these images. However, you can design your own labels in minutes as well! Simply create your text, add some clip art-style images and right click to “attach” them for each label. Then move forward to cutting!
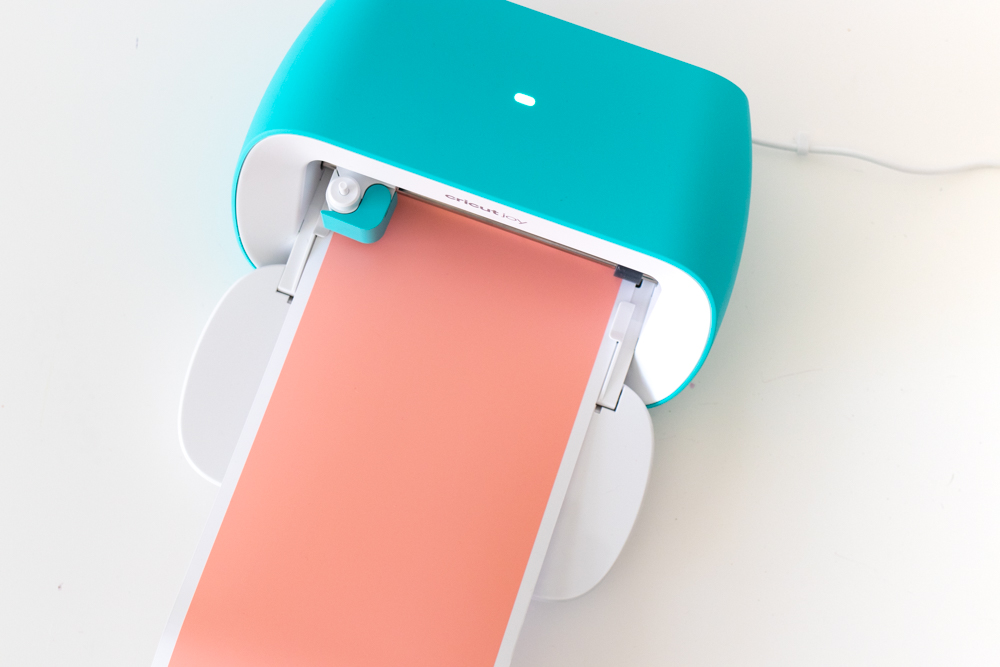
Step 2: If using Cricut Joy, load the vinyl directly into the machine. It smart loads it automatically as you feed the vinyl in. Your computer will give you the option to select “cut.”
Step 3: Once the machine is finished cutting, click “unload” on your computer.
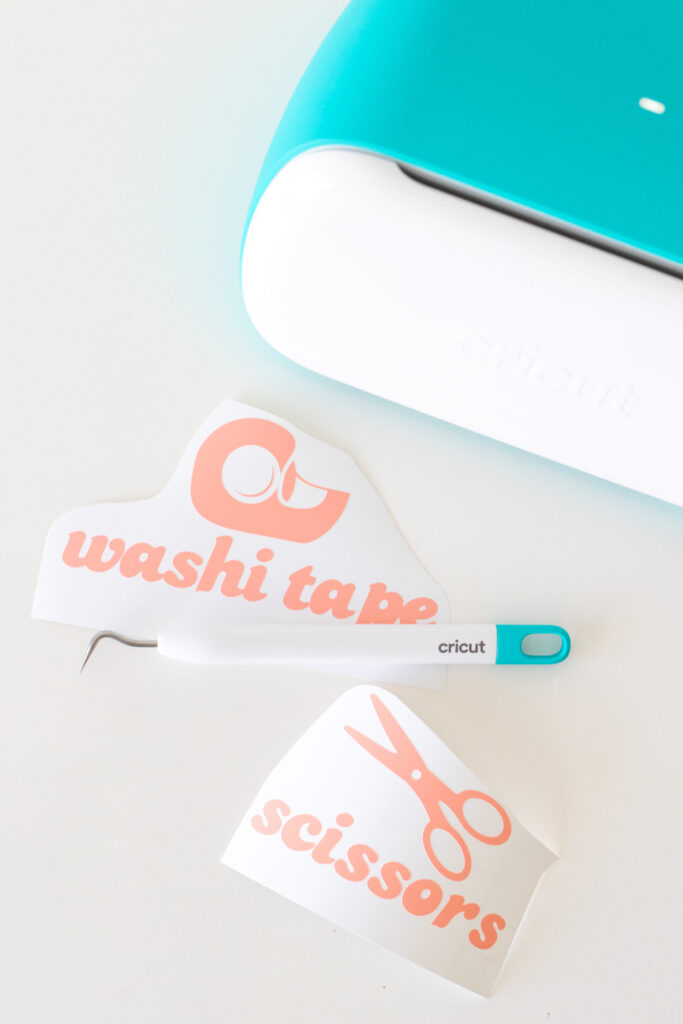
Step 4: Cut each label and weed the designs. A weeding tool makes this very easy!
How to Apply Vinyl to Storage Boxes
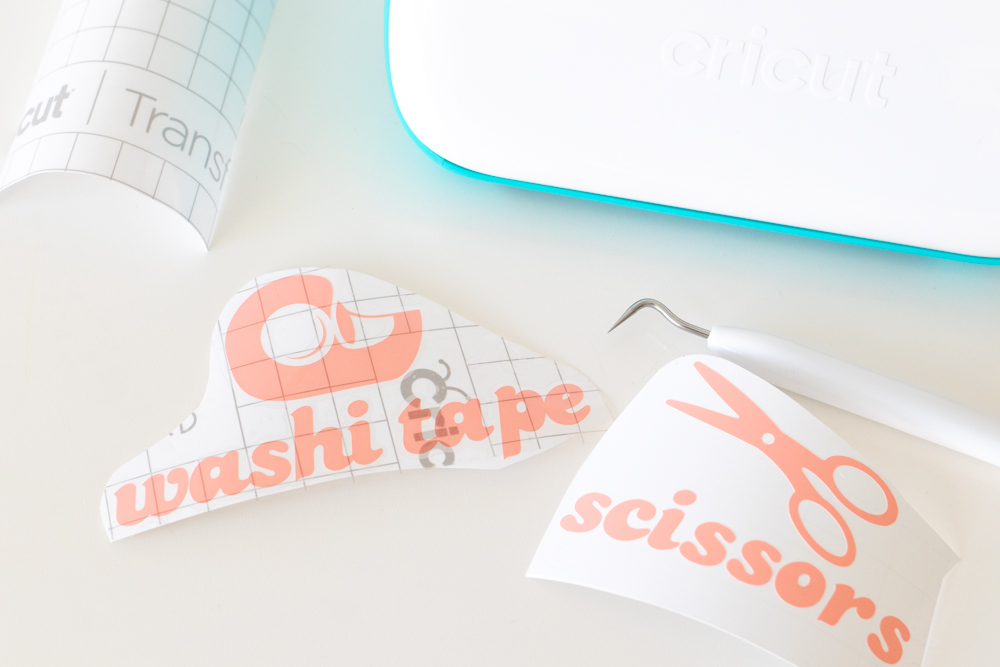
Step 5: Then press transfer tape on top of the vinyl. Use a scraper tool or a ruler to ensure the transfer tape is stuck well. Then carefully peel it away – the vinyl labels should attach to to the transfer tape.
Note, Cricut Joy Vinyl has a thicker backing to allow it to be cut without a mat. I find that this makes it more difficult for the vinyl to come up with the transfer tape. If you’re used to traditional vinyl, just be aware that this kind requires a little more attention.
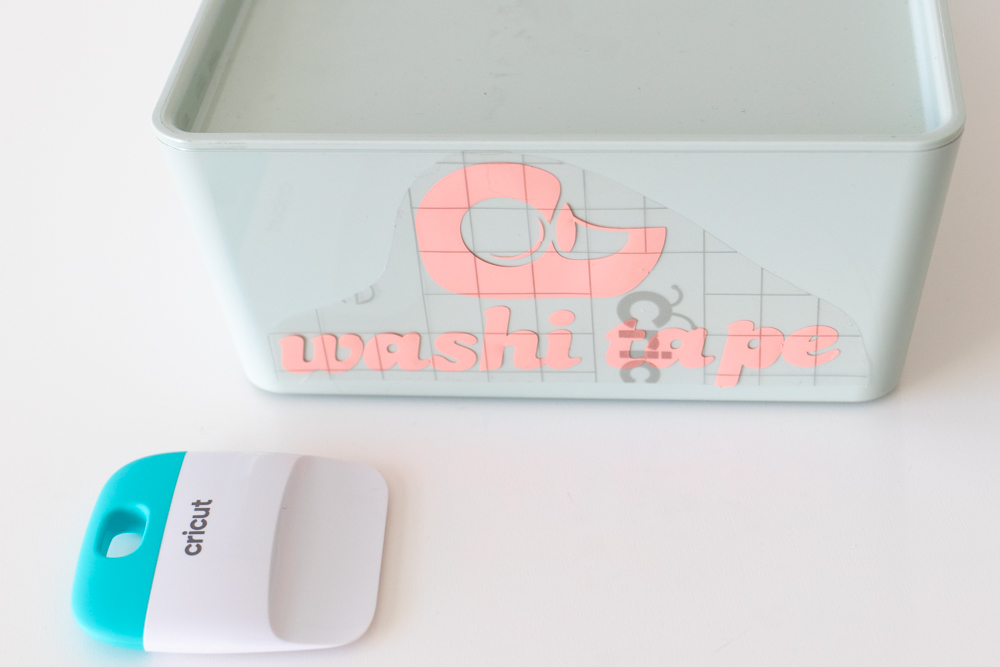
Step 6: Apply the vinyl label to clean storage boxes. The transfer tape makes it easy to see exactly where you place it! Smooth out and carefully peel away the transfer tape.
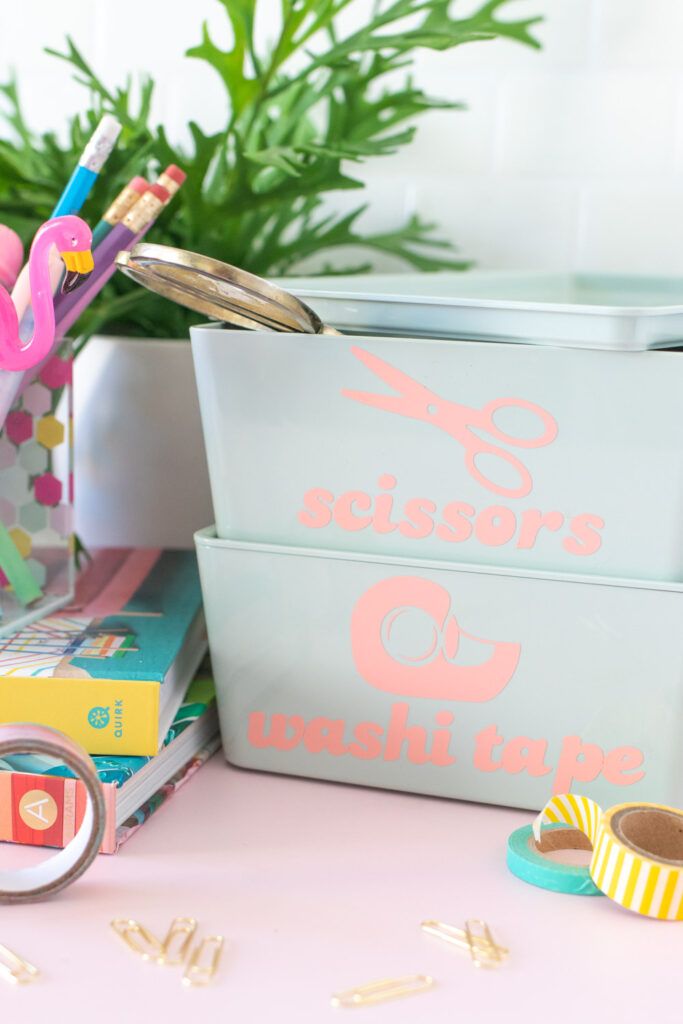
Repeat with as many containers as you want! Eventually, I hope to create more DIY vinyl labels for all of my supplies and storage boxes. Pretty organization always makes me happy when I walk into my studio! Hopefully I can share more photos of my studio with you all soon.
Please note this post contains affiliate links from which I may collect a small profit should you choose to make a purchase. I only link to products I personally use or recommend.

Heather Mieloszyk
Just checking. Do you feel that removable vinyl is plenty sticky for this project?
Holly Wade
Heather MieloszykHi Heather! Yes, removable or permanent vinyl will work well on plastic container like the ones featured.
Kadie
This looks so fun and easy. My mom and I just bought a Cricut Explore Air 2 and EasyPress 2. We’ve tried it out a little trying to get an idea for what we can do with it, can’t wait to really get started!
Holly Wade
KadieYay, you’ll love the Explore! Once you get used to using it, you’ll want to use it for EVERYTHING. Have fun!