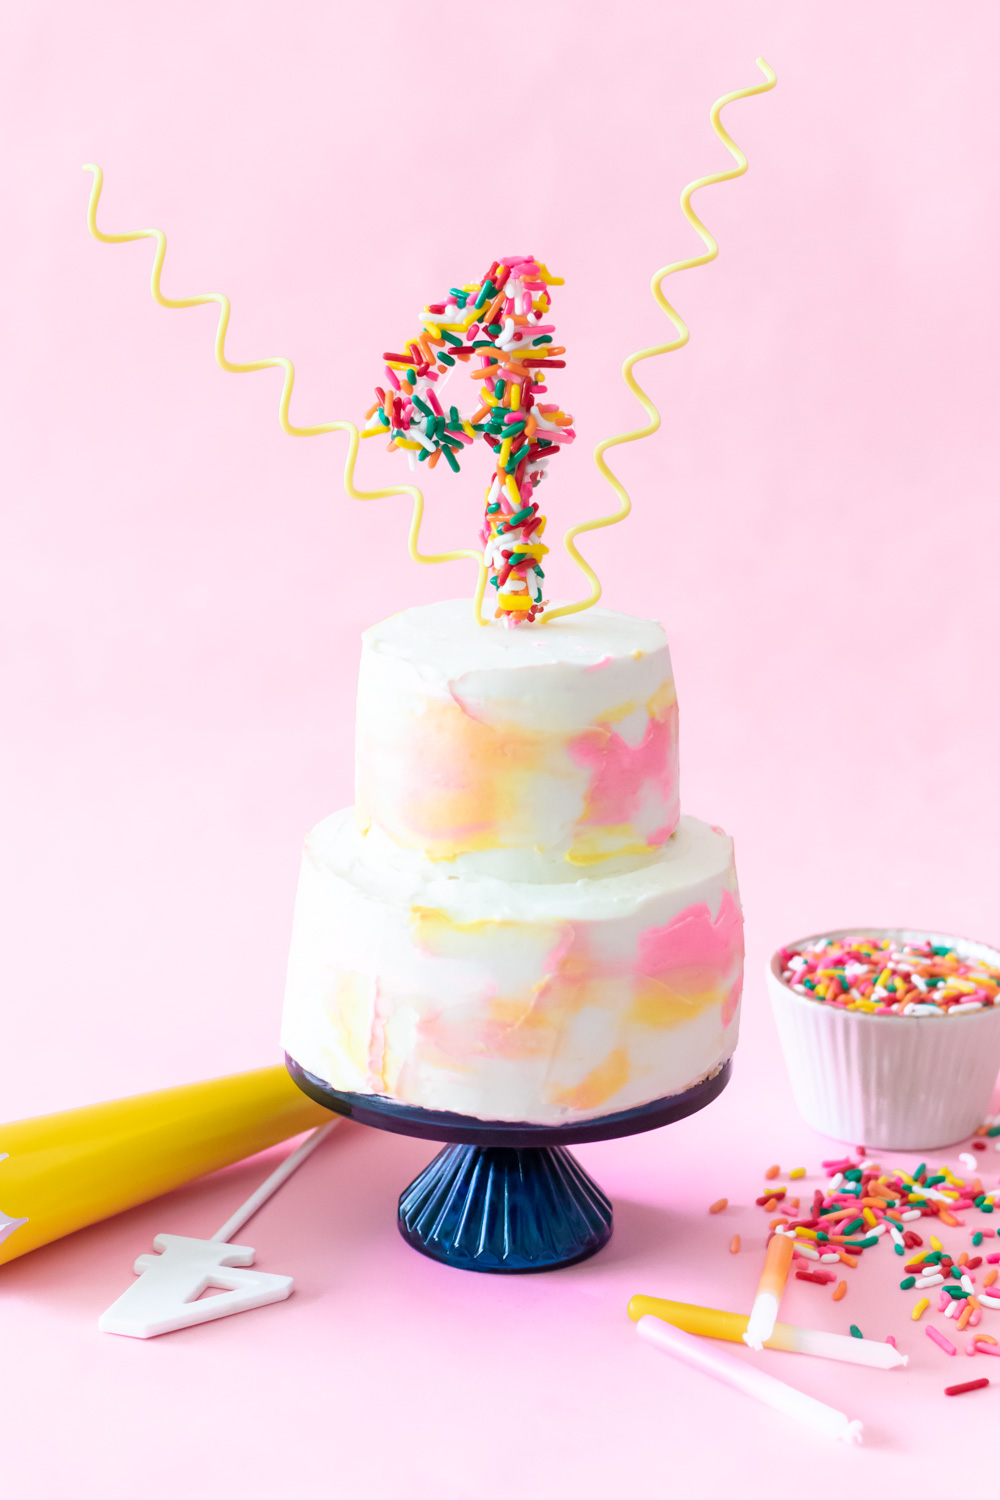
Today I’m celebrating FOUR years of blogging with Club Crafted! Every year, I share a fun baked good idea for my blogiversary (see years one, two and three here), so this year I choose to make a miniature cake with a brushstroke or watercolor pattern! Obviously, life is not the norm right now for any of us. That’s why I chose to make a miniature cake! It’s perfect for two to enjoy! I can’t share my extra baked goods with anyone these days, and I hate to waste any food. Plus, I’m testing cake recipes for our wedding cake because our wedding was moved to September due to the pandemic.
This was a fun new cake idea to try, and because lemon cake it my FAV, I barely shared any of it with Andrew, ha! He’s more of an ice cream person anyway. Keep reading for a short recap of Club Crafted’s last year as well as a quick how-to for making a brushstroke cake in miniature form. It’s harder than I thought to make a miniature cake!
Click here to jump to the miniature cake tutorial! 👇🏼
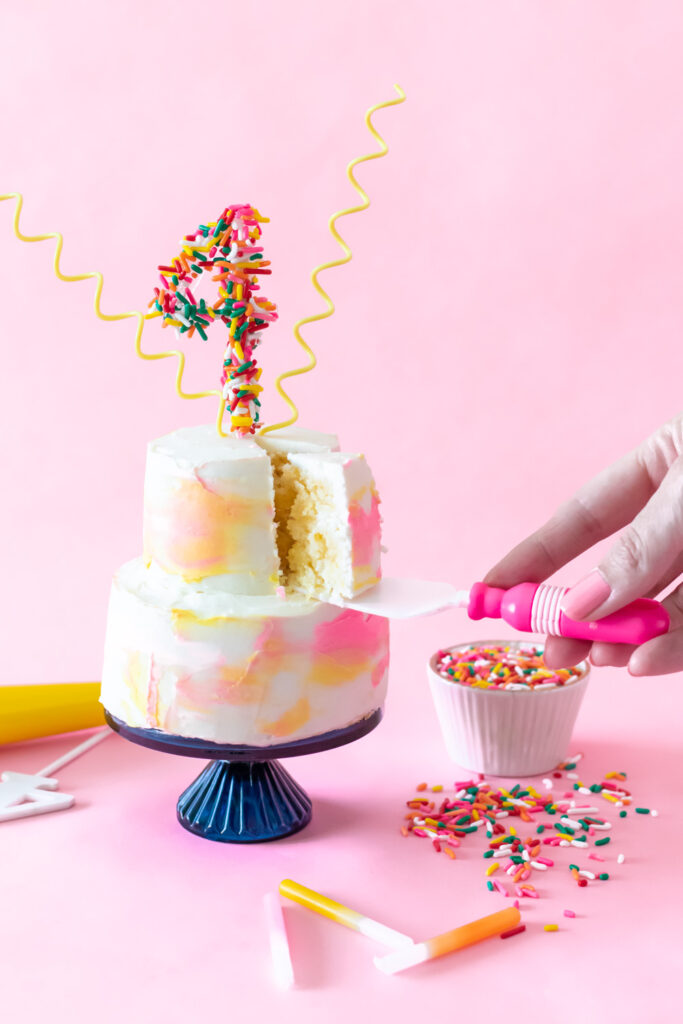
A Look Back at the Year
Because these last few months have been difficult for literally everyone, it’s probably no surprise that it’s been the hardest for me and my business as well. This year, I expanded Club Crafted to become a “creative content studio” and continue to focus a lot of my attention on content creation for brands. Nonetheless, I love this blog as much as ever. I’ve struggled to pursue my passion this year, letting personal problems keep me down. It happens to all of us. Now that some of the worst has passed (I hope!), I’m trying to find my groove again and I have several fun projects in the works again.
Looking back on my four years of blogging, I’m proud but reluctant. We are our own worst critics, and I feel that I should be further along in my career. That said, I get to do what I love everyday. A lot of that is thanks to my wonderful fiance Andrew who supports my business, even at the expense of making less money for us. We have big plans for the future, including saving like crazy so that we can purchase our first home. This miniature cake is meant to celebrate a lot of milestones for me this past year.
Like most of you, I’m hoping this year will get better. The past few months have been some of the worst of my life…yes, I am very lucky to live the life that I do. I don’t share everything online. After all, I want Club Crafted to be a safe place for fun and parties and color! Nonetheless, it’s been hard for me to stay positive lately. It wasn’t Club Crafted’s best year, but maybe the next one could be!
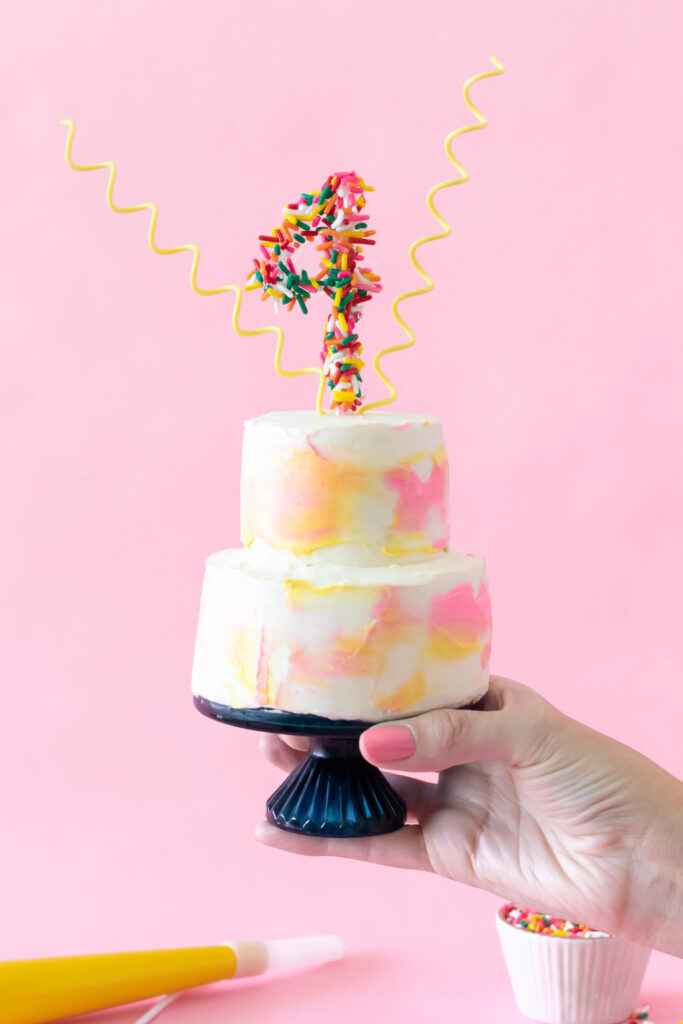
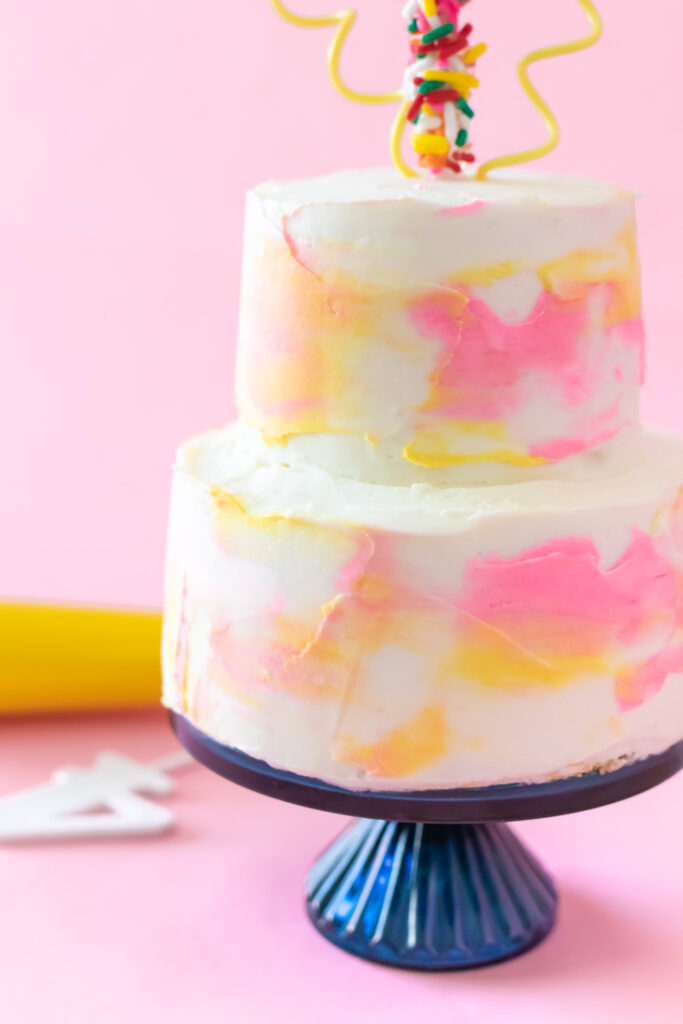
Now, here’s how you can make a simple brushstroke design on a cake! You can call it a brushstroke or watercolor cake – I wasn’t sure what to name it. With two little layers, this miniature cake is definitely more difficult to assemble than a normal sized cake, ha!
How to Decorate a Miniature Cake
First, pick your favorite cake recipe! You can find cake recipes in my archives. I used this lemon cake recipe by Dessert for Two and loved it. It even comes with a MICROWAVE lemon curd recipe. Yes, I tried it and it’s pretty good! I do still recommend my own lemon curd recipe if you have the time. Then I topped it with a simple cream cheese frosting. For most recipes, you’ll want something you can easily half. If you can find a small batch recipe like this one, that’s even better!
Supplies:
- Favorite cake recipe (see above)
- Three 4-inch springform pans
- Favorite icing recipe
- Small angled spatula
- 2-1/2 inch cup or cutter
- Lollipop sticks
- Food coloring
Step 1: Mix the cake batter according to your recipe. Grease the mini pans well with cooking spray and pour equal amounts of batter into three pans. Bake for a little more than half the time your recipe suggests. Then check the cake frequently until it is baked through. Because the pans are so small, mine cooked in about 22 minutes. Let the cakes cool.
Step 2: Prepare the frosting and any other fillings. Set aside until your cakes are cool enough to decorate.
Step 3: Once cool, carefully slice the cakes into two equal layers from each pan. Three will stay full size. Select three others and use a cup of cutter to cut a smaller circle. This will become the top tier of the cake.
Step 4: Assemble the bottom tier. Layer the cake and frosting as well as any fillings. Assemble the tiny top tier separately.
Step 5: Apply a crumb coat to each tier and refrigerate 30 minutes. Add another layer of icing so that the cake is well-covered and refrigerate 30 more minutes.
Step 6: Insert lollipop sticks (I used 2) into the center of the bottom tier. Carefully cut them where they reach the top. Then gently place the smaller tier on top so that it is centered.
Step 7: Move a small amount of icing to separate bowls and dye with your desired colors. Once the cake is smooth and well-covered with white icing, apply splotches of the color all over both tiers. Gently scrape the icing smooth with an angled spatula, smearing the color to like watercolors. Repeat as needed until your desired look is reached.
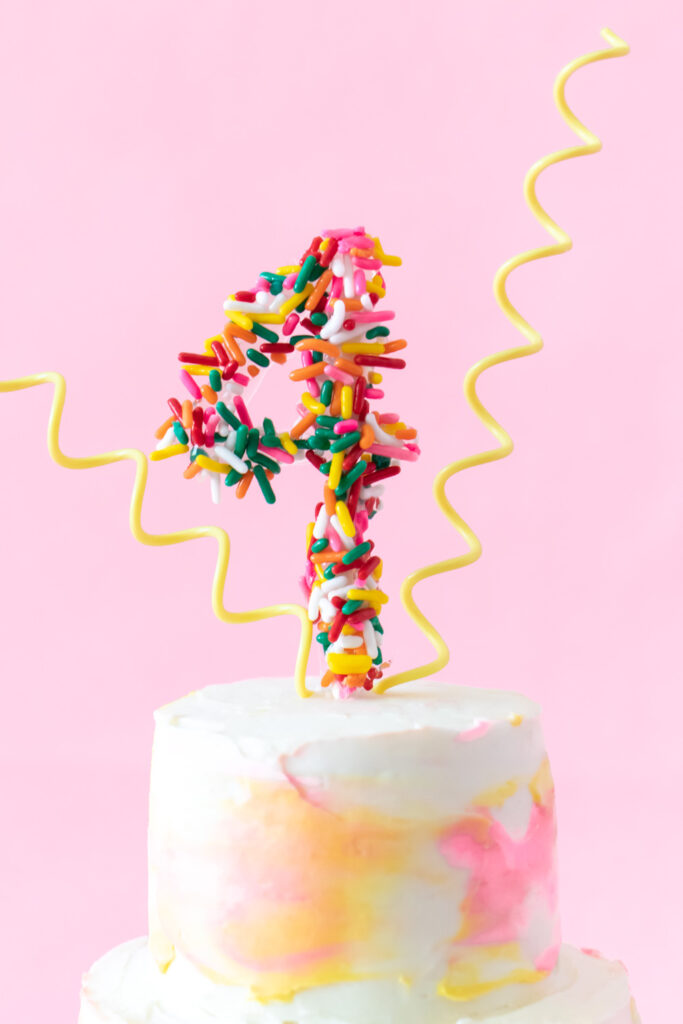
Top with your favorite decorations, like citrus slices, sprinkles or a cute cake topper! This DIY sprinkle cake topper is make with hot glue and a lollipop stick, then covered with sprinkles. I hope you enjoyed catching up on Club Crafted’s fourth year in business! Celebrate your next milestone with a miniature cake that’s perfect for two!
