How to Paint a Tile Fireplace + A Makeover with Wayfair
The following post is sponsored by Wayfair
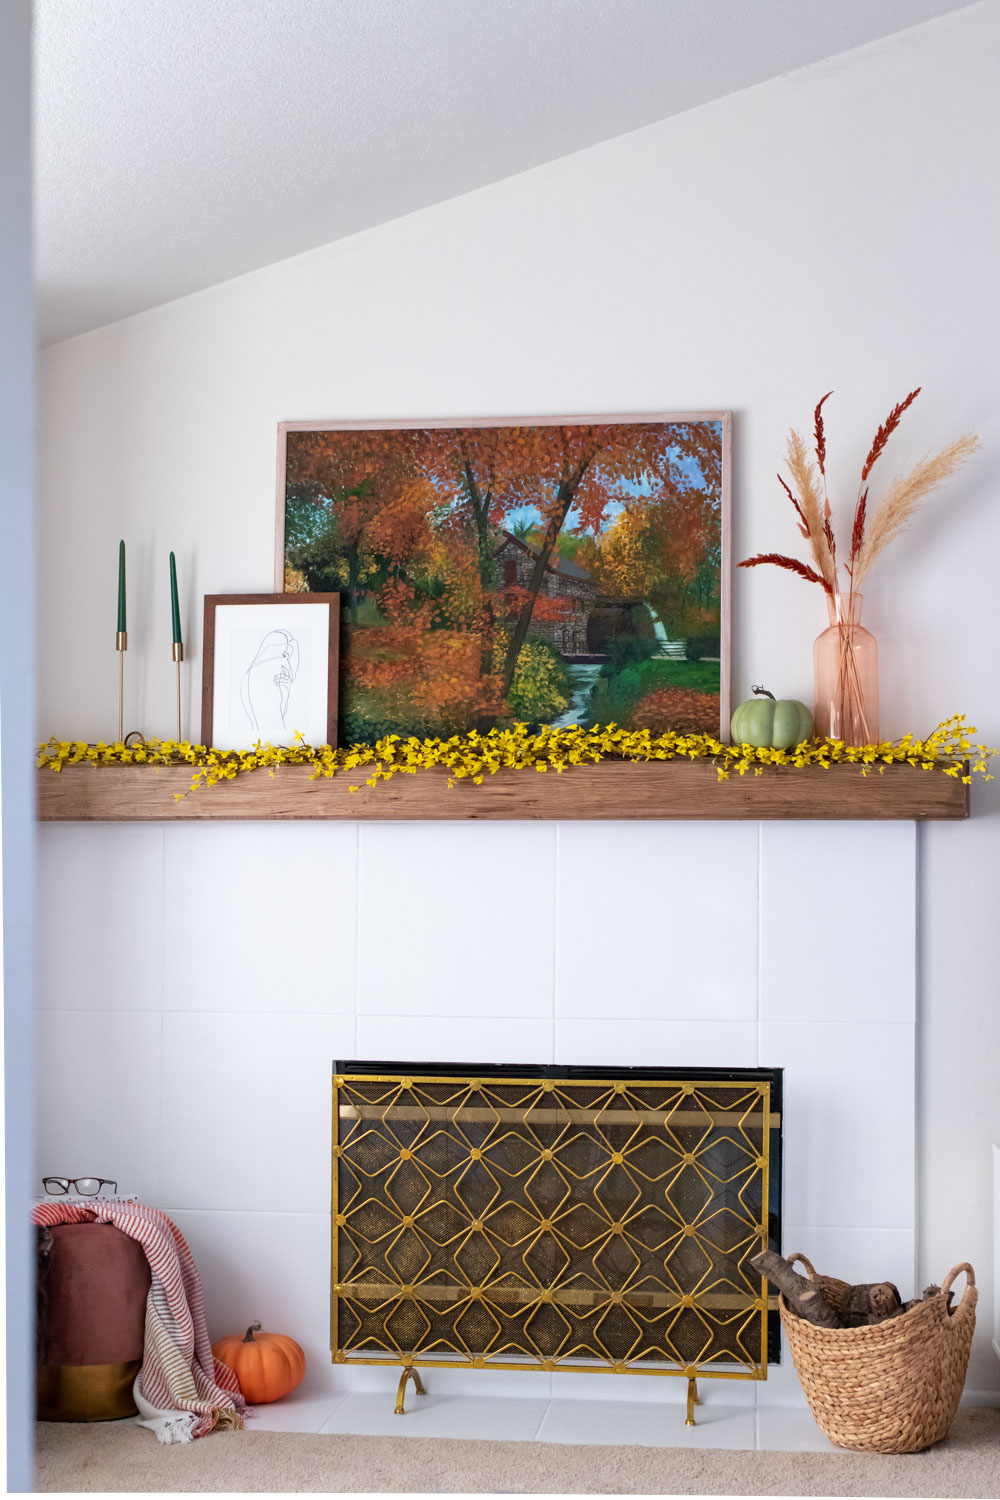
As I shared in my last post, we’ve been living in our new home for one whole month now! Time has flown by, and we continue to work on project after project to make the space feel like US. One of the first projects I was excited to tackle was modernizing our fireplace, which was straight outta the 80s. How, you ask?! The affordable way: paint. Would I have loved to completely demolish and redo our fireplace? Absolutely, but that’s just not realistic. Instead, I learned how to paint a tile fireplace and replace the mantel to create a blank canvas to decorate with more modern fireplace accessories from Wayfair. This ultra-modern gold fireplace screen, for example, completes the look of our newly modernized fireplace! Keep reading for the full how-to (it’s SO easy!) and the before and after photos of my fireplace makeover.
Ever since we moved in, it seems as if I’m ordering something new from Wayfair every week, ha! It’s so exciting to finally be able to share it all! Heading into cooler weather for fall and winter, this was the ideal time to makeover our fireplace so it will be ready to use. Although it doesn’t get that cold here in the SoCal desert, we still have chilly days that are made cozy with a (wood burning) fireplace. I can’t wait to use it this Christmas!
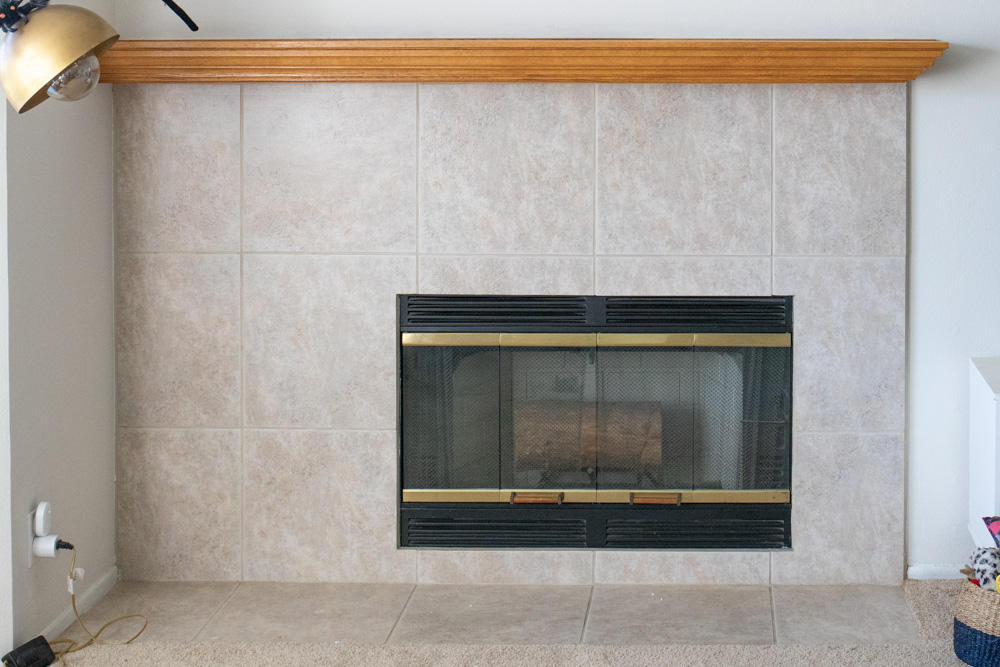
As you can see from this before photo, the original fireplace had large tiles – they actually match the floor tiles all throughout the house. Yuck! The mantel was massive, but also very outdated, and the metal surround was in very good shape but just doesn’t feel modern. That’s when I fell down the Google rabbit hole and learned how to PAINT a tile fireplace in one afternoon! HOLY MOLY. Paint makes a huge difference. Like, a really huge difference. Then we replaced the mantel and completely transformed the room from 1988 to 2020! I’ll share more on the mantel project another time.
For now, let’s focus on how I’m styling our easy fireplace makeover for fall.
Products that Modernize a Fireplace
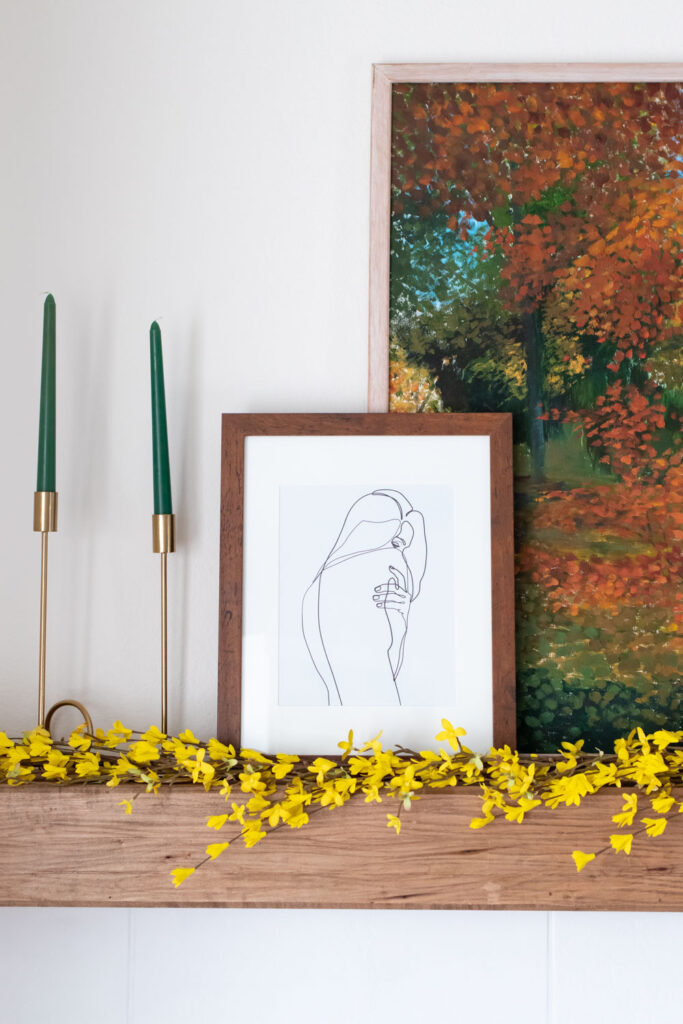
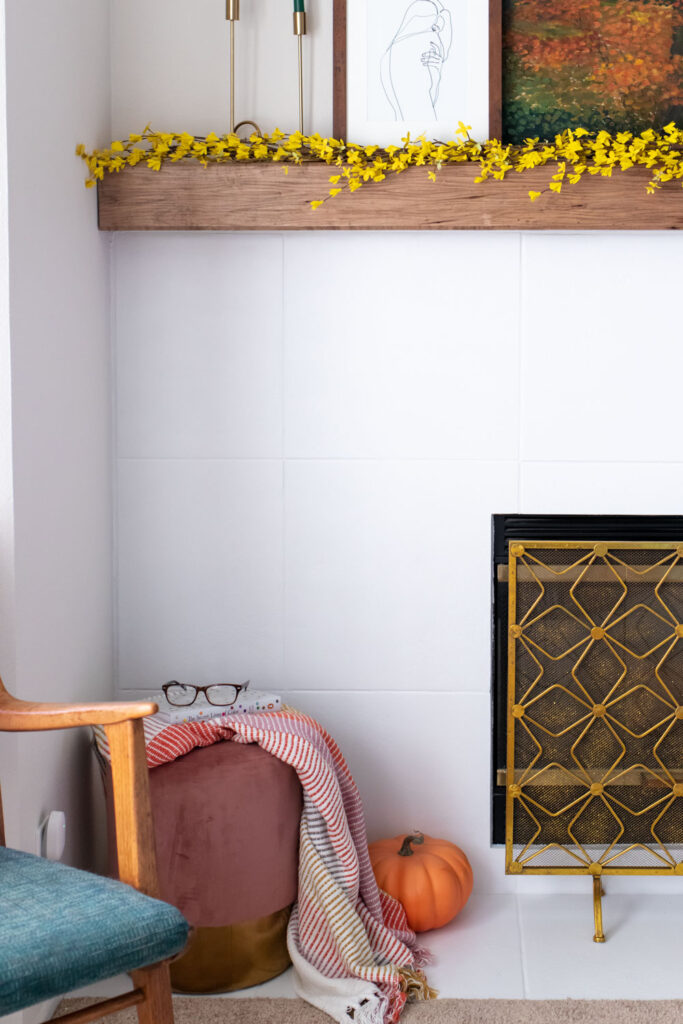
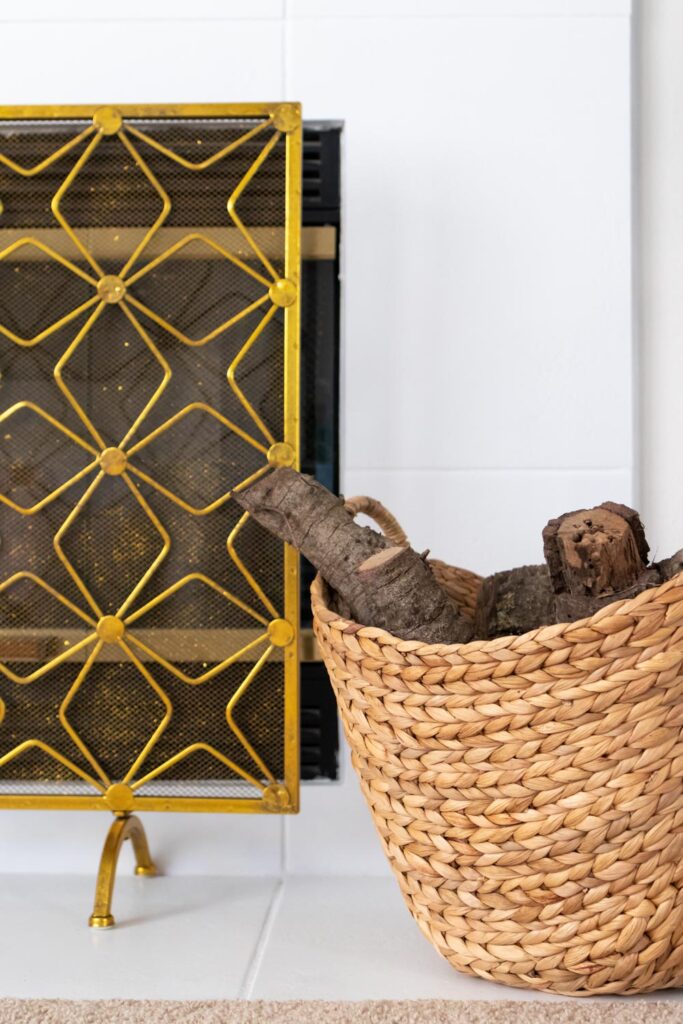
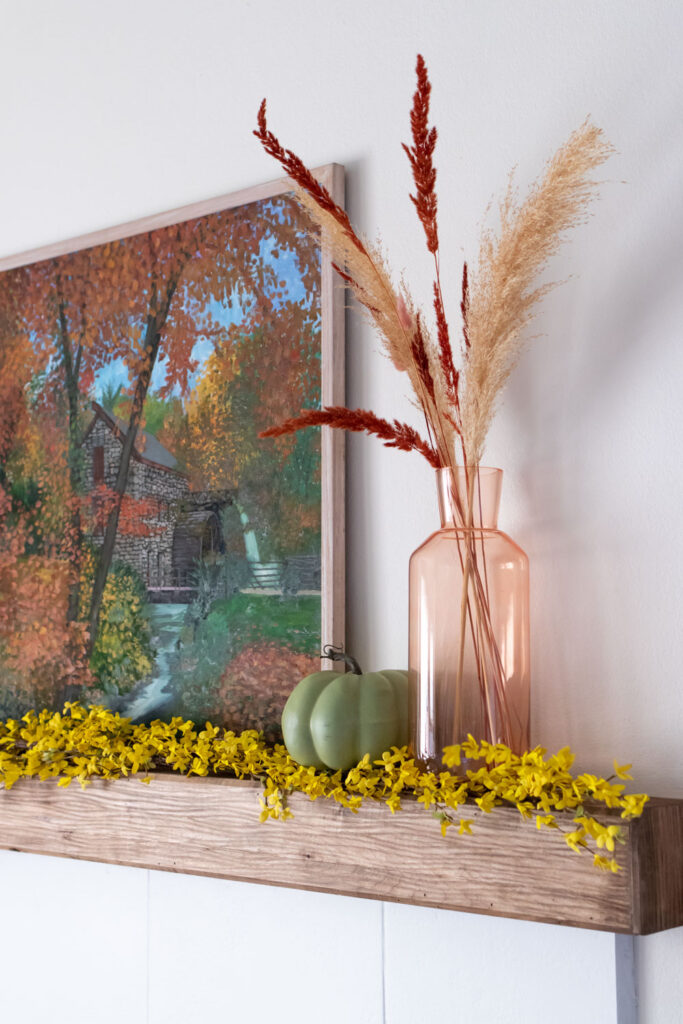
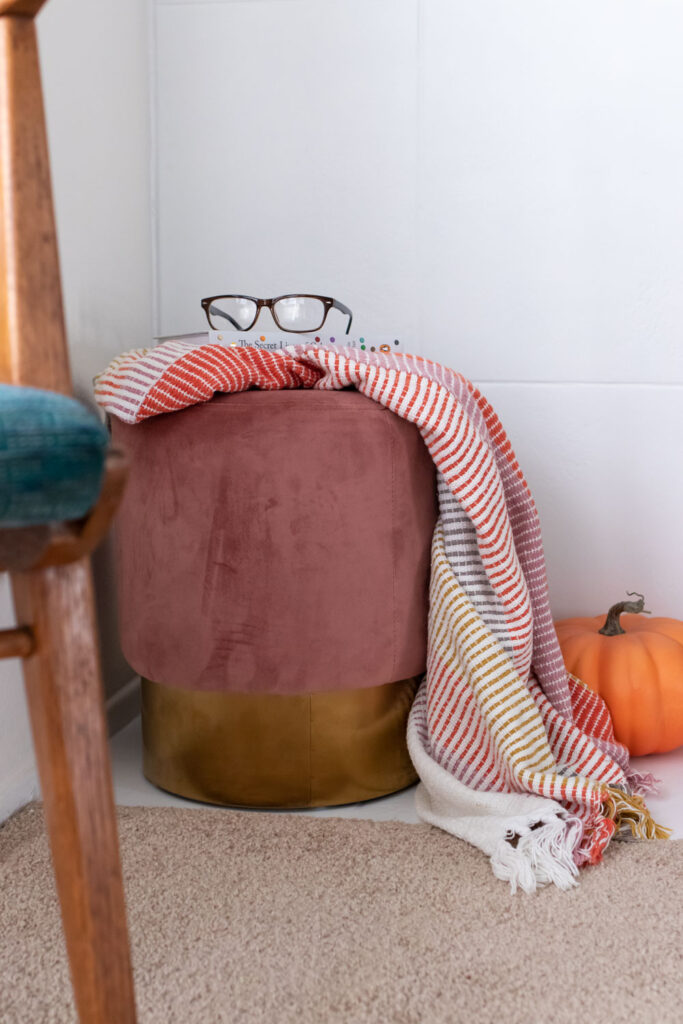
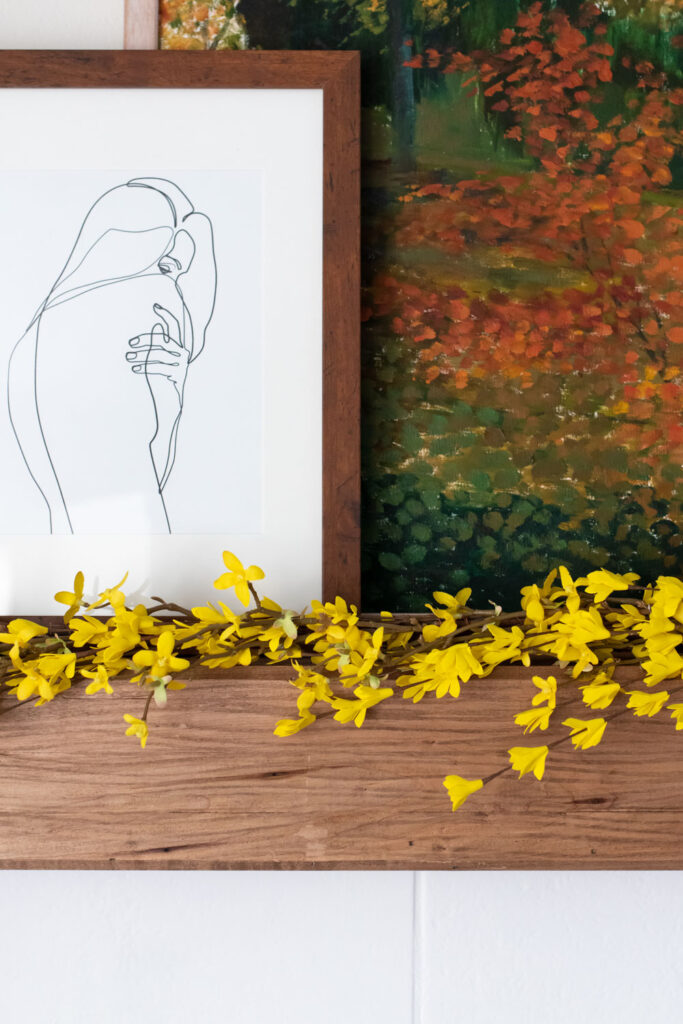
In addition to painting the tile fireplace surround, the products I purchased helped create a modern look. This Single Panel Iron Fireplace Screen is the star of the show! The gold is duller (like a brushed brass) in person, which matches the rest of the finishes in the room. To contrast it, I had originally picked a black Hoop Firewood Log Rack, but until it arrives next month, I used a simple woven basket for our firewood. On the mantel, I added a large framed painting Andrew’s grandfather painted. We hadn’t been able to hang it before, and this extra long mantel was just begging for it! To bring fall coziness inside, the colors of the painting pair with the two yellow floral garlands I chose from Wayfair to spread across the mantel. Because the mantel is so long, I was worried I might clutter it with too many items. Instead, the garland and large artwork add color and texture so that I don’t have to do much! Swag and garlands are the perfect way to decorate for the seasons with little commitment. With other accents to tie in colors from our room, it filled out the mantel without appearing cluttered. Finally, I used my upholstered ottoman as a stool where someone can sit near the fire. You might recognize it from the entryway update in our old apartment!
How to Paint Fireplace tiles
I did a lot of research before beginning this project, but there’s no “right” way from what I can tell. First of all, YES you can paint tile. You can paint any kind of tile in your home (fireplace, floor, bath, etc.), but the type of paint you use will differ. Lucky for both of us, fireplace tiles are the easiest! YAY! No need for sealing or any special supplies. Here’s how to paint a tile fireplace.
Supplies:
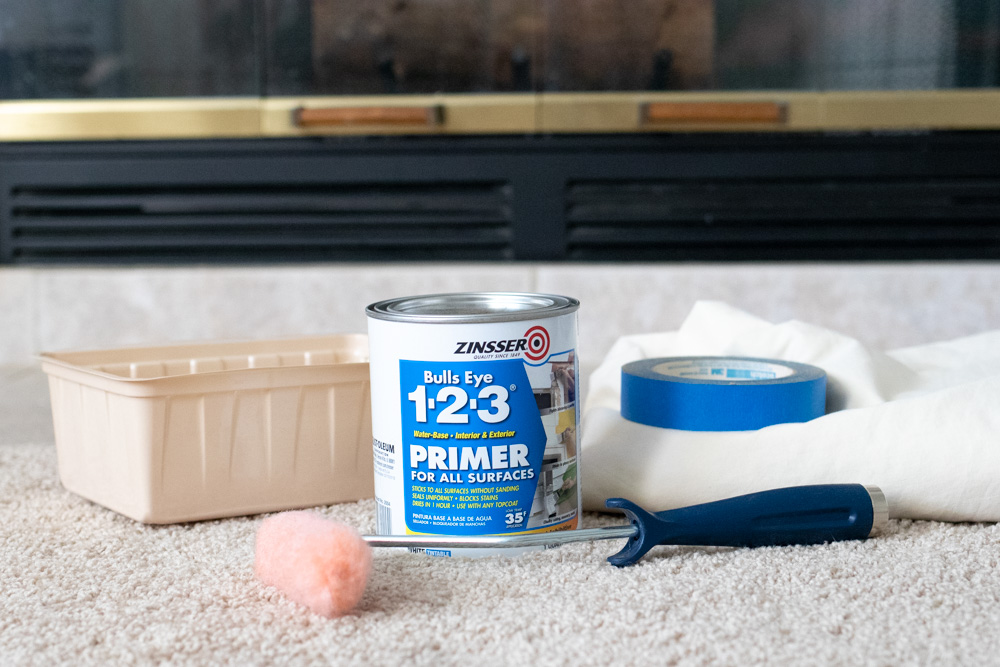
- Primer, quart of pure white
- 4-inch roller
- Paintbrush
- Painters tape
- Drop cloth
Optional: I stuck with white, but once you’ve added the primer you can absolutely add colored paint with any latex paint.
Step 1: Clean! Give all the fireplace tiles a good scrubbing with a standard cleaner to remove any residue. Dry completely.
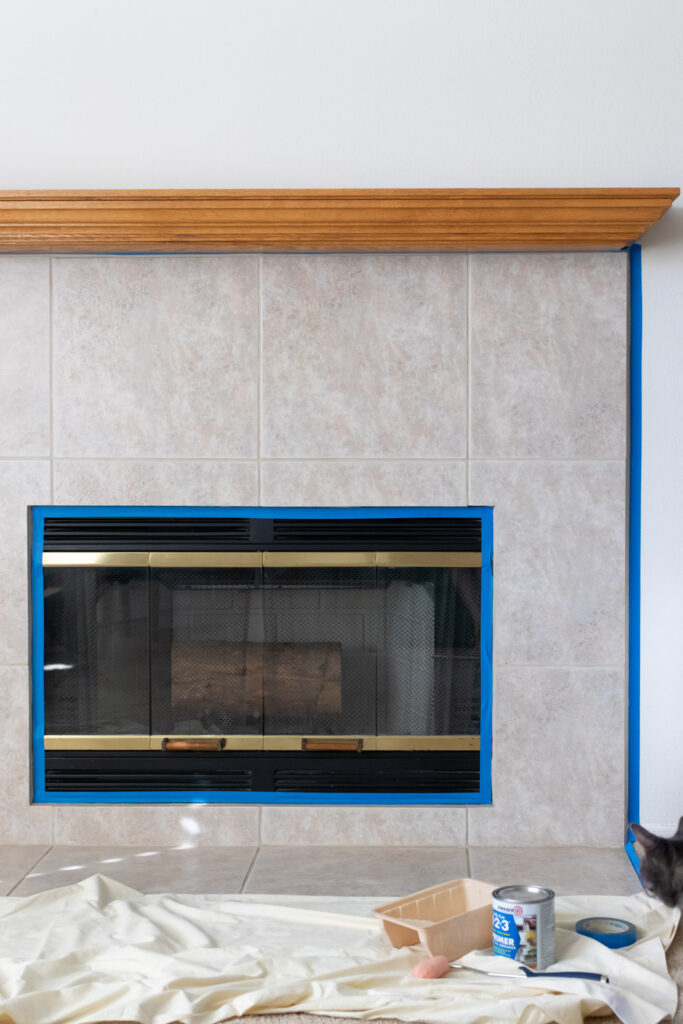
Step 2: Tape off the wall around the fireplace, the base and the insert. In our case, the flooring is carpet, so I carefully taped the carpet and dug the end of the tape as deep as I could to prevent paint from seeping. It worked! No paint on the carpet. Cover your other surroundings with a dropcloth.
Step 3: Mix and pour the primer into a small pan. Using a small roller, apply a layer of paint all over the tiles. Use a paint brush for hard-to-reach areas (like corners and grout lines) or detailed sections.
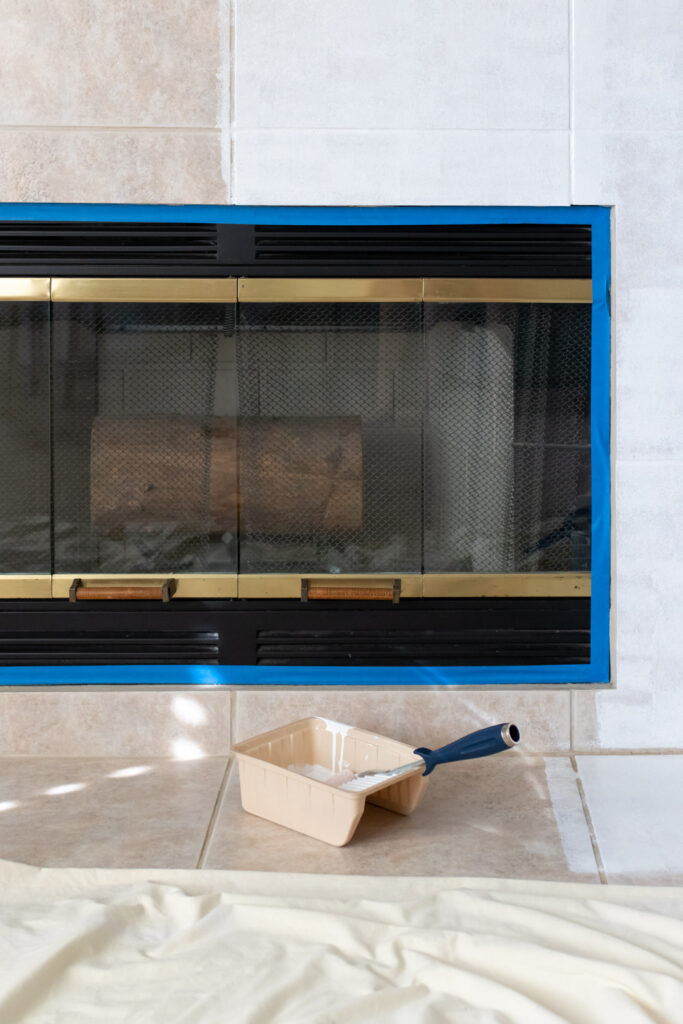
Step 4: Once the first layer has dried, add a second layer of primer. If using a colored latex paint, apply as the third and fourth layer. Otherwise, I recommend 3-4 layers of primer for standard white. It ensures the porous tiles are well-coated.
Once dry, you can peel away the tape! This provides the perfect base for stenciling as well. I was able to paint a tile fireplace in one afternoon!
I hope you liked this first glimpse into Montez Manor! We’re so happy with how we modernized this 80s fireplace with finishes from Wayfair, and I was pleasantly surprised by how wonderfully the painted fireplace tiles turned out. Stay tuned for more home updates!
Thank you to Wayfair for generously sponsoring this post. All opinions are my own. Thanks for supporting the brands that keep Club Crafted sharing!
