
The following zodiac-themed treat bags post is sponsored by Cricut
I’ve always loved the stars, and where I grew up had such little light pollution that it was the perfect place to stargaze. After so many years in the “city,” I felt like I barely ever saw stars anymore. Now that we’re in the desert, it’s a small community where I can see more stars at night and I LOVE it! So let’s celebrate the stars today! I partnered with my friends at Cricut to make zodiac-themed treat bags featuring the 12 zodiac signs on a painted galaxy background. As more and more of us are becoming vaccinated, I hope that means that we can look forward to hosting parties again, and these astrology or zodiac treat bags are the perfect addition to a space-themed event. Keep reading for the full tutorial AND a brief video!
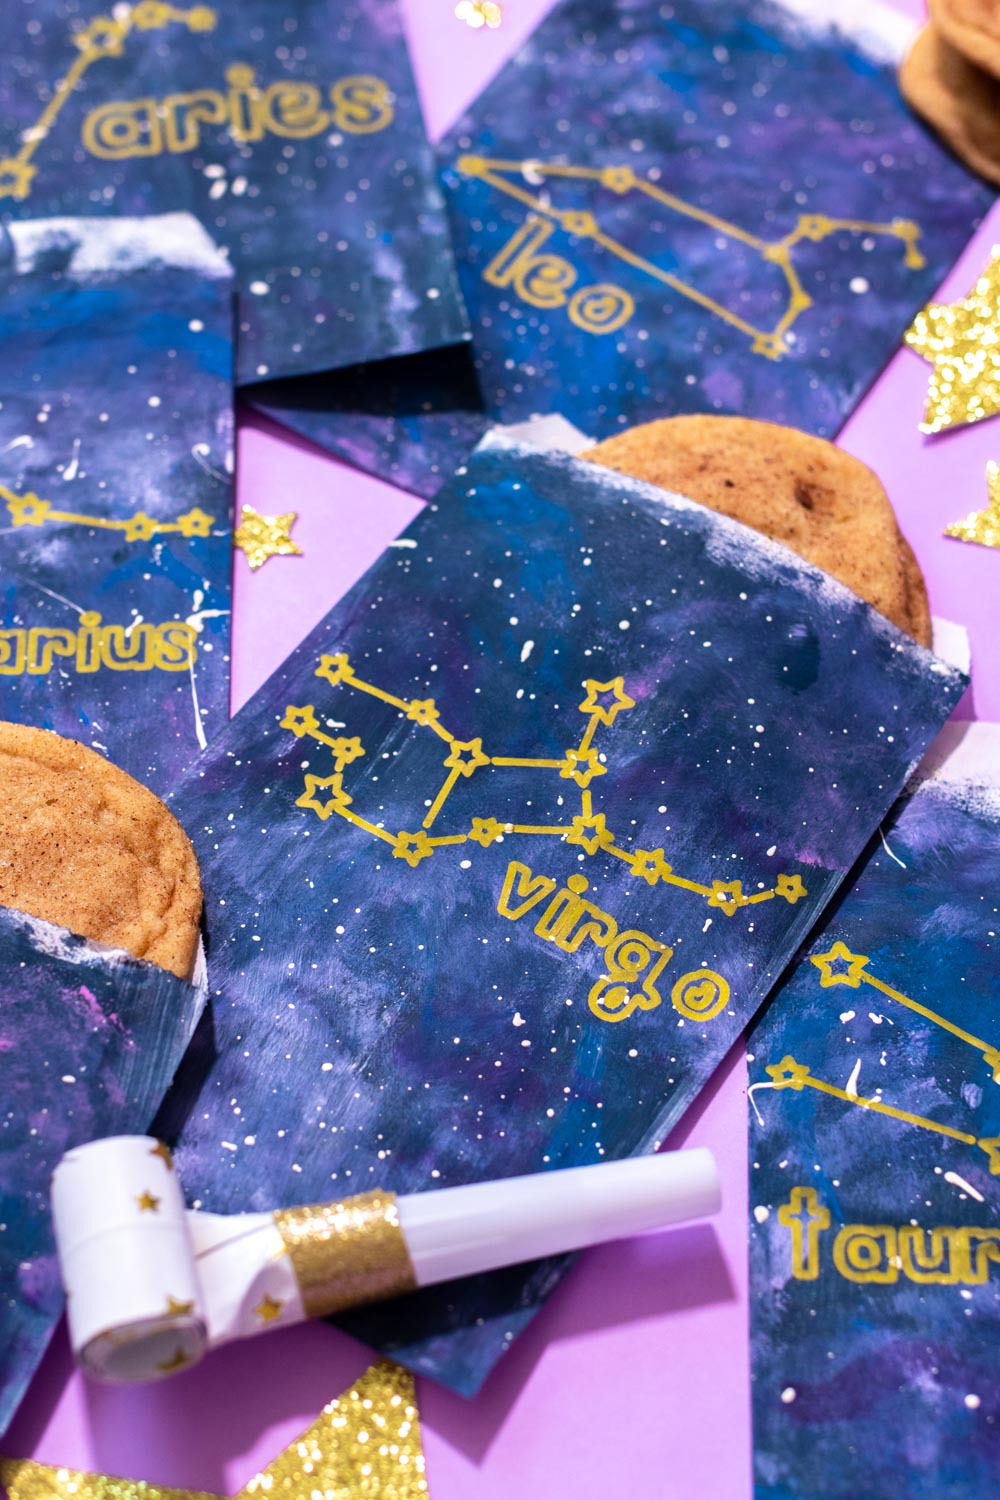
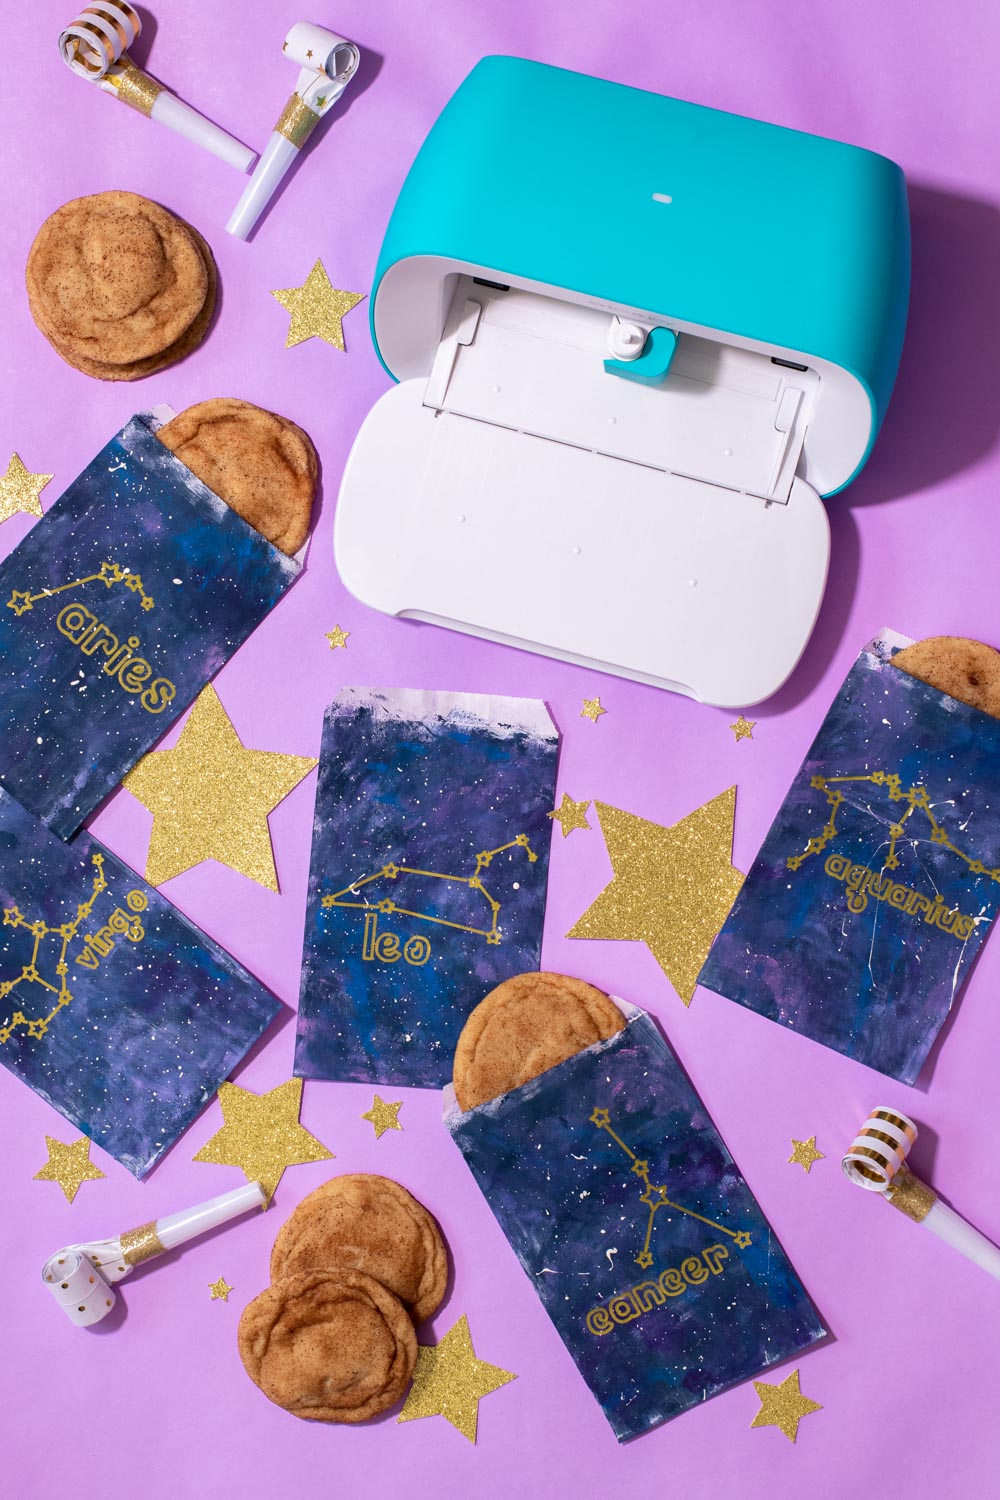
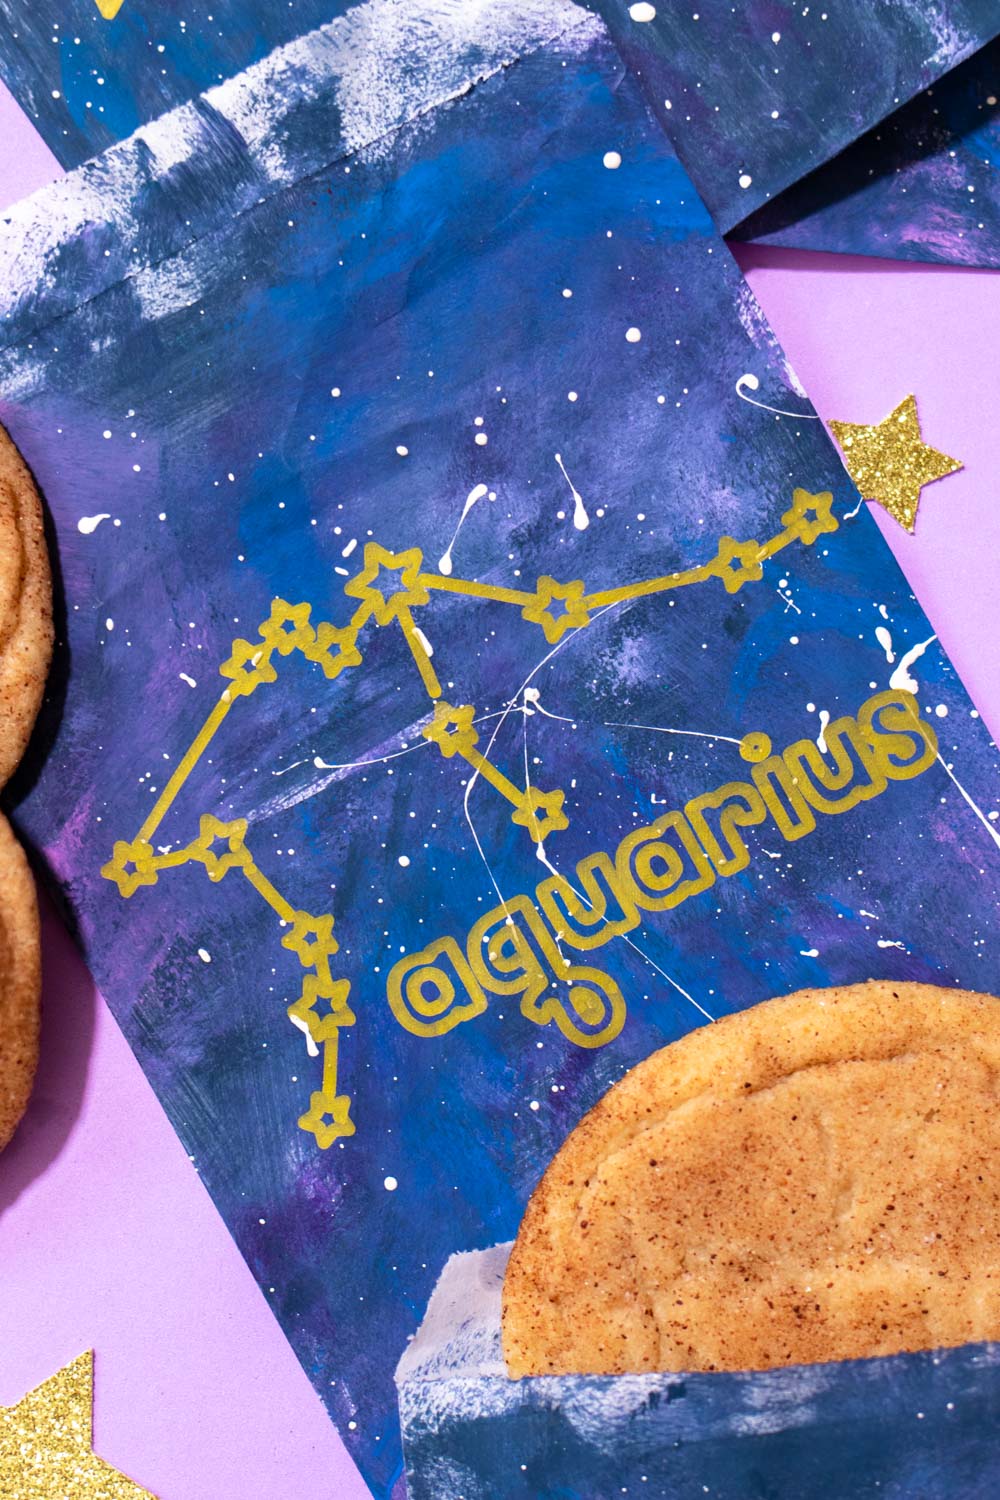
Because of the size of the treat bags, I used my Cricut Joy. Honestly, I use it more than my Cricut Explore Air 2 these days! First, I painted the bags, using a sponge to create a space-inspired texture. Then I used my Cricut Joy to draw out each zodiac constellation with letters to note the sign. I found all of the designs in Cricut Design Space! While I was worried that my gold marker would be too thick for such small details, I was completely wrong! I’m actually happy with how the zodiac-themed treat bags came out with the marker because you can clearly read it against the busy background. Here’s how to do it!
How to Make Zodiac Treat Bags with Cricut
Plus, because this is a celebration, I’ll share how to make some simple stars to decorate your table. After all, no space-themed event would be complete without some sparkly stars! Psst, you can even SEW all the stars together to make a cute garland. Anyone else in the mood for a party now?!
Supplies:
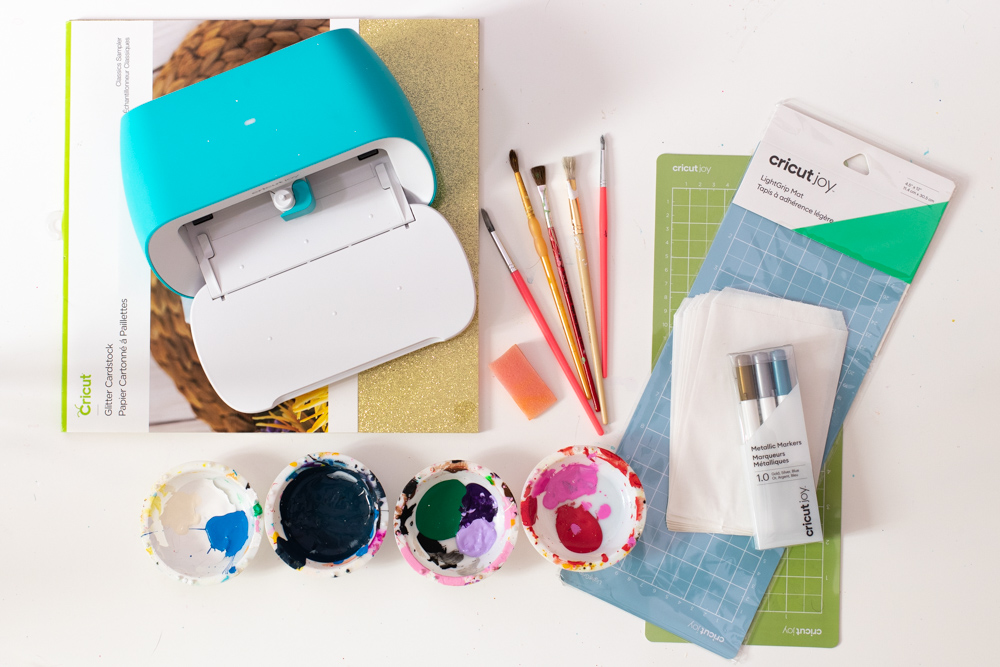
- Cricut Joy
- Cricut Joy Metallic Markers
- Kraft Paper Treat Bags (approx 4×6 inches)
- Cricut Joy Light Grip Mat
- Cricut Glitter Cardstock Samper, Classics
- Cricut Joy Standard Grip Mat
- Acrylic paints in black, blue, pink, purple and white
- Paintbrushes
- Sponge brush
- Parchment paper or plastic, for covering work surface
Step 1: First, paint your treat bags! This will be the base for your Cricut designs. Start by mixing a dark blue color for the background and apply. Then use a sponge to dab it around.
Step 2: Then add dots or brushstrokes of pinks, purples and blues. Use the sponge to lightly blend. This should give the zodiac-themed treat bags a galaxy-like background.
Step 3: Once done, lay the bags on a protected surface if you haven’t already. Then dip a small brush in white paint and carefully “fling” it or tap it to speckle the bags with white paint that imitate stars. Then let the bags dry.
Step 4: Prepare your designs in Cricut Design Space. My treat bags are about 4 x 6 inches. Adjust the size of each zodiac design to be about 3.5 inches wide or less. Then click “Make It.”
How to Use Cricut Joy Markers
Step 5: Carefully remove the Cricut Joy blade. Replace it with the gold marker and secure in place.
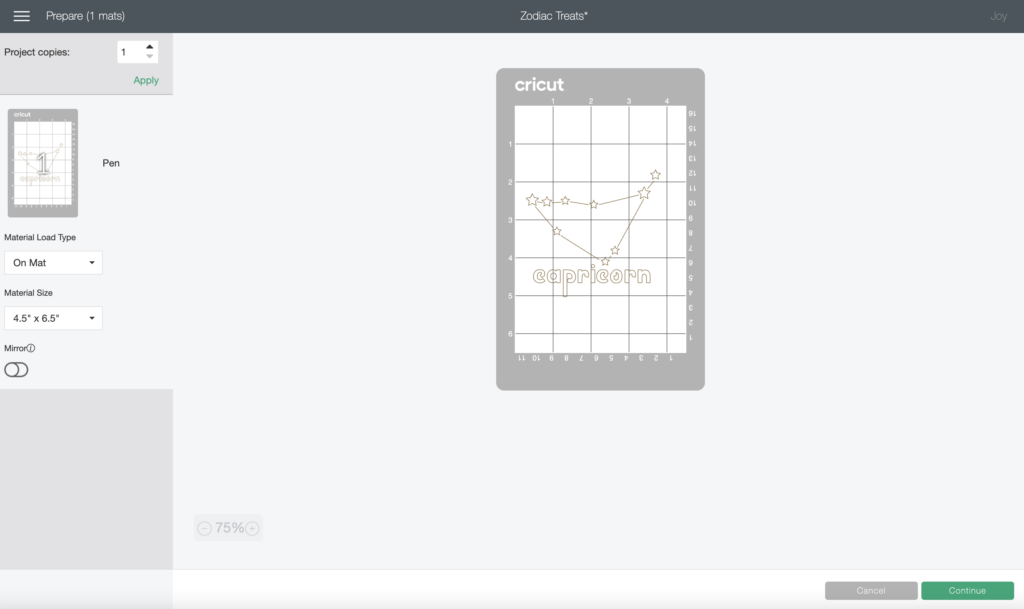
Step 6: In Cricut Design Space, adjust each design so that you have one per “mat” page. If the software does not do it automatically, click the dots in the top left of your design. Choose “move object” and create a new mat to separate them. Arrange each one in the approximate middle of the 4 x 6.5in section of the mat on your screen.
Step 7: Click “Continue” to make the zodiac-themed treat bags. Choose your desired material. Because you are not cutting yet, you can choose almost any type. I use “Laser Paper.”
Step 8: Then apply a single treat bag to the top left corner of your Cricut Joy Light Grip Mat. Follow the instructions on the screen to load the mat (with the bag still at the top). Then click “Go.”
Step 9: Once the zodiac treat bags are finished being drawn (isn’t is mesmerizing?!), click “Unload” on the screen. Remove the bag and repeat with each design to create as many as you want!
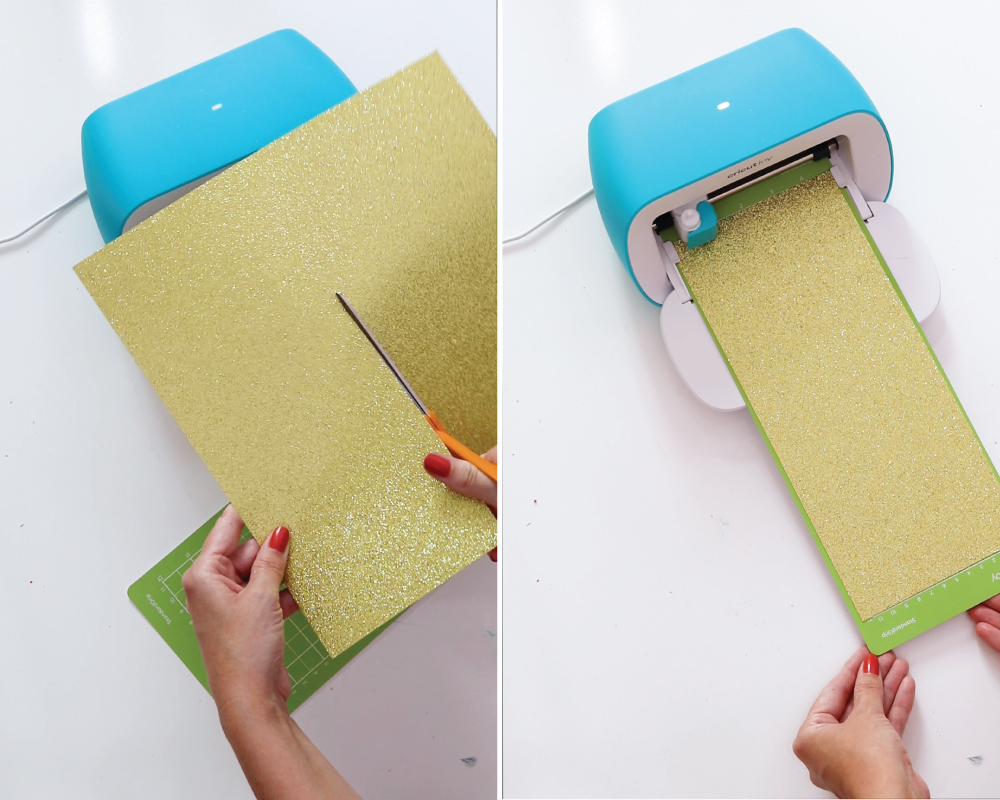
How to Cut Cardstock with Cricut Joy
Step 10: To make the star decorations, cut a large piece of Cricut Glitter Cardstock to about 4.5 inches wide. Press onto the Cricut Joy Standard Grip Mat.
Step 11: Click “Make It” in Cricut Design Space to cut the stars. Arrange them as desired on your mat. Then click “Continue.”
Step 12: Choose “Glitter Cardstock” as the paper type. Then make sure to reload the blade into the Cricut Joy and cap the marker for later use.
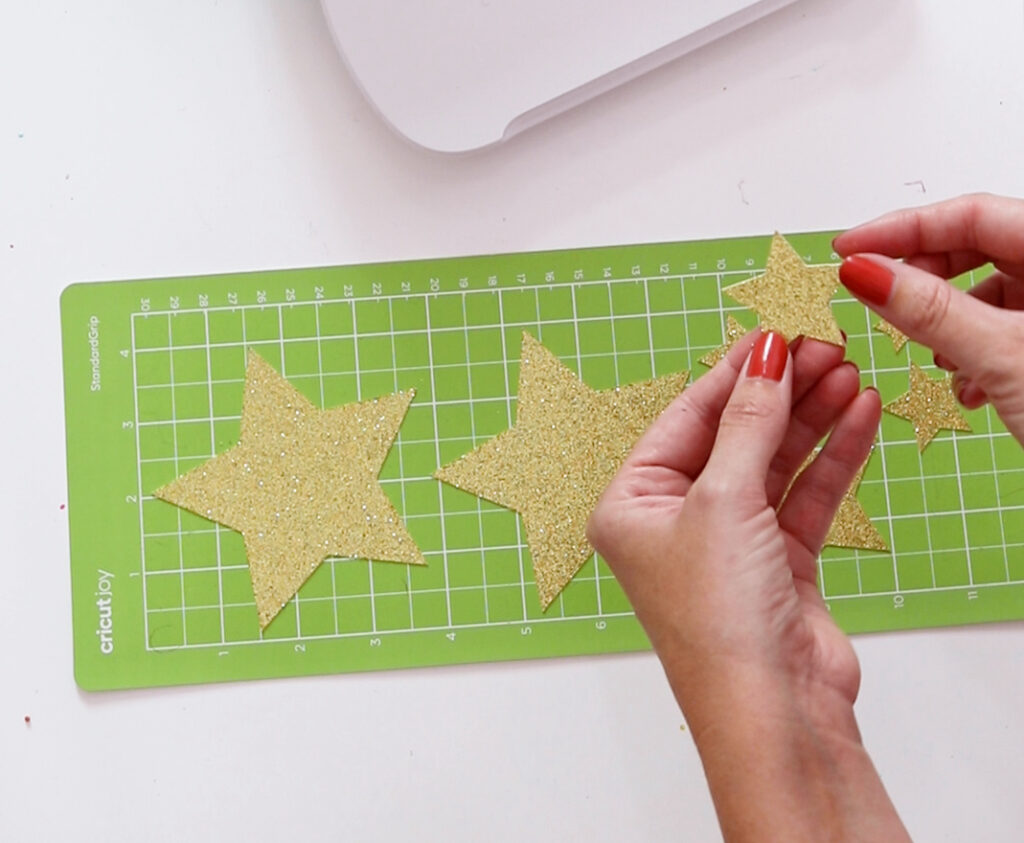
Step 13: Load and cut the design. Carefully peel away the negative area and use your fingers or a Cricut Spatula to remove each star for decorating.
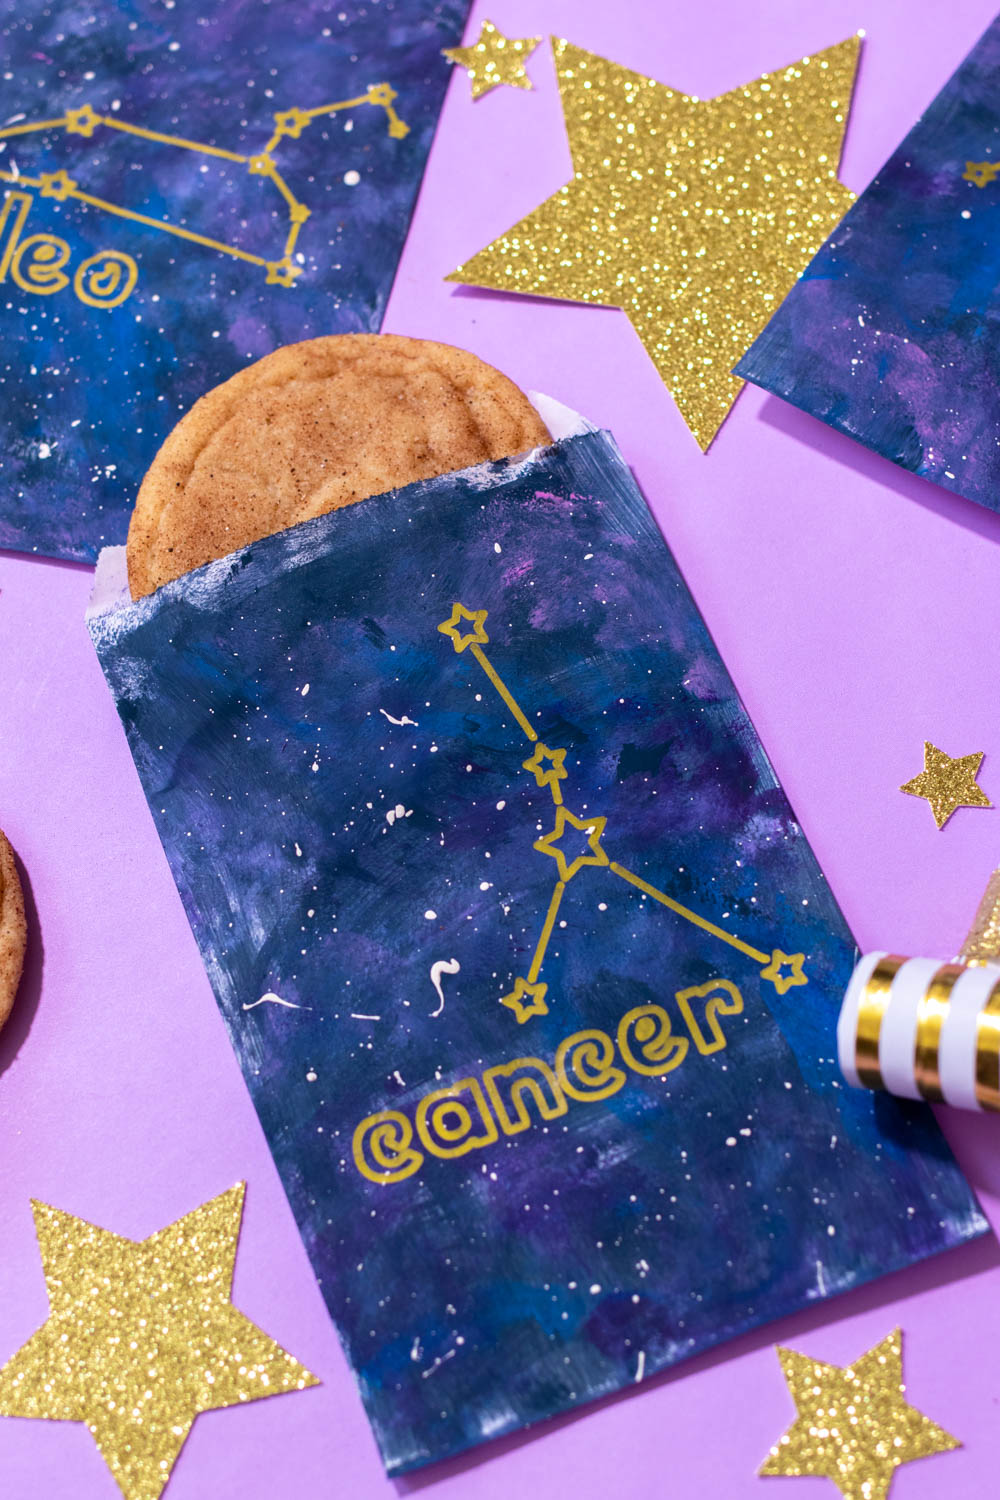
I made one bag of each zodiac sign, and filled them with my favorite brown butter snickerdoodle cookies. What’s your sign?! I’m a virgo, and although I’ve never believed in astrology as “fact,” I do enjoy reading about my sign and finding similarities in my life. I can’t wait for parties to return so we can have an astrology-themed party to share these zodiac treat bags!
Be sure to check out more ideas with Cricut in my archives!
