
Let’s put that Cricut machine to good use and make a cute pennant flag for Valentine’s Day! Using Cricut felt and Cricut Design Space, I made this pink and red pennant flag for a simple Valentine’s Day DIY to decorate our home for Valentine’s Day. I choose the phrase “stay curious” to make the pennant generic enough to have around all year rather than making it too specific to the holiday. The phrase felt like something cute to represent my son, who unsurprisingly loves to play with it when it’s on display in his room. Keep reading for the full step-by-step rundown and a video tutorial for this felt DIY pennant flag.
Please note this post may contain affiliate links from which I may collect a small profit should you choose to make a purchase.

First, let’s talk materials! For best results, you will need to use a cutting machine like the Cricut Maker 3 and Cricut brand felt. Although it’s possible to used off-brand felt, it will not cut cleanly and leave you with nothing but a headache. Trust me, I’ve tried plenty of times! If you do not have a machine to cut the specific type of felt, your best chance is to cut the flag shape and scallops by hand and purchase pre-made pieces to iron or glue onto a pennant shape.
That said, I can’t say enough great things about my Cricut machines and I do use them all the time! Keep in mind the Cricut Maker series is the ideal model for cutting felt products, but a Cricut Explore 3 should work as well. Here’s how to start making a DIY pennant flag for Valentine’s Day with a cute saying like “stay curious!”
{Video from Instagram}
How to Make a Pennant Flag
Materials:
- Cricut Maker 3 or similar
- Cricut Standard Grip mat
- Cricut felt in light pink, dark pink, and red
- Wooden dowel
- Fabric glue
- Glue gun
- Scissors
- Variety of ribbons
Instructions:
- If using your Cricut, open my Valentine’s Day pennant flag template in Cricut Design Space and click “make.”
- Then cut the designs out of Cricut felt and carefully remove them from the mat. I find that I prefer to use the “More” setting when cutting felt on my Cricut.
- Turn the larger pennant piece over to what side you want to be the back. Apply fabric glue along the two angled sides and press the scalloped pieces on top.
- Flip the flag over and glue the design pieces in place with fabric glue. Hot glue will also work, but you risk burning yourself with these small pieces.
- Then turn the flag over again and wrap the rectangular end around the top of a wooden dowel and secure with hot glue. It is designs to fold over with extra space. Cut excess hangover if needed (like if the dowel is thinner).
- Lastly, hot glue the other pennant flag piece on top, in line with the bottom. This will keep the back looking clean and act as another way to keep the scalloping in place.
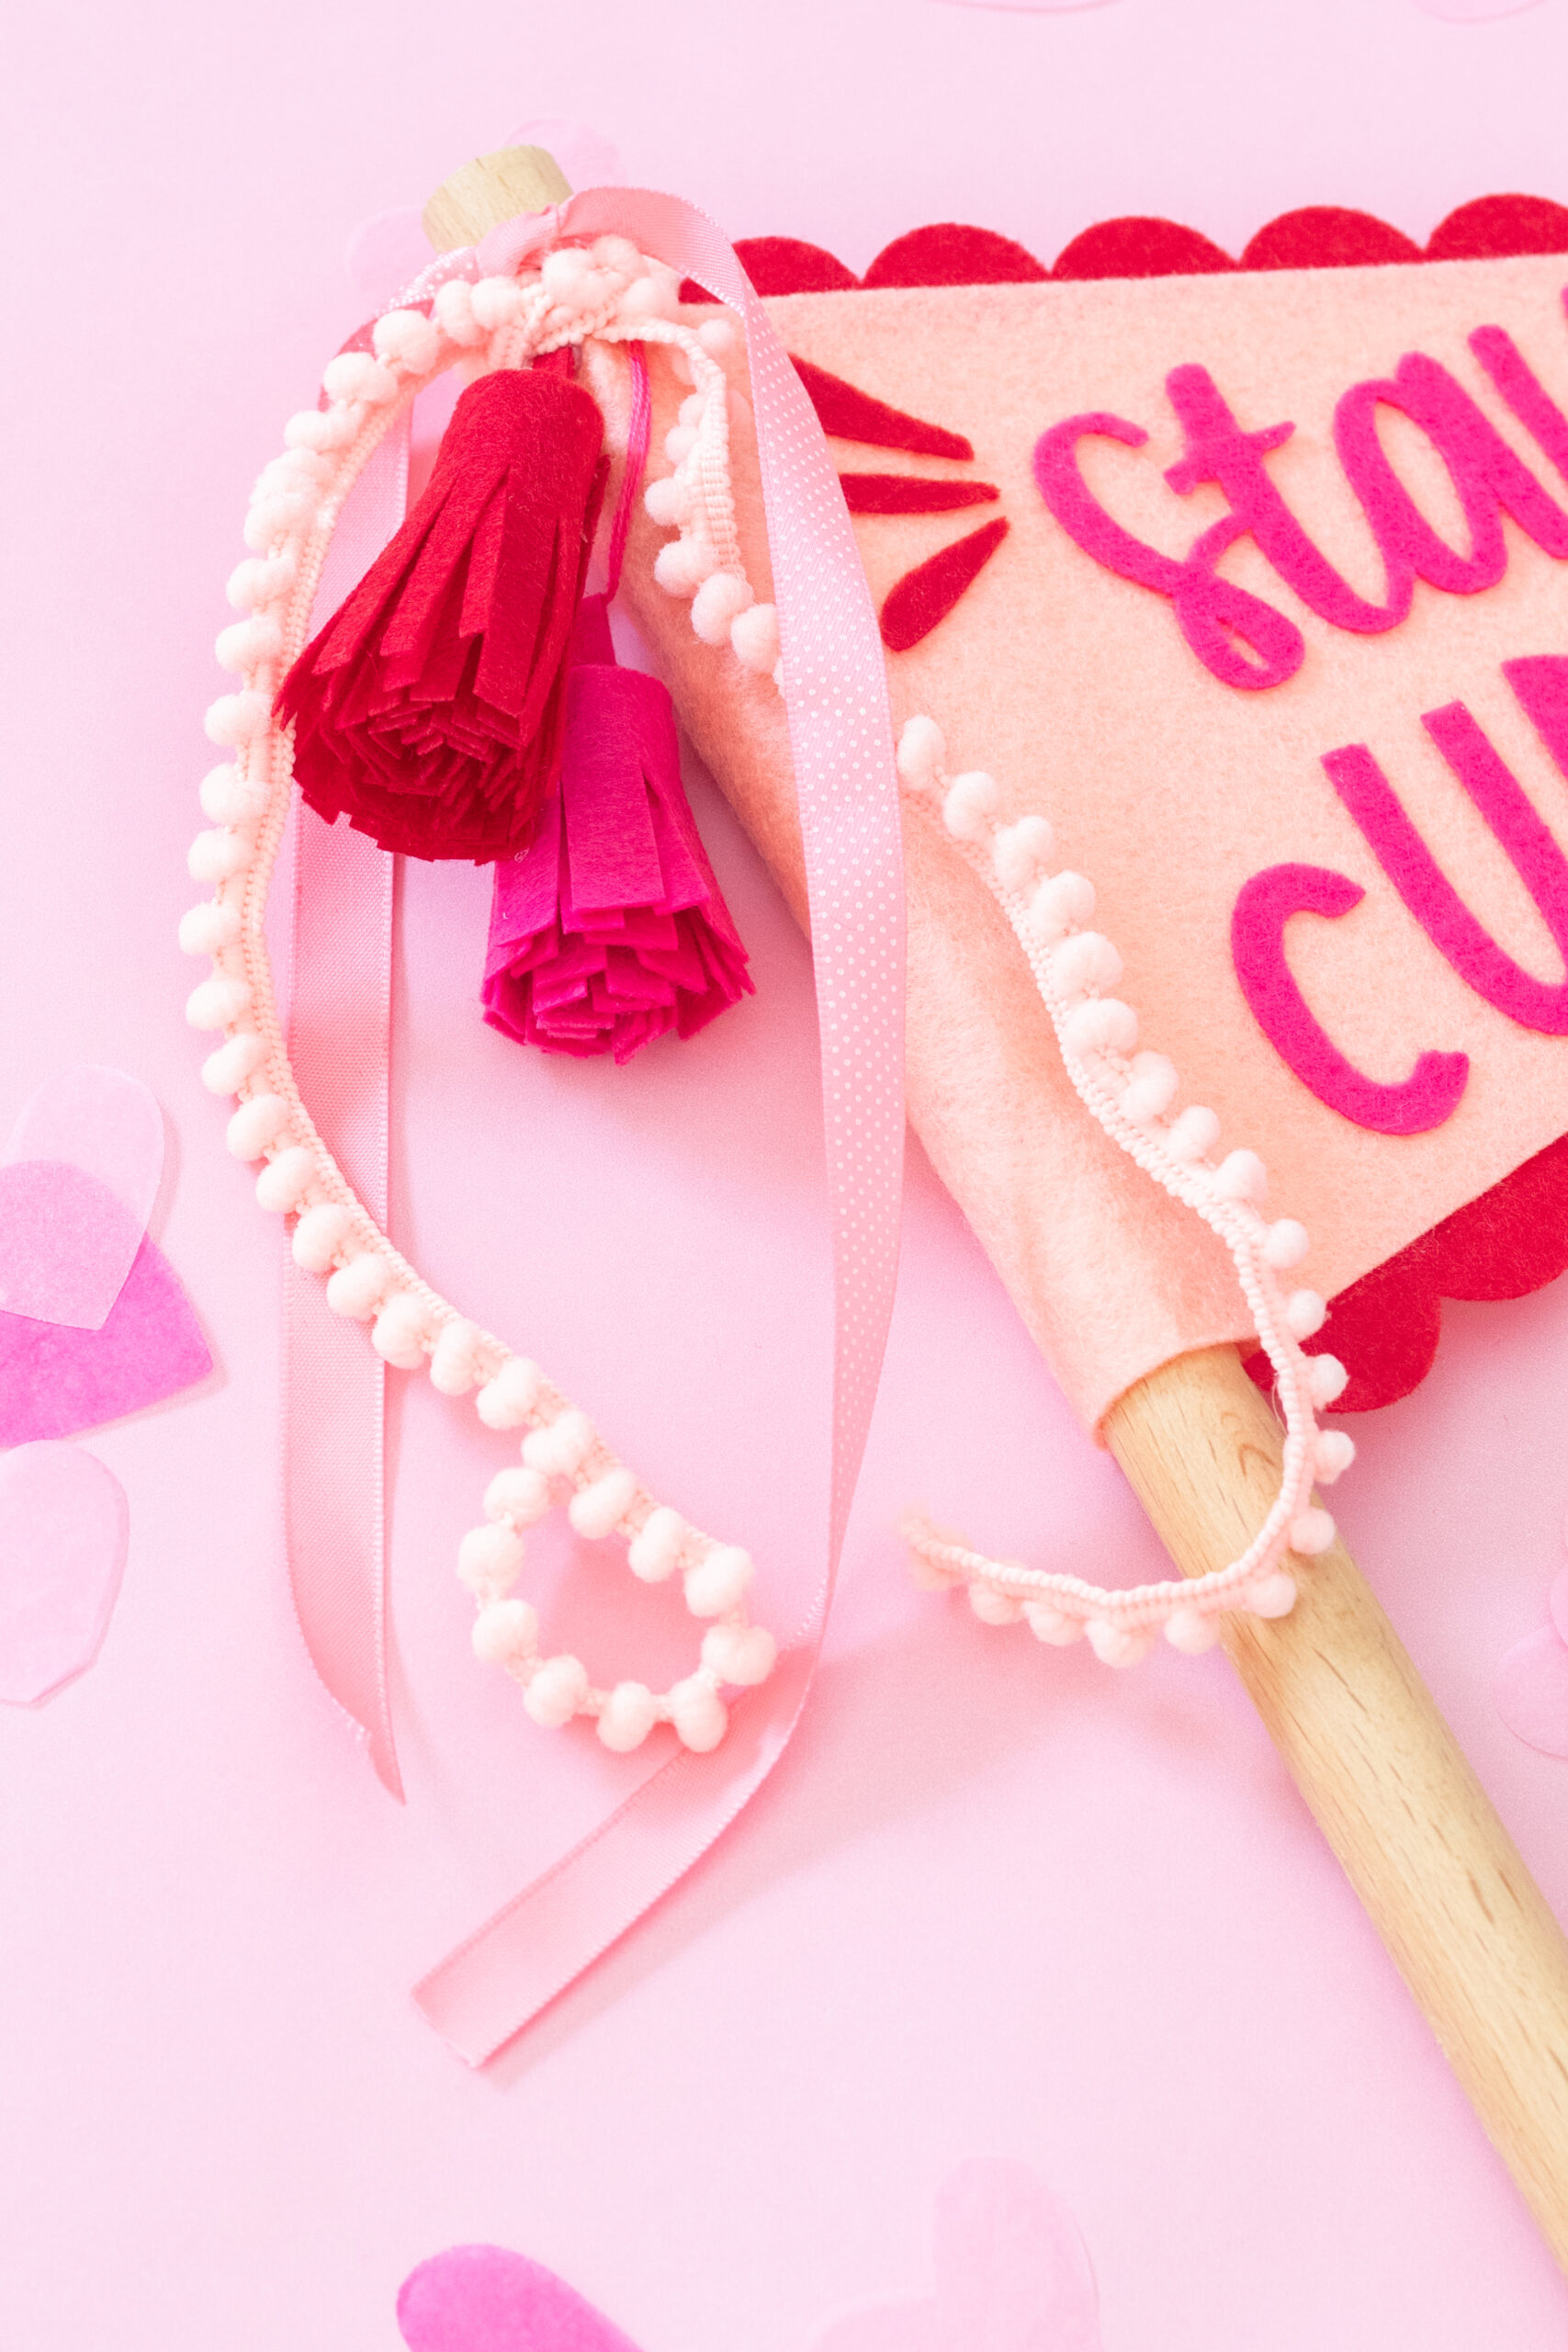
Make Tassels & Accessorize the Pennant Flag
- If desired, make tassels with leftover felt! Cut a thick strip of felt and cut fringe all the way across the long side.
- Then cut a tiny piece and fold it in half. Glue it in the top corner. This will act as a way to hang the tassel.
- Add hot glue along the top, uncut edge and roll it up to create the tassel. Hang with string and tie around the space above the pennant.
- Add more tassels with string or directly glued to the dowel.
- Finish with layers of stylish ribbon!
Now you have this stylish DIY pennant flag for displaying in your home! You can hang a pennant flag like this on a wall, place in a vase of some kind, or in my case, let your little one play with it. After making this example, I hope to make more for decor in the future!
Thanks for reading! Follow along on Instagram and TikTok for more tutorials and behind the scenes views!
Please note this post may contain affiliate links from which I may collect a small profit should you choose to make a purchase. I only link to products I personally use and recommend.