
 Let me tell you guys about one of the greatest products EVER – contact paper. Seriously, this stuff is a magical craft product and I have used it for many, many projects over the years. The marble contact paper is my absolute favorite, and you can see it pop up on a lot of blogs because it’s so popular for DIYs and photography.
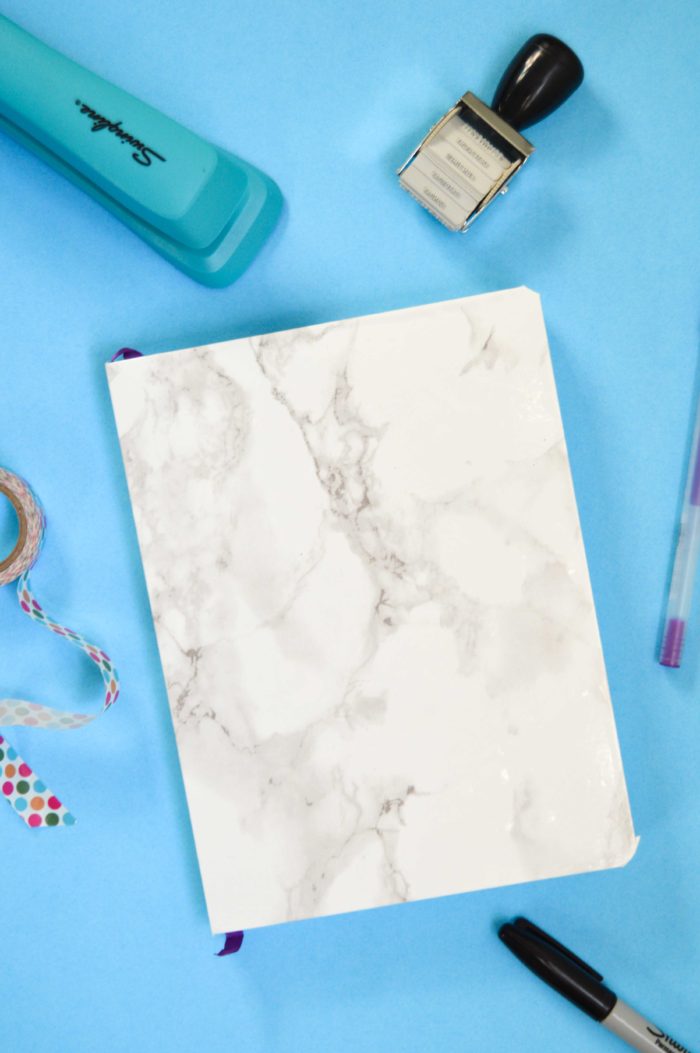
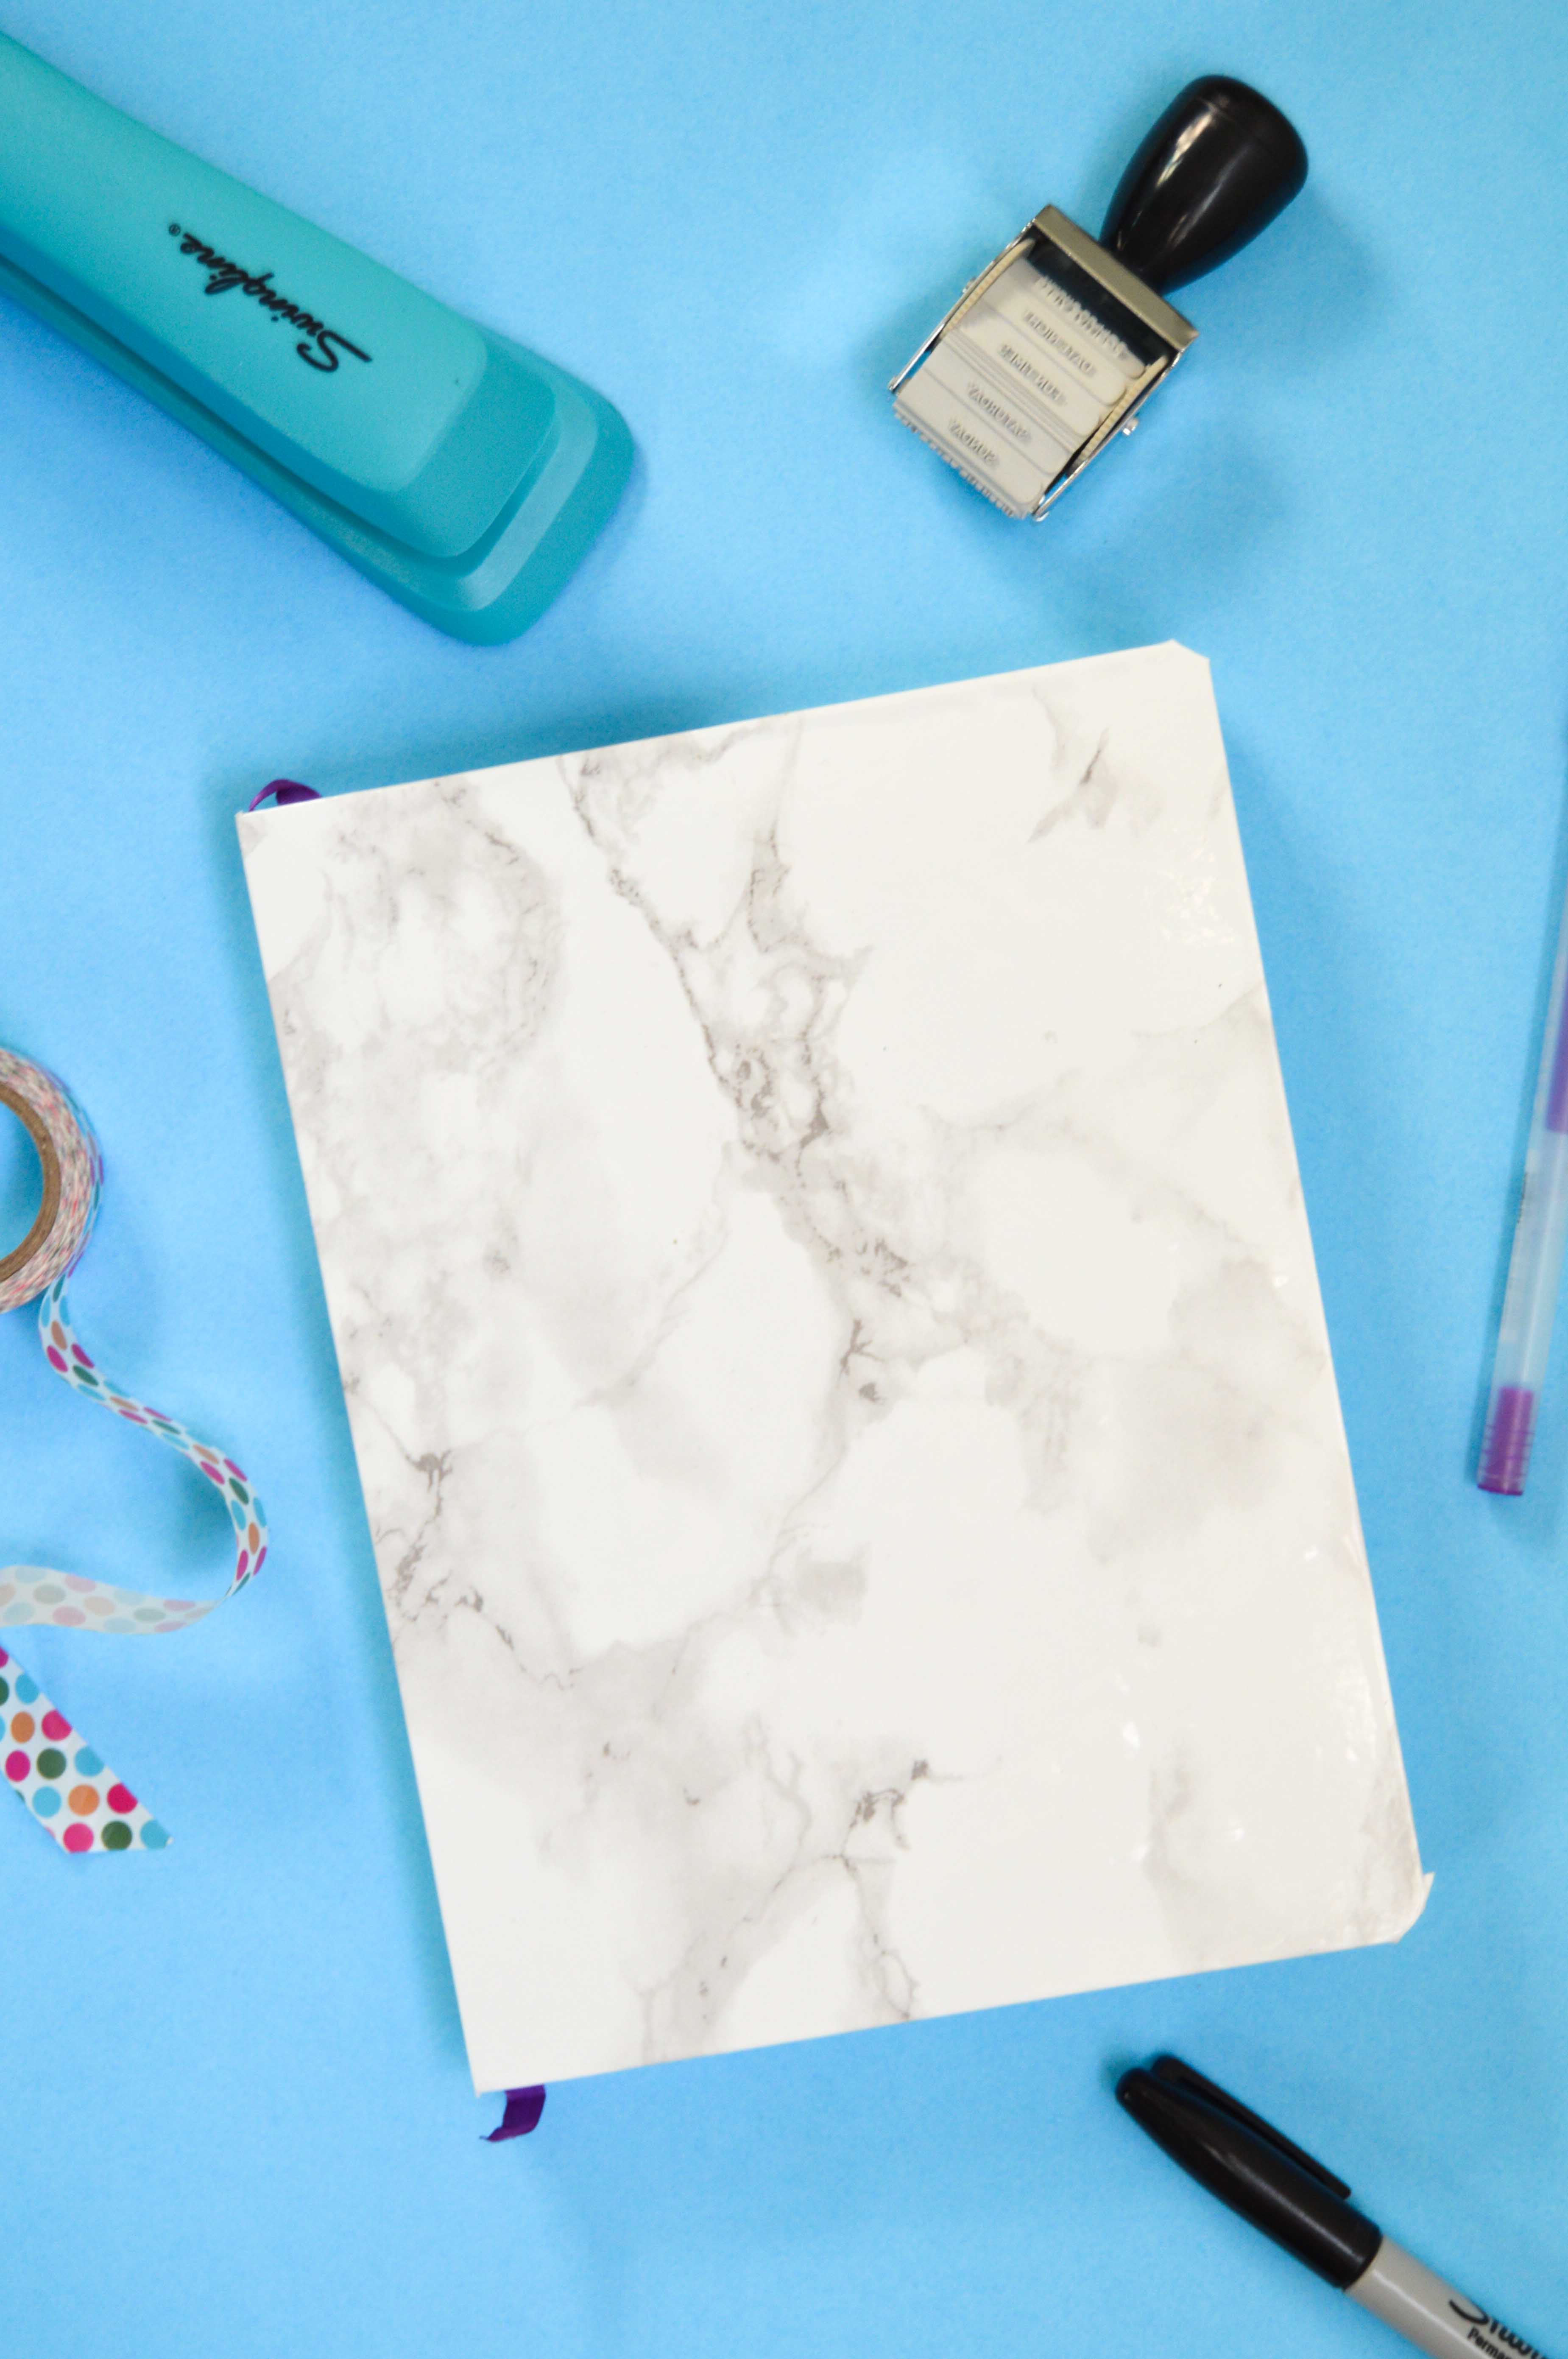
This time, I used my fav roll of contact paper to make a DIY marble notebook out of an old notebook I never used. The print wasn’t my favorite, but I can’t pass up a free notebook, so I gave it a quick makeover instead. This is SO easy to do, and you can even add stickers to the front if you want to customize it with words or anything.
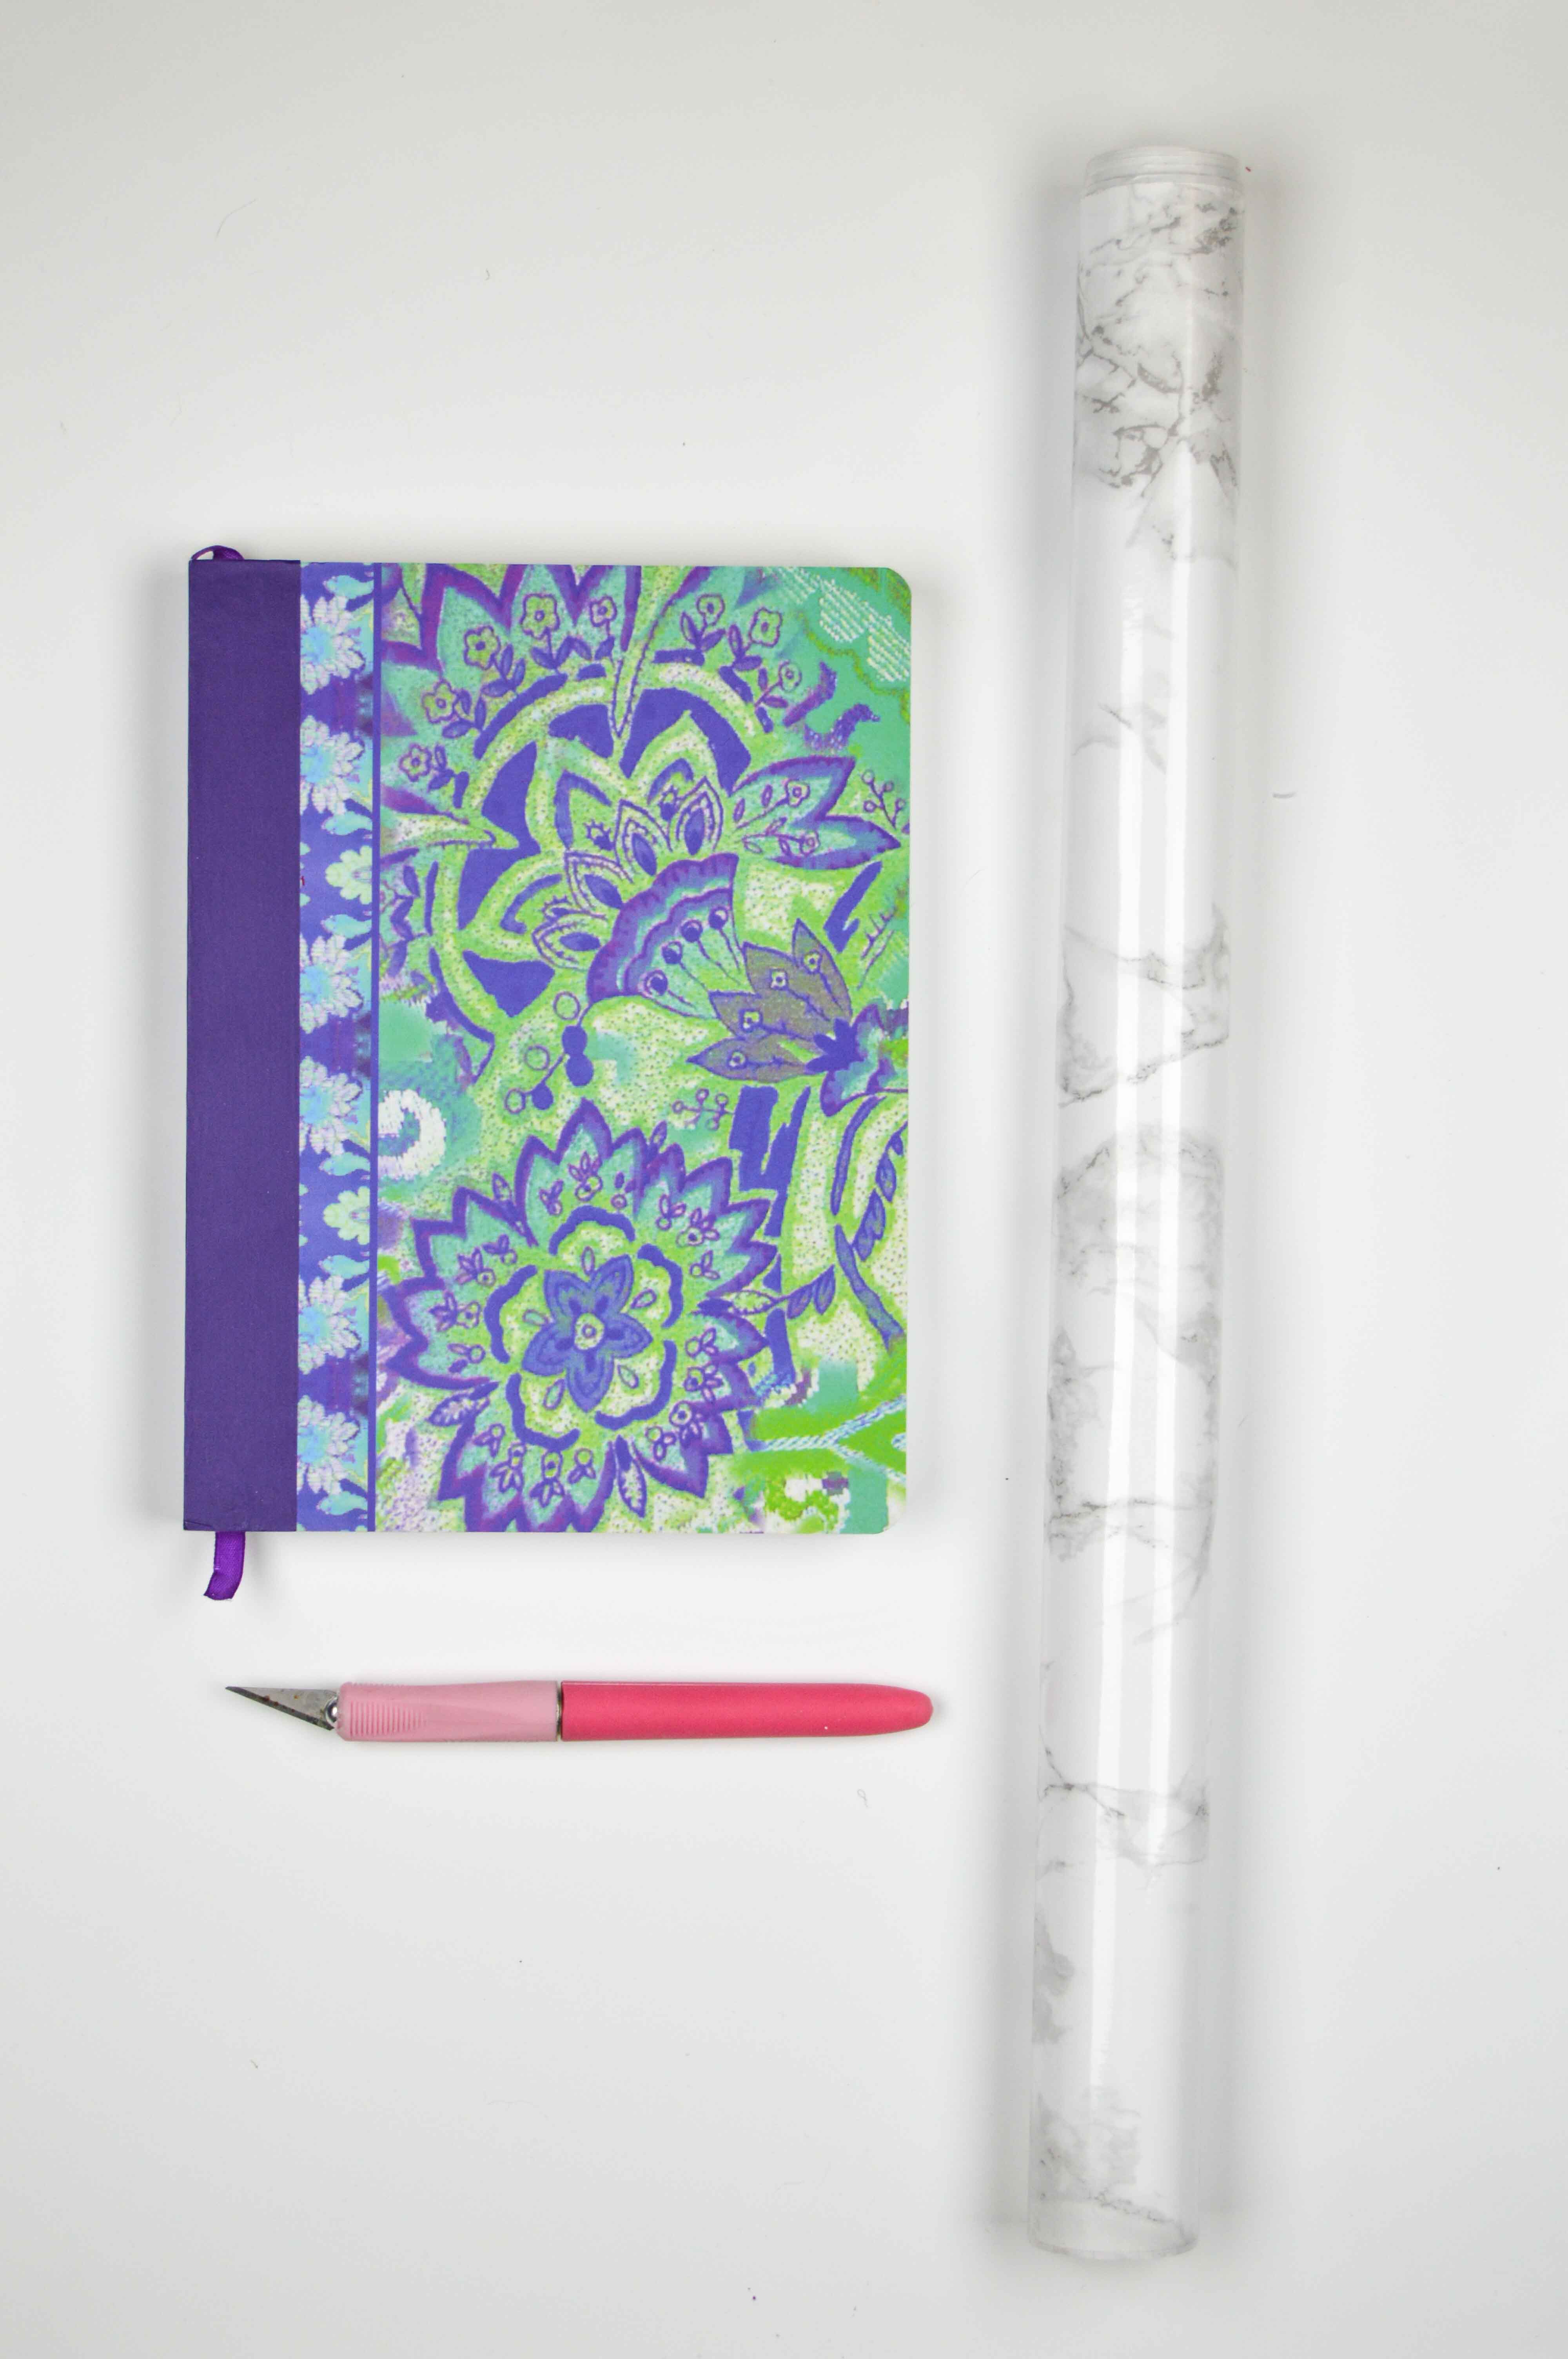
Supplies:
- Hardcover notebook
- Marble contact paper
- Scissors or exacto knife
- Ruler (optional)
Unroll the contact paper on a hard surface. Place your notebook on top, spread the front and back covers down an hold the papers in the middle. With your scissors, cut at least a 1-inch border around the notebook. You can use a ruler if desired, but it’s not necessary to have straight cuts for this part.
Remove the backing of the contact paper and press it evenly across the covers, smoothing out any air bubbles with your fingers. Before folding the edges, use the scissors to snip the corners by clipping triangles to the right and left of the corner – this may sound weird, but it helps keep your corners from looking bulky by separating the corners from edges. Also, cut two slits at the top and bottom of the notebook where the binding is (since you cannot fold this part).
Then fold in the sides, saving the corners for last. Trim the excess pieces of contact paper where it meets the binding. Now, you’ll cover the unsightly edges with more contact paper.
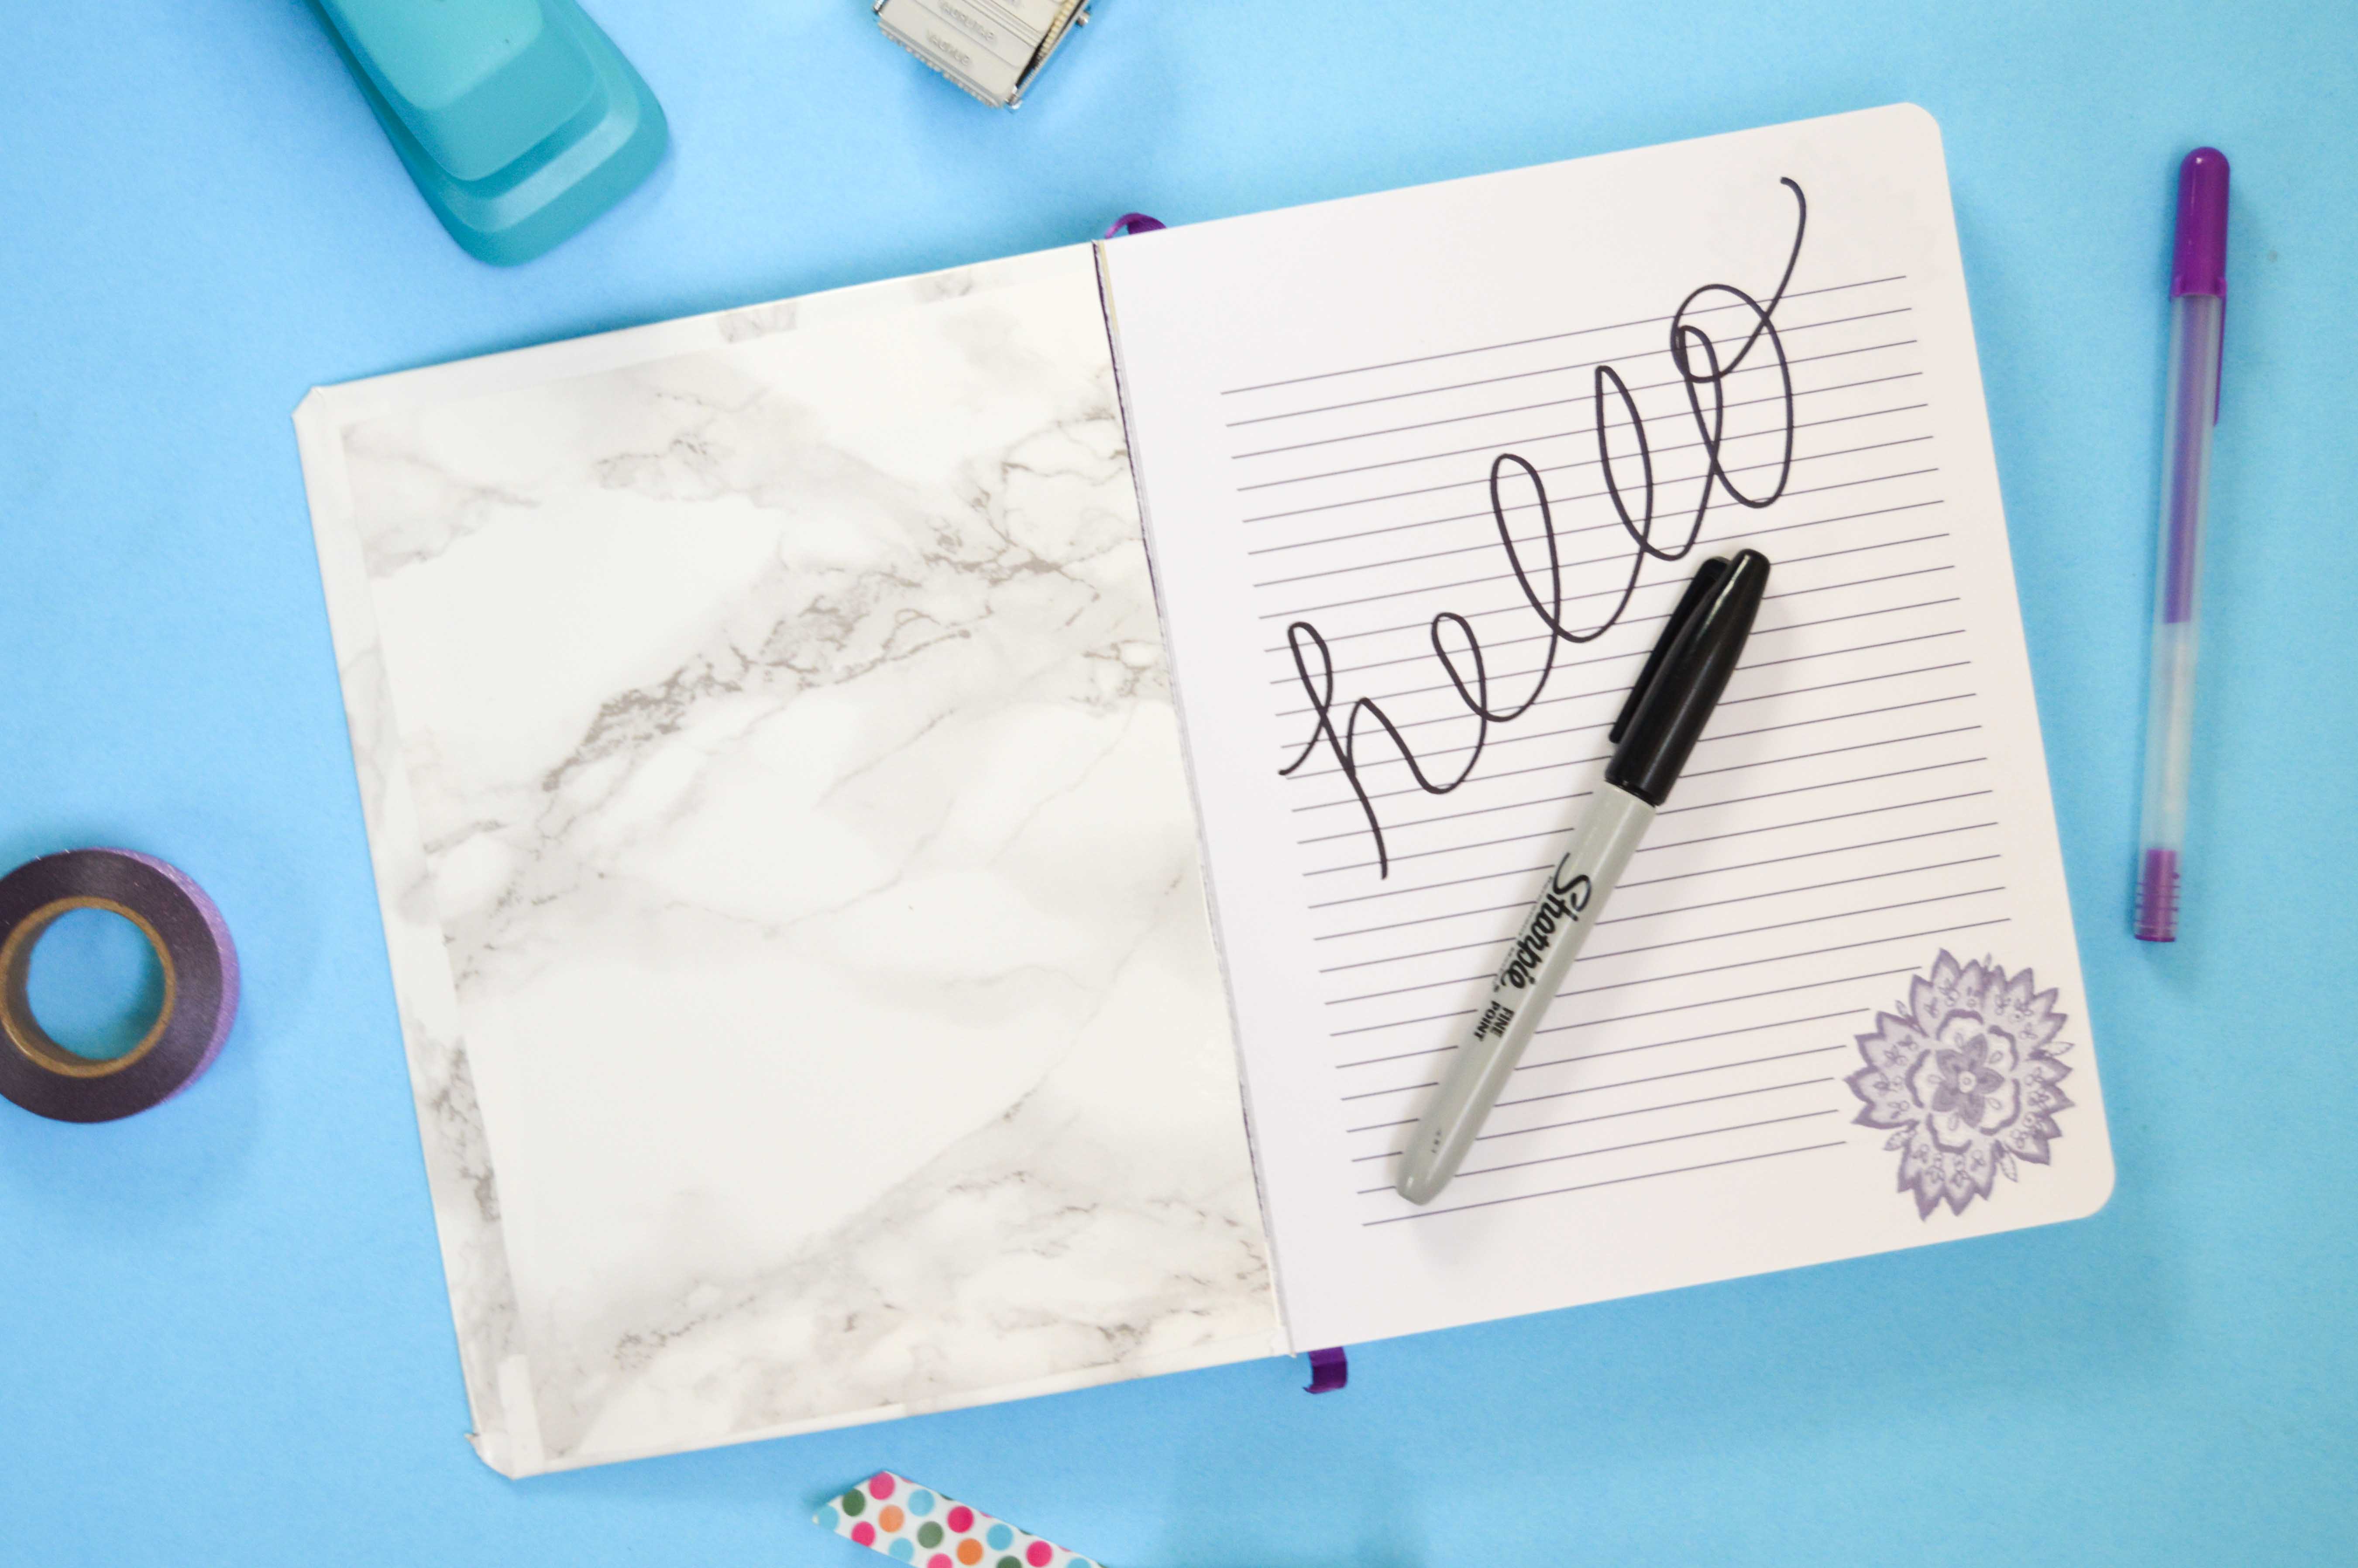
Place contact paper over your inside cover so that it covers the folded edges and reaches all the way to the paper. Then cut, using a ruler, paper cutter or grid on the backside to cut straight. Remove the backing and press over the inside cover. Repeat with the inside back cover.
At this point, close the notebook. You may find that it’s very taught and therefore difficult to close. If so, place a heavy object on top of the closed book and leave it for about an hour to stretch a little. Now you should have a completed marble notebook! Add any cover decorations you desire and write away!

