The following post is sponsored by JOANN
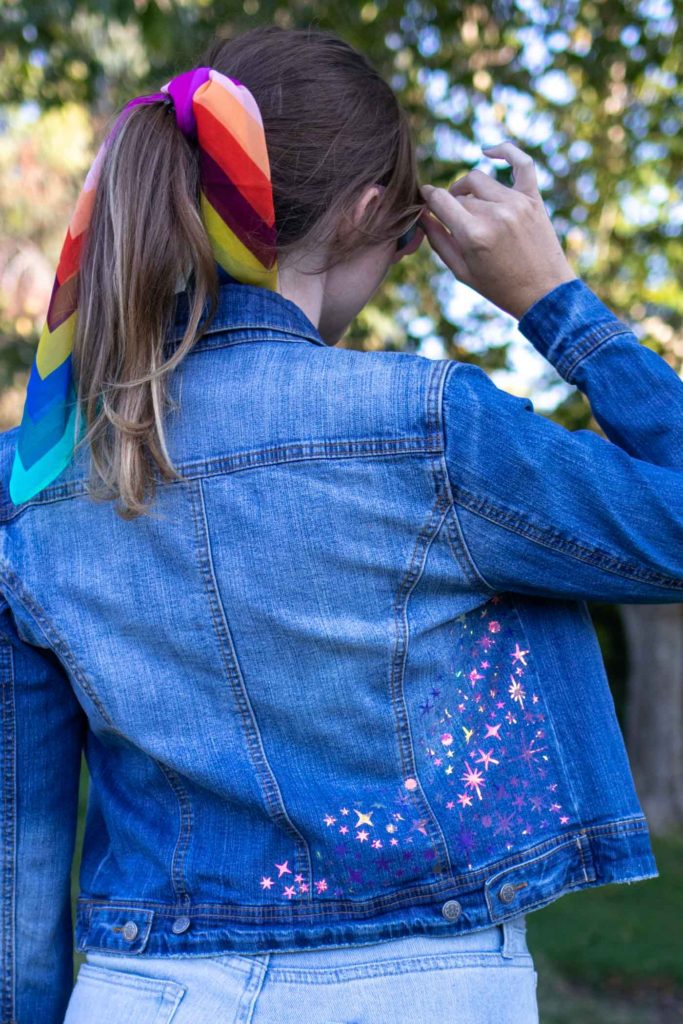
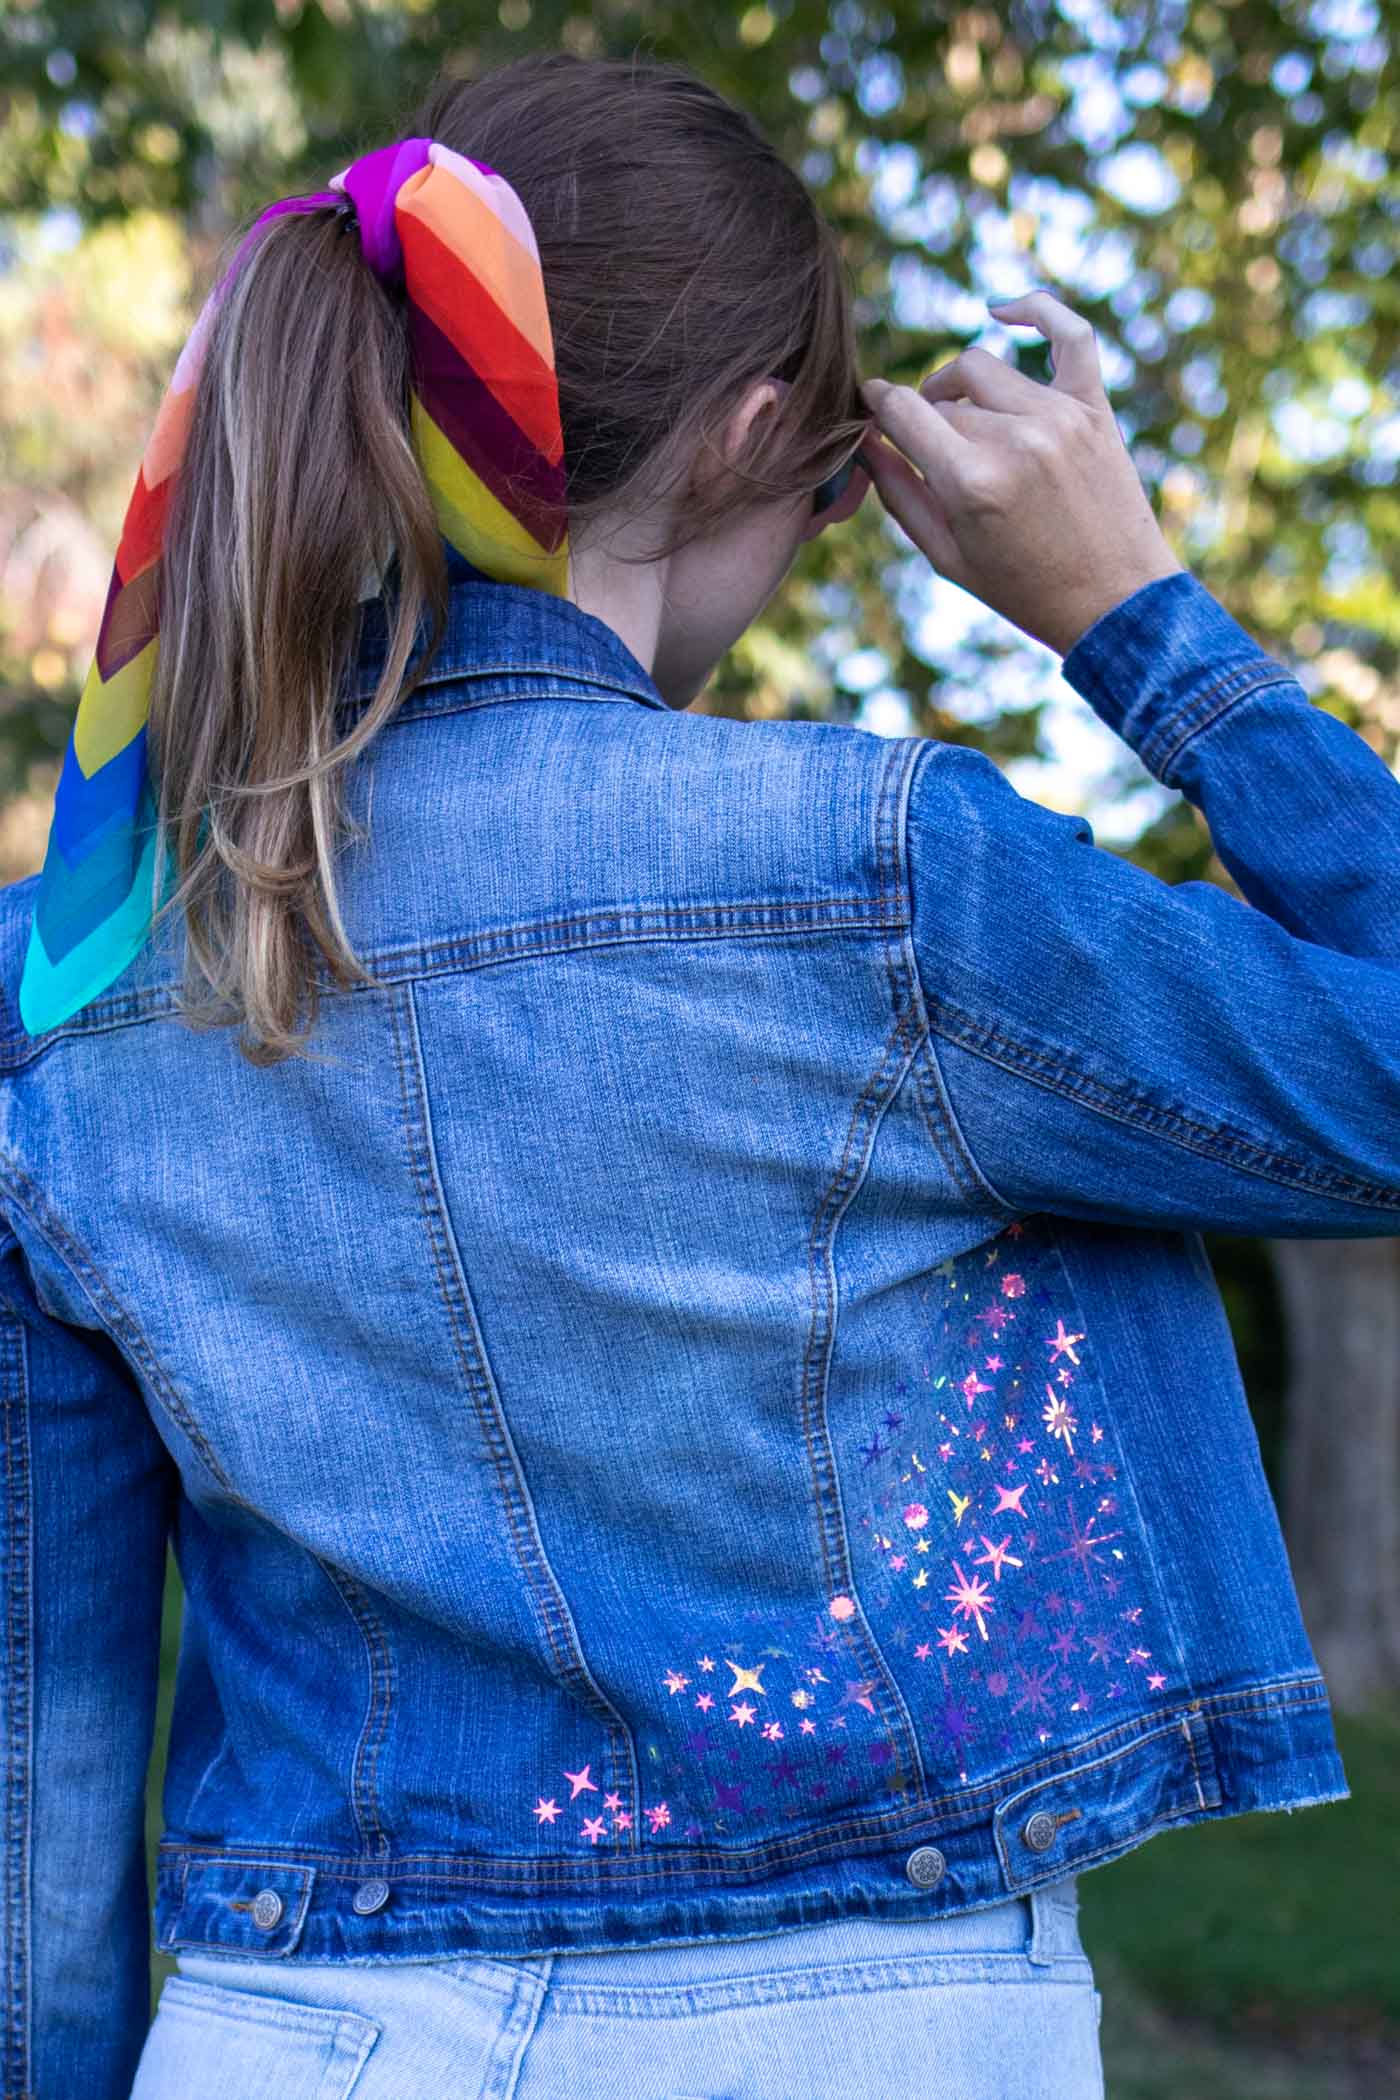
Who’s ready for fall ya’ll?! It’s been a hot hot summer, so I’m looking forward to cooler weather and getting ready with a DIY celestial holographic jacket with NEW Cricut holographic iron-on vinyl from JOANN. I’m really into the celestial trend right now (did you see my DIY celestial wall hanging?!) and the holographic vinyl was the perfect way to add a starry decoration to my classic denim jacket. Keep reading for the tutorial AND the free SVG cut files!
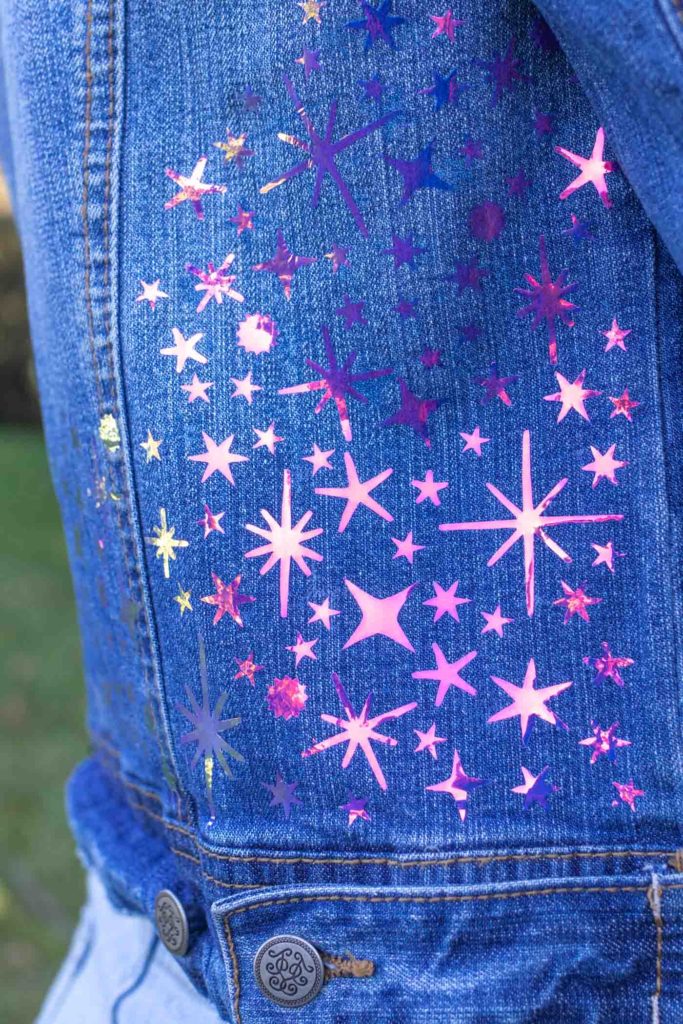
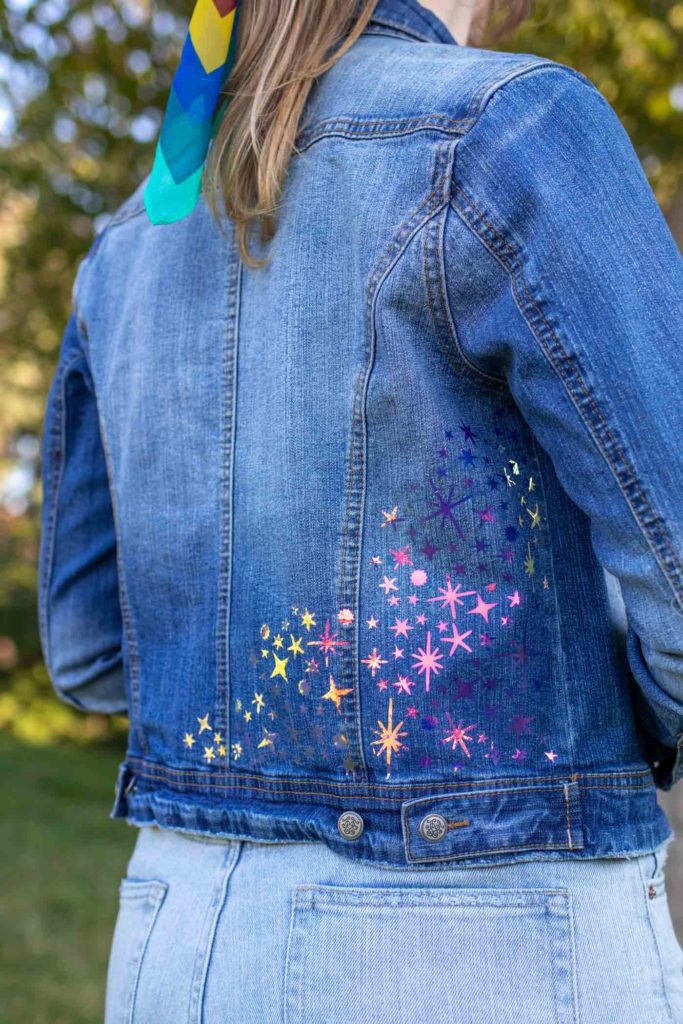
I’ve experimented with the classic holographic vinyl before, so I was thrilled to see Cricut release iron-on holographic vinyl in JOANN stores! Because this vinyl material is thinner than other iron-on vinyls, it’s a little more difficult to “weed” so you just have to be patient and take it slow. That shiny holographic look is totally worth it in the end when you see the celestial holographic jacket detail!
You’ll see two types of free templates available at the link below. One is a SVG file, which has very thin lines and more detail, and it allows for maximum customization (featured in the tutorial photos). The other has a thicker celestial design (featured on the final holographic jacket). I tested both and decided I preferred how the thicker design stood out on the jacket. Either design will work for your denim jacket project!
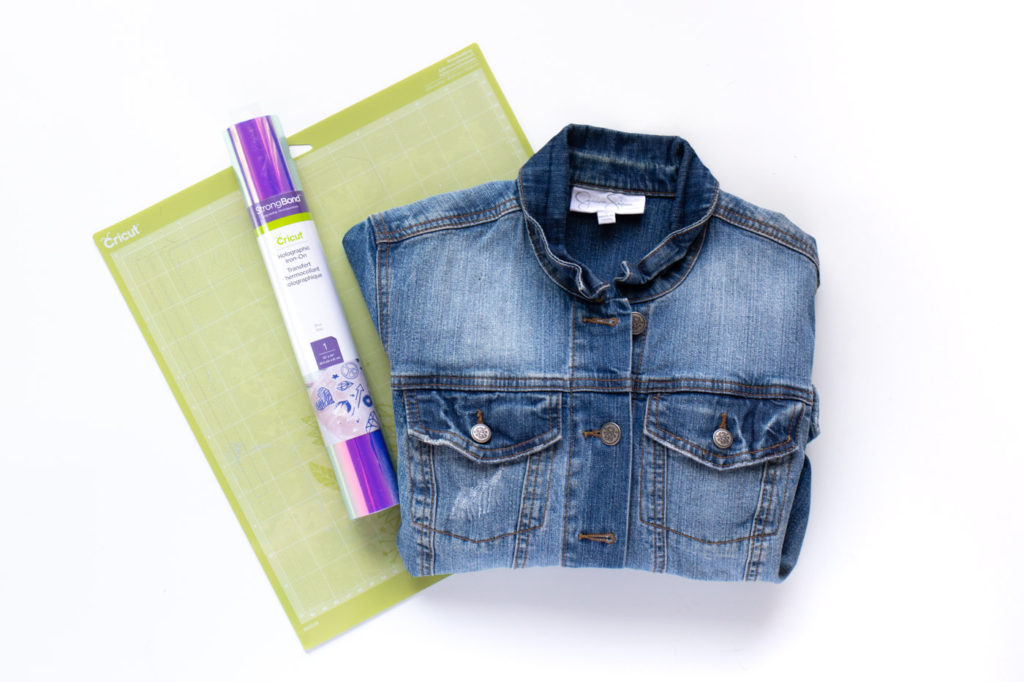
Supplies:
- Holographic stars template (thin SVG template/thick PNG template)
- Cricut iron-on holographic vinyl
- Denim jacket
- Cricut Explore Air or similar
- Cricut Standard Grip Mat
- Iron or Cricut EasyPress
- Scissors
- Cricut weeding tool
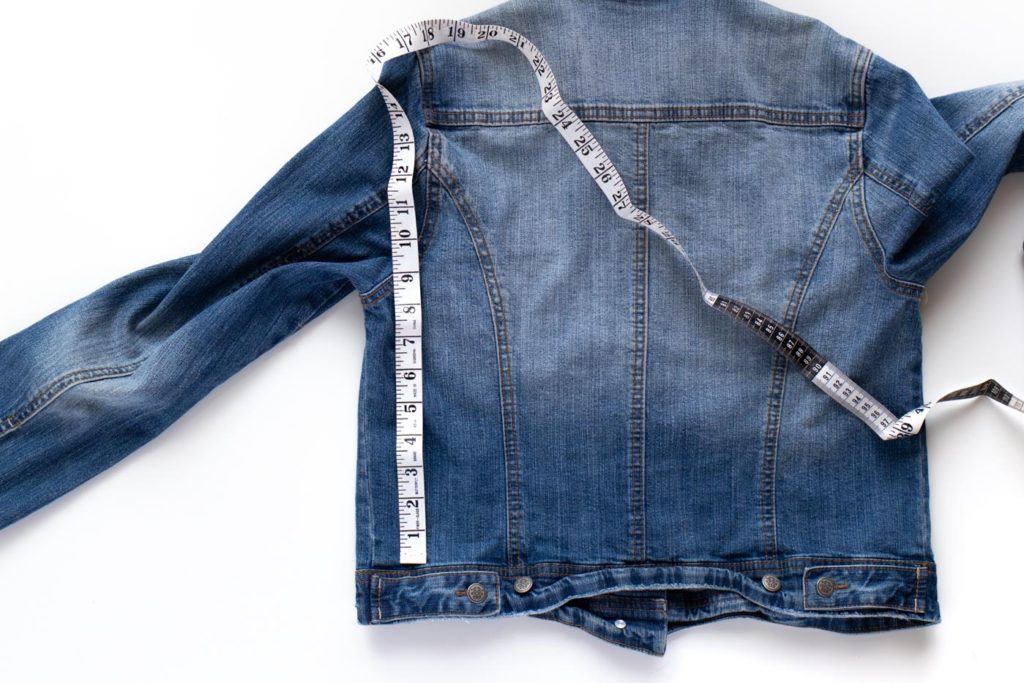
Step 1: Lay out your denim jacket and measure the backside. Starting at the corner, measure up to the start of the sleeve and measure across the back. This will determine how large to stretch the design.
Step 2: Download the above holographic stars template as either an SVG or PNG file. Upload it to the Cricut Design Center.
Step 3: In the design center, adjust the width or length as needed to fit the back of the jacket. You can stretch it as large as desired.
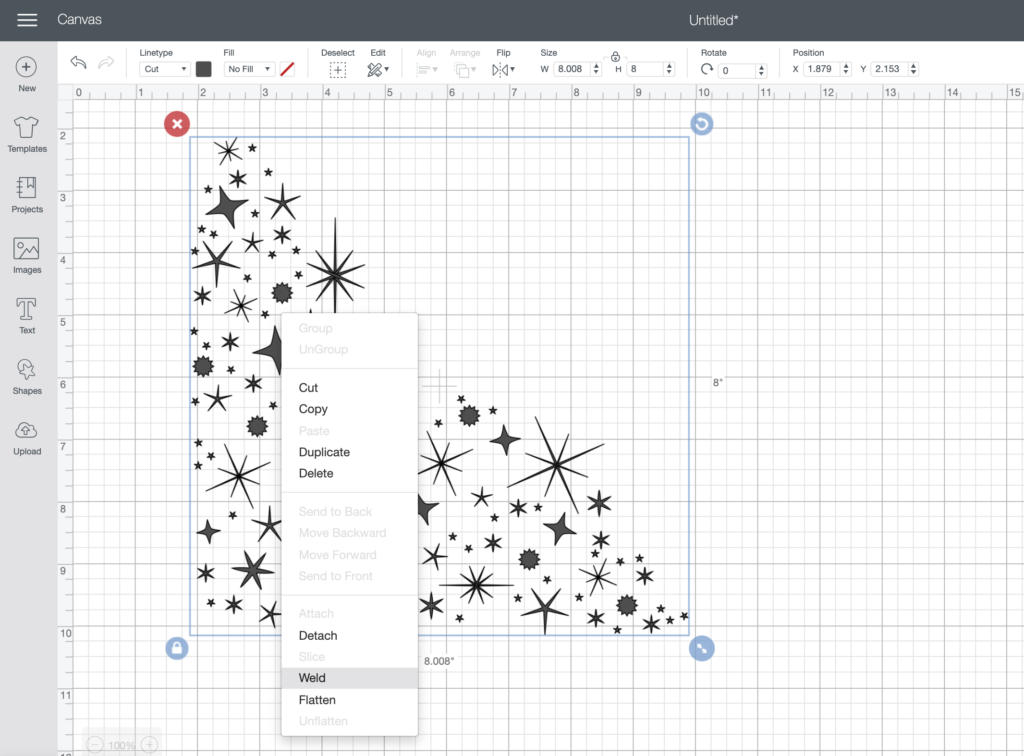
Step 4: If using the SVG template, select all star shapes, right click and choose “weld.”
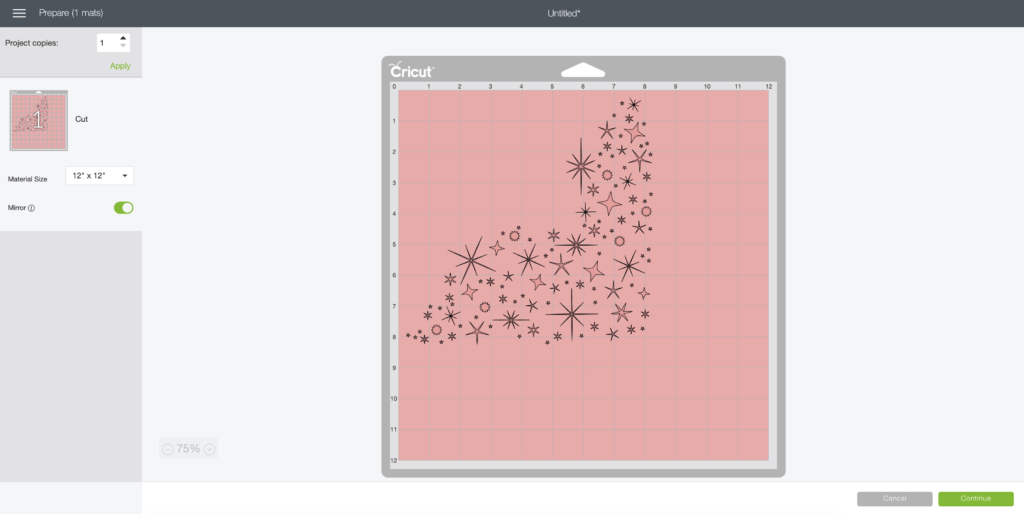
Step 5: Proceed to “make it” and select “mirror.” Then continue.
Step 6: Apply the holographic iron-on vinyl shiny side down on the mat.
Note, the front vs. backside of holographic iron-on is harder to determine than traditional iron-on material. In this case, the material is a little see-through and one side is truly holographic while the other is a blueish color. The blueish side is the iron-on side, so it should be facing UP on the mat to be cut.
Step 7: Load the mat into your Cricut machine. Select “iron-on” as the material and cut.

Step 8: Weed the negative space from around the design.
Step 9: Place the design sticky side down on the back bottom corner of the denim jacket. If needed, cut the design into pieces to ensure stars are not on top of seams.
Step 10: Iron the design in place until you can cleanly peel away the plastic backing. Then cover the design with a dish towel or pillowcase and press again for several seconds to set.
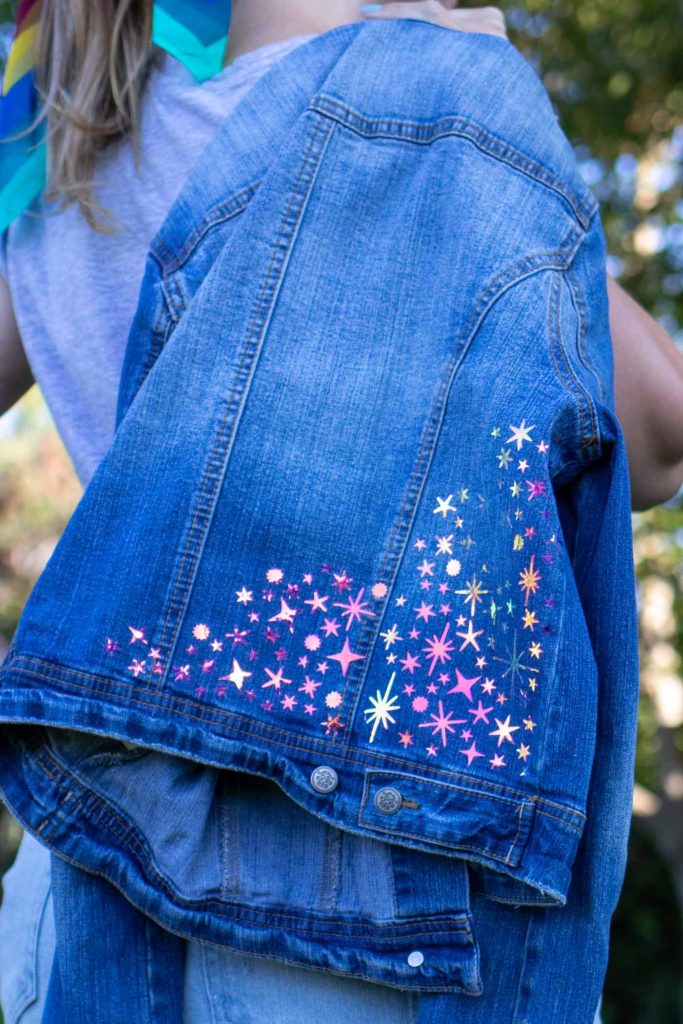
Now you have a shiny new holographic jacket with an intricate celestial design! I’m so excited for cooler weather so that I can wear this all fall long!
Thank you to JOANN for generously sponsoring this post. All opinions are my own. Please note that this post contains affiliate links from which I may collect a small profit should you choose to make a purchase. I only link to products I personally use or recommend. Thanks for supporting the brands that keep Club Crafted making!
