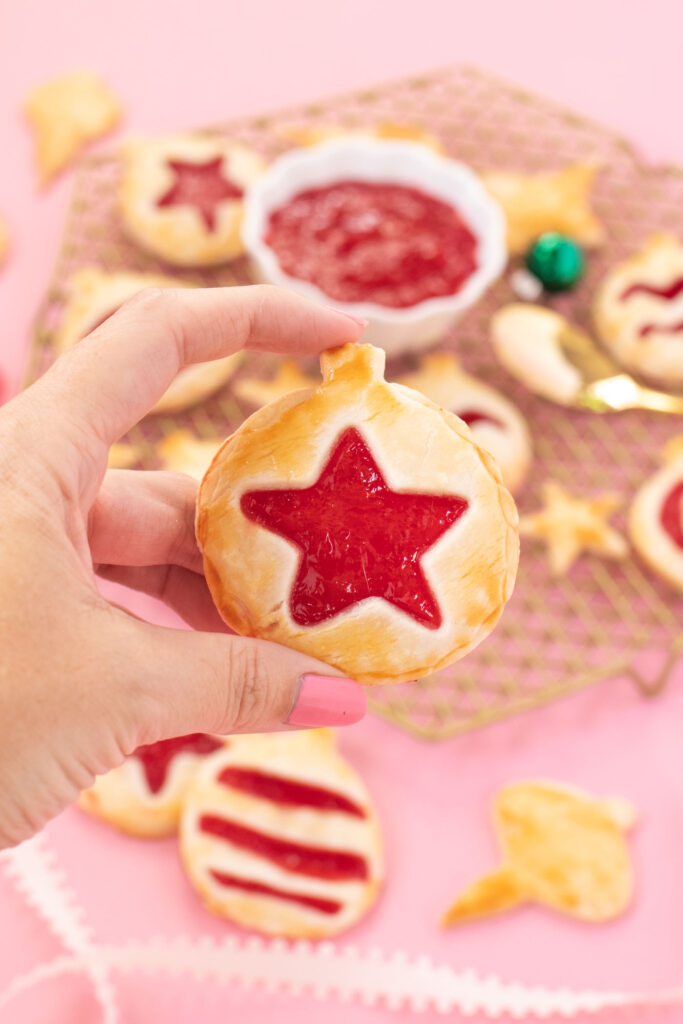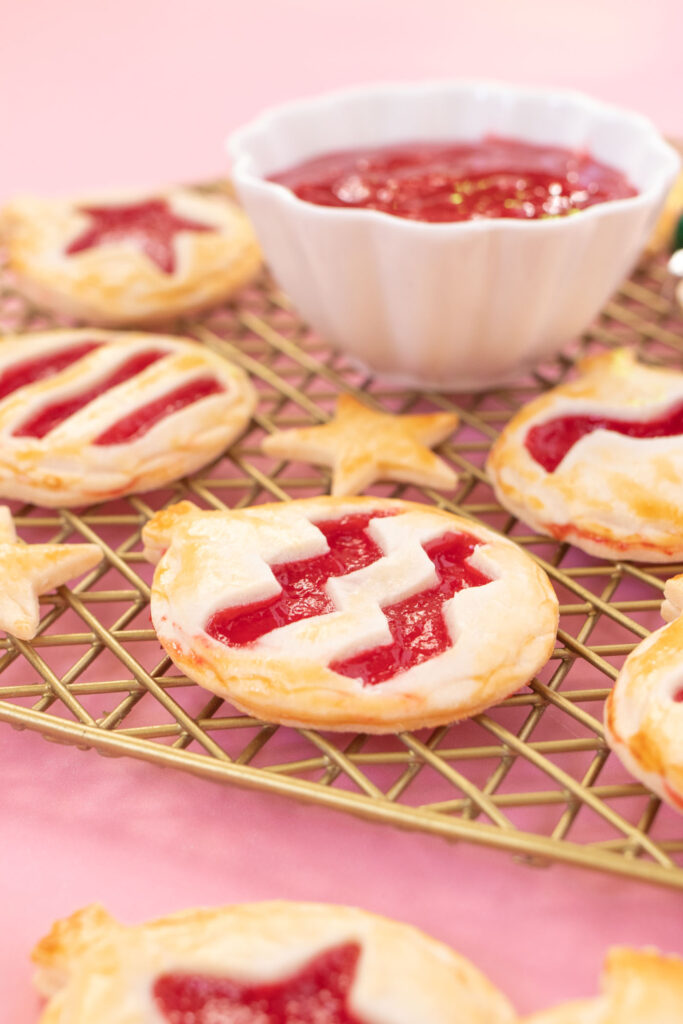

Pies just scream “festive” to me! I always think of November and December as pie season, so I was excited to use my new ornament cookie cutter set to make ornament pies (or hand pies) with a sweet cherry pie filling. These personal-sized ornament hand pies are perfect for serving at holiday parties – maybe they’re the perfect pair for a donut ornament display – or for Christmas dessert. Best of all, you can make them with no homemade ingredients, unless you prefer it. It means these cute little Christmas hand pies are perfect for even the laziest of bakers. After all, we have a lot going on during Christmastime!


You can create unique designs in your ornament pies using a simple pairing knife OR mini cookie cutters. My mini star cutter was the perfect sized. The rest of the designs are made with a knife. There’s lots of room for customization!
Ingredients & Supplies:
- 2 pre-made pie crusts
- 1 can pie filling (cherry)
- Blender or food processor
- Ornament cookie cutter, about 3-4 inches wide
- Pairing knife
- Mini cookie cutters, optional
- 1 egg, light beaten
- Food-safe brush
- Baking sheet
- Parchment paper or silicone baking mat
Note, you will not use all of the pie filling with just two pie crusts. You can repurpose the rest of the filling, freeze it for later or make A LOT more Christmas hand pies.

How to Make Ornament Pies for Christmas Dessert
Step 1: Preheat the oven to 350 degrees F. Line a baking sheet with parchment paper or a silicone baking mat and set aside.
Step 2: Open the pie filling of your choice – I used cherry. Pour into a blender or food processor and blend until smooth. The ornament pies are so small that they need a smooth filling.
Step 3: Once the pie crusts have sat at room temperature for about 10 minutes, unroll them on a clean work surface or parchment paper. Use an ornament-shaped cookie cutter to cut shapes from the dough. Repeat with both rolls. You will need an even number of equal shaped pieces.
Step 4: Use a small pairing knife and mini cookie cutters to cut designs in the middles of HALF of the ornament shapes. Make sure you leave about 1/2 inch uncut around the edge. You only cut half of them because the backs of the hand pies must be uncut.
Step 5: Begin laying them to make the ornament pies. Place a solid shape on the baking sheet and add a large dollop of pie filling in the middle. Carefully place the designed ornament piece on top. Use a spoon or fork to crimp the edges together around the pie.
Step 6: After the pies are assembled, brush the tops with an egg wash (one lightly beaten egg).
Step 7: Bake for about 12 minutes or until golden brown on top. Serve warm.


Now, if only we could hang them! Don’t forget to use up any leftover dough by cutting out smaller shapes. They’re still pretty tasty on their own or dipped into chocolate or fruit filling. What flavor filling would you use for your Christmas hand pies?!
Psst, be sure to check out this wreath bundt cake for another Christmas dessert idea!
