The following post is sponsored by JOANN
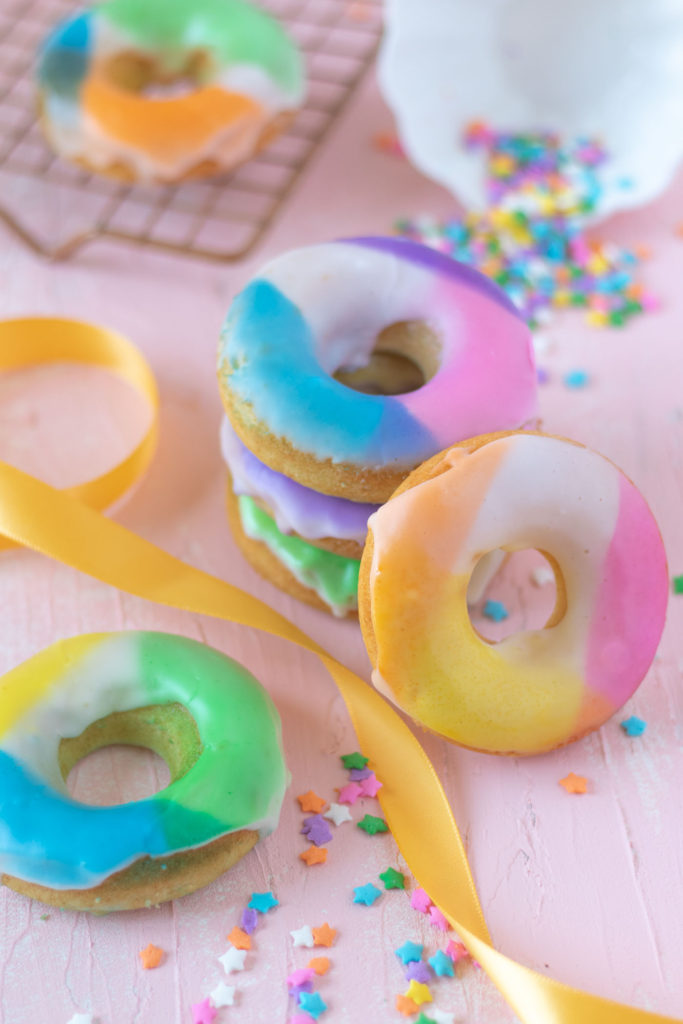
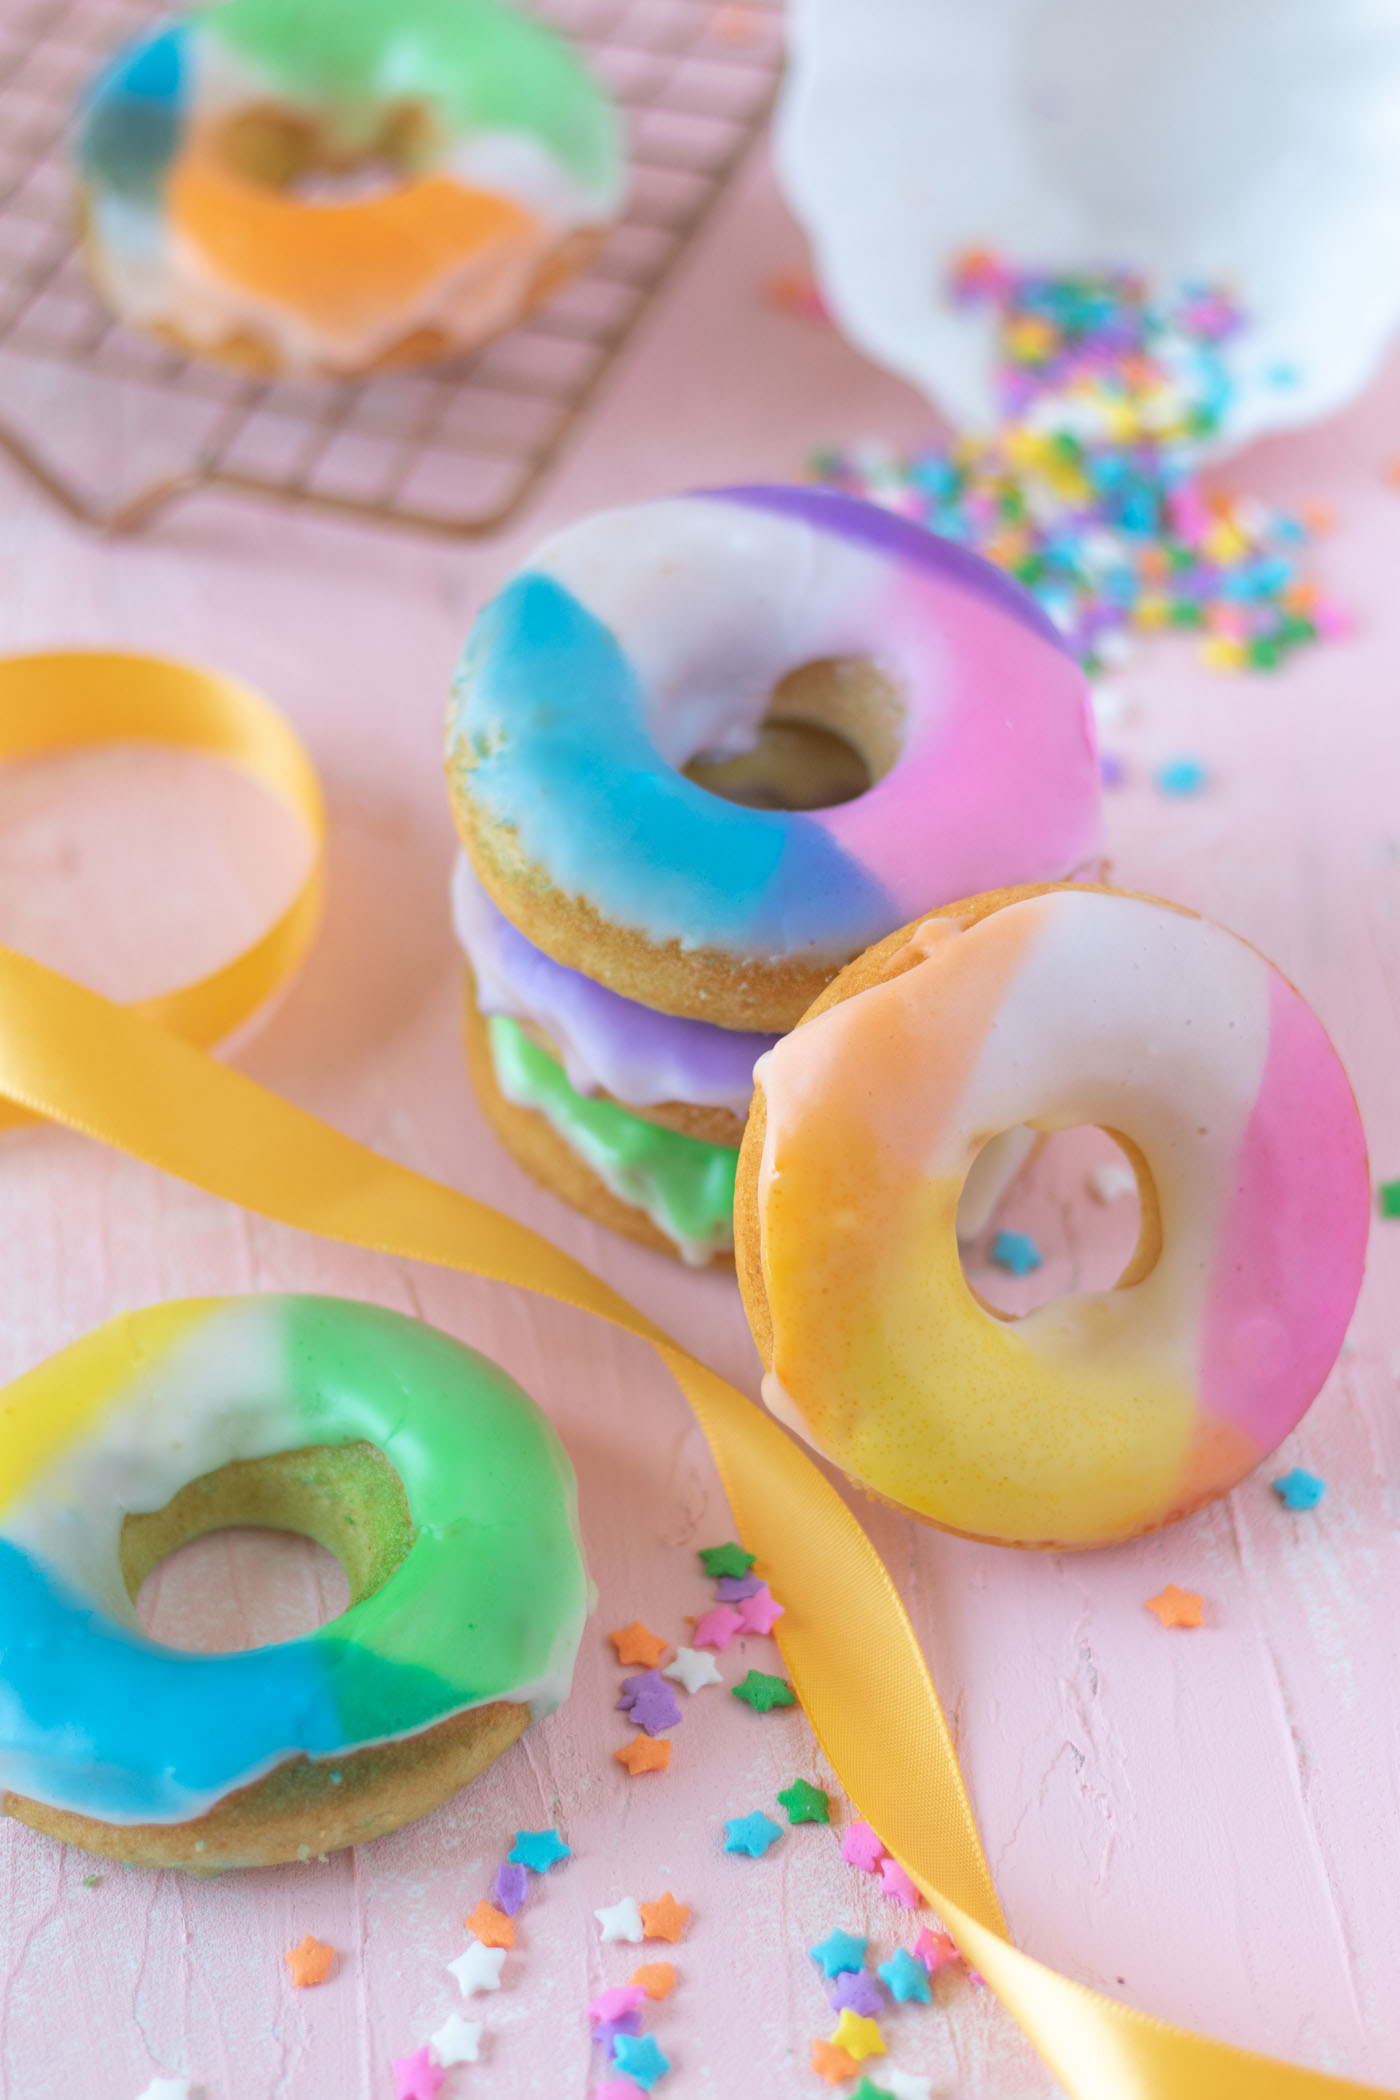
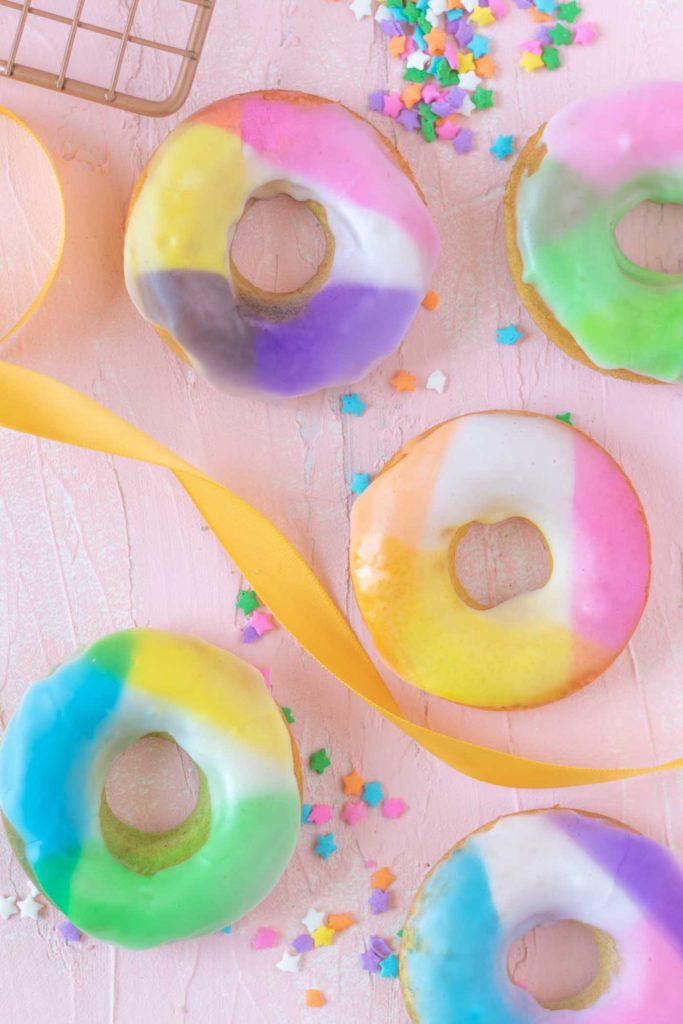
It’s time to prep for my FAVORITE food holiday…National Donut Day this Friday! To celebrate, I partnered with my friends at JOANN to share a tutorial for these easy color blocked donuts using the oh-so-amazing edible color mist by Wilton! Donuts are a pretty big weakness of mine, so I try to treat myself to them only occasionally, and you bet I’ll be indulging this week. Plus, I have more donut-inspired ideas to share with you guys this week! Keep reading to see how EASY this donut decorating idea is…
Last year, I shared these gingham donuts, and they remain one of my favorite food art projects of all time! They gave me the inspiration to make these color blocked donuts using a similar technique – paper and Wilton color mist.
Scroll down for the full recipe card if you want to make these homemade baked buttermilk donuts 👇🏼 It’s the same recipe from my marbled donuts and gingham donuts. Why fix what isn’t broken, right?!
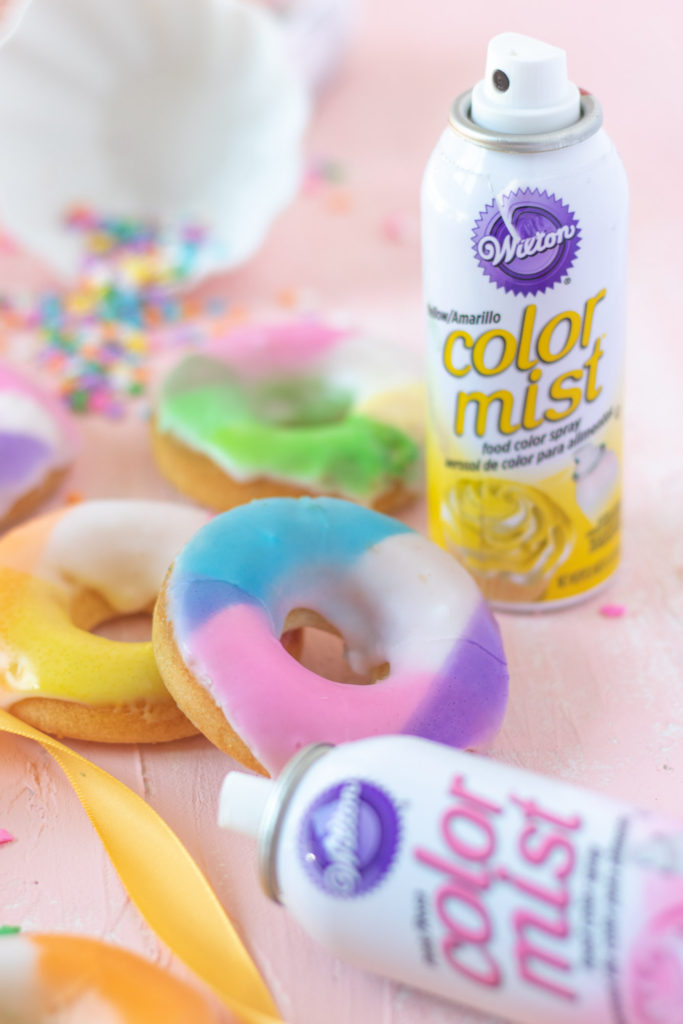
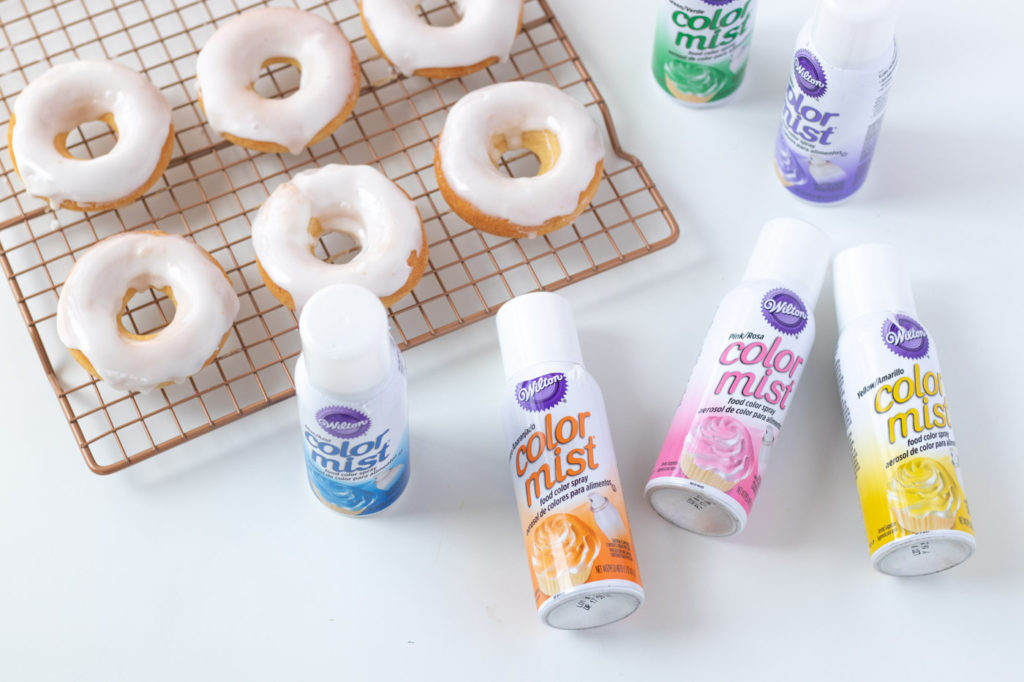
Luckily, JOANN is my number one stop for all things food decorating, and Wilton color mists come in handy more often than you’d think! Well, at least for me they do. They’re honestly one of my favorite food decorating supplies, so yes, I keep my studio stocked with every color they carry.
Supplies:
- Plain buttermilk donuts (recipe below)
- Donut pan
- 2 cups powdered sugar
- Sifter
- Milk
- Whisk
- Wilton color mists, variety of colors
- Cardstock paper
Step 1: Bake the donuts! Let them cool completely before icing.
Step 2: Once cool, sift the powdered sugar into a mixing bowl. Add the milk about 1 tsp at a time, whisking until just combined. Stop when it’s still very thick but reaches a dipping consistency.
Step 3: Let the icing set, then dip a second time. Let set completely at room temperature.
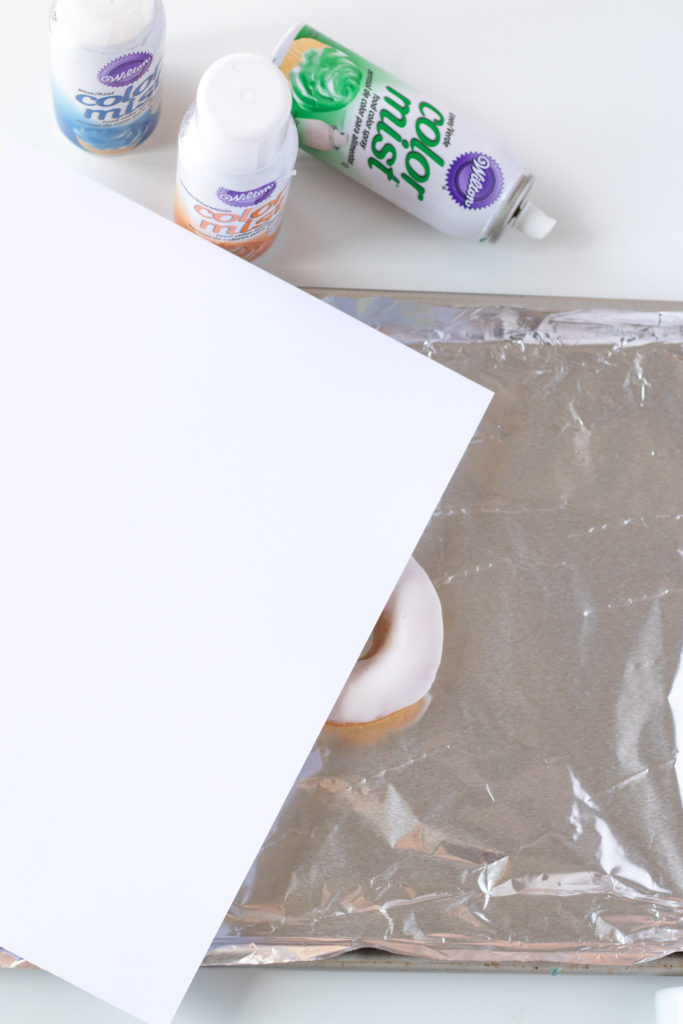
Step 4: It is recommended that you spray the donuts outdoors. Cover a baking sheet with foil or parchment, then use a piece of cardstock paper to section part of the iced donut.
Step 5: Spray the color mist from about 6 inches away until vibrant. Remove the paper and let dry.
Step 6: Section off another part of the donut with cardstock and spray with another color. Repeat with all donuts in 3-4 sections, and don’t be afraid to let colors overlap.
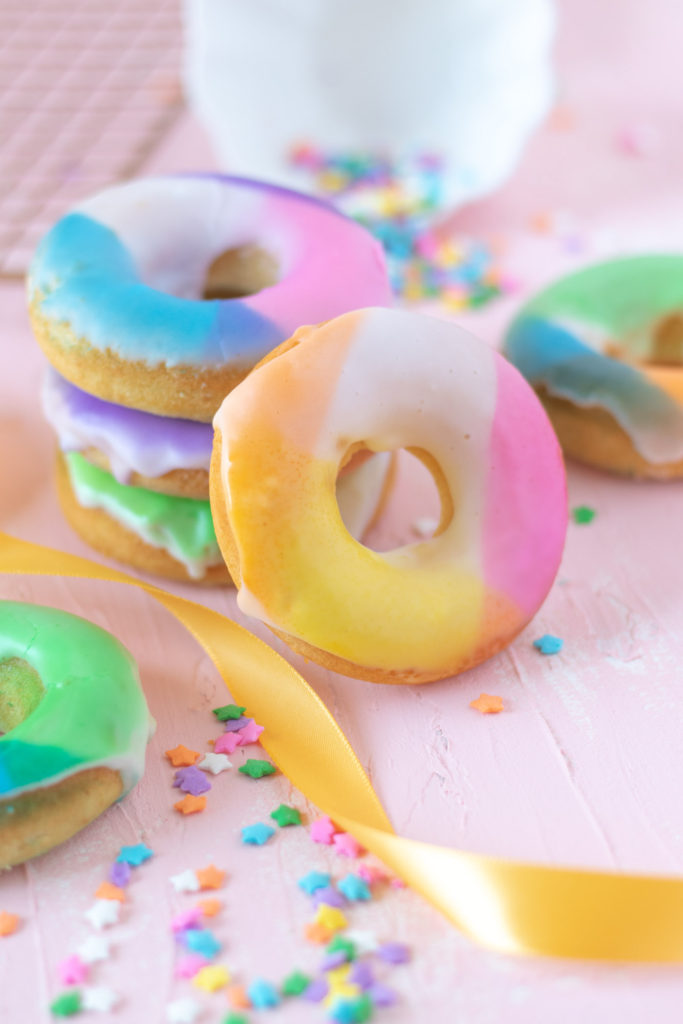
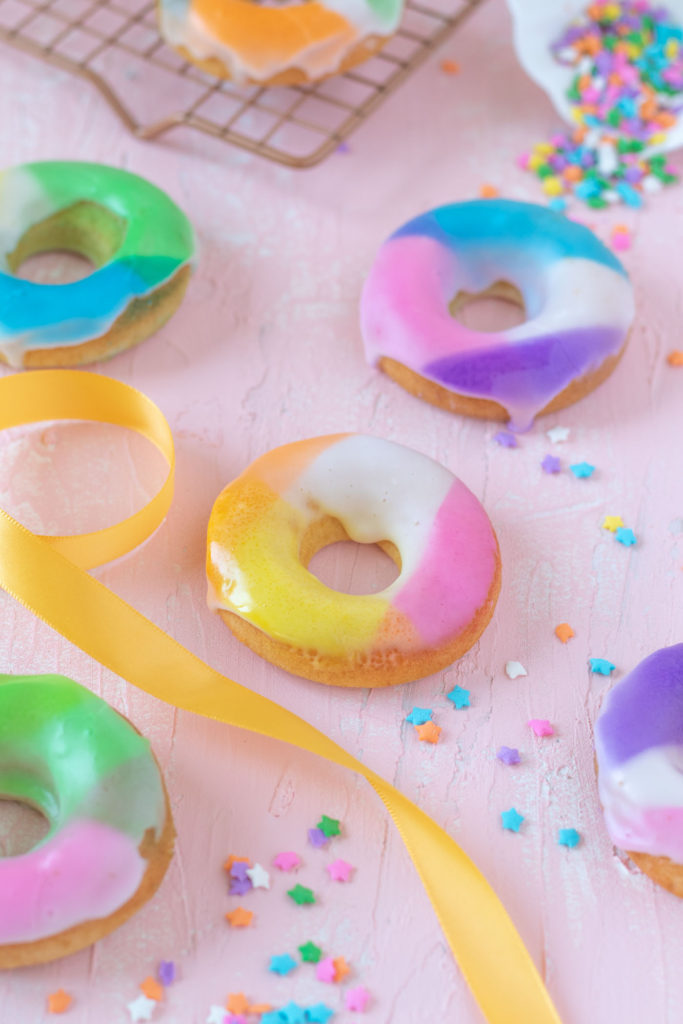
And there you have it – color blocked donuts! I told you color mist was the coolest! If you want more donut decorating ideas, be sure to check out this magical donut roundup.
Thank you to JOANN for generously sponsoring this post. All opinions are my own. Please note this post contains affiliate links from which I may collect a small profit should you choose to make a purchase. I only link to products I personally use or recommend. Thanks for supporting the brands that keep Club Crafted sharing!

- 1/2 cup butter, room temperature
- 2/3 cup sugar
- 2 eggs
- 1 tsp vanilla extract
- 1 ¾ cup all-purpose flour
- 1 1/2 teaspoon baking powder
- 1 tbsp corn starch
- 1/4 tsp salt
- 3/4 cup buttermilk
- 2 cups powdered sugar, sifted
- 1 tsp vanilla extract
- 2-3 tbsp milk
- Edible spray paint (Color Mist)
- Preheat the oven to 350 degrees and spray two donut pans with cooking spray. Set aside
- Whisk together the flour, corn starch, baking powder and salt in one bowl and set aside
- In the bowl of your mixer fitted with a paddle attachment, beat the butter and sugar until light and fluffy
- Mix in the eggs and vanilla
- Add the dry ingredients in batches, scrape the bowl and mix in the buttermilk until smooth
- Move the batter to a pastry bag or large ziplock bag , cut the tip and fill each donut cavity 3/4 full with batter
- Bake for 10-12 minutes until an inserted toothpick comes out clean and the edges have barely browned
- Set aside to cool completely before glazing
- Sift the powdered sugar into a large bowl
- Whisk in the milk and vanilla until smooth but still thick
- Carefully dip the tops of the cooled donuts into the icing, allow excess to drip off and set aside. Re-dip once hardened, then allow to set for at least one hour
- Cover a baking sheet with foil or parchment
- Use a piece of cardstock paper to section part of the iced donut
- Spray the color mist from about 6 inches away until vibrant. Remove the paper and let dry.
- Section off another part of the donut with cardstock and spray with another color. Repeat with all donuts in 3-4 sections, and don't be afraid to let colors overlap
- Let dry completely at room temperature
- Store iced donuts in an airtight container in the refrigerator for up to 1 day; un-iced donuts at room temperature for up to 3 days