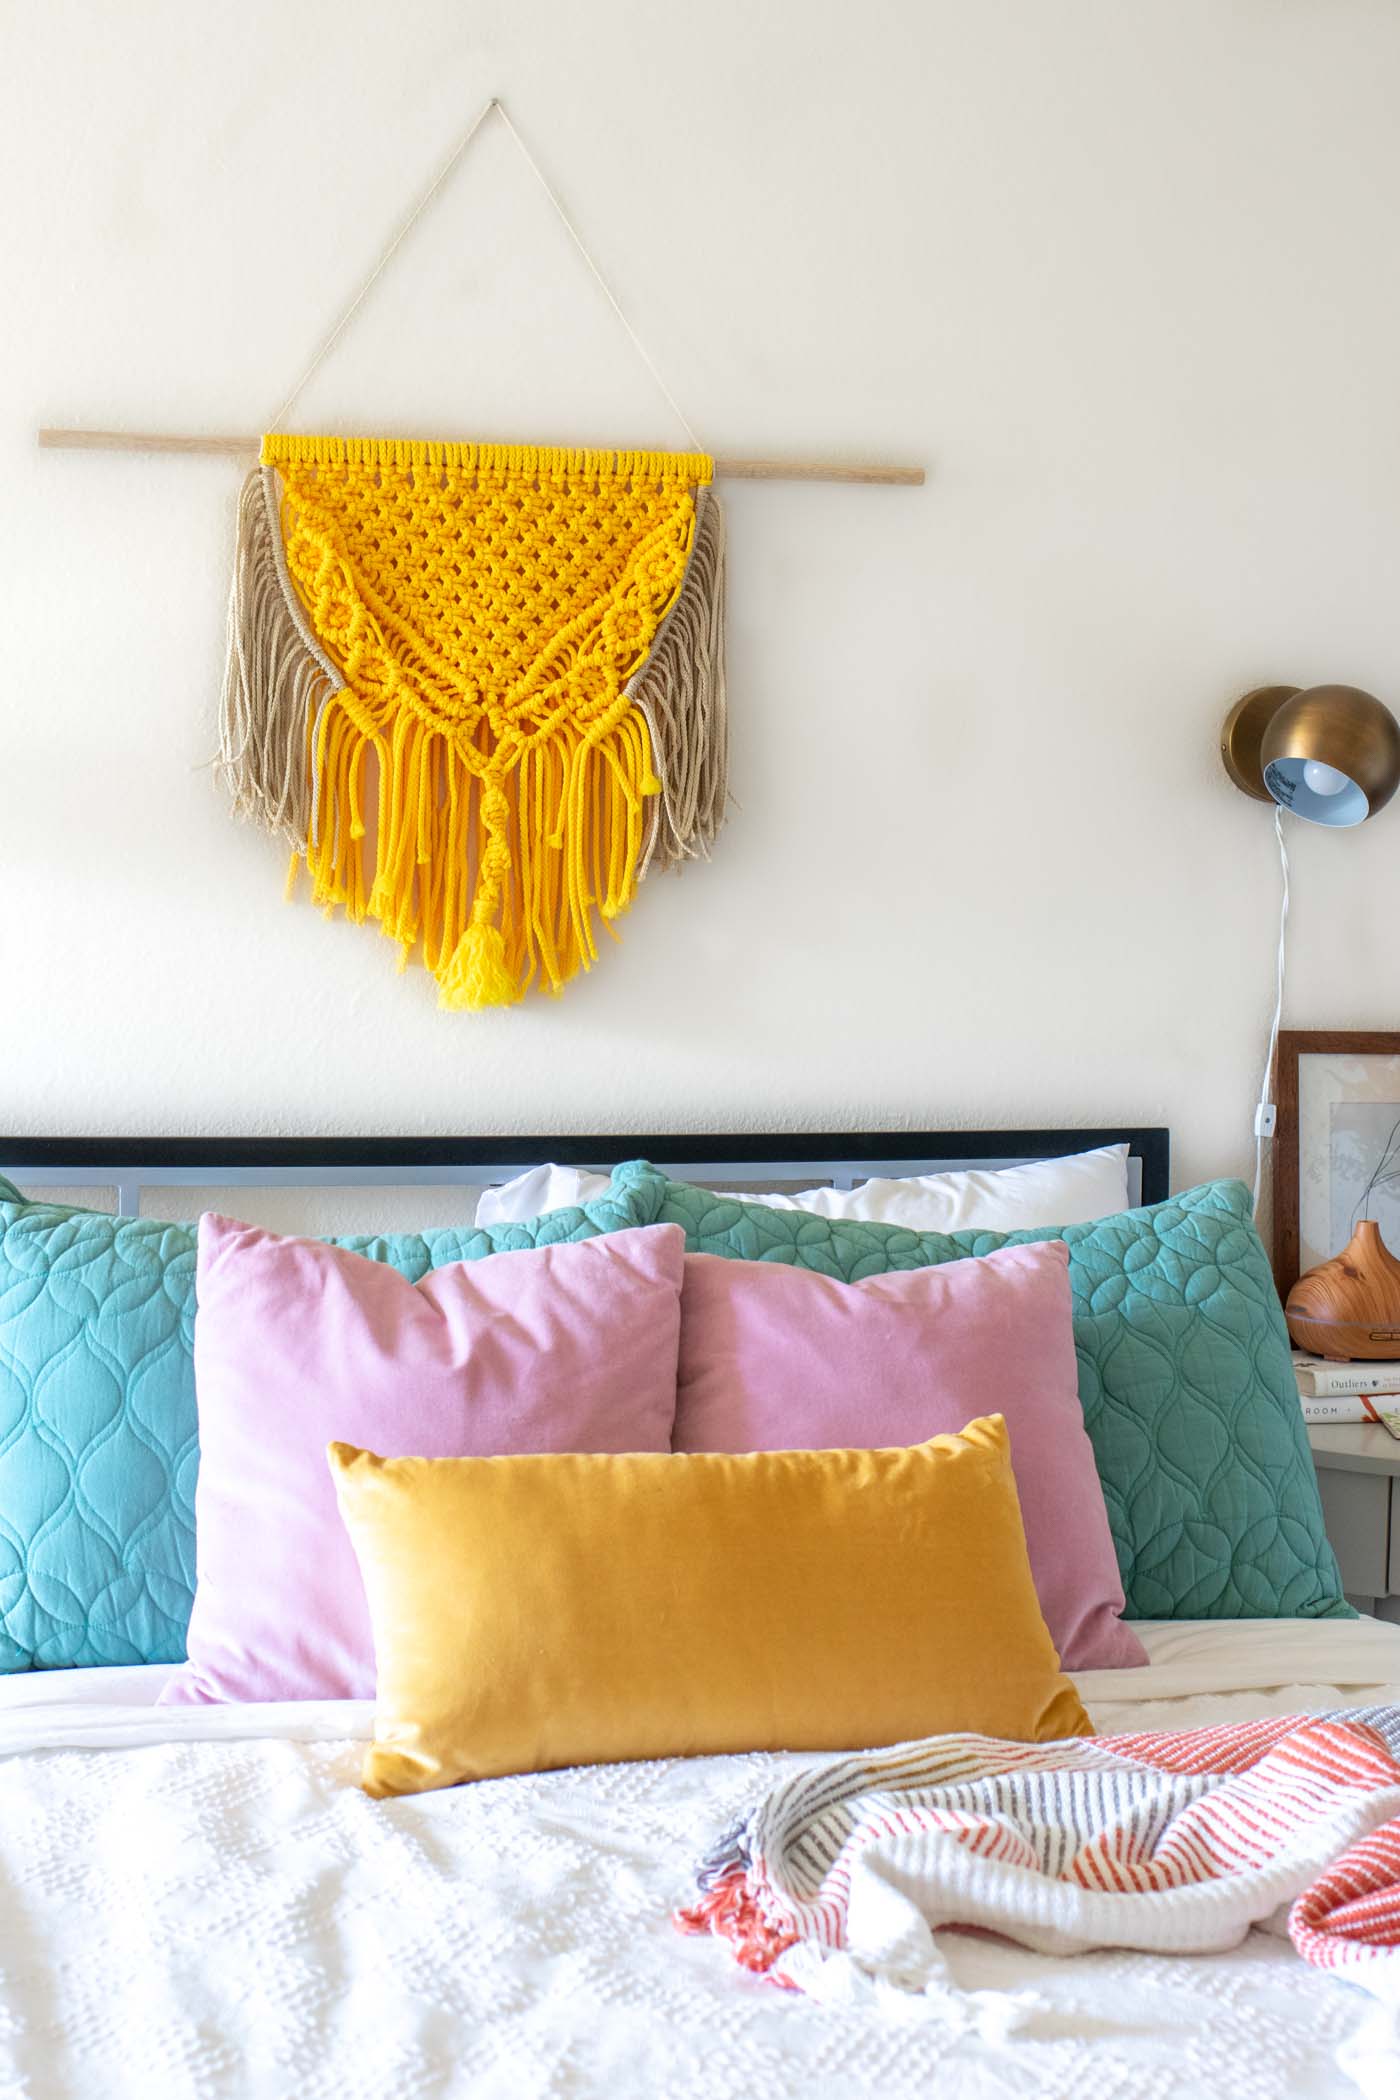
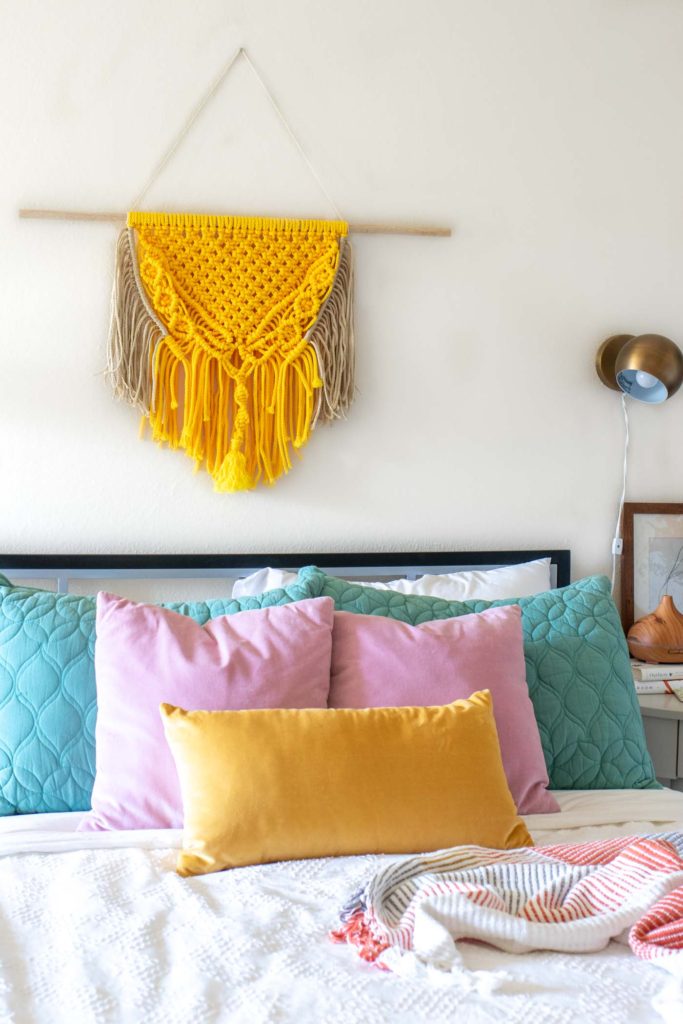
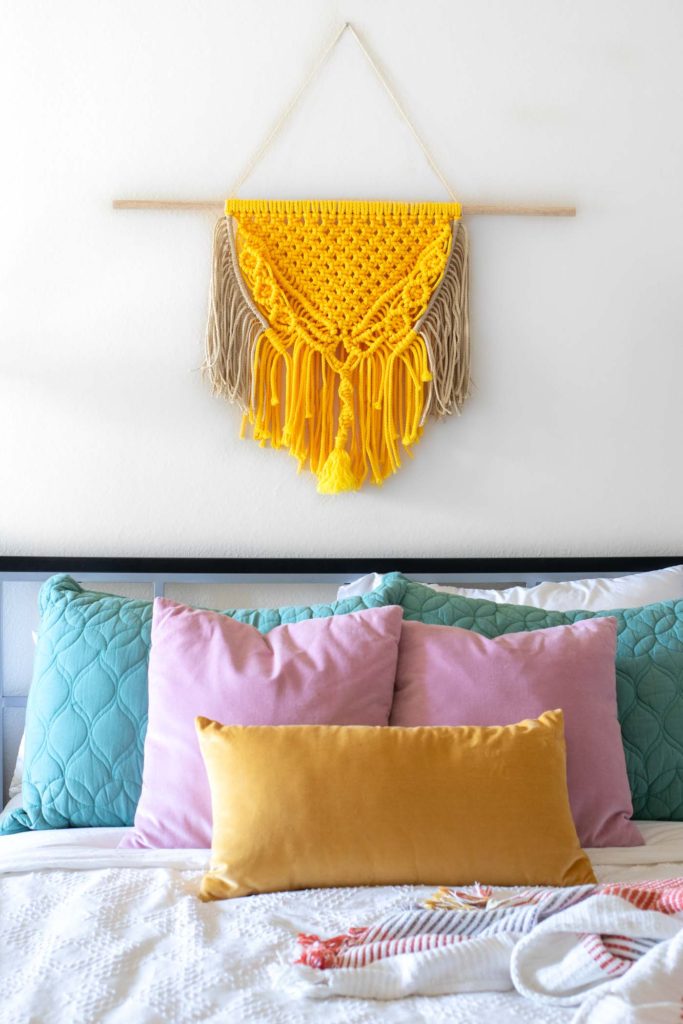
Get ready for a beginner macrame tutorial that was macraMADE in heaven for you! OK but really, this large colorful macrame wall hanging I made for above our bed is one of my proudest DIY achievements lately. If you caught my fall bedroom update recently, you may have noticed the empty space above our bed. I quickly remedied that with a large macrame wall hanging for beginners (yes, this is much less complicated than it looks!) using colorful cord I found at JOANN. This yellow color was the perfect fit for our color scheme throughout the house and adds some much needed color to an otherwise blank wall.
In truth, I had this entire blog post written out a while ago…then my browser crashed and I lost the entire post. It took me a little while to find the energy to write out the tutorial all over again. 🙈
I’ve been enjoying macrame as a side project for a while, and since there are so many macrame wall hanging tutorials already available online, I knew I only wanted to share my project if it felt unique from the others. That’s why I was so excited to use this colorful macrame cord!
How to Incorporate Colorful Macrame into Decor
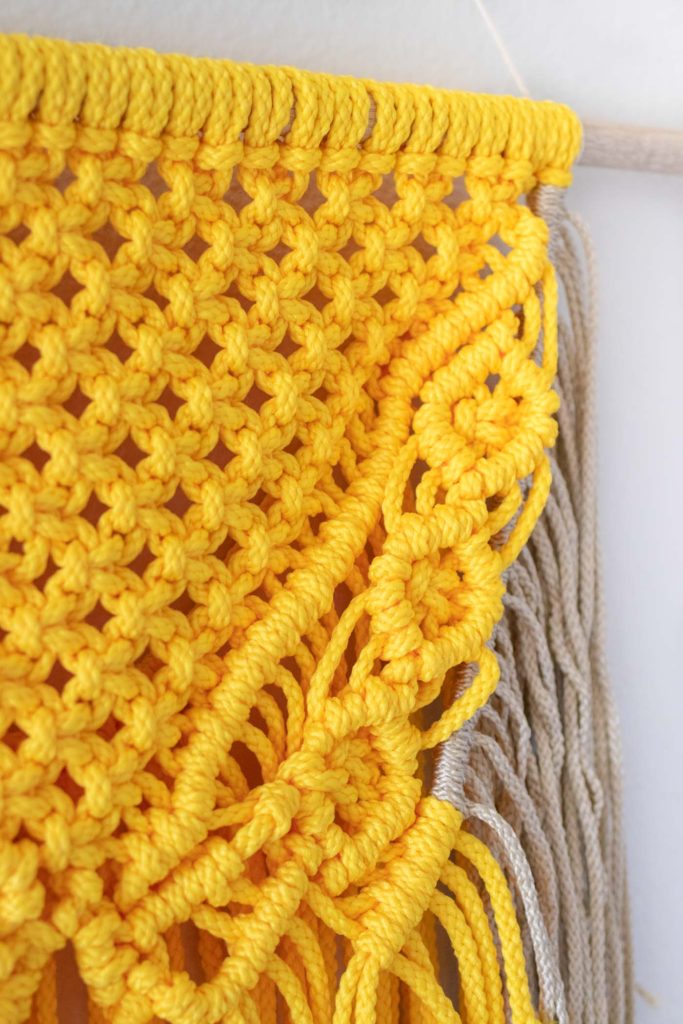
You’ll probably see neutral macrame decor most often. It’s beautiful, but since my style is a tad more colorful, I wanted to incorporate colorful cord to create a large colorful macrame wall hanging for our bedroom. JOANN has a selection of colorful macrame cord to choose from, and it’s obviously my go-to shop. However, Etsy also has a great selection of colorful cord, including cords with a different style and material.
How to Make a Beginner Macrame Wall Hanging
Supplies:
- Wooden dowel
- Colorful macrame cord, 6mm, 100 yards
- Neutral macrame cords, 4 mm, 50 yards
- Scissors
If you’d like more details about these beginner macrame knots, check out this great guide to macrame knots with photos of each step!
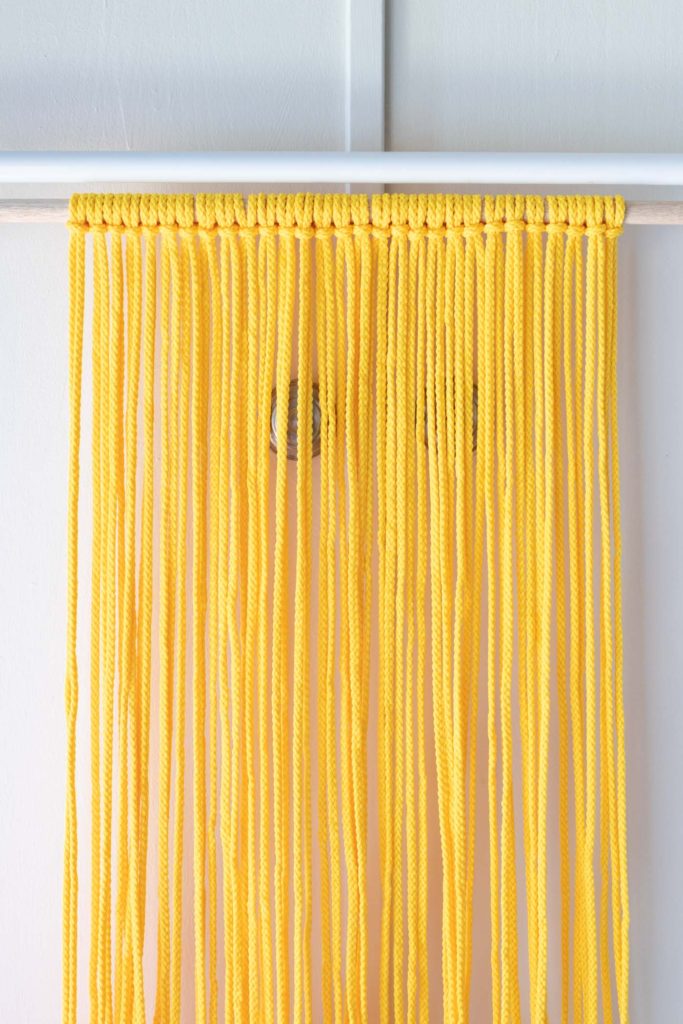
Step 1: Start by cutting 29 pieces of colorful macrame cord to about 6 feet, or slightly longer than your wingspan length.
Step 2: Attach them to the wooden dowel with a lark’s head knot. To make a lark’s head knot, fold a piece of cord in half. Then wrap over the dowel and pull the cord through the loop.
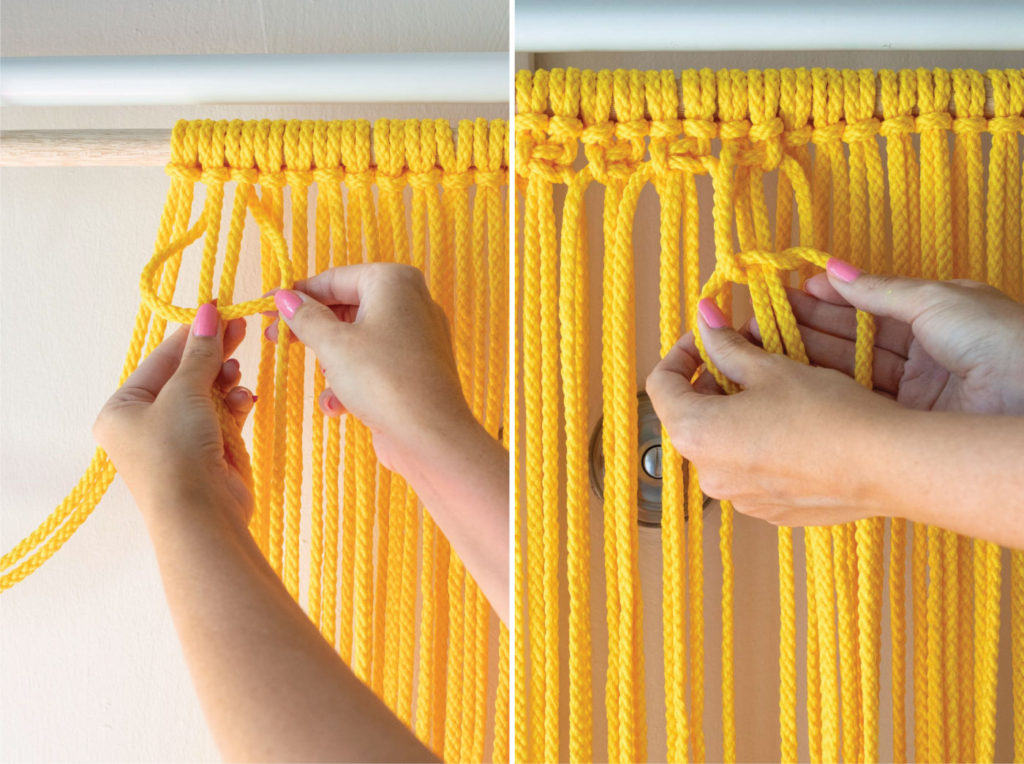
Step 3: Push aside the two outermost strings – you will use them later. Create square knots all the way across the remaining strands. Take four strands of cord (2 pairs) in your hands. Move the lefthand cord over the two middle cords and the righthand cord on top. Push the righthand cord around the back and through the loop of the lefthand cord. Pull to the top of the dowel, then repeat on the other side, beginning with the righthand side.
Repeat with all knots across the dowel.
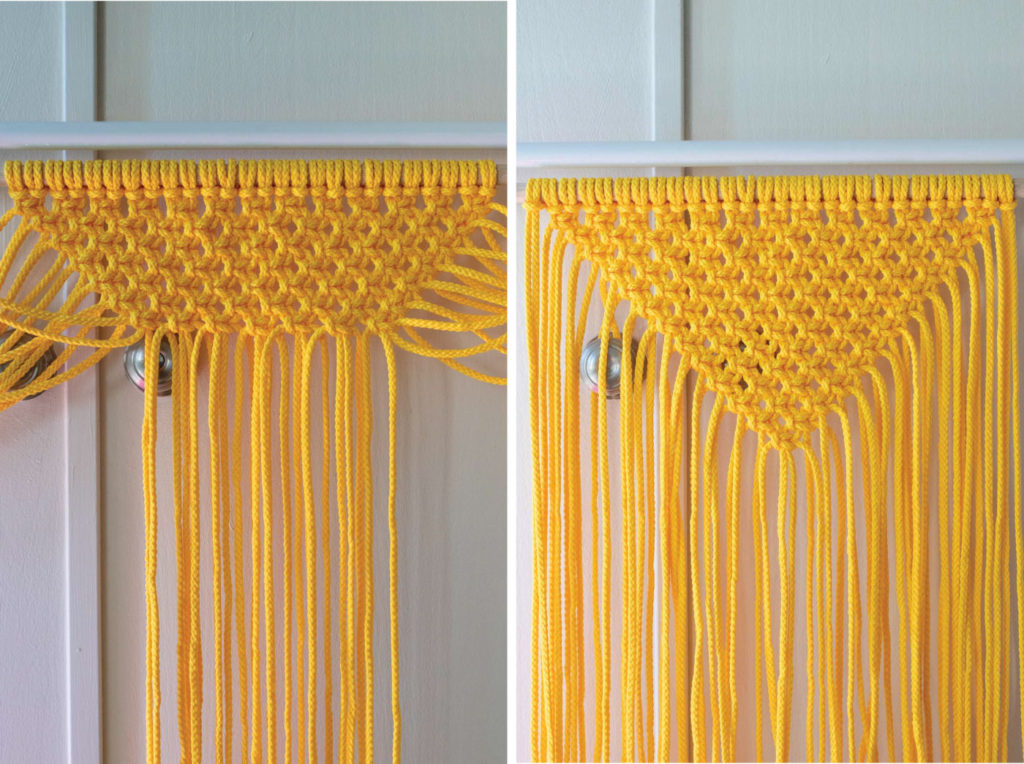
Step 4: Move to the second row. Push aside the outermost cords and repeat. At each new row, push aside the outermost cords to eventually create a triangle shape with square knots.
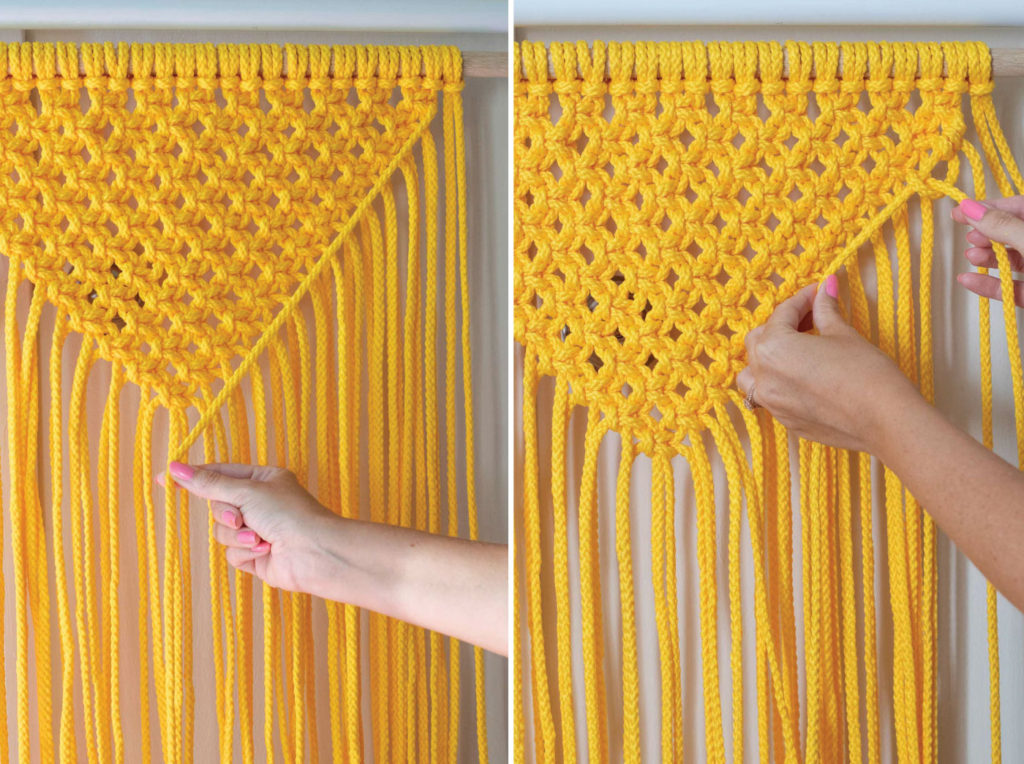
Step 5: Once again, push aside the outermost cords for later. Choose the other outermost cord and pull it out at an angle so that it aligns with the triangle of square knots.
Step 6: Use the next strand to create a double half hitch knot. Keep it under the static cord, pull it over the static cord, then through the loop. Repeat once more time.
Repeat with all strands until you reach the middle of the colorful macrame wall hanging. Then repeat on the opposite side so that the wall hanging is symmetrical.
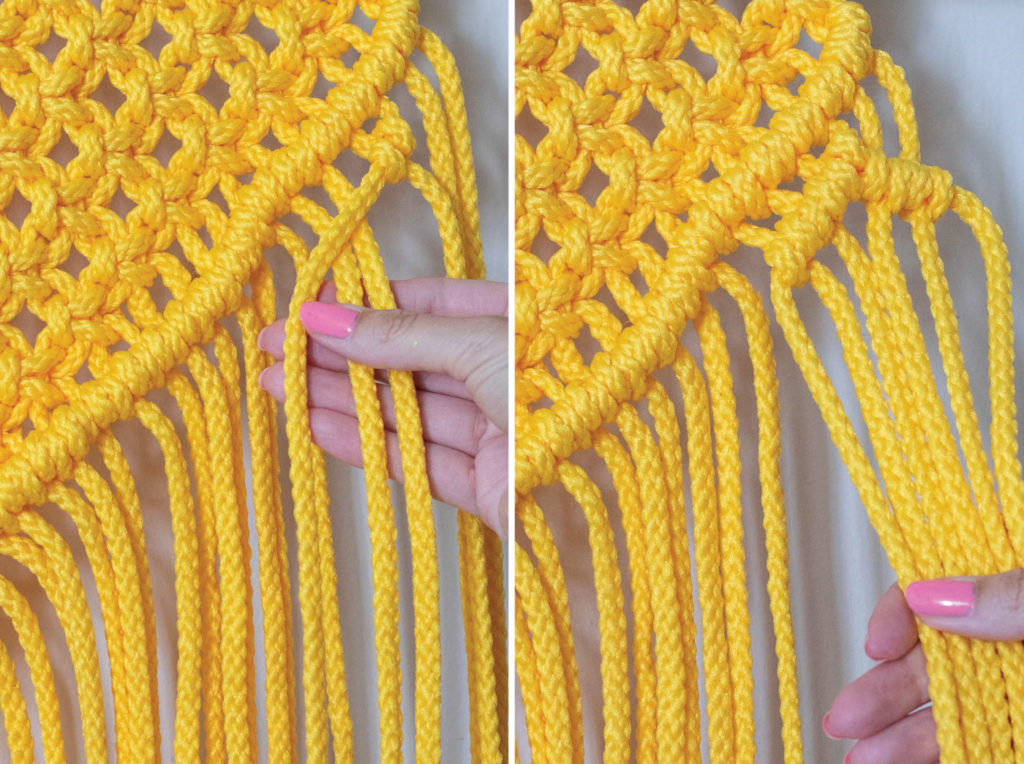
Step 7: Choose the six furthermost strands. Use the same double half hitch knot method to create a small upside down V shape. The two middle strands will be your static strand for wrapping.
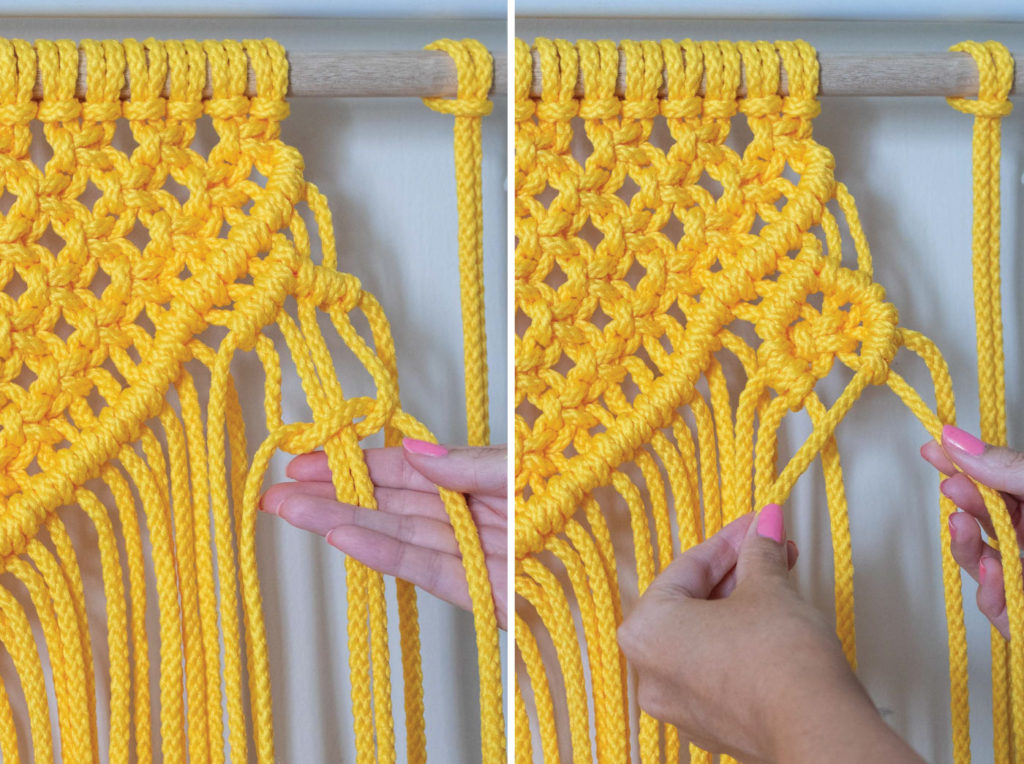
Step 8: Create one square knot using the four middle strands of cord. Then continue the double half hitch knots so that it creates a circular shape.
Step 9: Repeat three times. Then create the same pattern on the opposite side of the wall hanging.
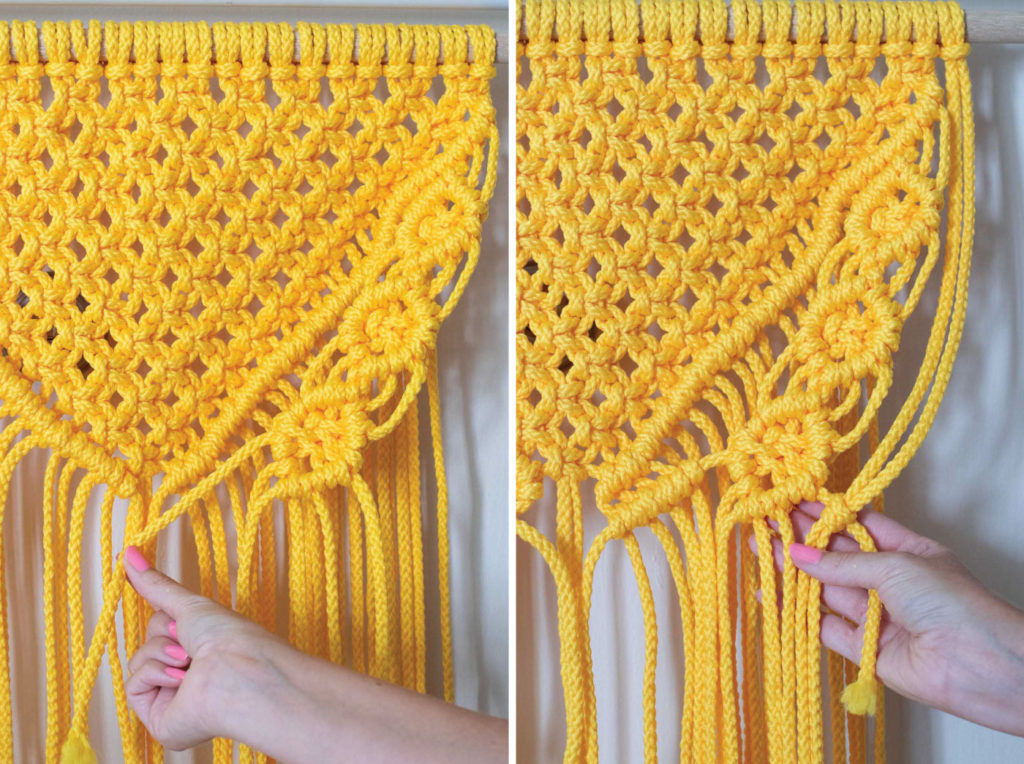
Step 10: Pull the decorative strand over so that it aligns with the triangle. Line up the righthand strand as the static cord and use the strands beneath it to make more double half hitch knots.
Step 11: Now choose the furthermost cords that you pushed aside. Align them with the existing pattern and create one double half hitch knot to hold it in place. Repeat on the other side to keep the design symmetrical.
Optional Macrame Decorations
If desired, you can create more decoration in the middle with double half hitch knots. I created another shape in the middle of the wall hanging using the remainder of short cords. At this point, some sections of cord may be very short. You can tuck them into the knots on the backside of the colorful macrame wall hanging and continue with the piece. This is where your personal preference comes in! Feel free to make changes and experiment – you can always pull the knots apart if you don’t like how it turns out!
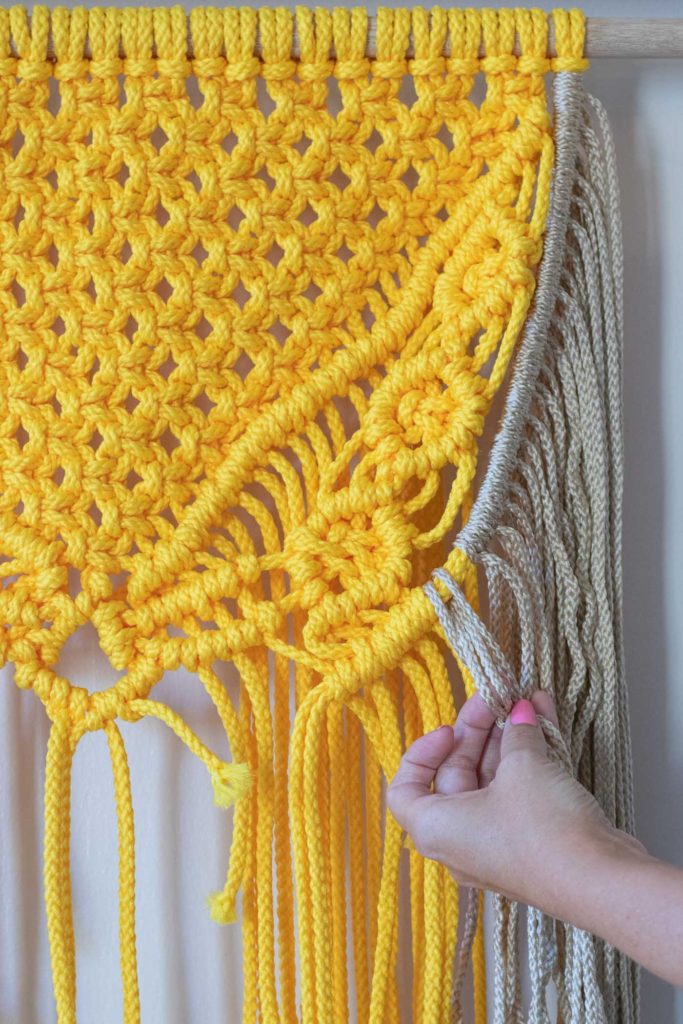
Step 12: Cut the alternative color of macrame cord to approximately your wingspan.
Step 13: Attach one cut strand at a time to the empty section of cord you just created using the lark’s head knot from the beginning. Then make double half hitch knots. Repeat with each strand to create a fringe appearance.
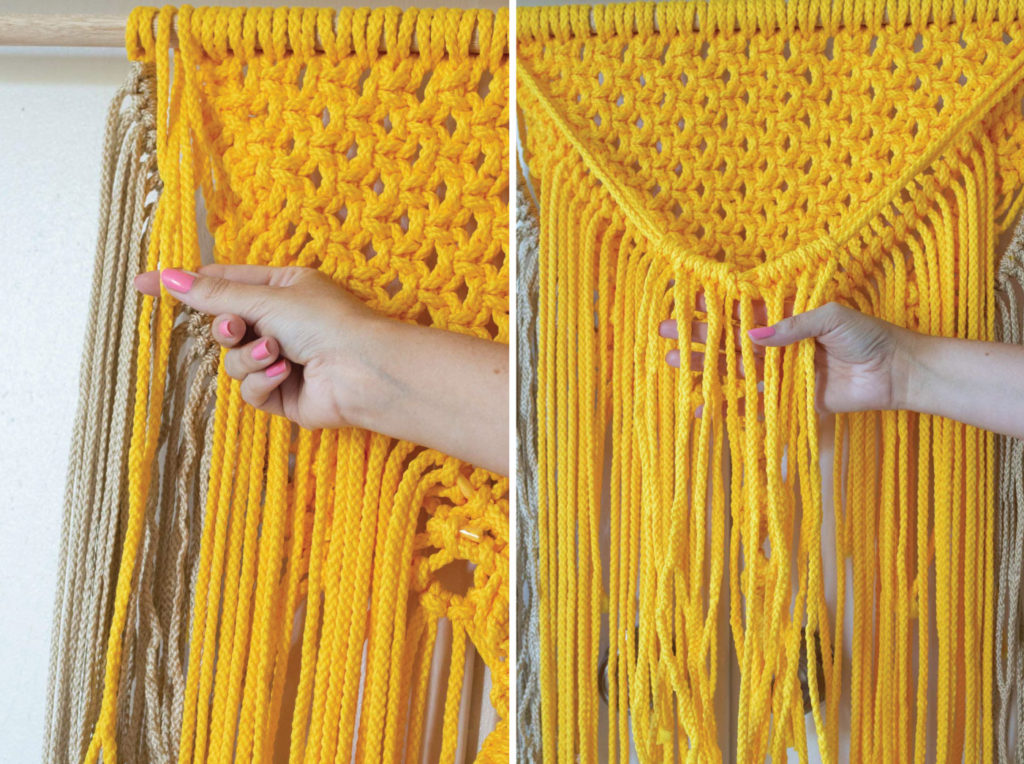
Optional: If the middle starts to appear bare, you can attach additional colorful macrame cord to the dowel with lark’s head knots. Drape them across the BACK of the wall hanging and attach more strands of cord using double half hitch knots. This will create a fuller fringe look and fill in the space if it’s appearing empty.
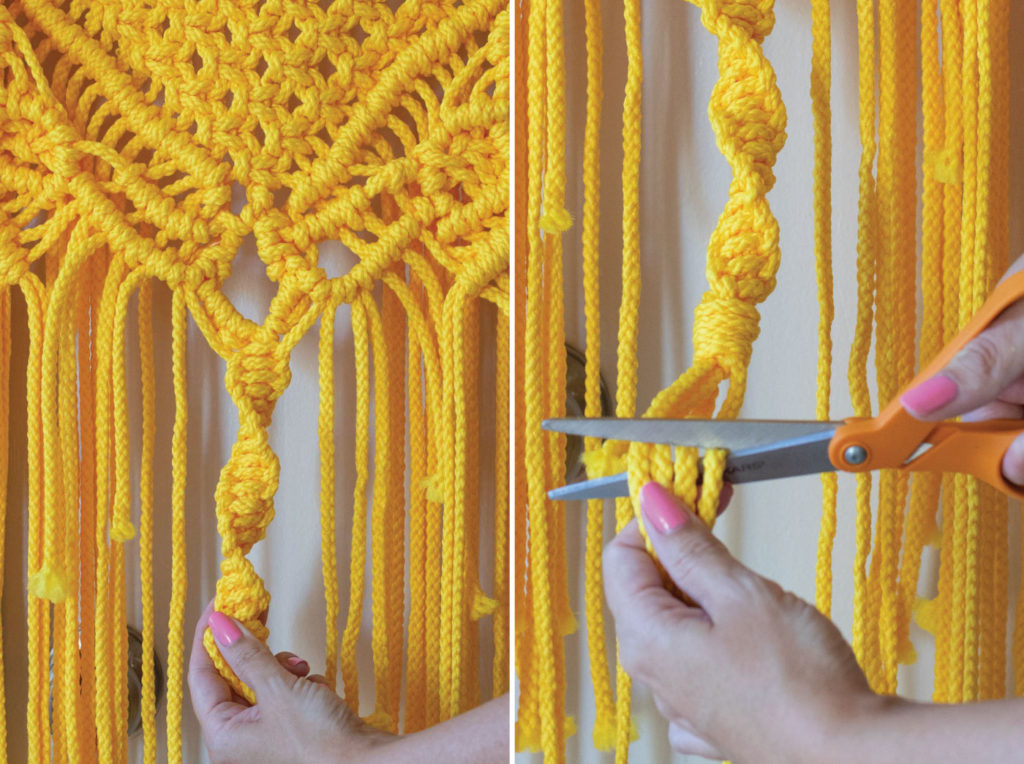
Step 14: Choose the four middle strands to create ONLY left handed square knots. This will naturally create a spiral.
Step 15: When you reach your desired length or you have 4-5 inches of cord left, stop. Cut a separate piece of cord about 8 inches long. Gather all four strands of the spiral and create a large U shape on top using the unattached piece. Wrap it around itself and all of the strands several times, but make sure the top and bottom of the U remain exposed. Once wrapped several times, pull the strand through the loop of the U. Then pull the top strand so that the end is hidden inside the knot. Trim.
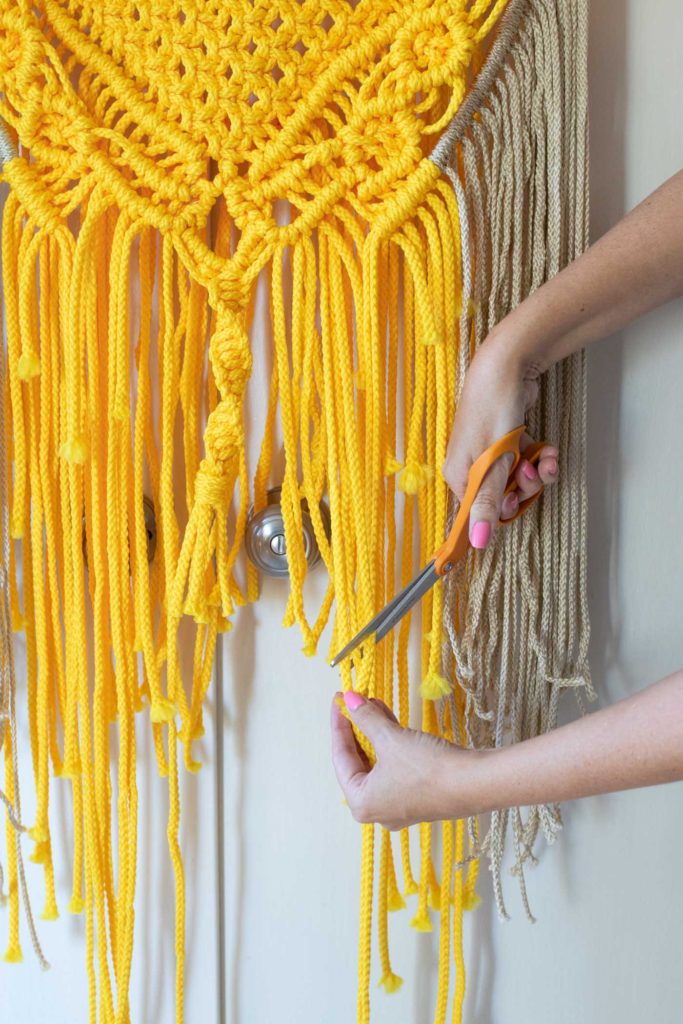
Step 16: Cut away the bottom fringe to even out the strands. Trim the strands into an upside down V shape, or choose to keep everything even straight across. Either way, make sure it’s symmetrical!
Step 17: Lastly, choose a thinner string to hang the colorful macrame wall hanging. Cut to size and knot each end to either side of the finished wall hanging. Tuck and ending or unsightly pieces into knots on the backside.
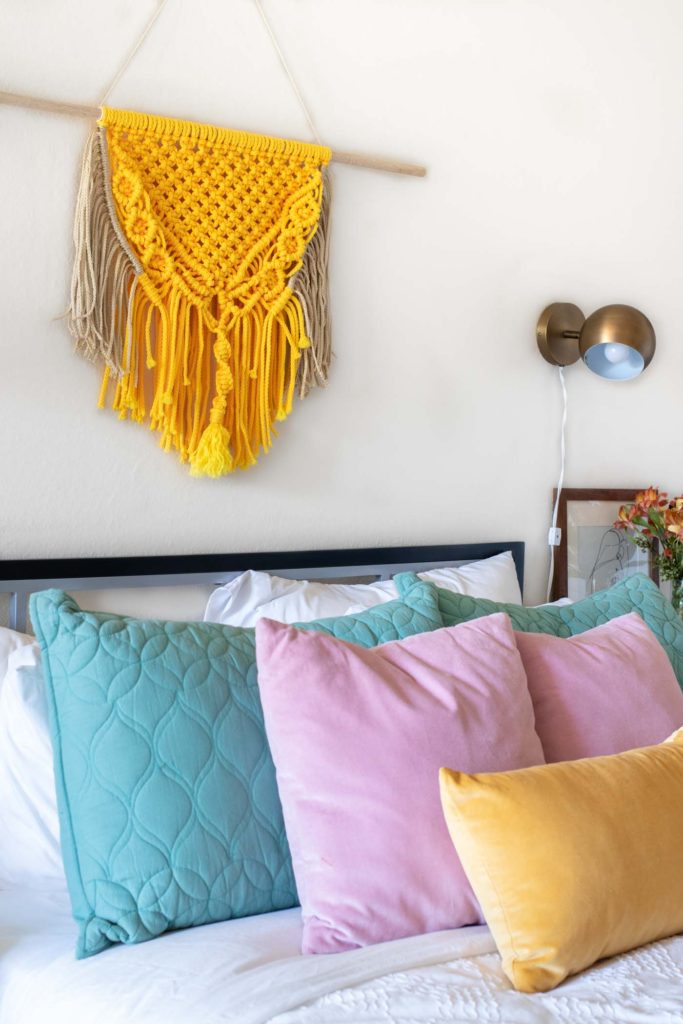
Now you can finally hang your new macrame wall hanging! I know it’s A LOT of steps and information, but I really believe macrame is about patience. Once you do a knot a few times, it starts to come naturally and you’ll realize how simple it can be. Have fun with it and don’t be afraid to experiment by deviating away from a macrame pattern!
If you have trouble following anything I’ve written here, please feel free to contact me for clarification!
PS, if you love DIY home decor, be sure to check out my other wall art ideas!
