DIY Cornhole Makeover with a Painted Retro Design // Plus a Look at Our Backyard Makeover
The following post is sponsored by Wayfair
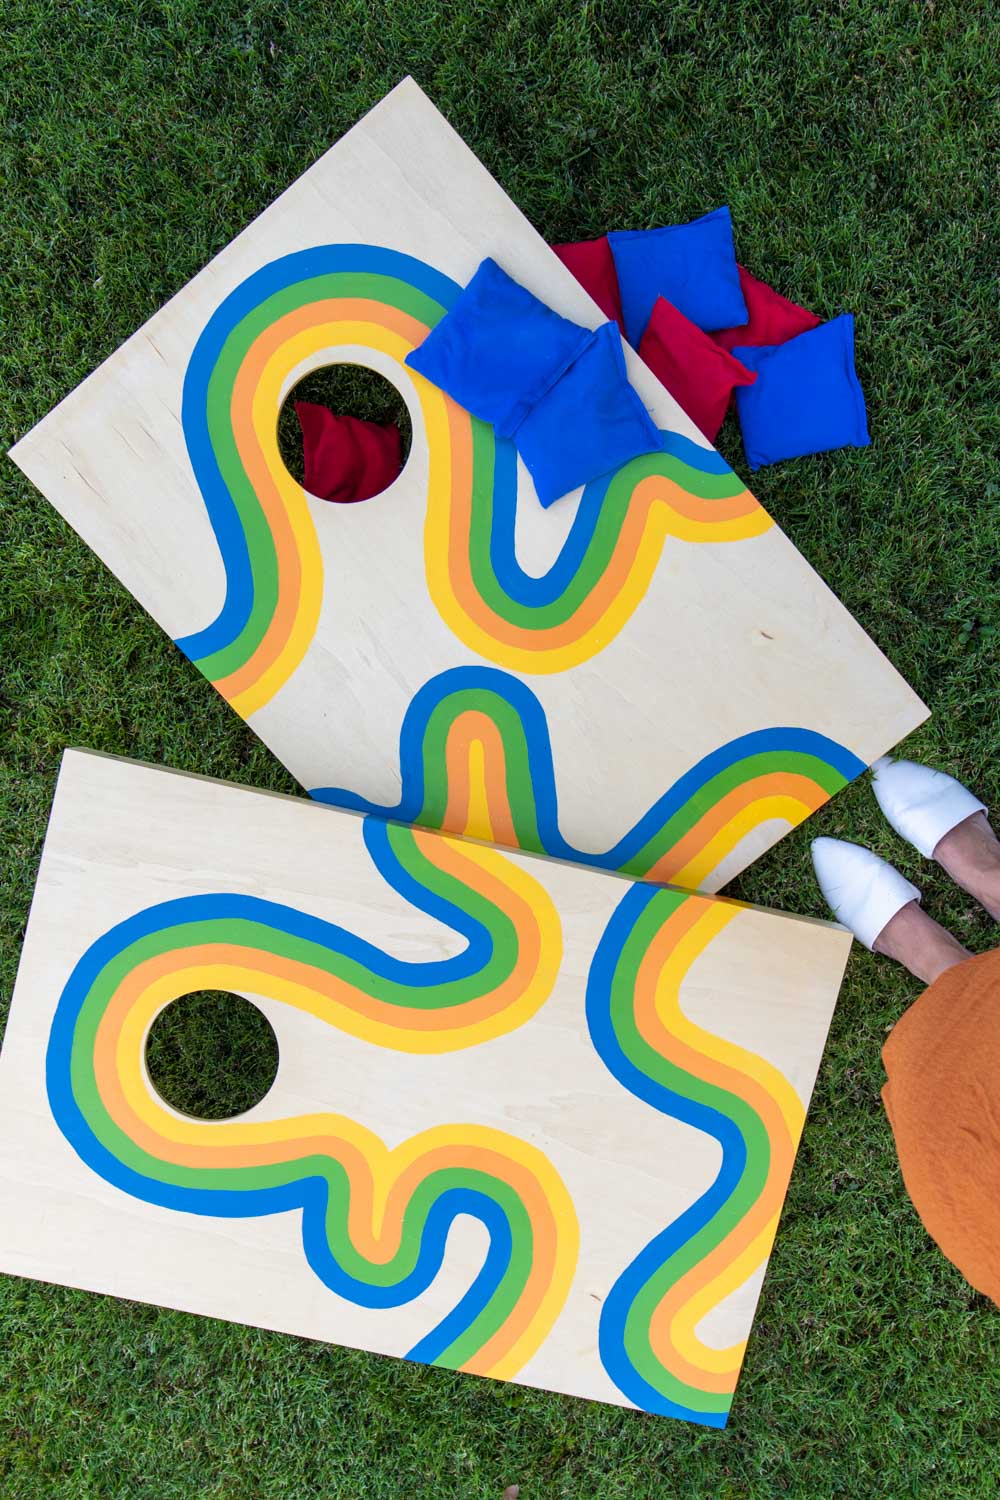
Ready for a peek at our outdoor oasis in the California desert?! This month, I partnered with Wayfair to not only try out this DIY cornhole makeover inspired by the 70s but share a look at our backyard patio. When we first moved into our Palm Desert home in September, we knew we wanted to invest in our backyard immediately. One of our first major purchases was a patio dining set from Wayfair! Now we’ve been living with our outdoor table, black metal chairs and set of bright yellow cushions for close to a year (did you catch my patio inspiration post last year?), and I’m still SO happy with how they’ve held up. Keep reading for all the details about painting a retro-inspired design and how it ties into our backyard makeover.
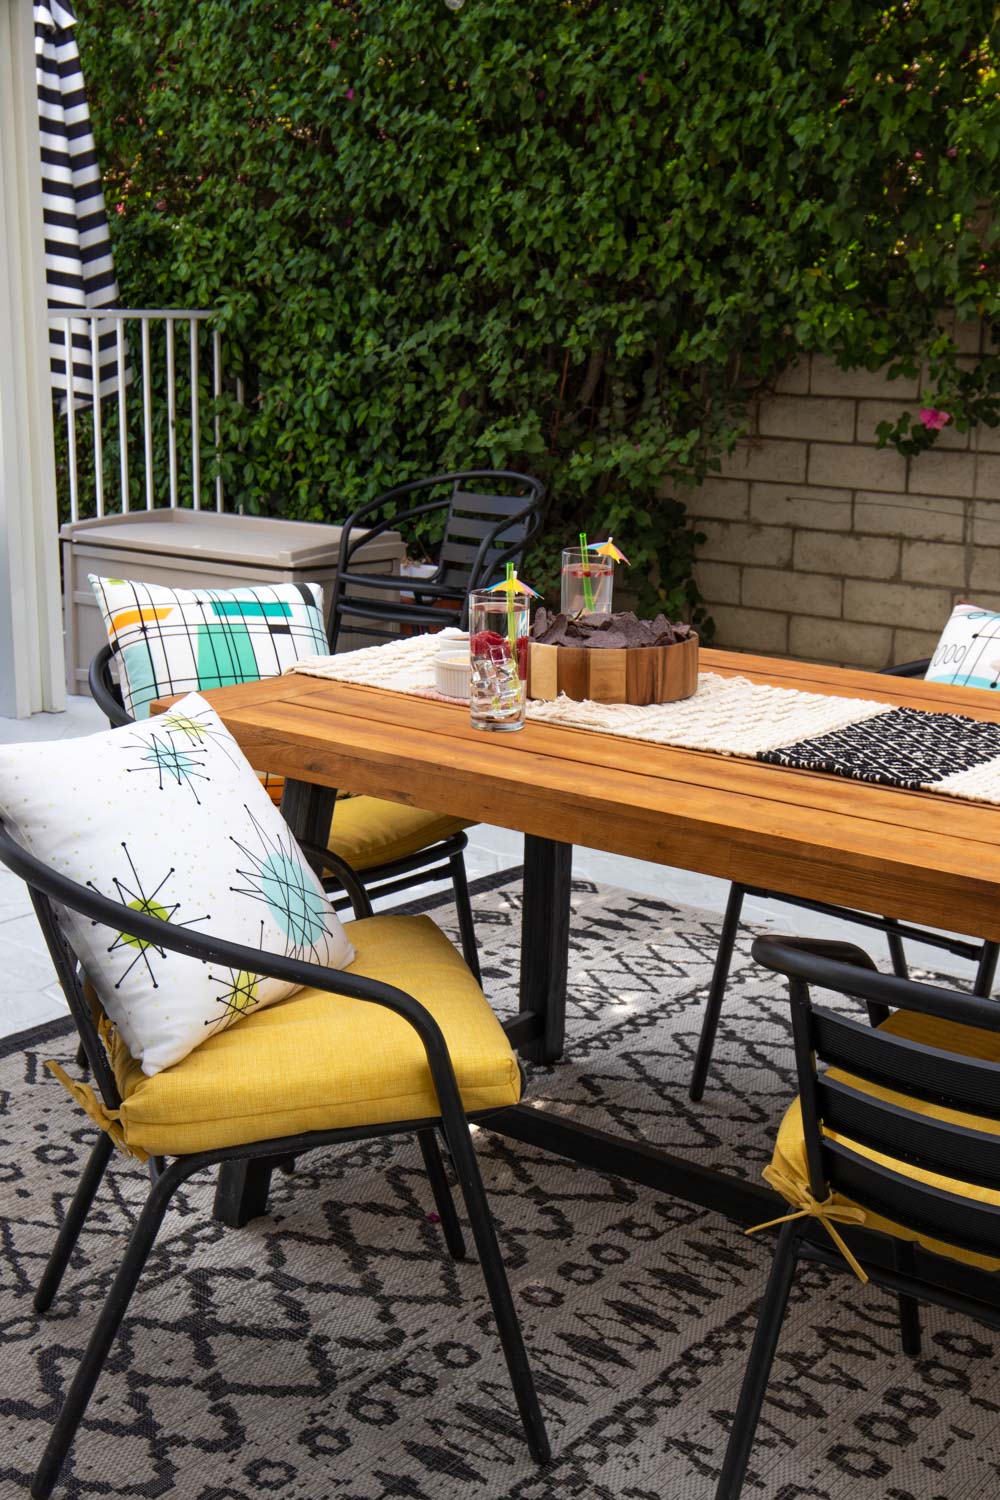
One of the reasons we purchased our home was the backyard. Competition for homes with pools was CRAZY, so we jumped at this house with a big pool in the side yard and a large patio with a beautiful white pergola. The pergola SOLD ME. The pool is surrounded by tall ficus plants and the patio is lined with bougainvillea – my fav! One of the first projects Andrew tackled was painting the patio this light grey. Can you believe it used to be RED? Who thought that was a good idea?! We were eager to make this space the perfect place to entertain.
How to Paint a Retro-Inspired Design on this Cornhole Makeover
Before I forget, let’s talk cornhole. This was our favorite game in college, so I was excited to see Wayfair has unfinished wood cornhole sets. It’s the perfect base for painting! Here’s how to do a unique DIY cornhole makeover with paint:
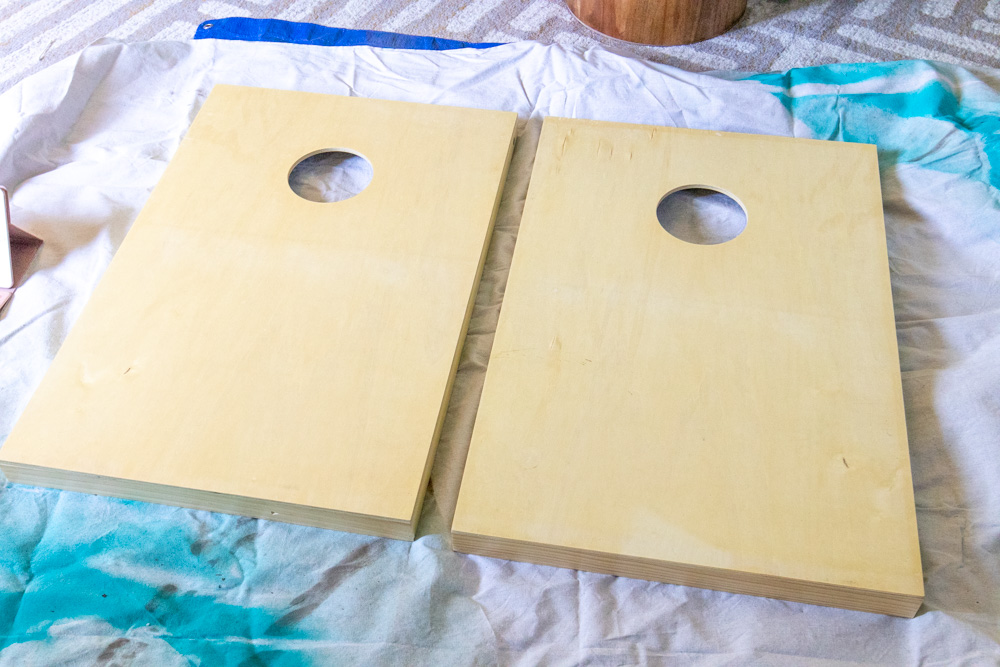
Supplies:
- Unfinished wood cornhole board (with beanbags)
- Pencil
- Home decor paint (3-4 colors)
- 1-inch paintbrushes
- Fine paintbrushes
- Polycrylic sealant
- Large paintbrush
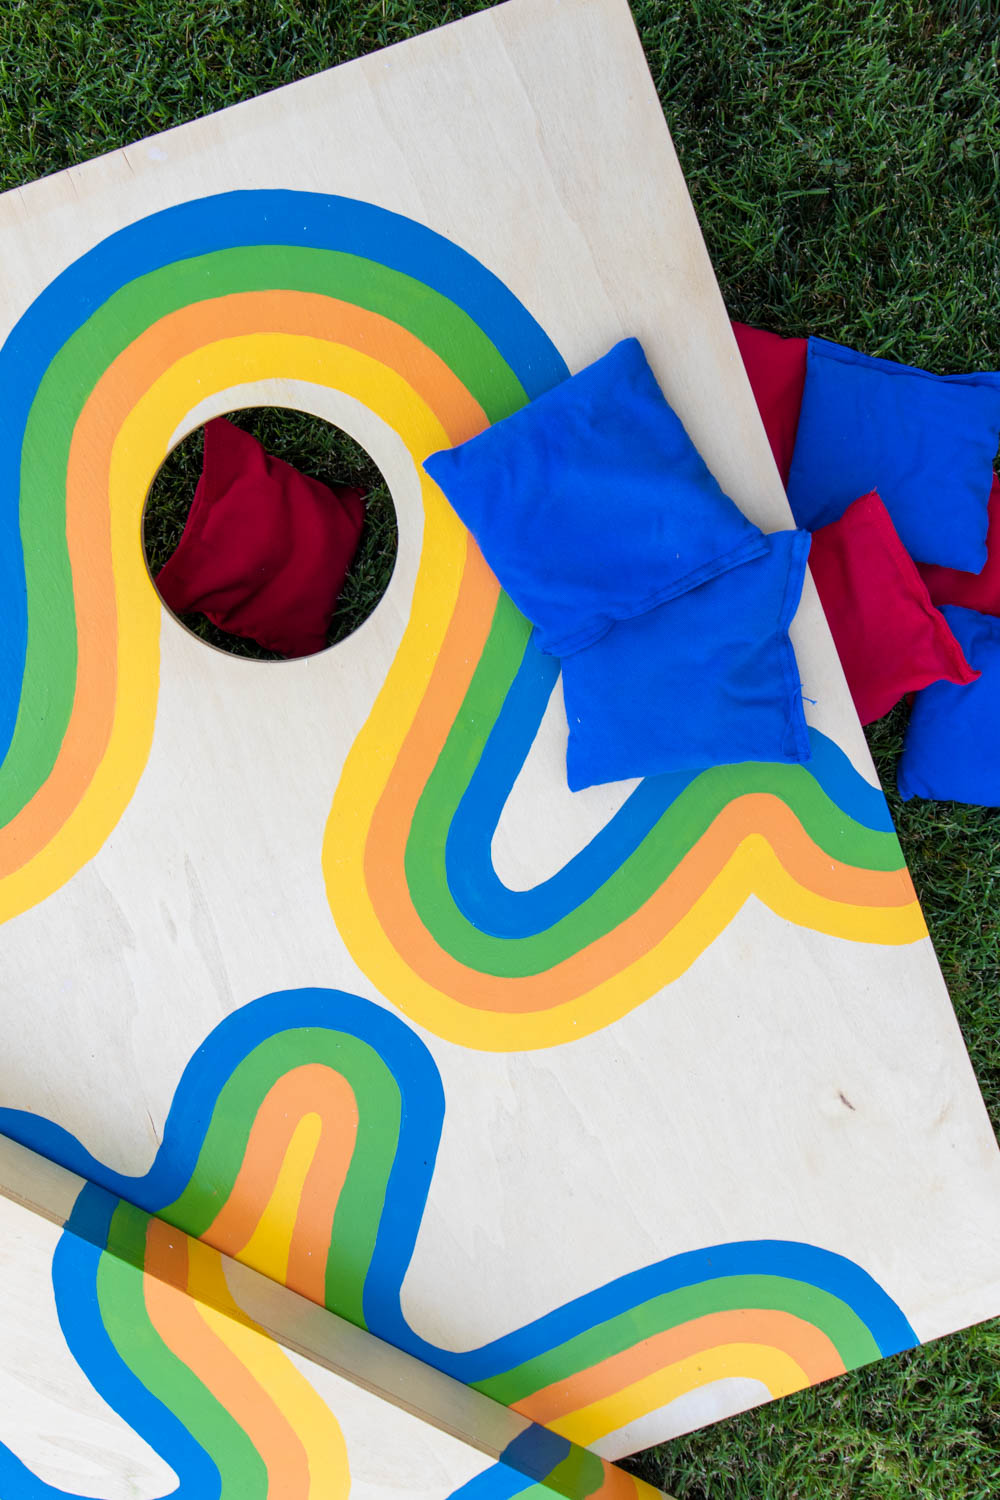
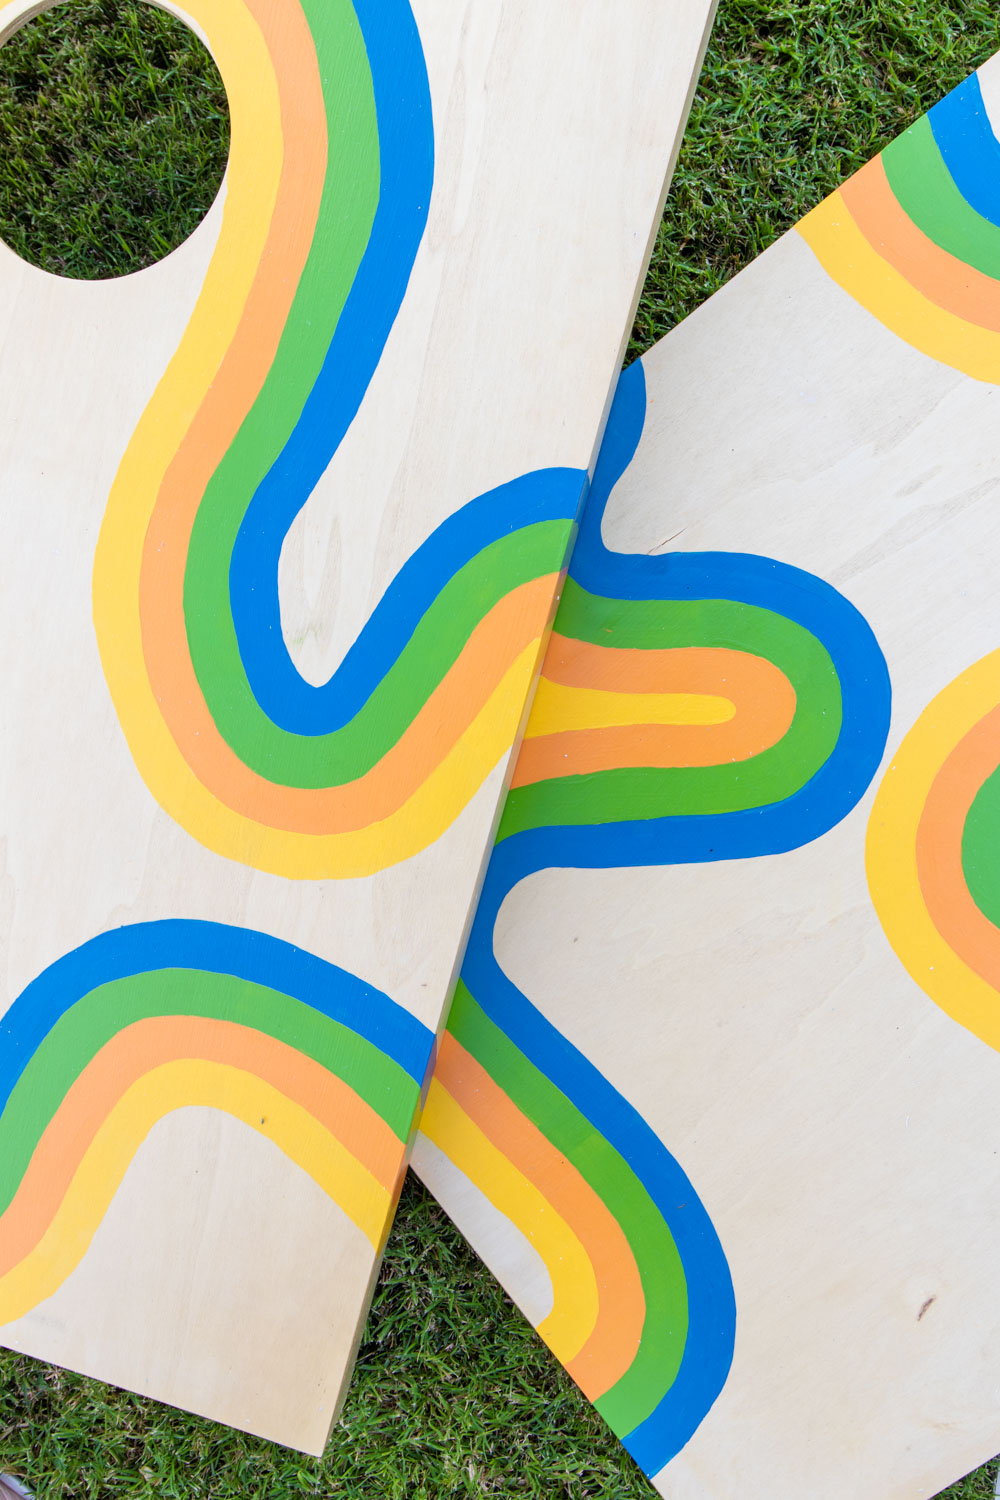
Step 1: Choose your design! A quick search for “70s murals” or “70s patterns” will give you plenty of inspiration! For this wavy design, use a pencil to mark a wave design all over the board. Don’t worry if you mess up! A Magic Eraser will easily remove stray marks.
Tip: For a large, well-rounded curve, use a plate. Outline just half of it to create the perfect arc for your pattern.
Step 2: Then use the first color of paint to trace the wavy design. Start with a thin layer and don’t let the sides of your brush get too “globby.” Repeat on both boards.
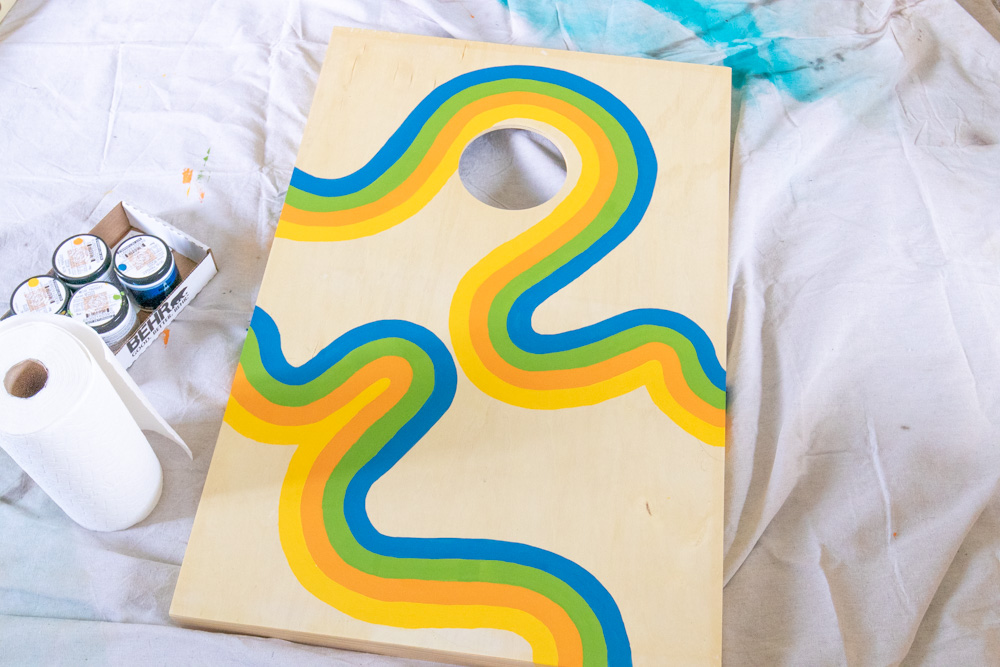
Step 3: Then go back over the design with a finer brush. The fine brush allows you to make cleaner lines. Two coats of paint for each color should be enough, but certain colors (like this yellow) may require three. Don’t forget the sides too!
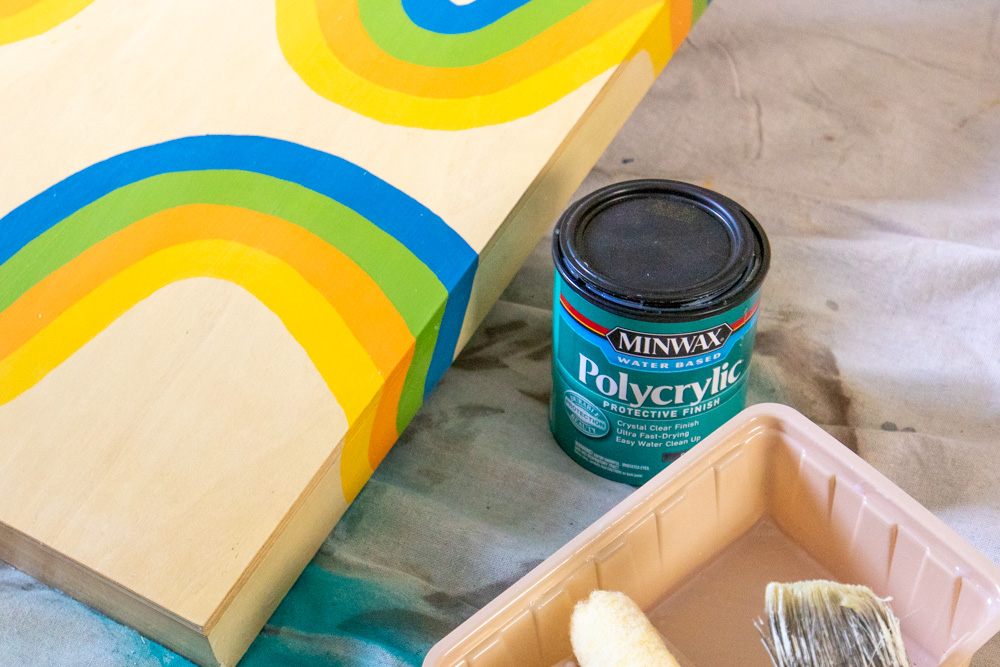
Step 4: Repeat with each color in stripes. When you’re finished and the colors are dry, apply two coats of clear polycrylic with a large paintbrush to seal your cornhole makeover from the weather.
Now your cornhole makeover is ready for playing! I love that this set from Wayfair comes with a carrying case, so we can easily store it all in our garage or take it with us when we travel.
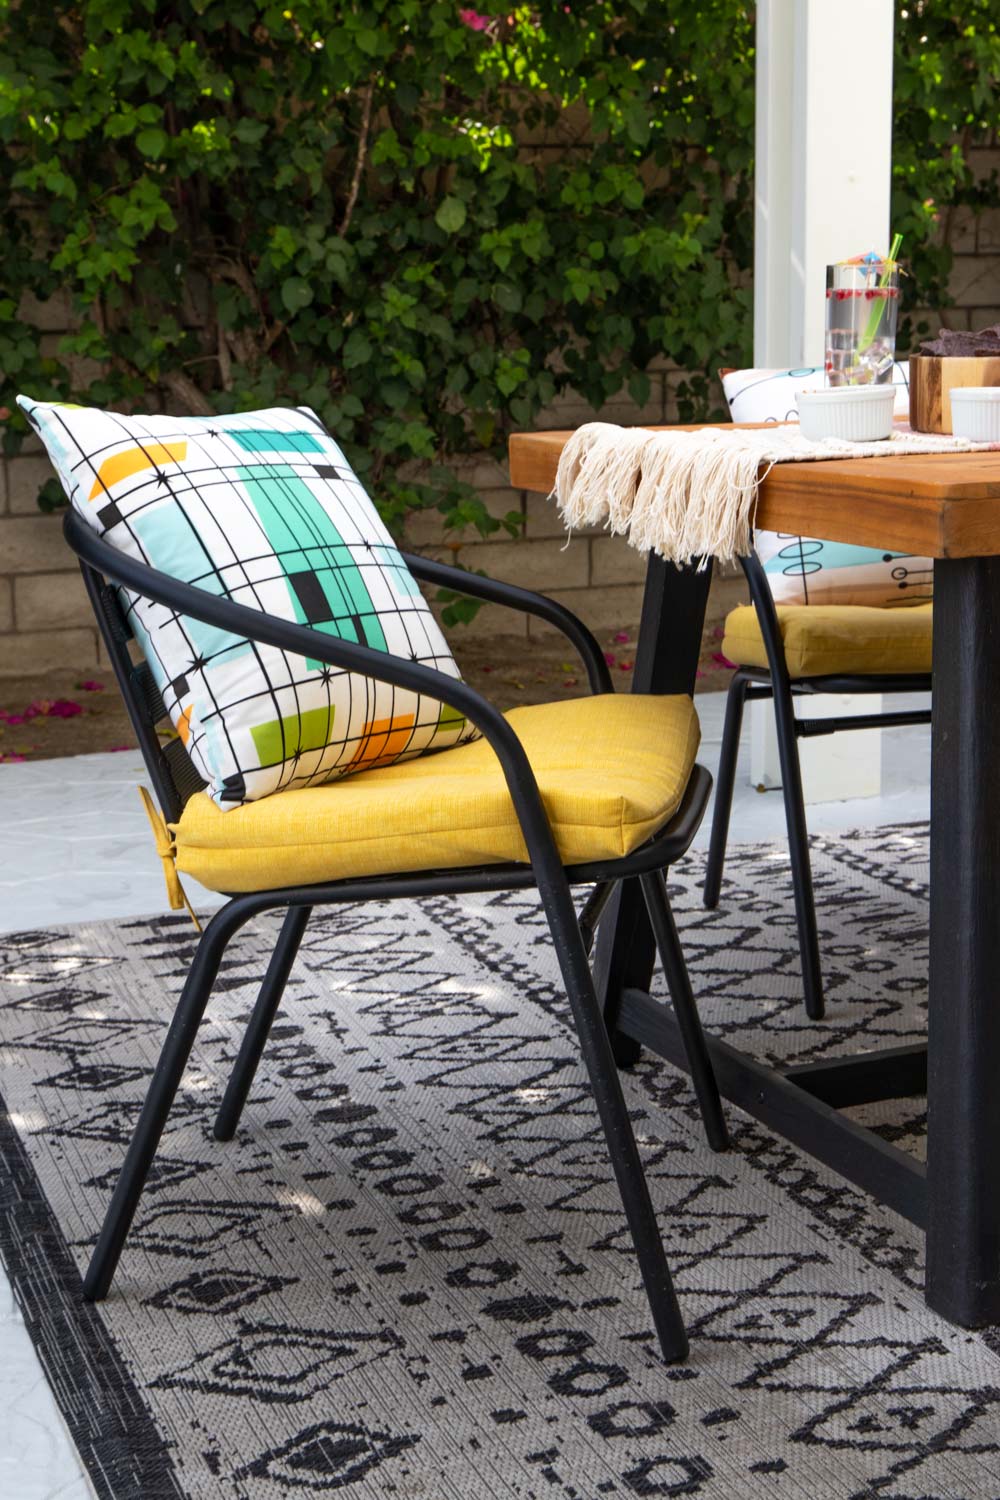
Creating a Retro-Inspired Outdoor Oasis
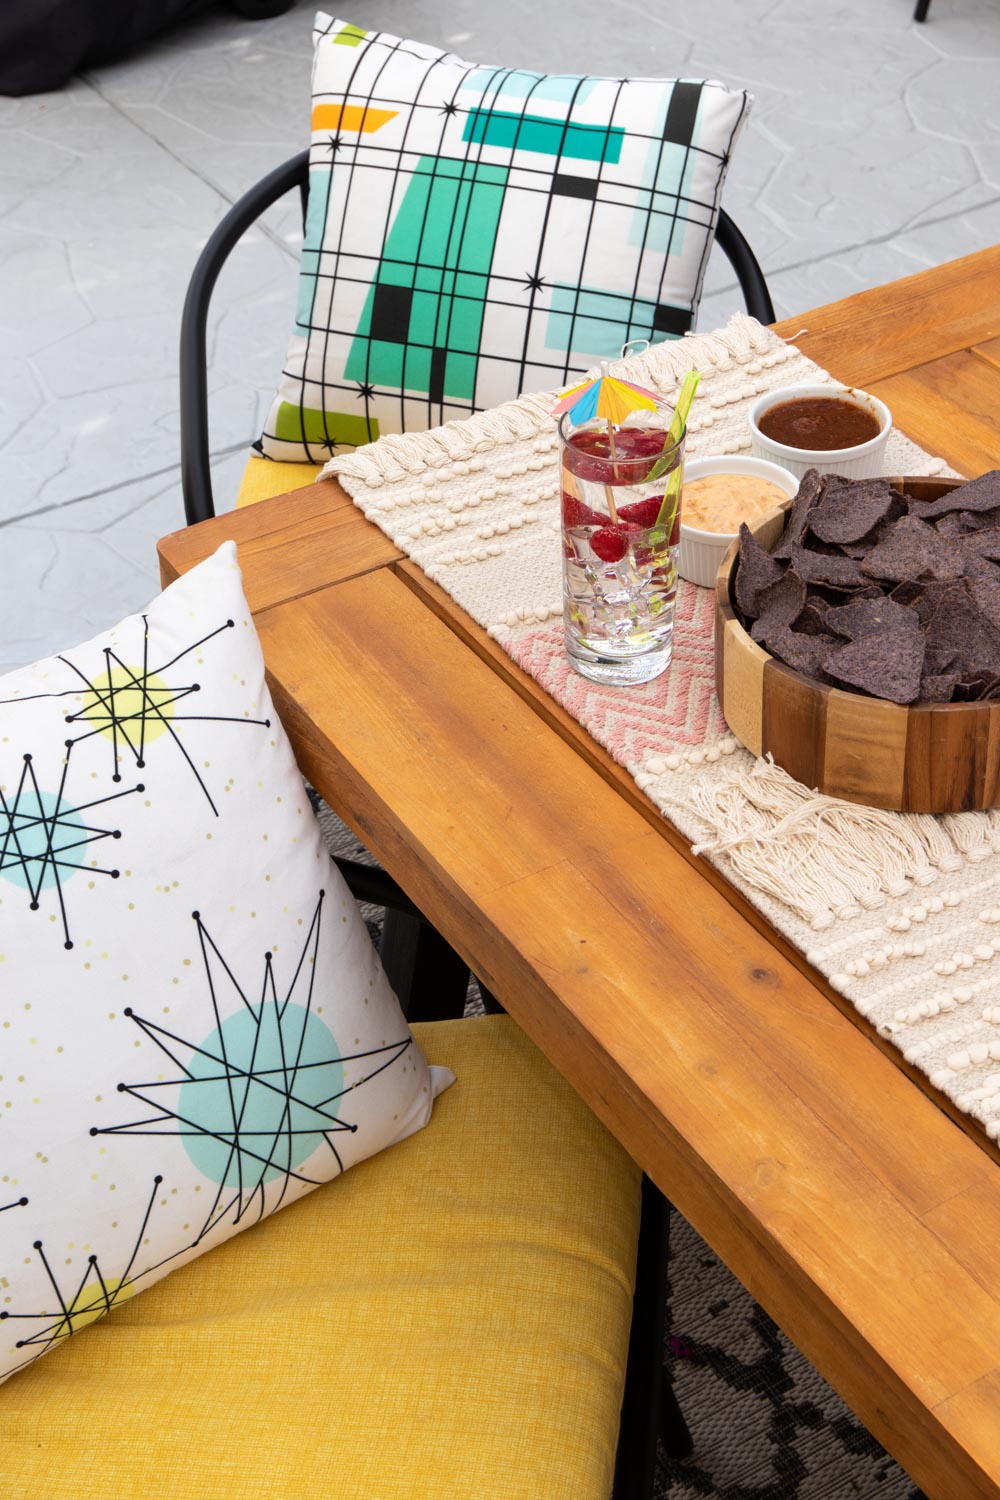
Now that you see how the cornhole makeover turned out, maybe you see how it ties back into the products we chose for the patio. Want to shop these items from Wayfair? Here’s everything we purchased to makeover our patio:
- Resin Deck Box (similar in stock here)
- Outdoor Chair Cushions (similar in stock here)
- Outdoor dining table (similar in stock here)
- Outdoor DIning Chairs
- Outdoor Market Lights
- Outdoor Area Rug (similar here)
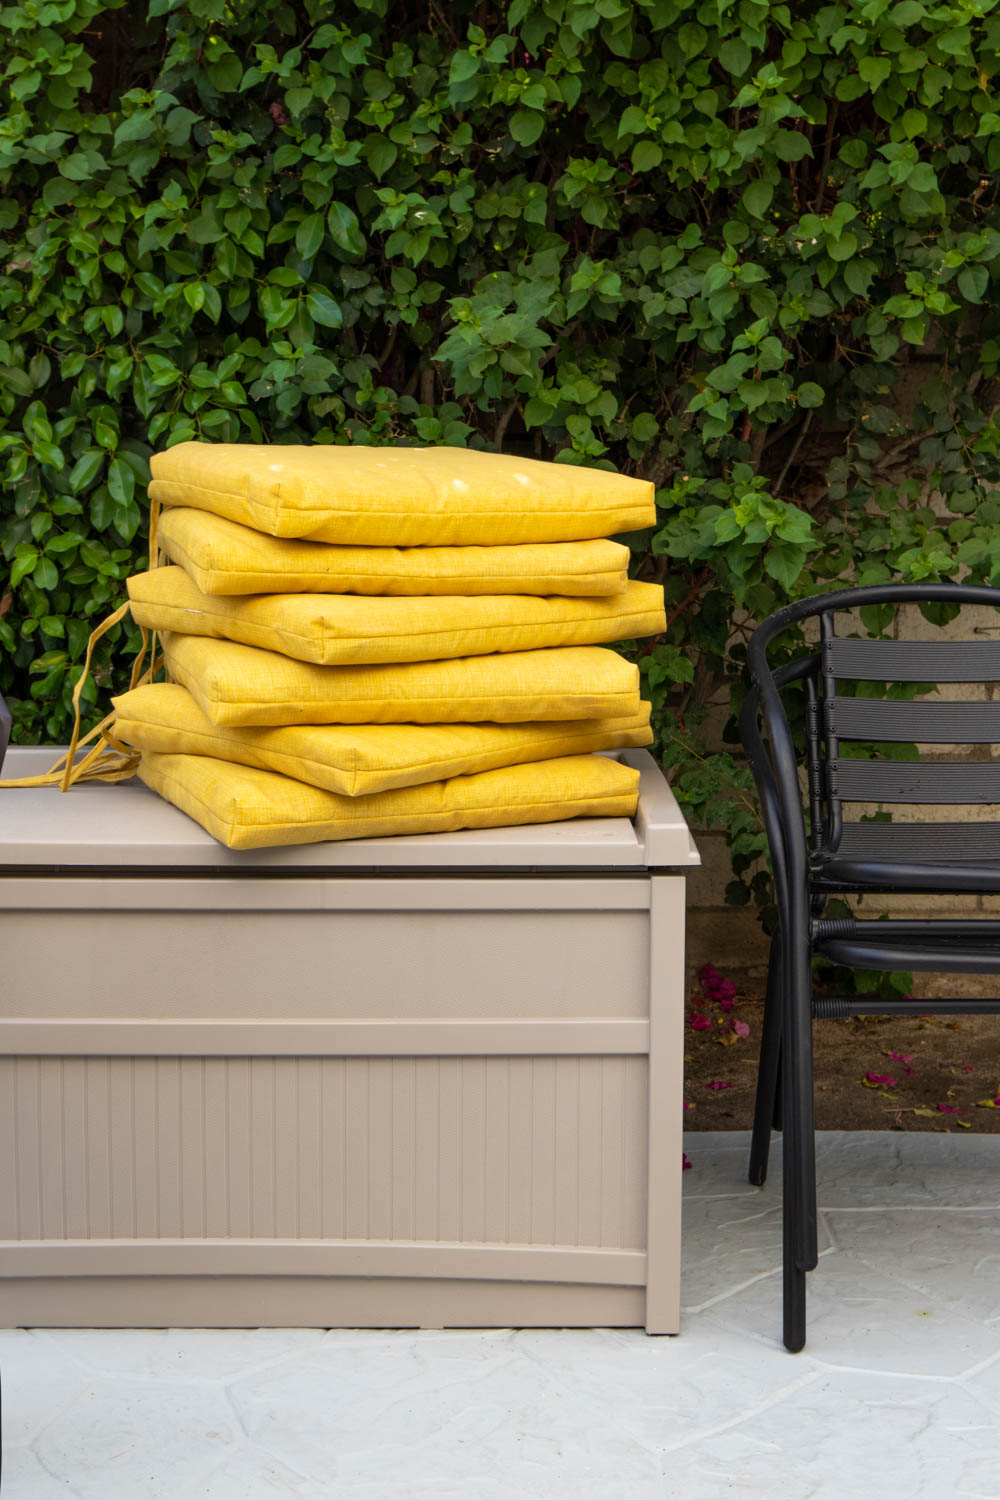
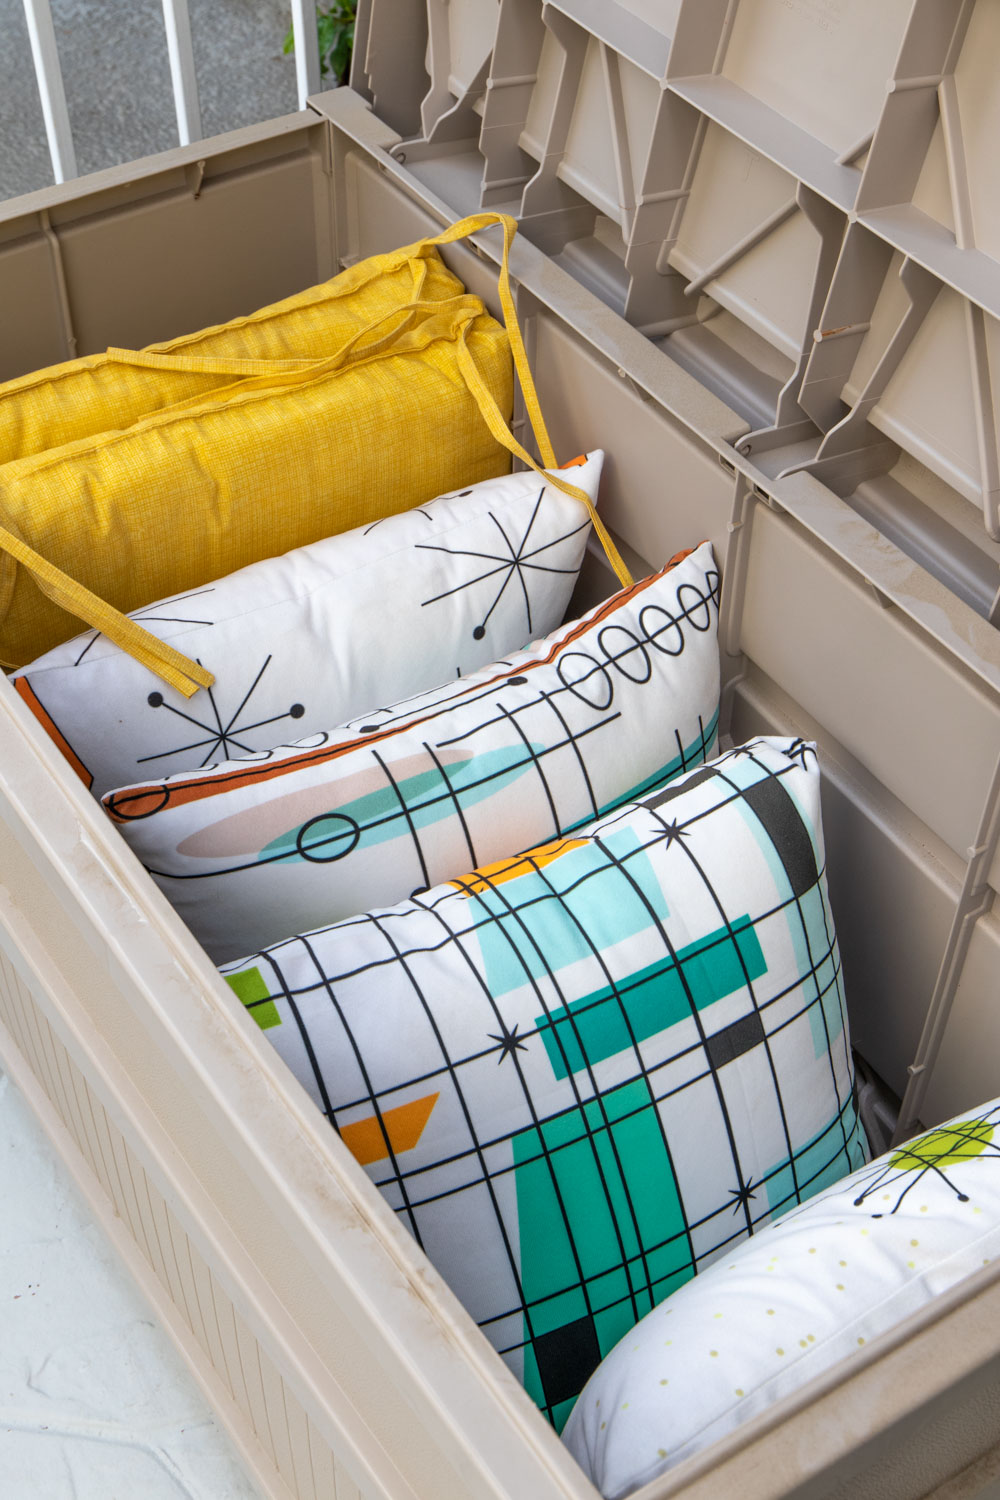
The deck box was our most recent purchase. Unfortunately the exact version I purchased is out of stock, but I’ve been so happy with how well it keeps out the dust. The dust here in the desert is CRAZY, so I store all 8 of our chair cushions and 4 decorative pillows in this box to keep them clean. It makes my life much easier! Plus, it doubles as an extra set, so I plan to sew a cushion for the top one of these days to help it blend in more with the rest of the patio decor.
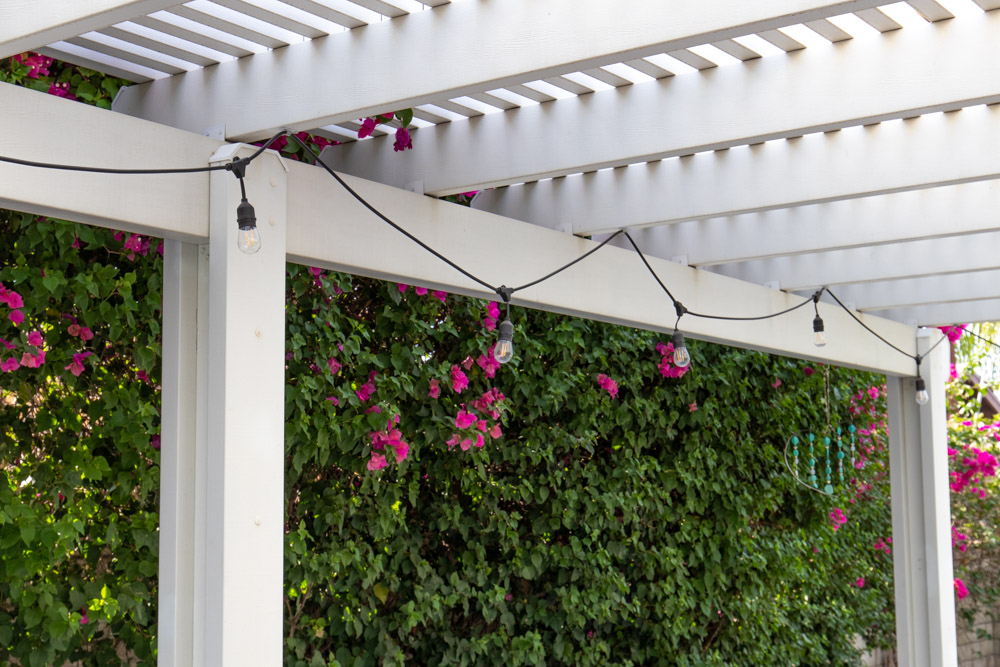
We hung the market lights with Command Hooks, and they’ve held up for about 8 whole months now! I’m honestly pretty surprised by that, ha. They’re beautiful in the evenings, and Andrew set them up with a smart dimmer, so we can just tell Google to turn on the lights outside and adjust the brightness.
I can’t wait to continue adding plants and other decor in the backyard. We’ll be spending plenty of time here this summer, and it’ll be the perfect dining space when the weather cools in the fall! Now, if anyone needs me, I’ll just be kicking Andrew’s butt in cornhole…
Thank you to Wayfair for generously sponsoring this post. All opinions are my own. Please note this post contains affiliate links from which I may collect a small profit should you choose to make a purchase. I only link to products I personally use or recommend. Thanks for supporting the brands that keep Club Crafted sharing!
