Milo Turns ONE! 3 Crafts for Celebrating a Dog or Cat Birthday
The following post is sponsored by Cricut
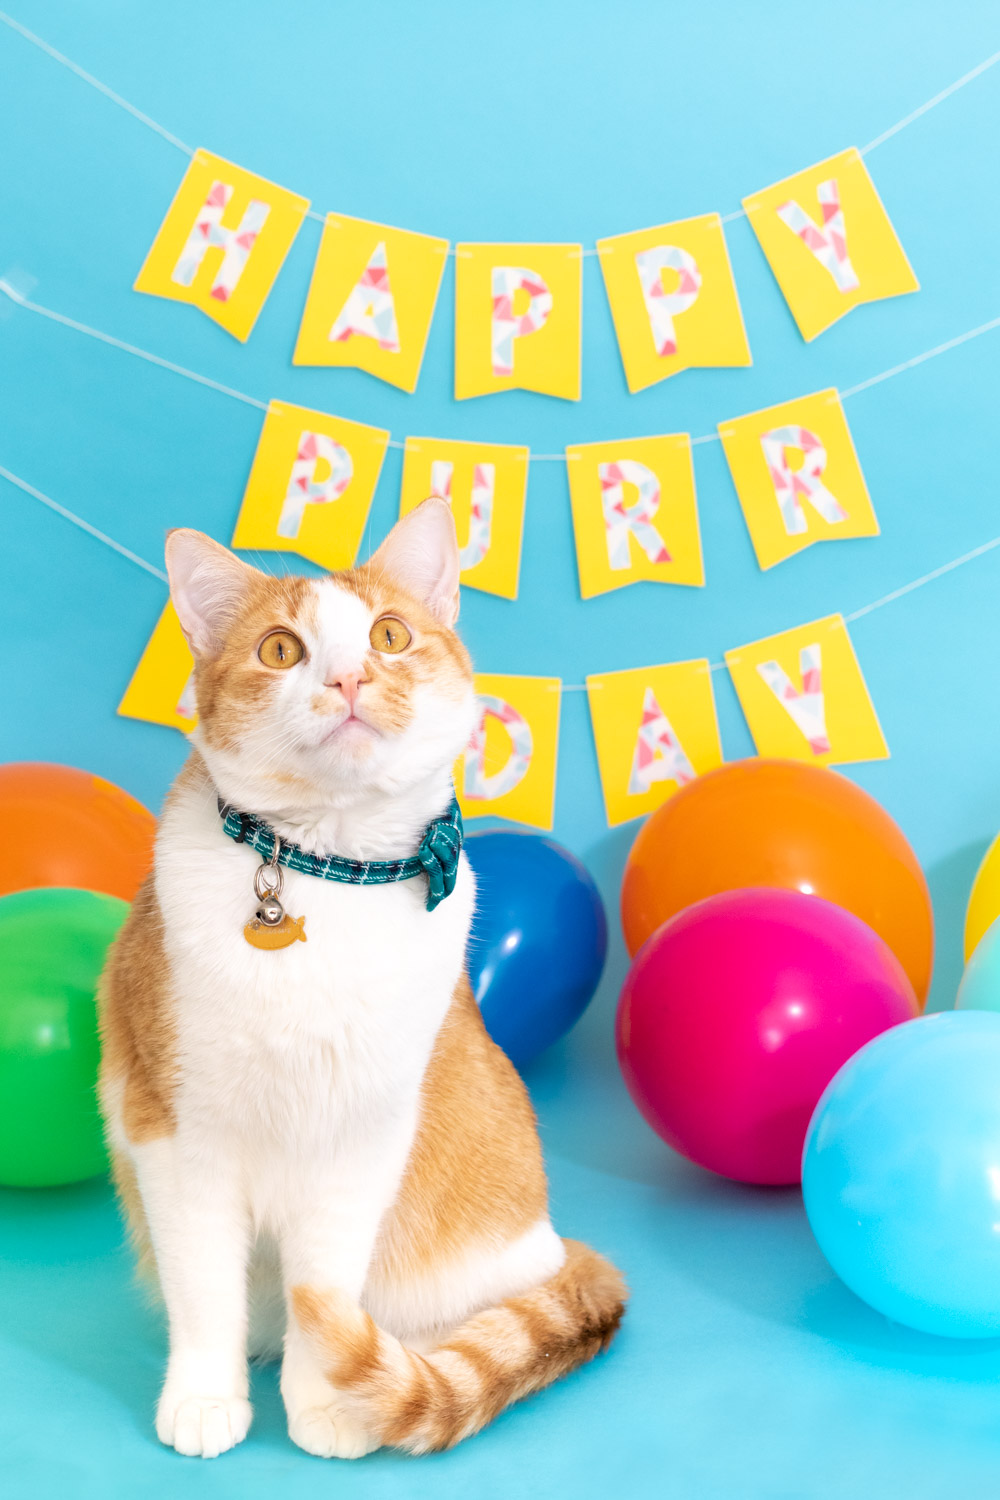
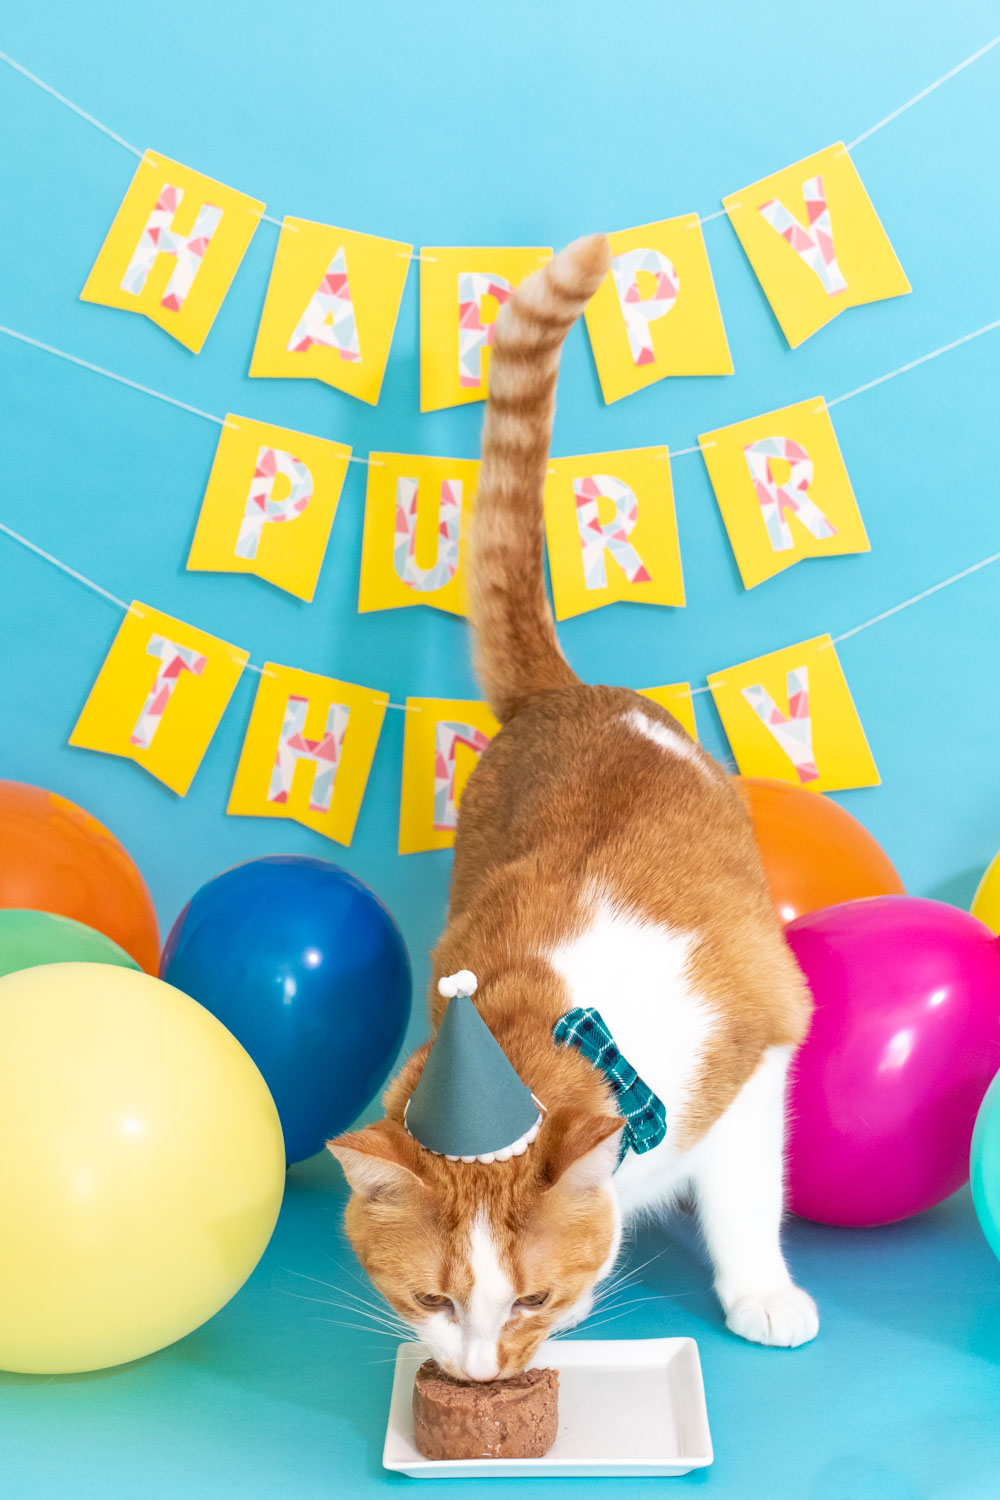
Yup, I’m THAT person. Today I’m celebrating Milo’s first birthday! I’ve partnered with my friends at Cricut to share three easy DIYs to make for celebrating a dog or cat birthday. After all, they’re our best friends and our family. I tend to enjoy the cheesy things in life (food and otherwise, ha!) so this was a fun project to make for my little monster. To create a mini birthday celebration for Milo, I pulled out my Cricut Explore Air 2 to make a custom banner, food topper and mini party hat. I’m sure it’s no surprise he did NOT like his party hat, but he sure did look cute wearing it. Keep reading for the simple tutorials to celebrate a pet birthday at home!
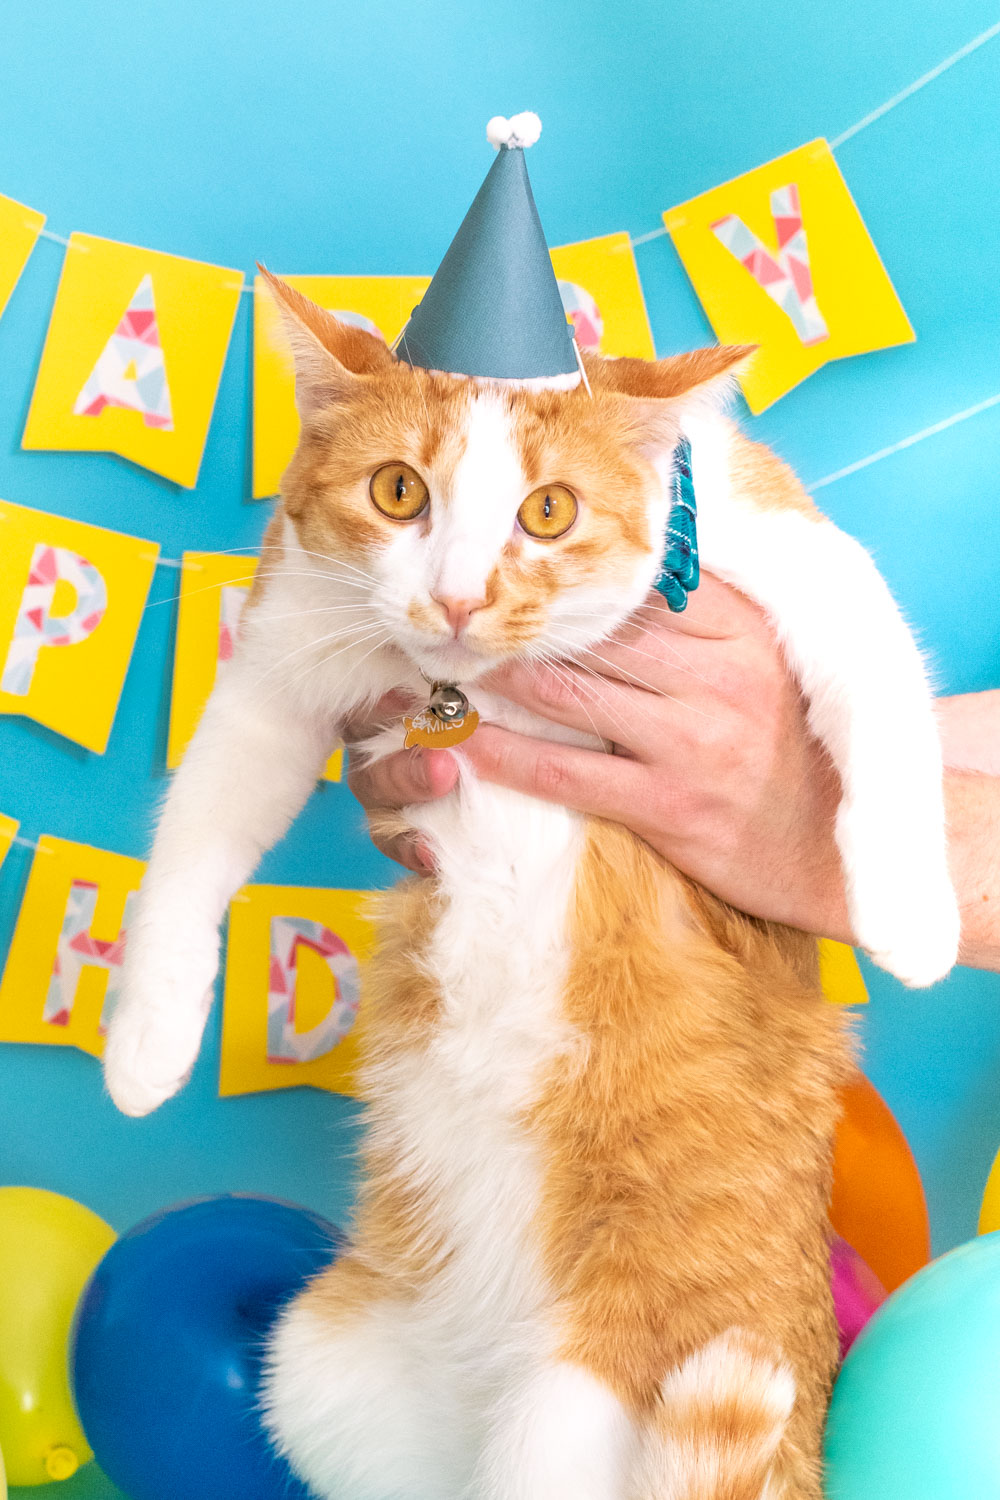
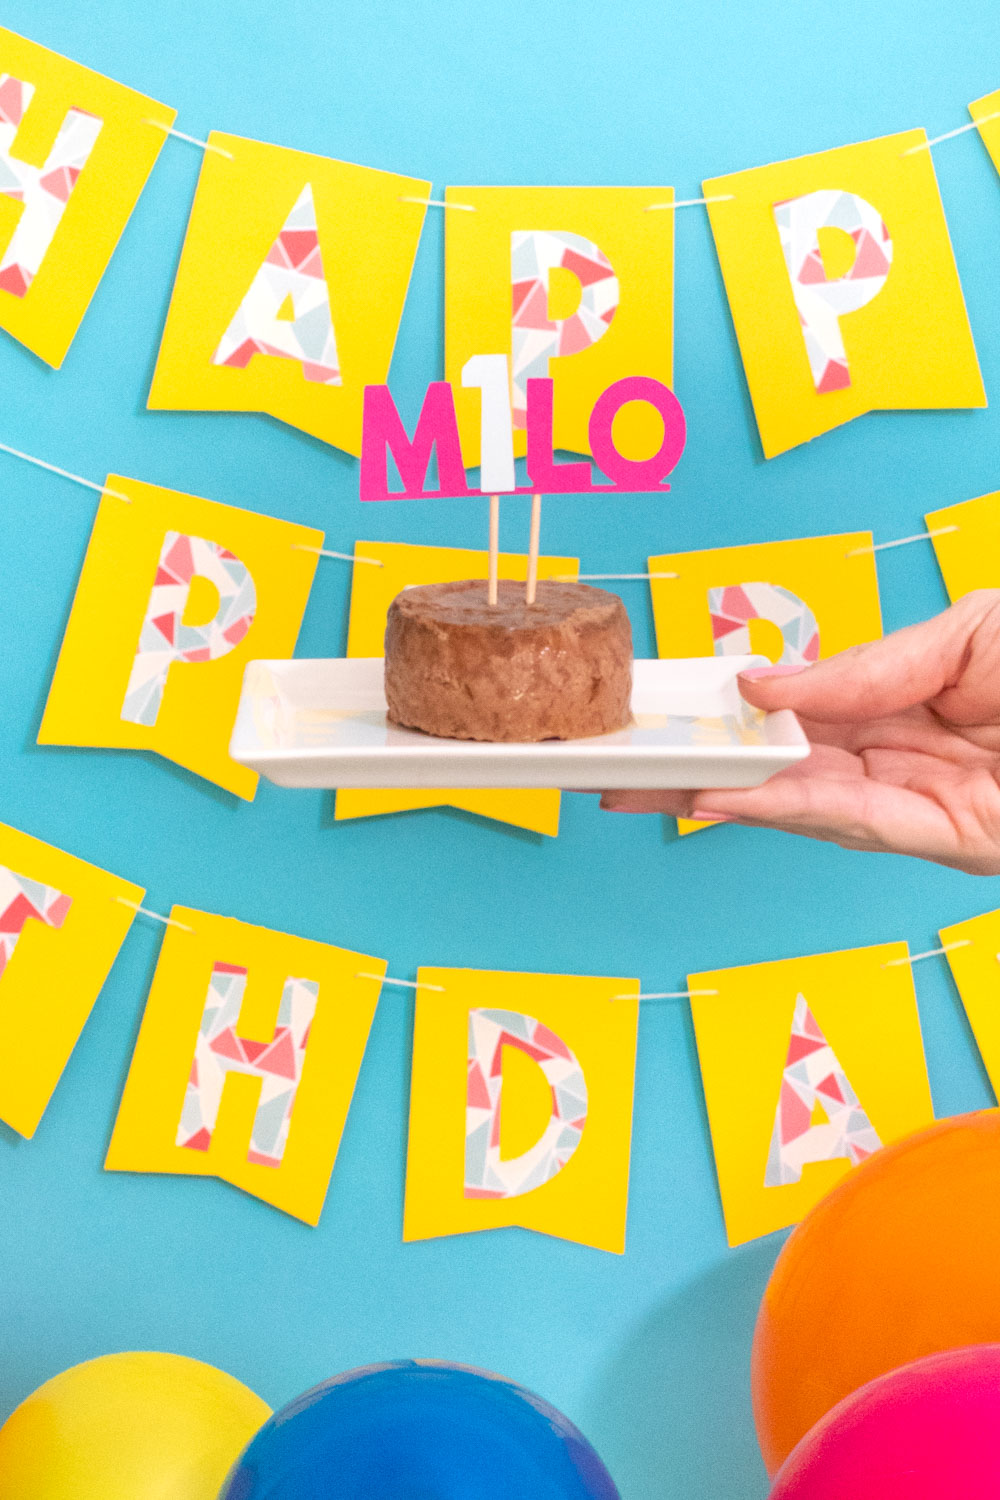
We adopted Milo last May, and we don’t know his exact birthday – just that it was around this time of March. We’re improvising here! He and Penny have brought a lot of joy to our lives this past year as we, like most people, have struggled to adapt to our circumstances. Luckily, I love any reason to celebrate! That’s why I pulled out all of my paper and party supplies to make Milo’s first birthday special. Using Cricut’s selection of cardstock and adhesive-backed papers, I made him a “Happy Purr-thday” banner. He got a can of wet food (don’t worry, Penny had some too!) topped with his name. I was able to easily transform the “I” in Milo to the number 1. Then I made him wear a party hat for at least one photo. He handled it as well as expected…
How to Craft a Pet Birthday Celebration at Home
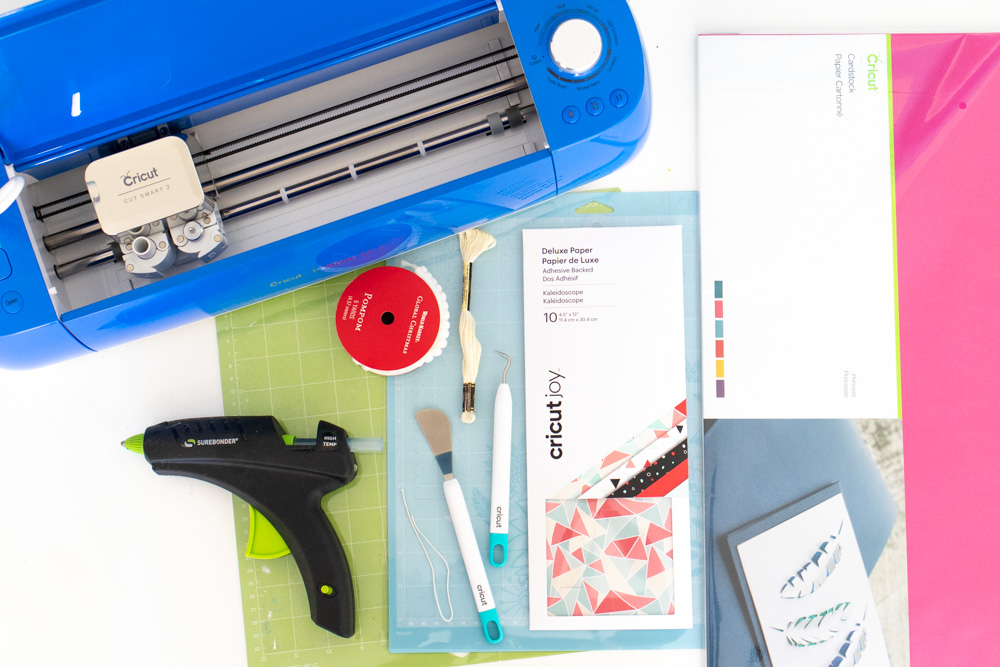
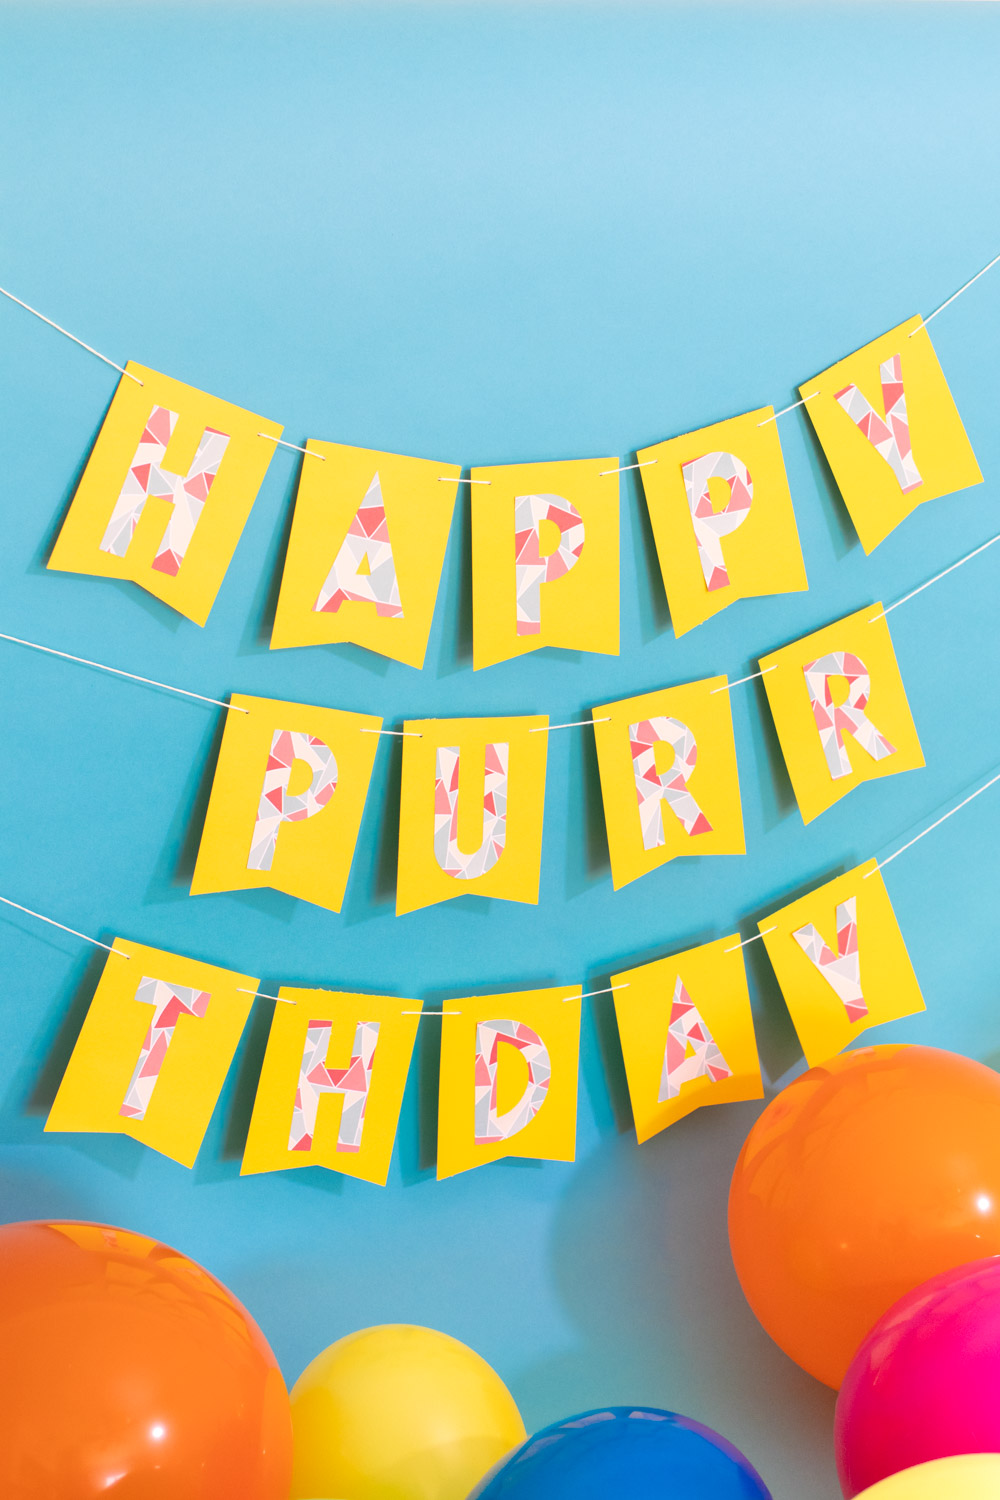
What makes a great cat birthday celebration?! For me, it started with a banner. By now, you know of my love of puns! I decided to make one that said “Happy Purr-thday” using a bunting template from Cricut Design Space. Then I added my text. Cricut’s new Adhesive-Backed Deluxe Papers are designed for Cricut Joy, but I used them with my Explore so that I didn’t pull out multiple machines. They are essentially stickers! I loved this geometric pattern, and they were so easy to add to my banner. Now, here’s the next step to make your cat birthday party come to life.
DIY Punny Birthday Banner
Supplies:
- Cardstock Sampler, Princess (Similar Pack)
- Adhesive-Backed Deluxe Paper, Kaleidoscope
- Cricut Explore Air 2 or other machine
- Basic Tool Set
- Cricut StandardGrip Mat
- Cricut LightGrip Mat
- Banner template
- String
- Scissors
Step 1: Add the bunting template to your open workspace. Then type in your desired text individually. Adjust the font to fit your style and adjust each item so that one letter fits on each banner.
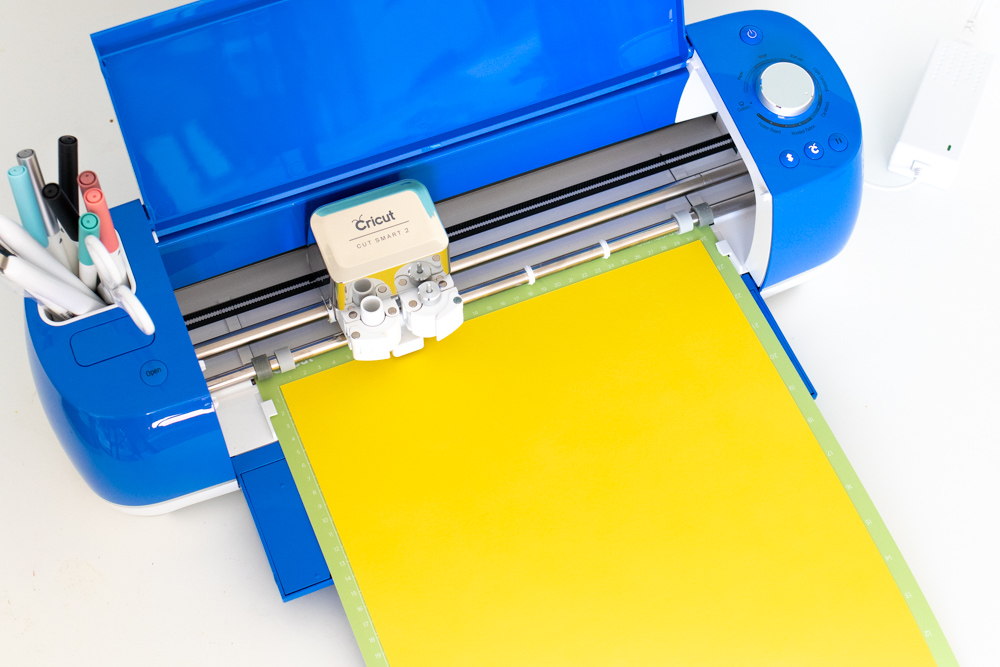
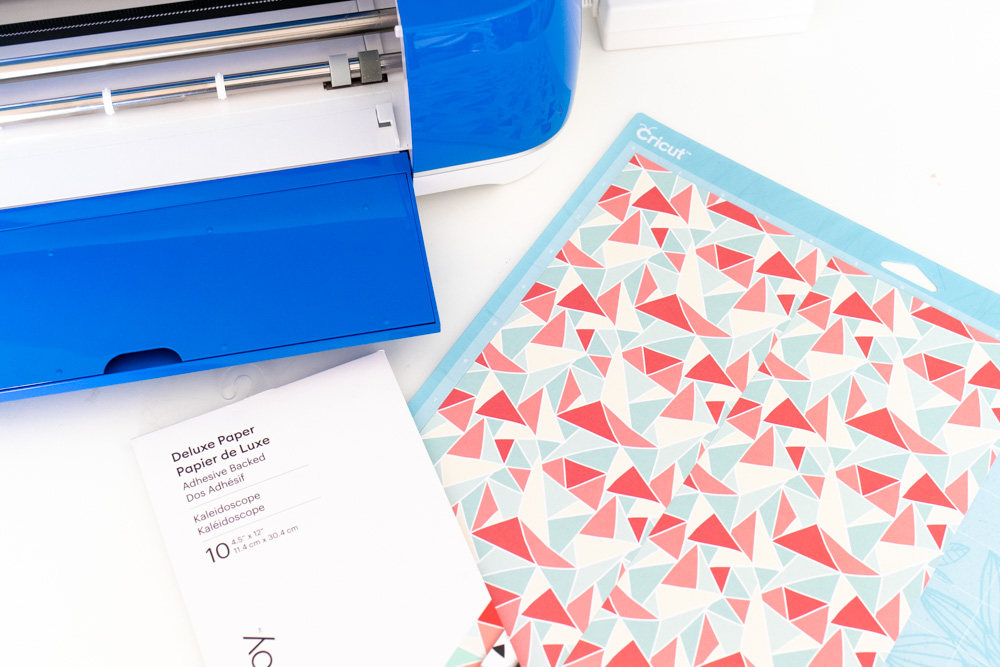
Step 2: When you’re ready, click “Make It.” Choose your mat size and apply cardstock to the first mat (StandardGrip). Adhere the backside of the adhesive paper to a LightGrip mat. Depending on the size and quantity of the letters, you may want to place two sheets on one mat. NOTE, make sure to adjust where the letters will cut so they are not on the paper seam.
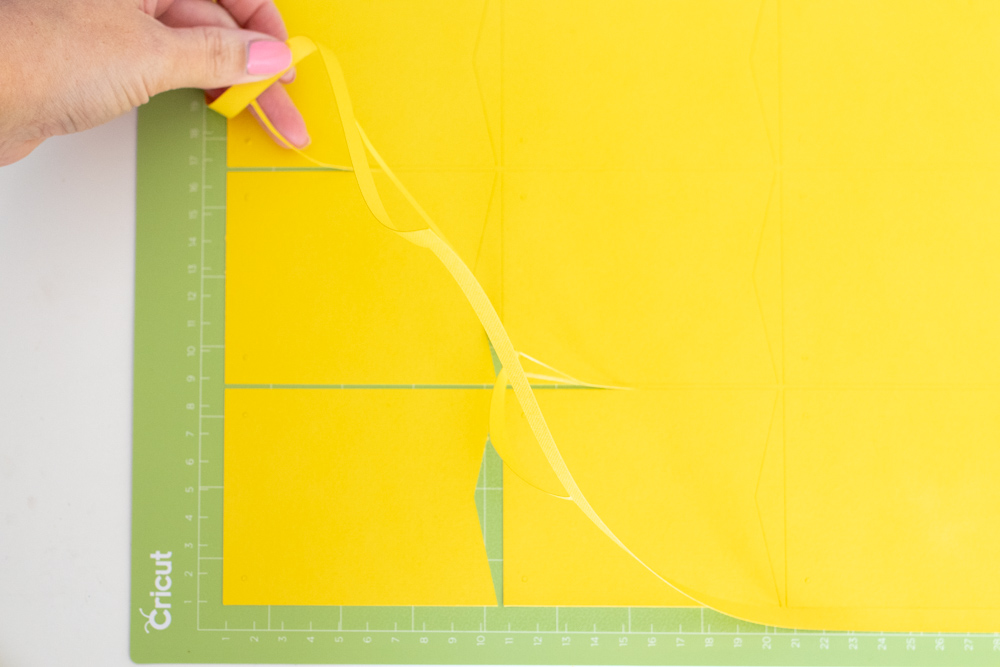
Step 3: Cut the bunting pieces and Adhesive-Backed Paper. Then carefully weed the cardstock and peel off the sticker back.
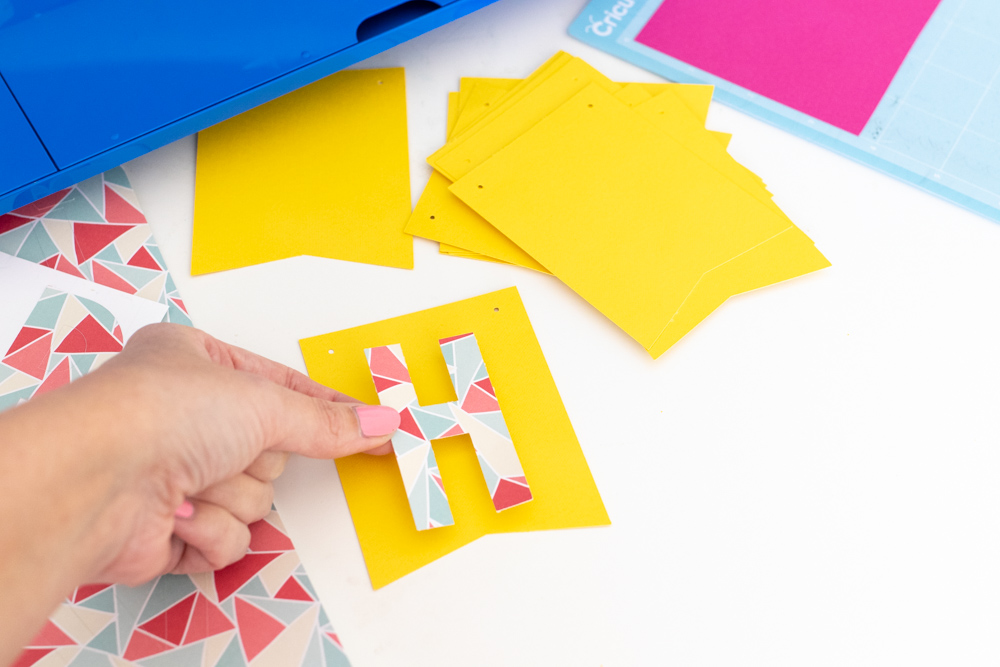
Step 4: Gently peel up each letter as a sticker. Place one letter in the middle of each banner piece.
Step 5: Lastly, string the pieces onto one or multiple pieces of string. Hang in your desired place with tape!
DIY Mini Birthday Party Hat for Pets
Supplies:
- Cardstock Sampler, Princess
- Cricut StandardGrip Mat
- Cricut Explore Air 2 or other machine
- Glue gun
- Thin elastic
- Pom pom trim
- Scissors
- Mini party hat template
Step 1: Open the party hat template in Cricut Design Space. Adjust the size based on your pet – in this case Milo need a small hat for his cat birthday party. Then click “Make It.”
Step 2: Using a StandardGrip Mat, cut the cardstock and carefully remove it from the mat. Roll it so that the tab sticking out is inserted into the slit of the hat.
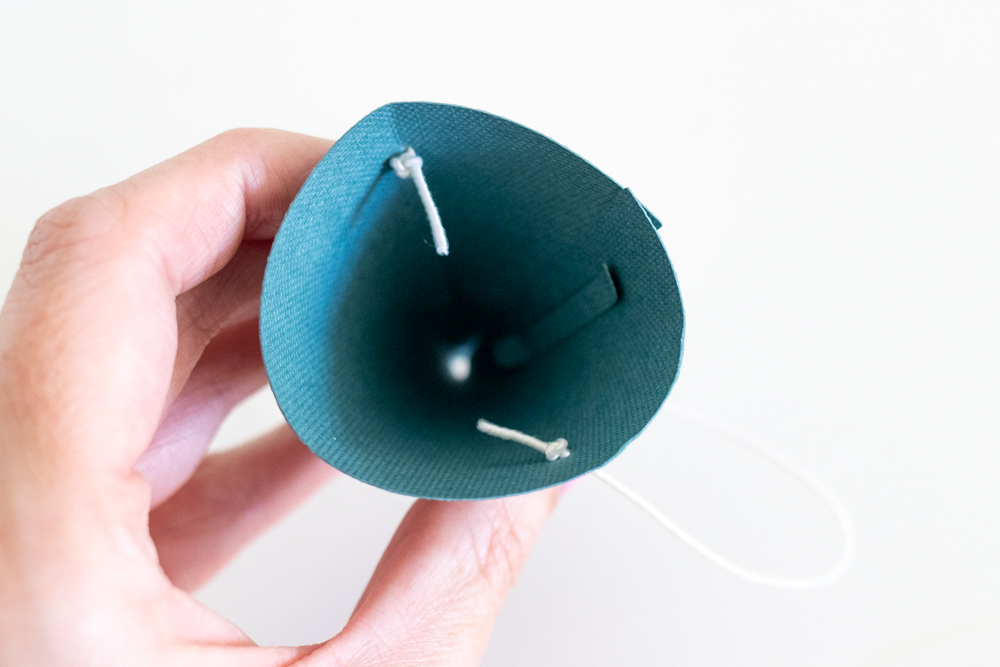
Step 3: Then cut a piece of elastic. Thread it into either side of the hat (there are small openings) and knot once or twice to secure.
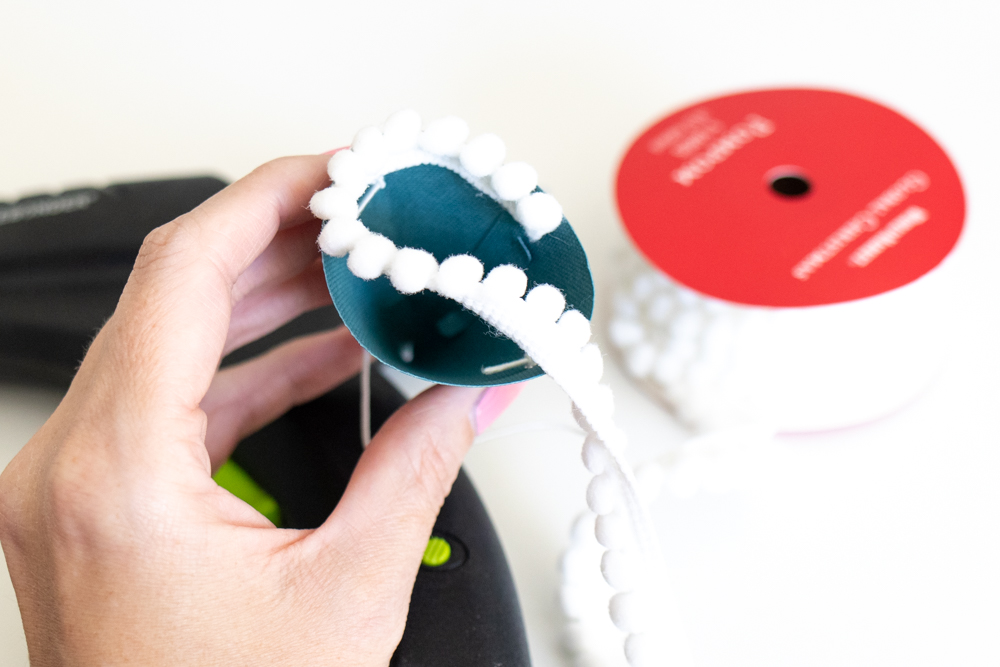
Step 4: Then it’s time to decorate! Use stickers, glitter or other embellishments to personalize the mini party hat. For this cat birthday, I used hot glue to add a pom pom trim around the inside-bottom of the hat.
Good luck getting your pet to wear it! Milo was bribed with wet food.
DIY Custom Food Topper
Supplies:
- Cardstock Sampler, Princess
- Cricut StandardGrip Mat
- Adhesive-Backed Deluxe Paper, Kaleidoscope
- Cricut Explore Air 2 or other machine
- Glue gun
- Toothpicks
Step 1: Create your pet’s name or other text in Cricut Design Space. Adjust the letter spacing to be close together. Then use the rectangle tool to create a thin line along the bottom that connects the letters. Select all of the items and click “Weld.”
Optional: You’ll see how I added a “1” for my cat birthday food topper. You may be able to make something similar with your pet’s name. If so, copy that number before attaching your letters. Keep it as separate color and do not attach it to anything else.
Step 2: Click “Make It.” Then cut the cardstock to make the food topper. If using a contrasting element, cut it with the Adhesive-Backed Paper.
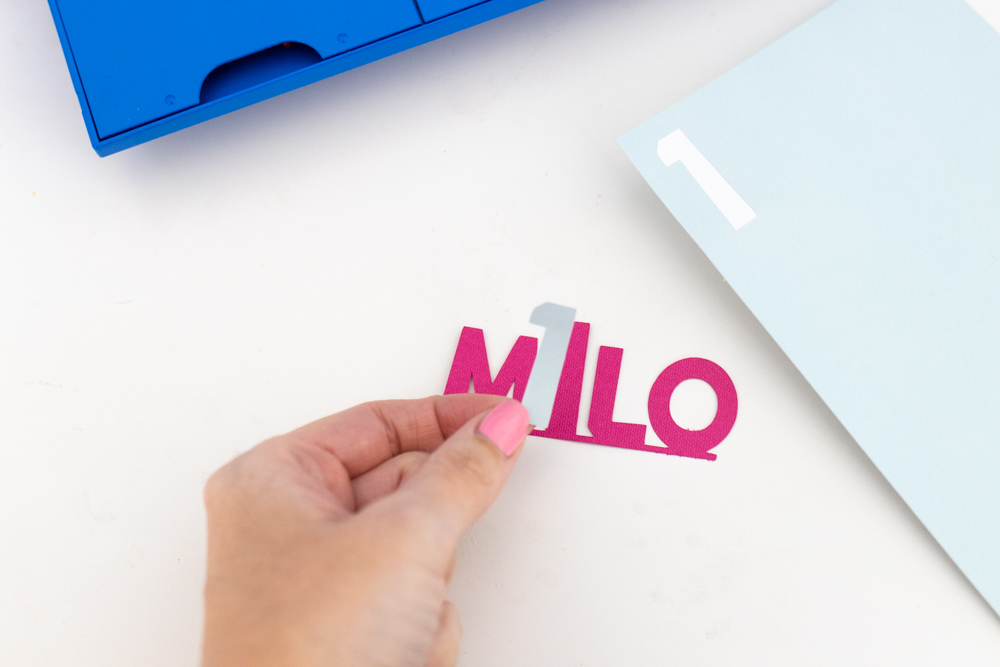
Step 3: Weed the design. Then carefully line up the number sticker and place it on top. Now it really stands out!
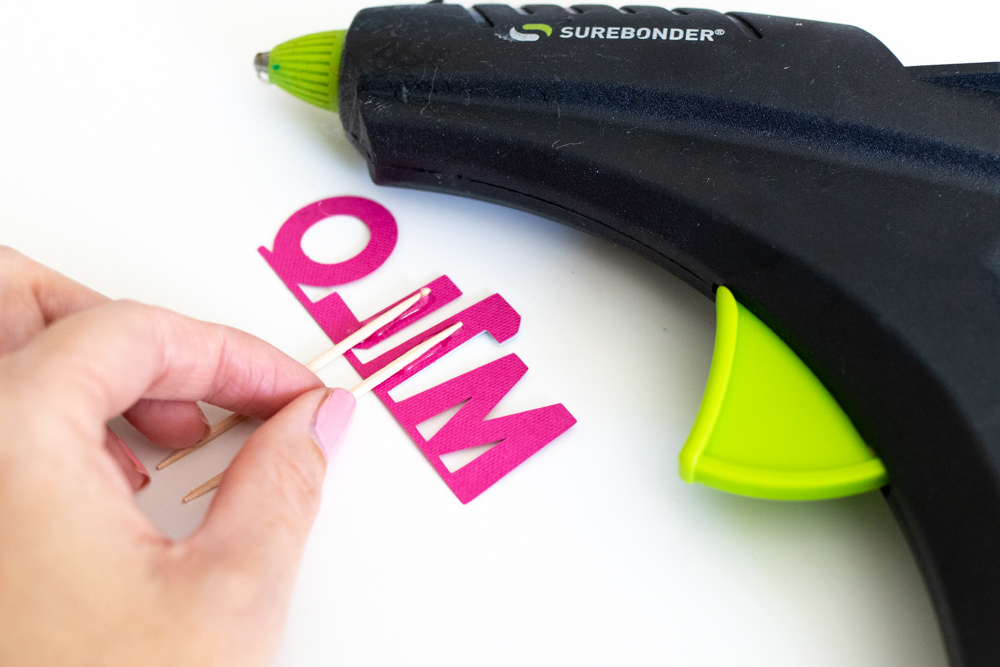
Step 4: Finally, use hot glue to attach toothpicks to the backside of the cardstock. When you’re ready to celebrate, stick the topper into wet cat food or specialty dog food.
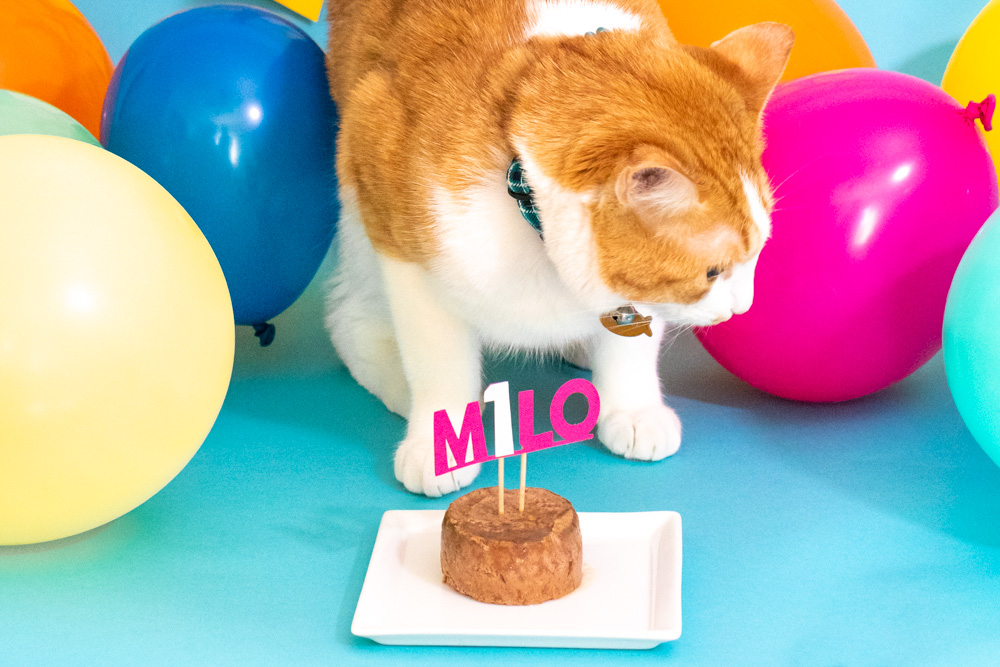
Now you have everything you need for an extra special dog or cat birthday party! Milo loved the part where he got food…the rest was for us. Penny’s birthday is at the end of the month, so perhaps we’ll need to make more decorations for her! Happy first birthday, Milo!
Thank you to Cricut for generously sponsoring this post. All opinions are my own. This post may contain affiliate links from which I may collect a small profit should you choose to make a purchase. Thanks for supporting the brands that keep Club Crafted sharing!
