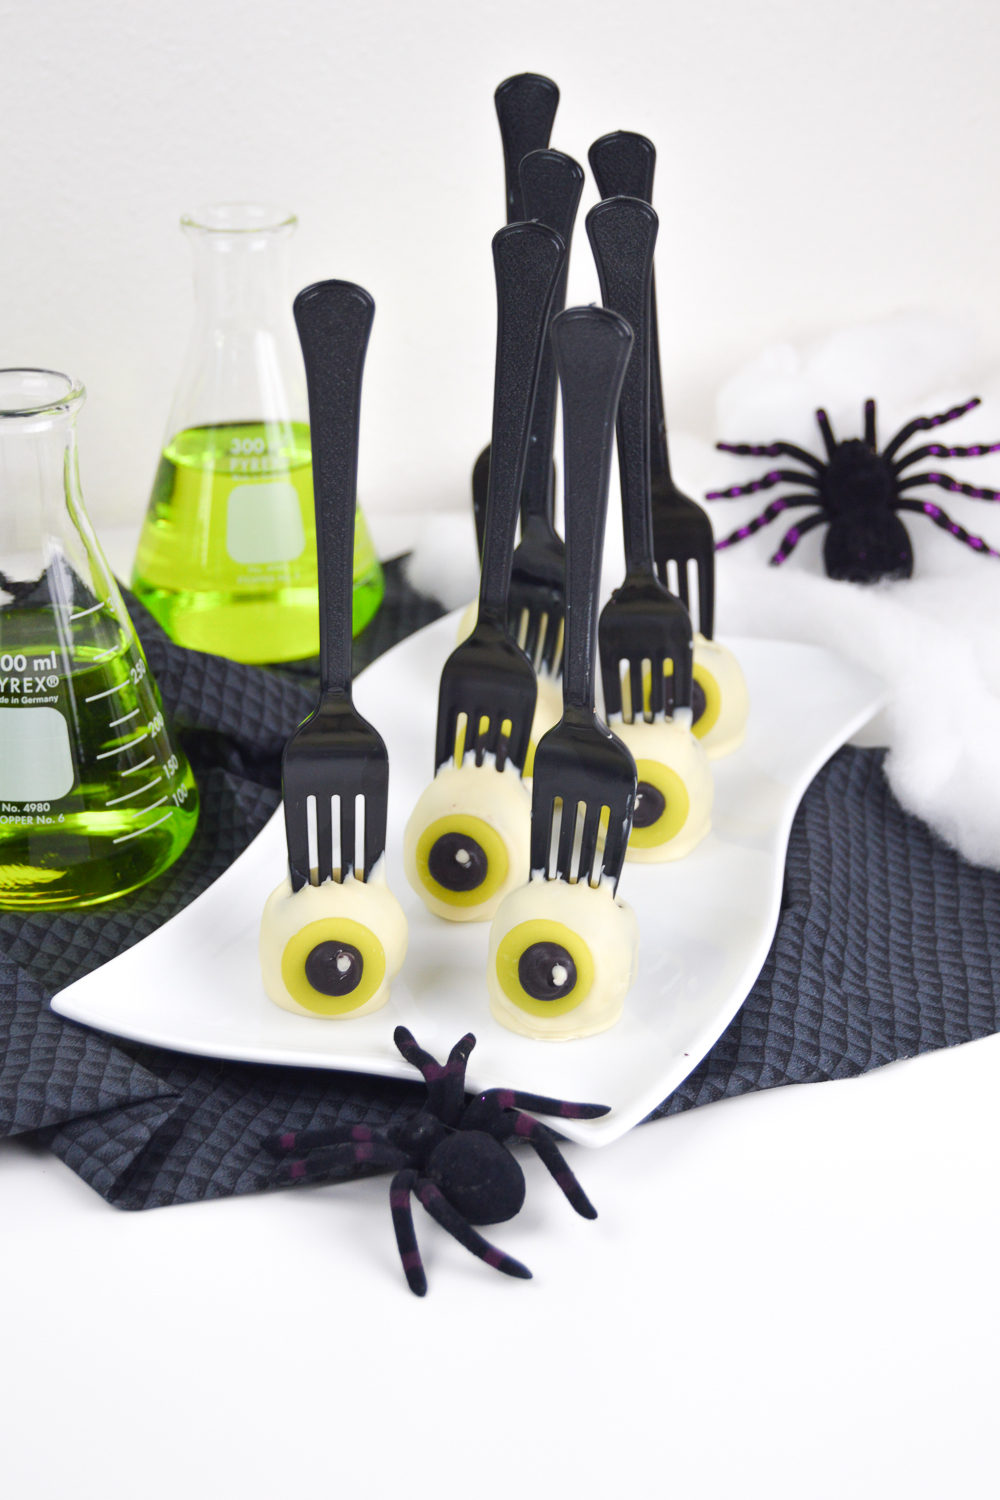
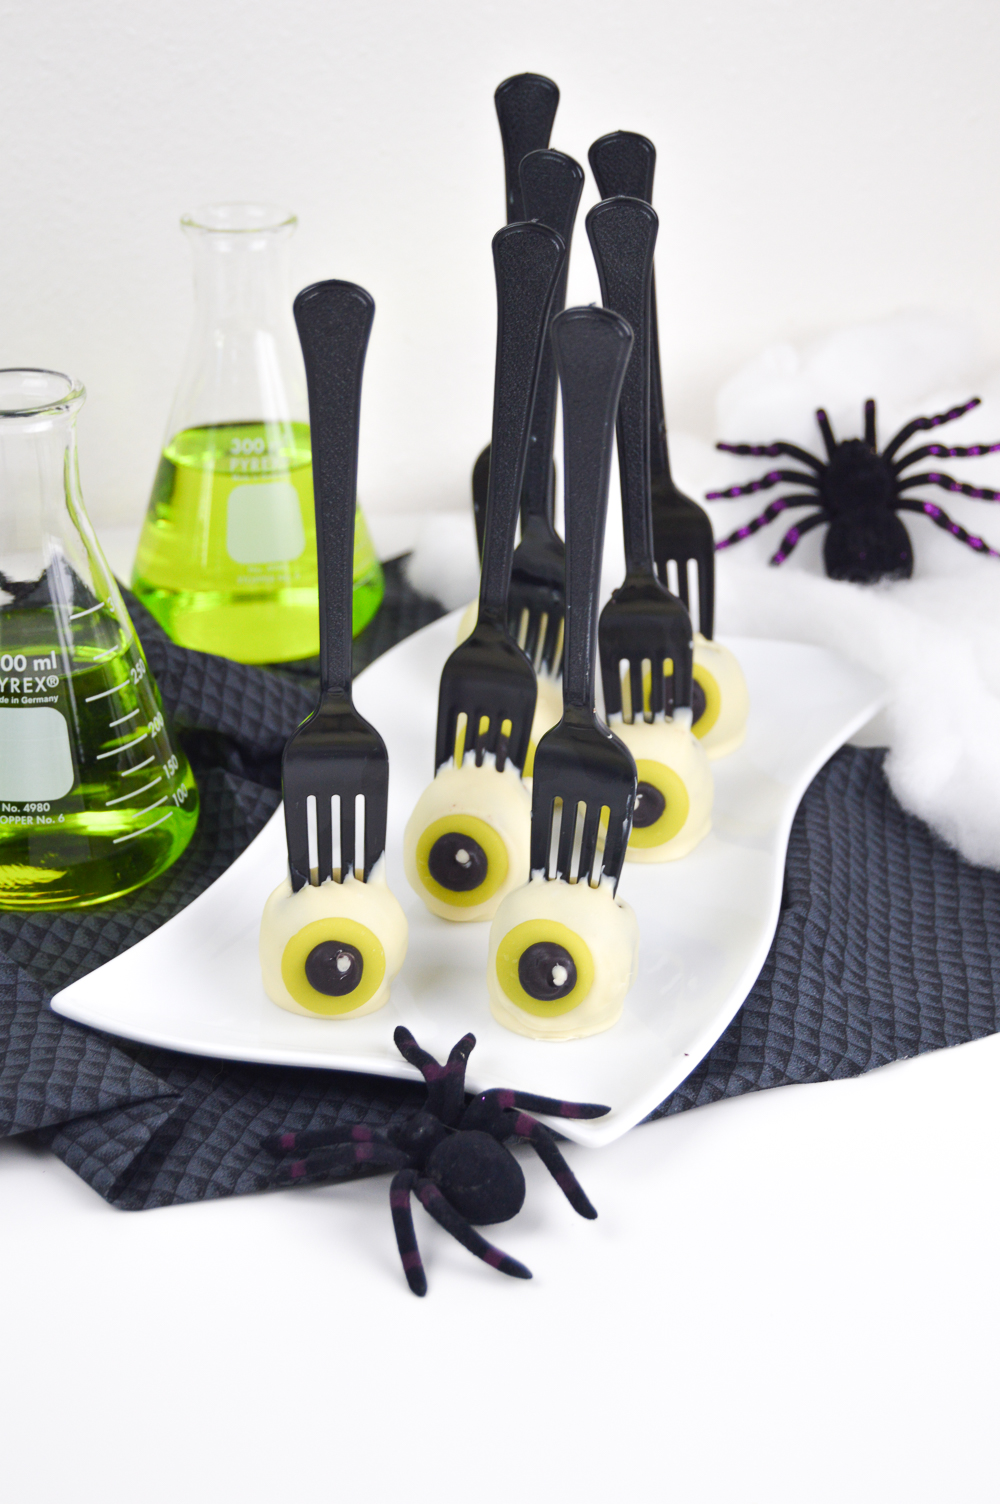
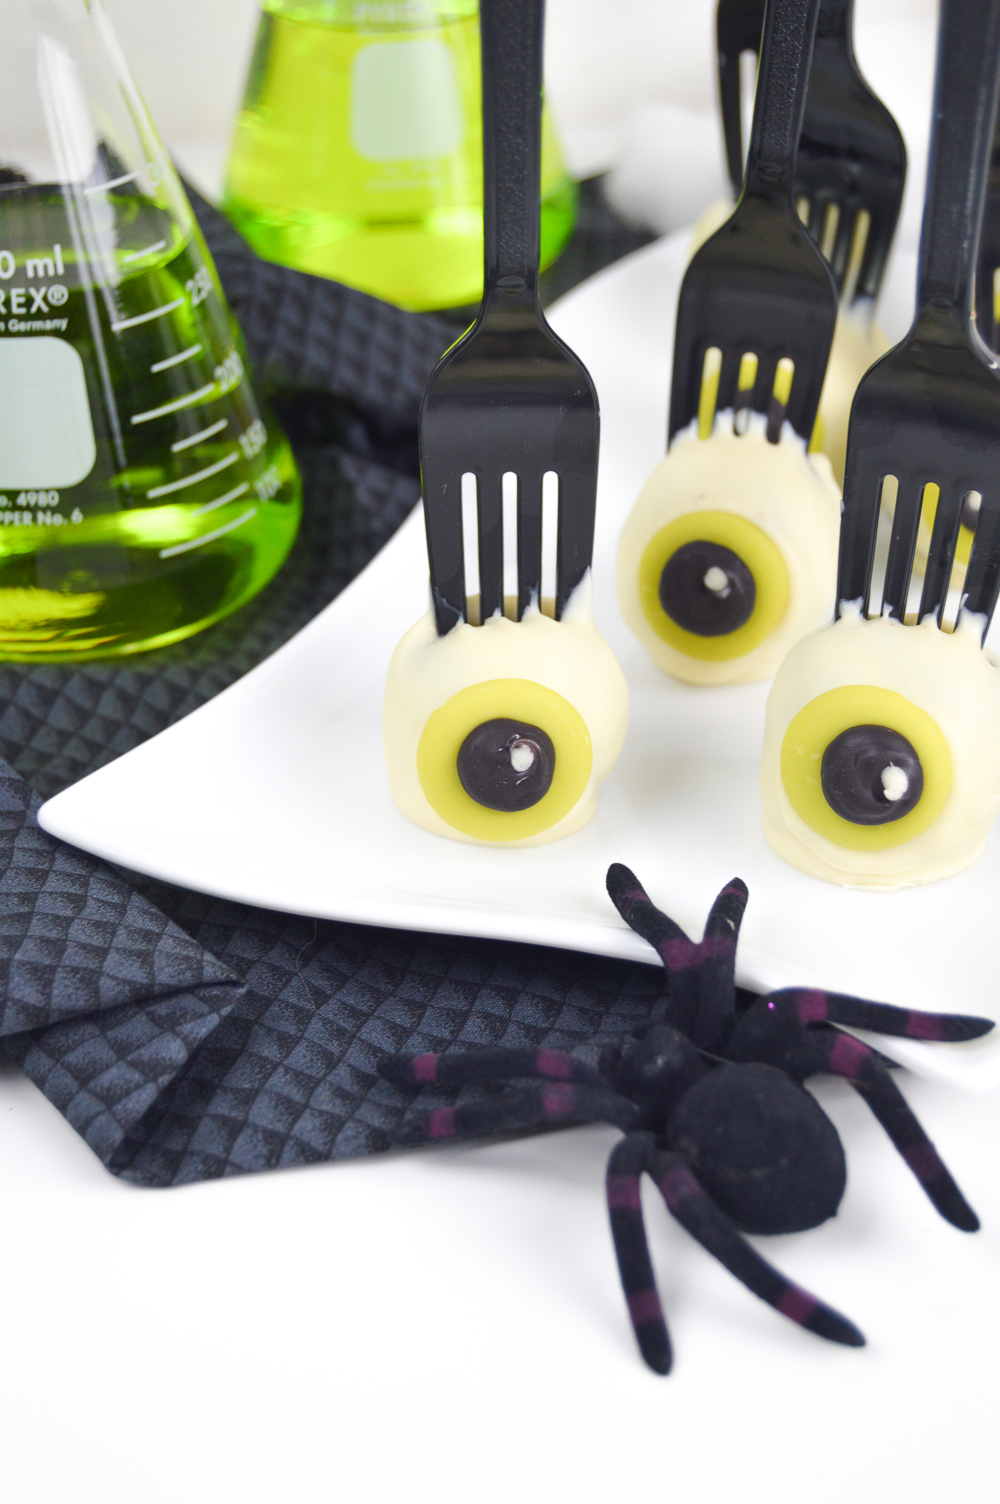
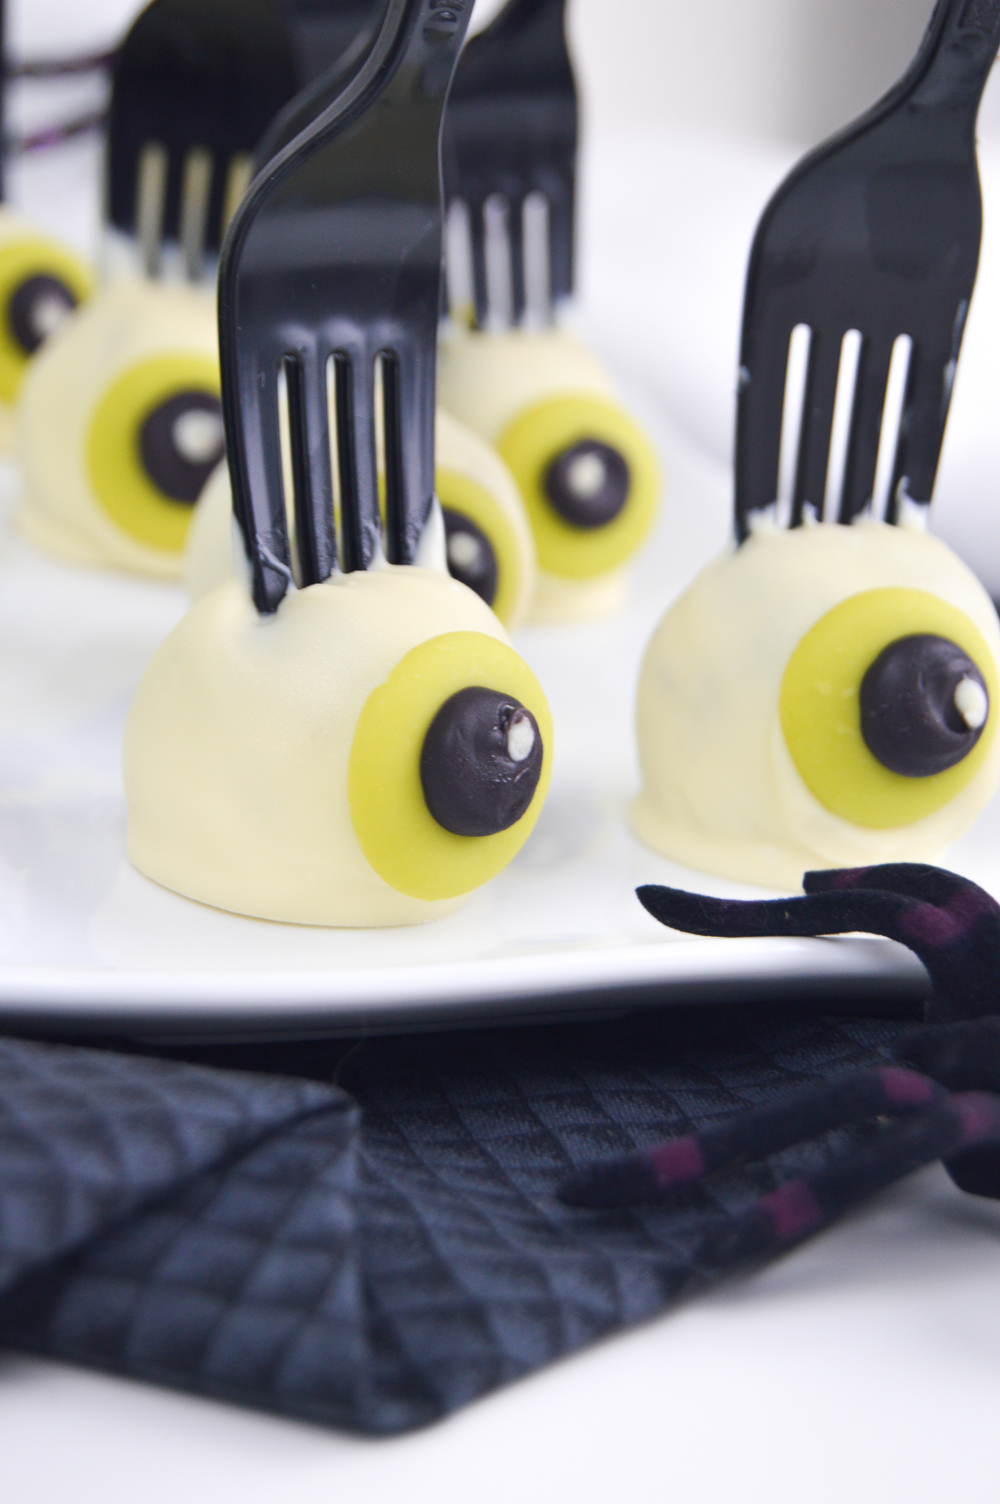
It’s that time of year! Halloween and Christmas are my favorite holidays to decorate for, and this year we’re having a Halloween party so I’m planning some fun and creepy Halloween treats. I’m not very good at actually being scary (really, not scary at all), so my decorating is usually more lighthearted with some creepy additions. These eyeball cake pops are going to be the creepy part of my Halloween table this year, and I promise they taste WAY better than they look!
Cake pops are the perfect way to use up the discarded pieces of layer cakes, which is exactly where I got the cake to make these eyeball cake pops (all cake is leftover from my hashtag cake). I put them on forks to up the creepy level a little, and the forks make it much easier to dip the cake pops compared to regular cake pop sticks. Whether you’re a cake pop master (which I’m definitely not) or trying them for the first time, this is a fairly easy DIY because the forks not only make them easier to dip but the decorating is minimal.
Ingredients:
- Your fav cake recipe (I recommend my favorite vanilla cake or chocolate cake)
- Frosting
- White chocolate
- Neon green candy melts
- Black candy melts
- Vegetable oil
- Plastic forks
- Toothpicks
To make cake pops, simply crumble some baked cake into a large bowl. I like to save the cake I cut off of my layer cakes and make cake pops. You can store leftover cake in the fridge or freezer. Add a little frosting (store bought or homemade) and mix with your hands or a large spoon, but your hands are the easiest way to mix! Add more frosting as needed until the cake sticks together well.
Form 1-inch balls of cake with your hands and set on a parchment lined baking sheet. Move to the fridge while you melt the chocolate.
In a microwave safe bowl, melt the white chocolate on half power or defrost mode for 30 seconds. Remove, stir and replace for an additional 30 seconds until you reach your desired consistency. I like to add a little vegetable oil to thin the chocolate and make it easier to dip.
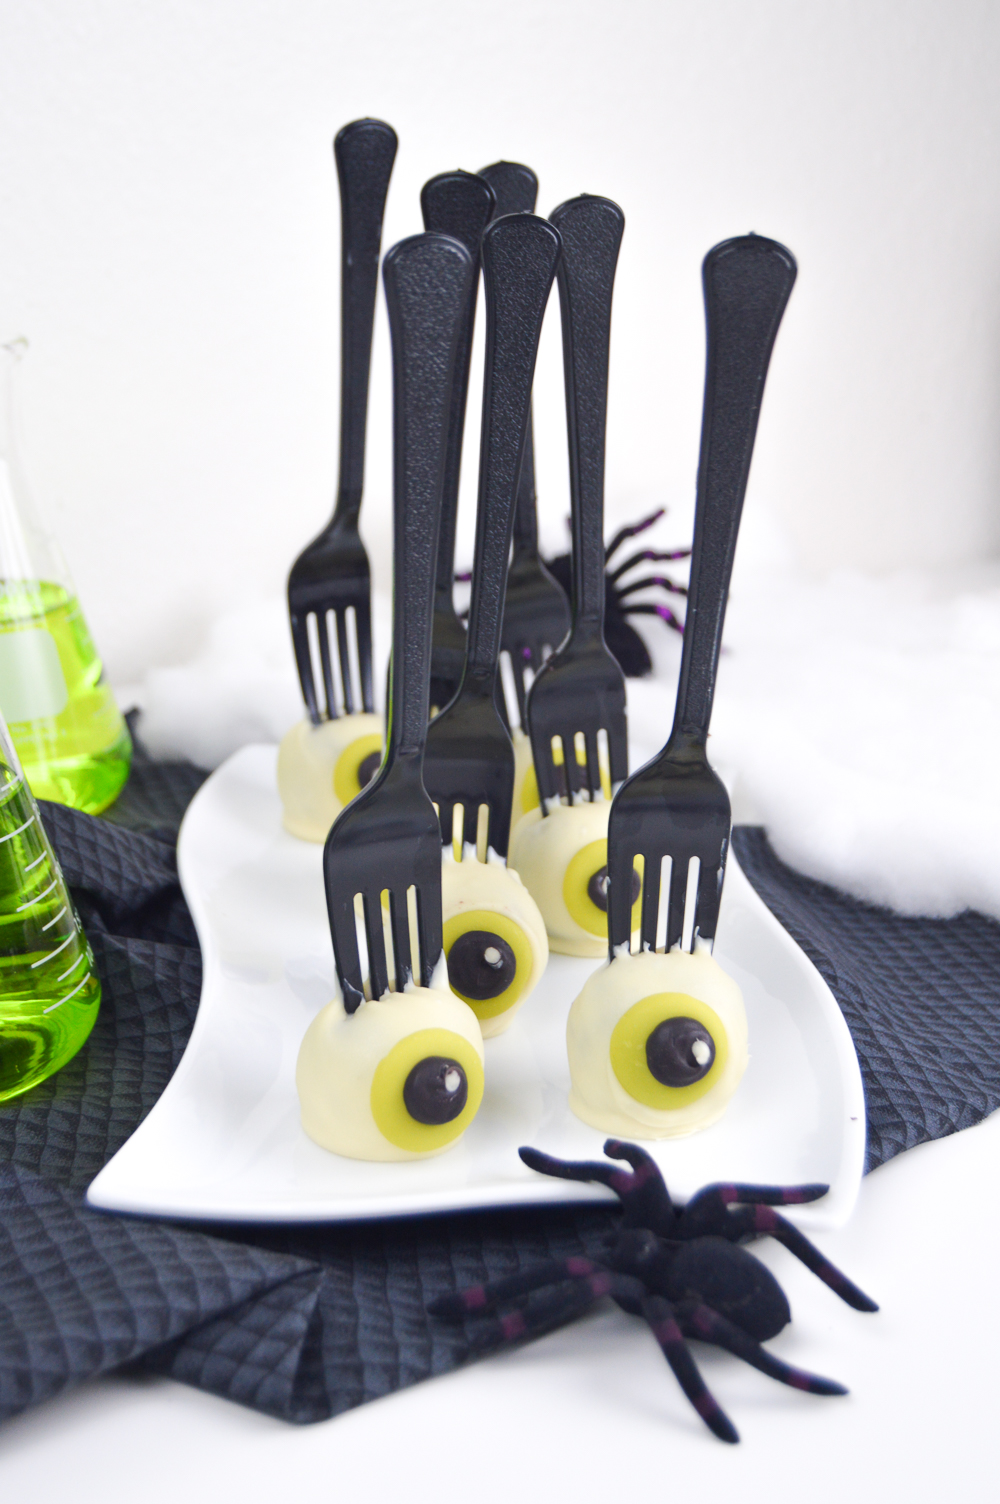
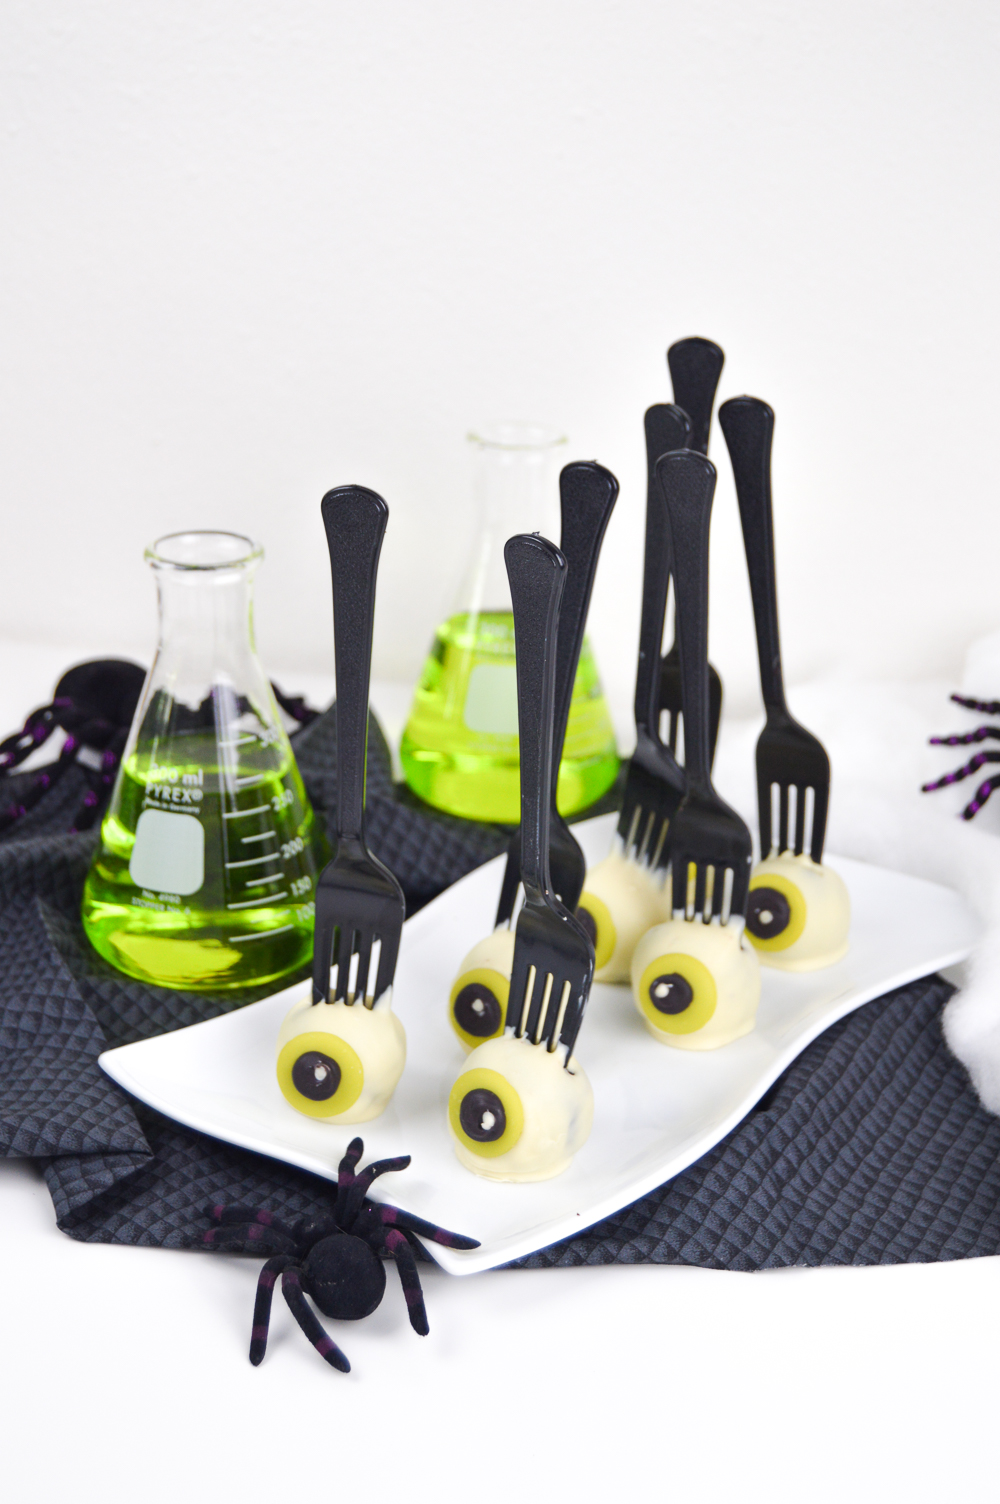
Remove the cake balls from the fridge and, one at a time, dip the tongs of the plastic forks into the melted chocolate (about 1/3 of the way), insert into the cake balls and set back on the sheet. This step ensures the fork stays stuck during coating. Continue with all and move to the fridge to allow chocolate to set (or the freezer if your cake pops are extremely soft).
Heat a small amount of black candy melts in a separate bowl using the same method I mentioned above. Pour it into a pastry bag or simply a plastic sandwich bag and cut off a very small tip. At the same time, pour some of the white chocolate into a separate bag and cut off a very small tip. Slowly pipe 1/2 inch circles in the middle of each unmelted green candy melt with the black candy. Smooth carefully with a toothpick if desired. Pipe a dot of white in the corner or each black circle to complete the eyeball look. Move all “eyes” to the fridge.
Remove the cake pops and re-heat the white chocolate if needed to reach dipping consistency. Carefully dip each ball into the chocolate, gently tap excess chocolate off and immediately place the completed candy melt eyeball in the center. Place the cake pops down onto the lined baking sheet. You can also store them upright in a cup to dry, but I find that this method makes them easier to serve because they are on bulky forks instead of sticks. Repeat with all pops, use a toothpick to make touch-ups as desired and move to the fridge to harden completely.
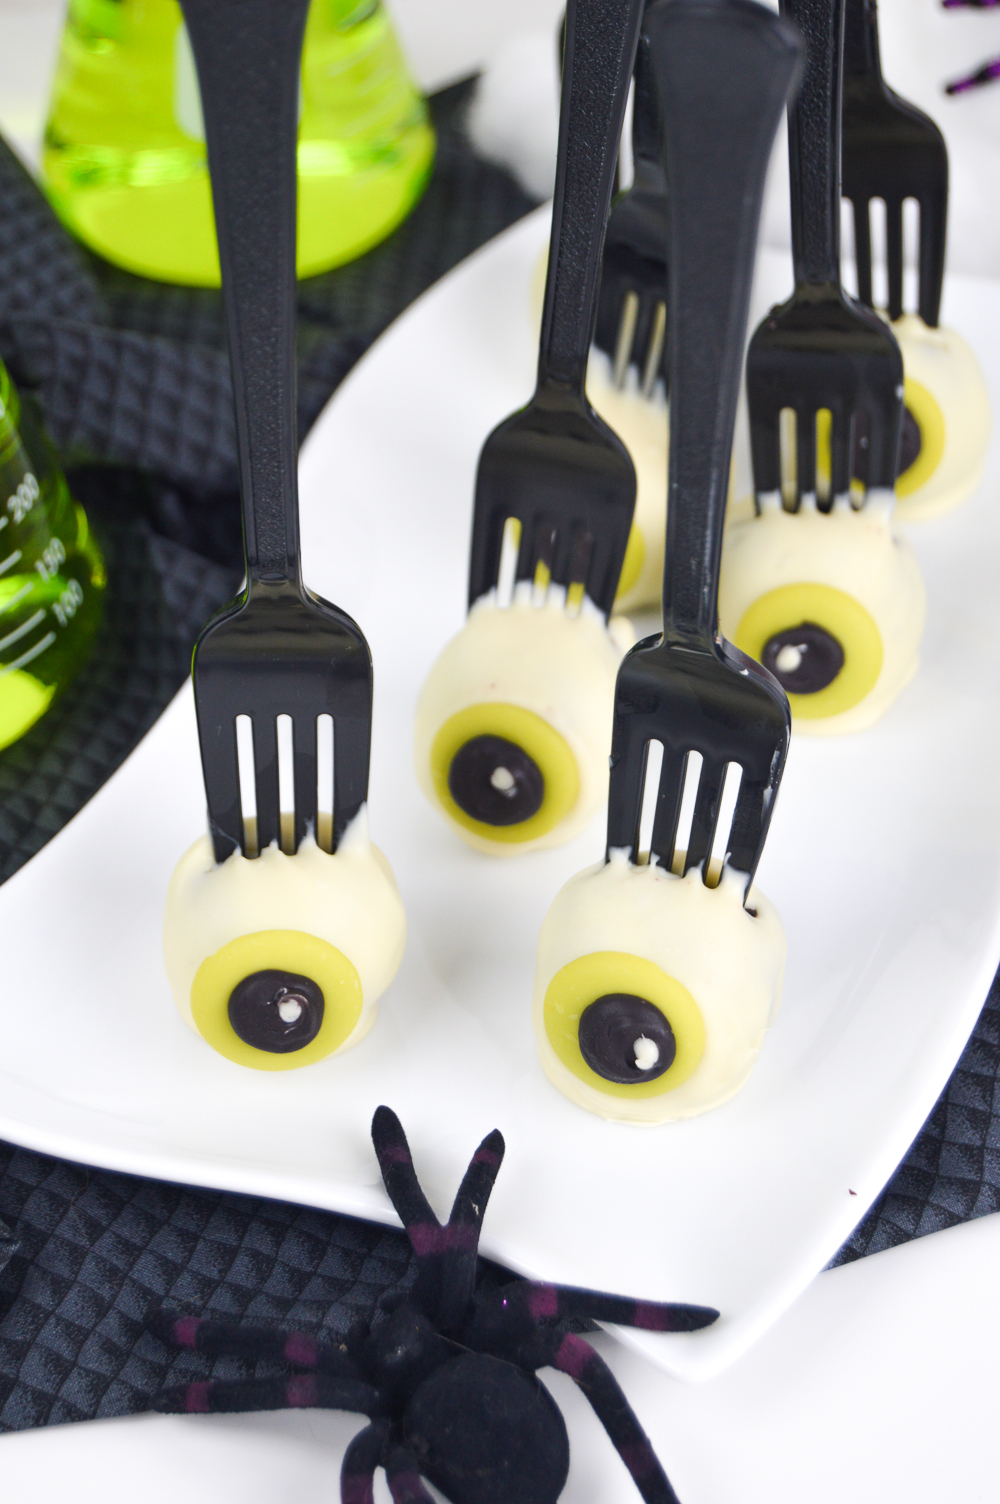
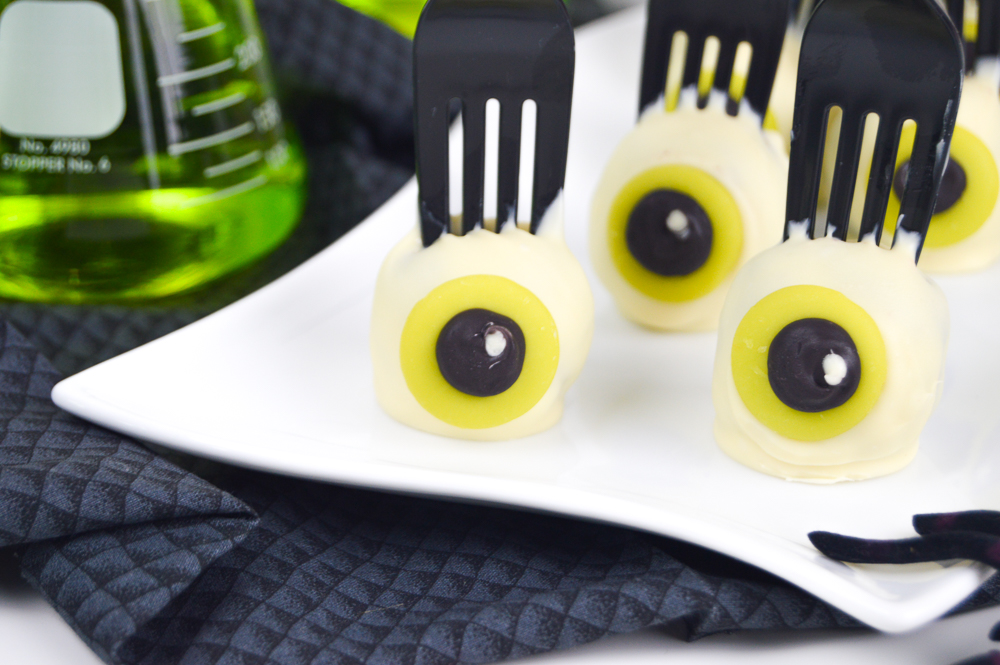
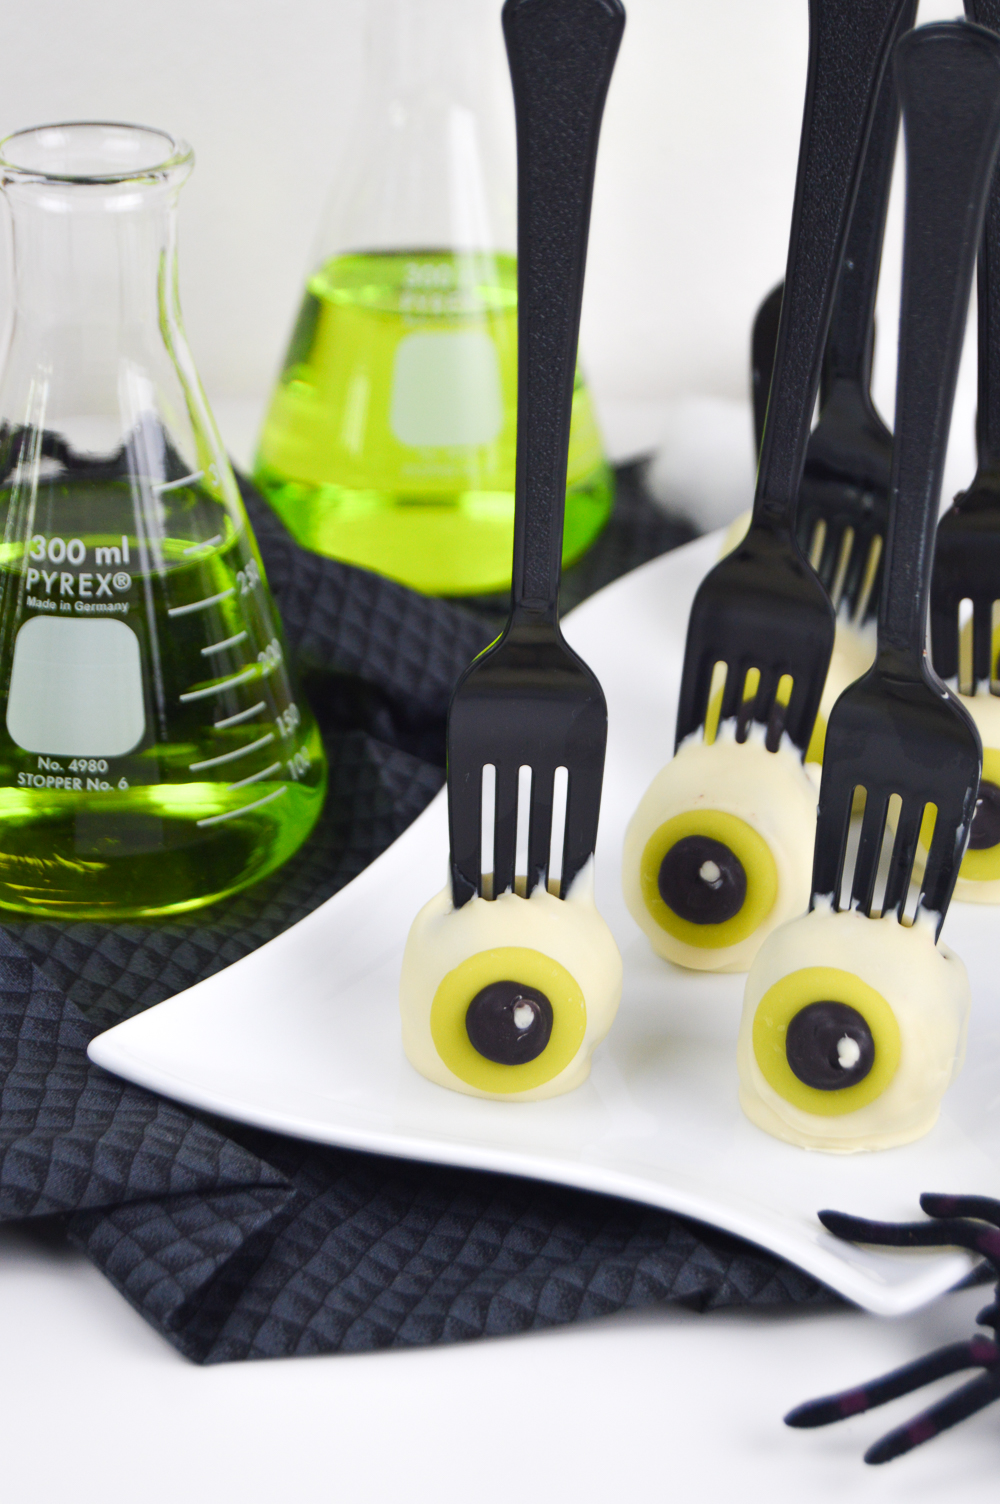
Now your cake pops are ready to serve for Halloween! If you really want to take these to the next level, use a food safe marker to draw creepy red veins on the sides of the eyeballs.
Happy Halloween! Stay tuned for a couple more ideas this month!

Crystal
Spooky and cute!
Tet | Drawn to DIY
This is sooo creepy but so unique! 🙂