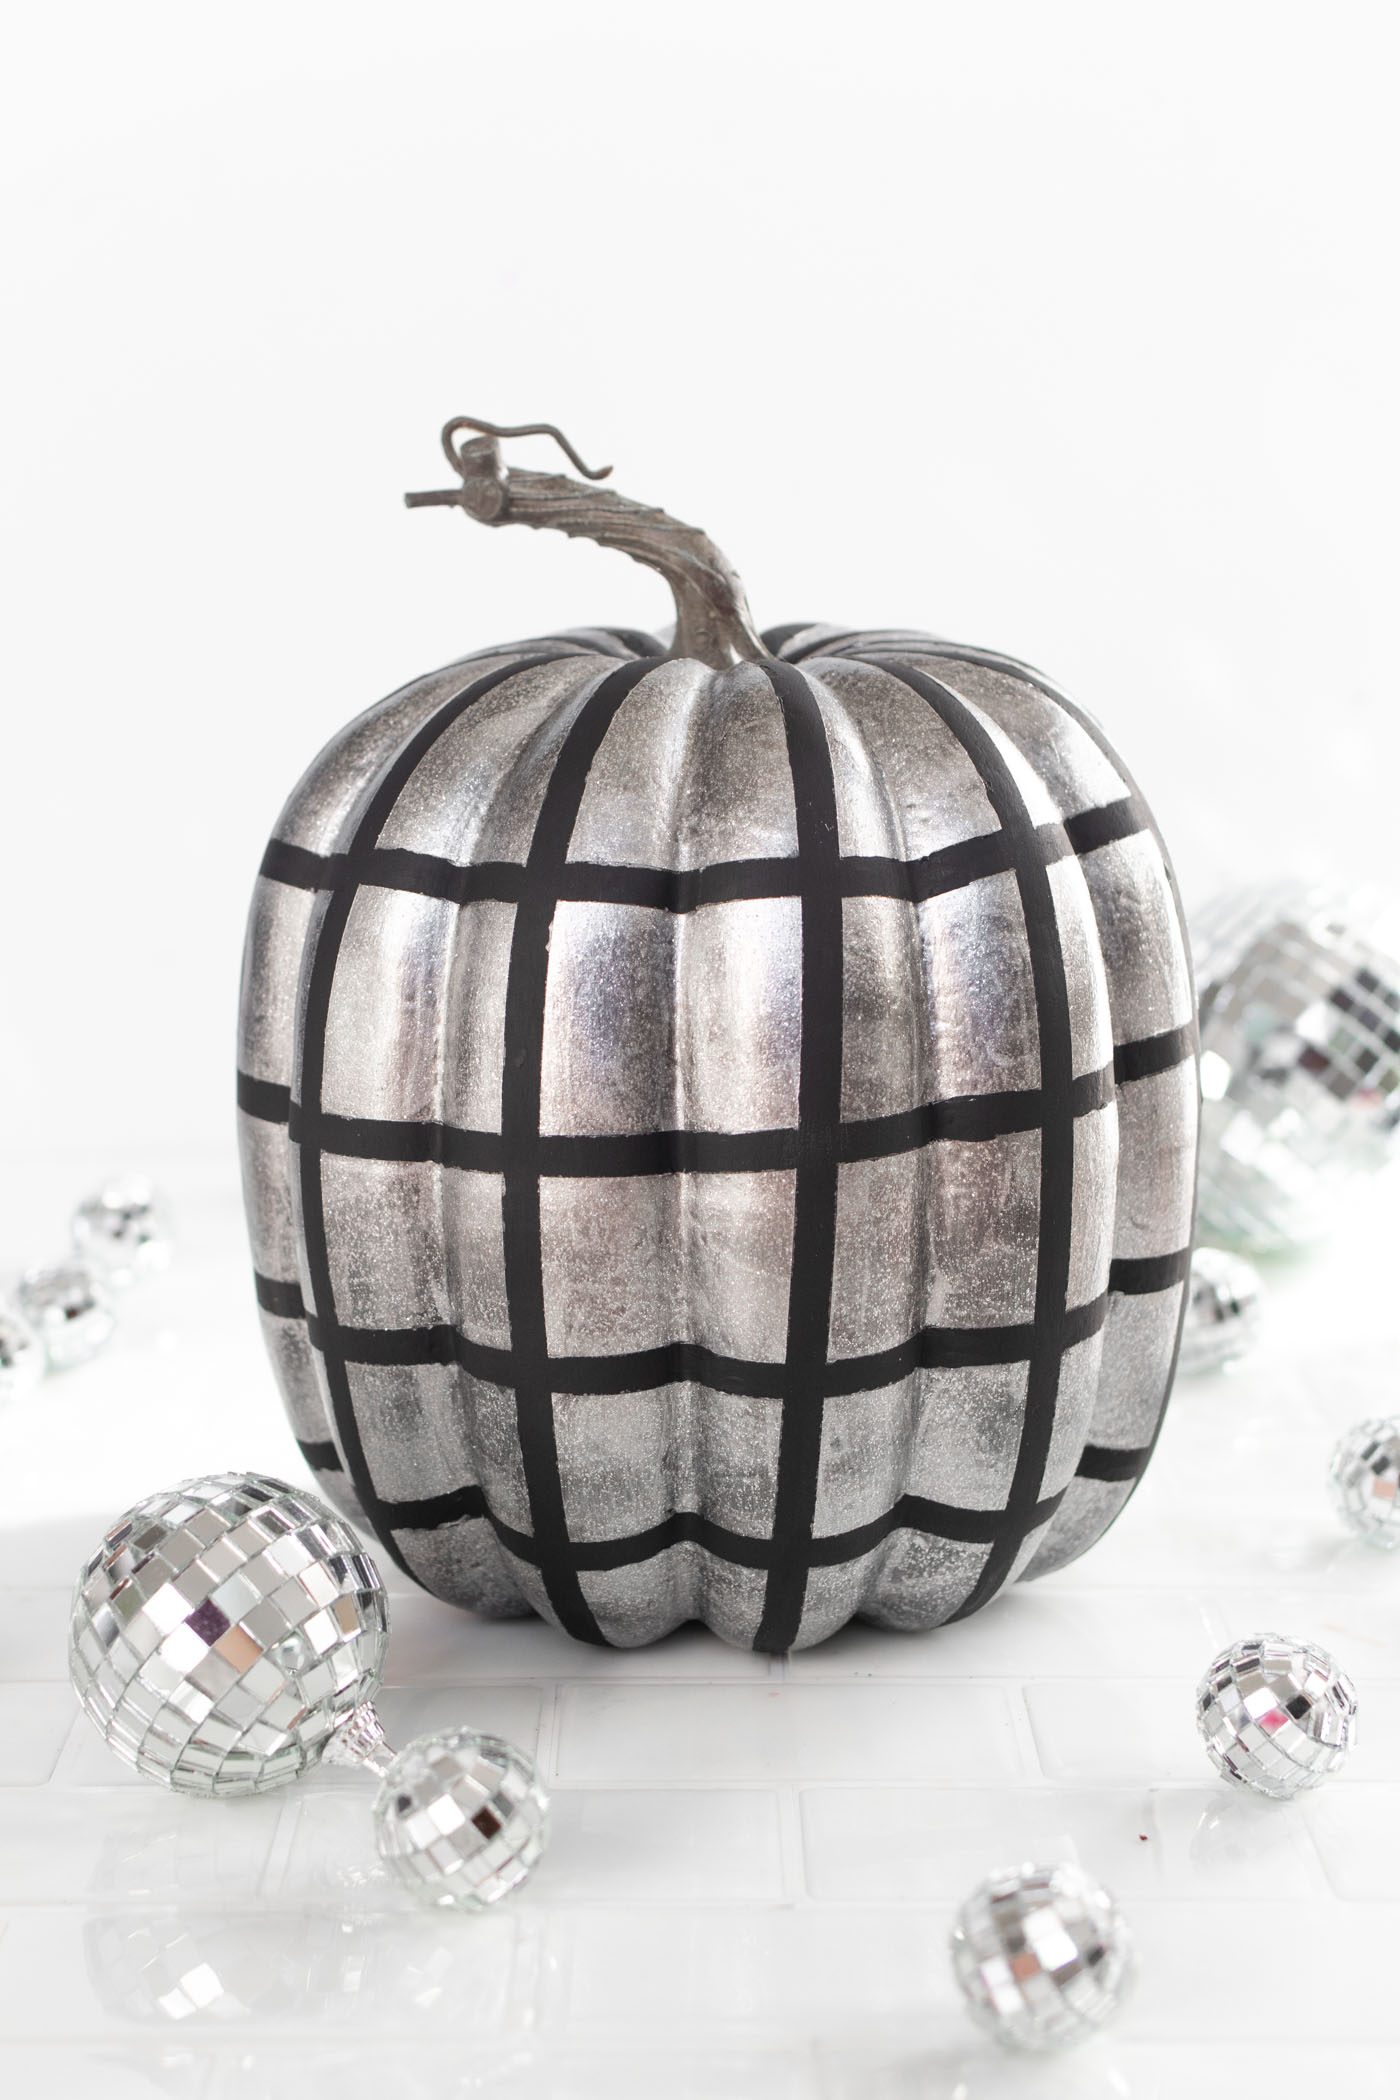
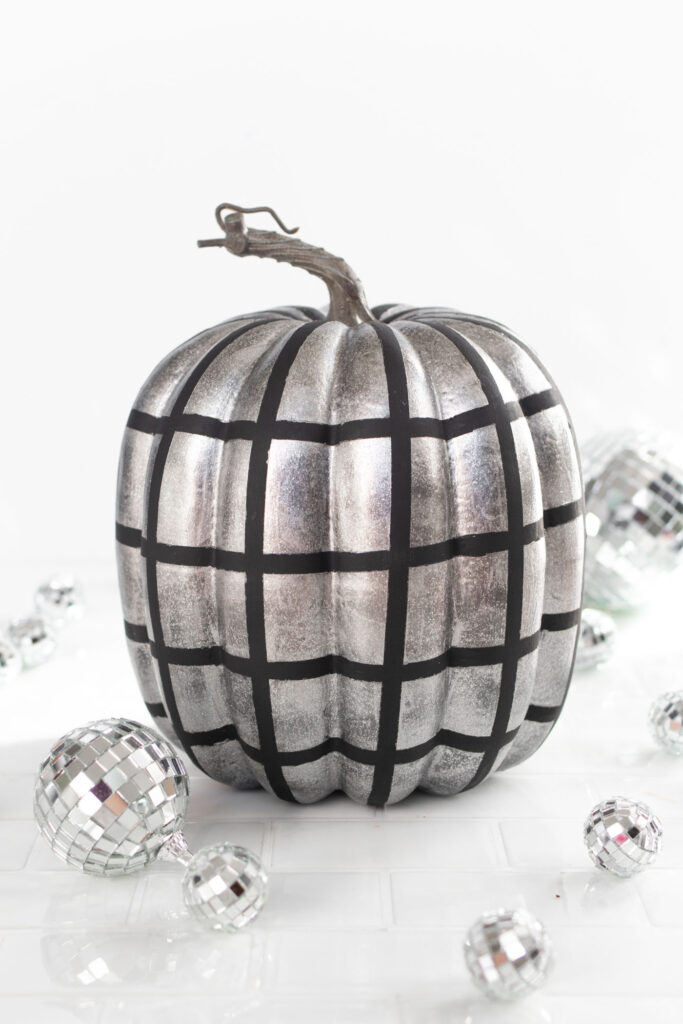
Let’s make this a party! Nothing would get your Halloween party going like this DIY disco ball pumpkin! Since I’m terrible at carving pumpkins, this easy pumpkin painting idea is more up my alley. If painting pumpkins is your thing too, you might also like my gingham pumpkins! Now, grab some glitter paint and start painting a disco ball-inspired pumpkin to decorate for Halloween or fall.
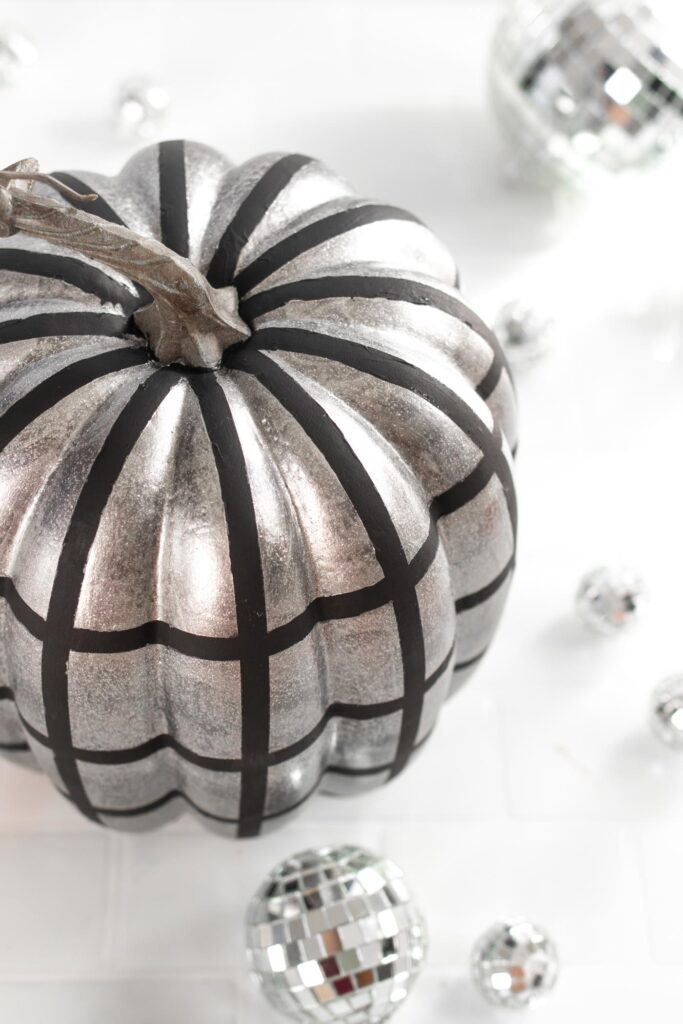
This disco ball pumpkin uses the same technique I used to make disco ball Easter eggs. It’s as simple as paint and tape! You’ll need several coats of paint, but just sit in front of the TV while you work and it’s a quick creative outlet.
How to Paint Disco Ball Pumpkins with Washi Tape
Supplies:
- Faux pumpkins
- Thin washi tape
- Black paint
- Silver glitter paint
- Paintbrushes
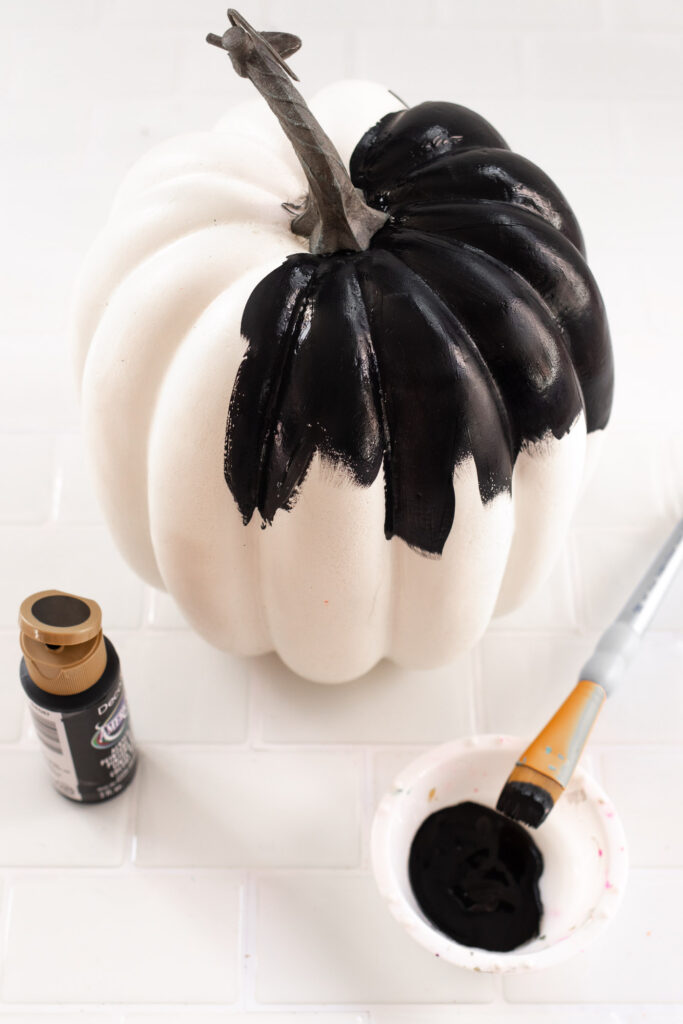
Step 1: Paint the entire pumpkin(s) black. One coat of paint should be enough.
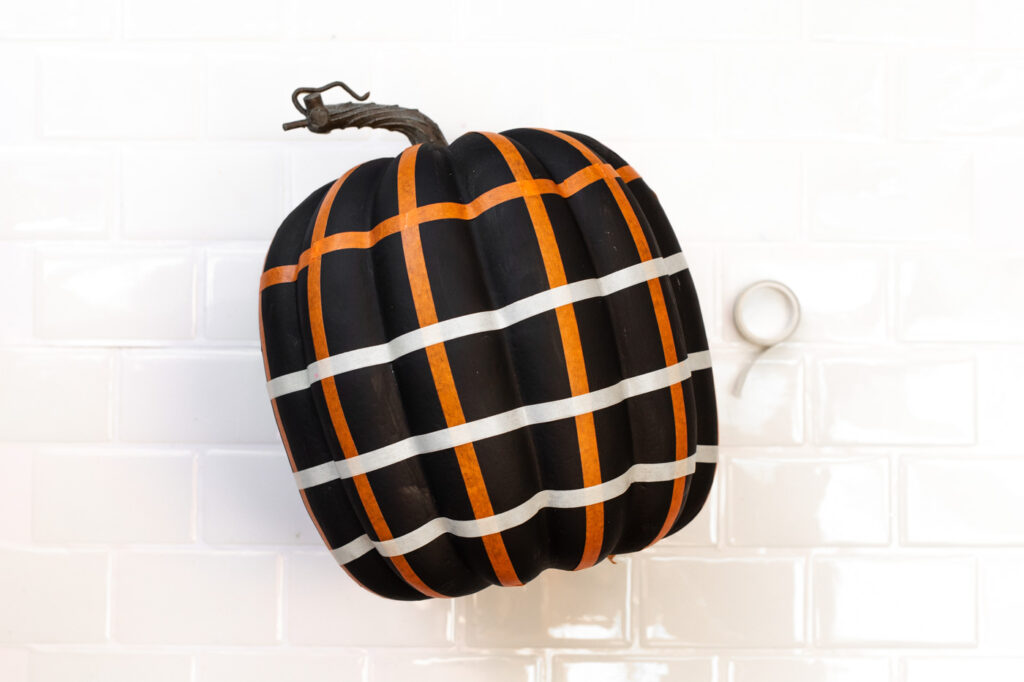
Step 2: Spread the washi tape down the “humps” of the pumpkin, making sure they’re evenly spaced. Then add evenly spaced washi tape vertically down the pumpkin. Make sure the tape is completely stuck down over the curves.
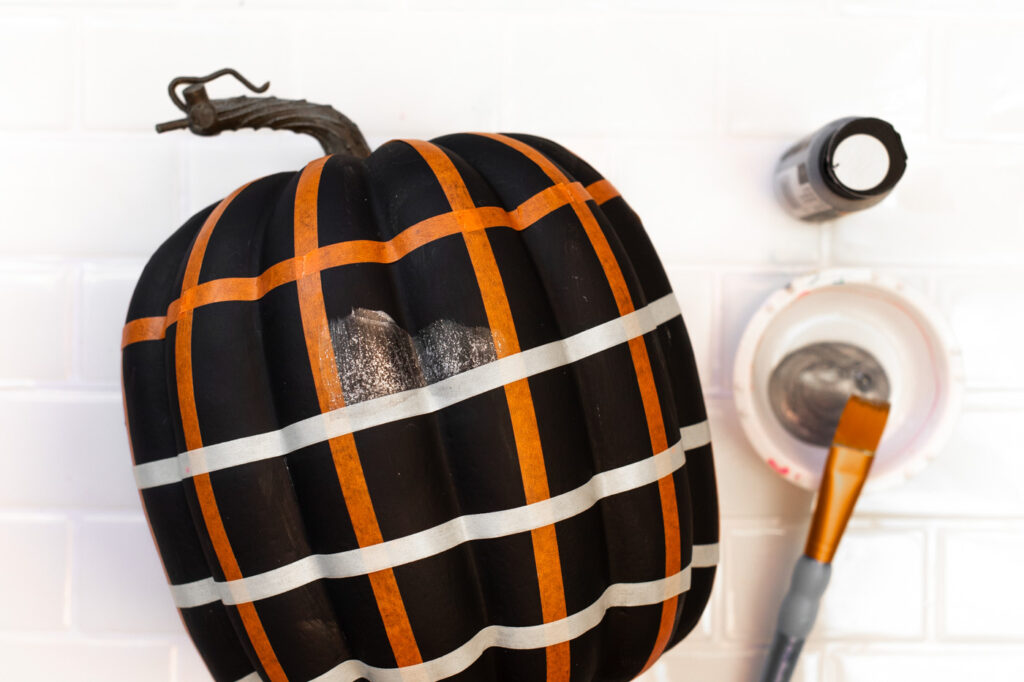
Step 3: Paint each square with the silver glitter paint. It will take multiple coats to make the silver paint really pop on this disco ball pumpkin.
Step 4: Then remove the washi tape. Use a smaller paint brush to touch up the black paint along the lines.
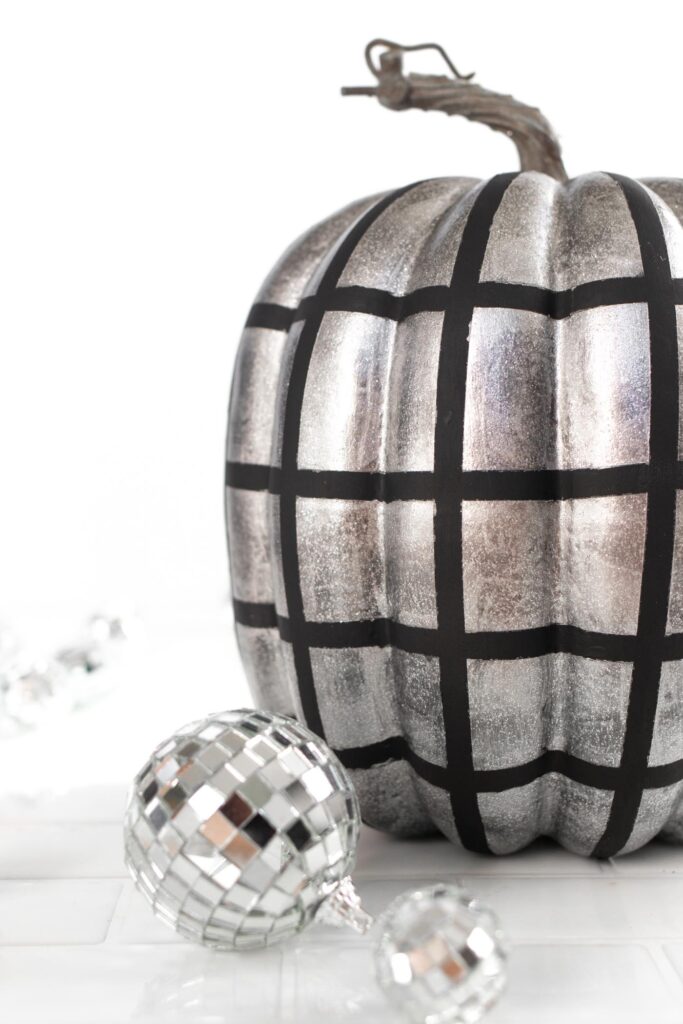
That’s how you turn a plain ‘ol pumpkin into a fun disco ball pumpkin! Display a variety of sizes with mini disco balls and let the let shine in for a fun little dance of lights. Can we all agree disco balls should be a regular party of our home decor??
PS, if you love all things DISCO, you should also check out my disco ball glasses to make for your next party!
