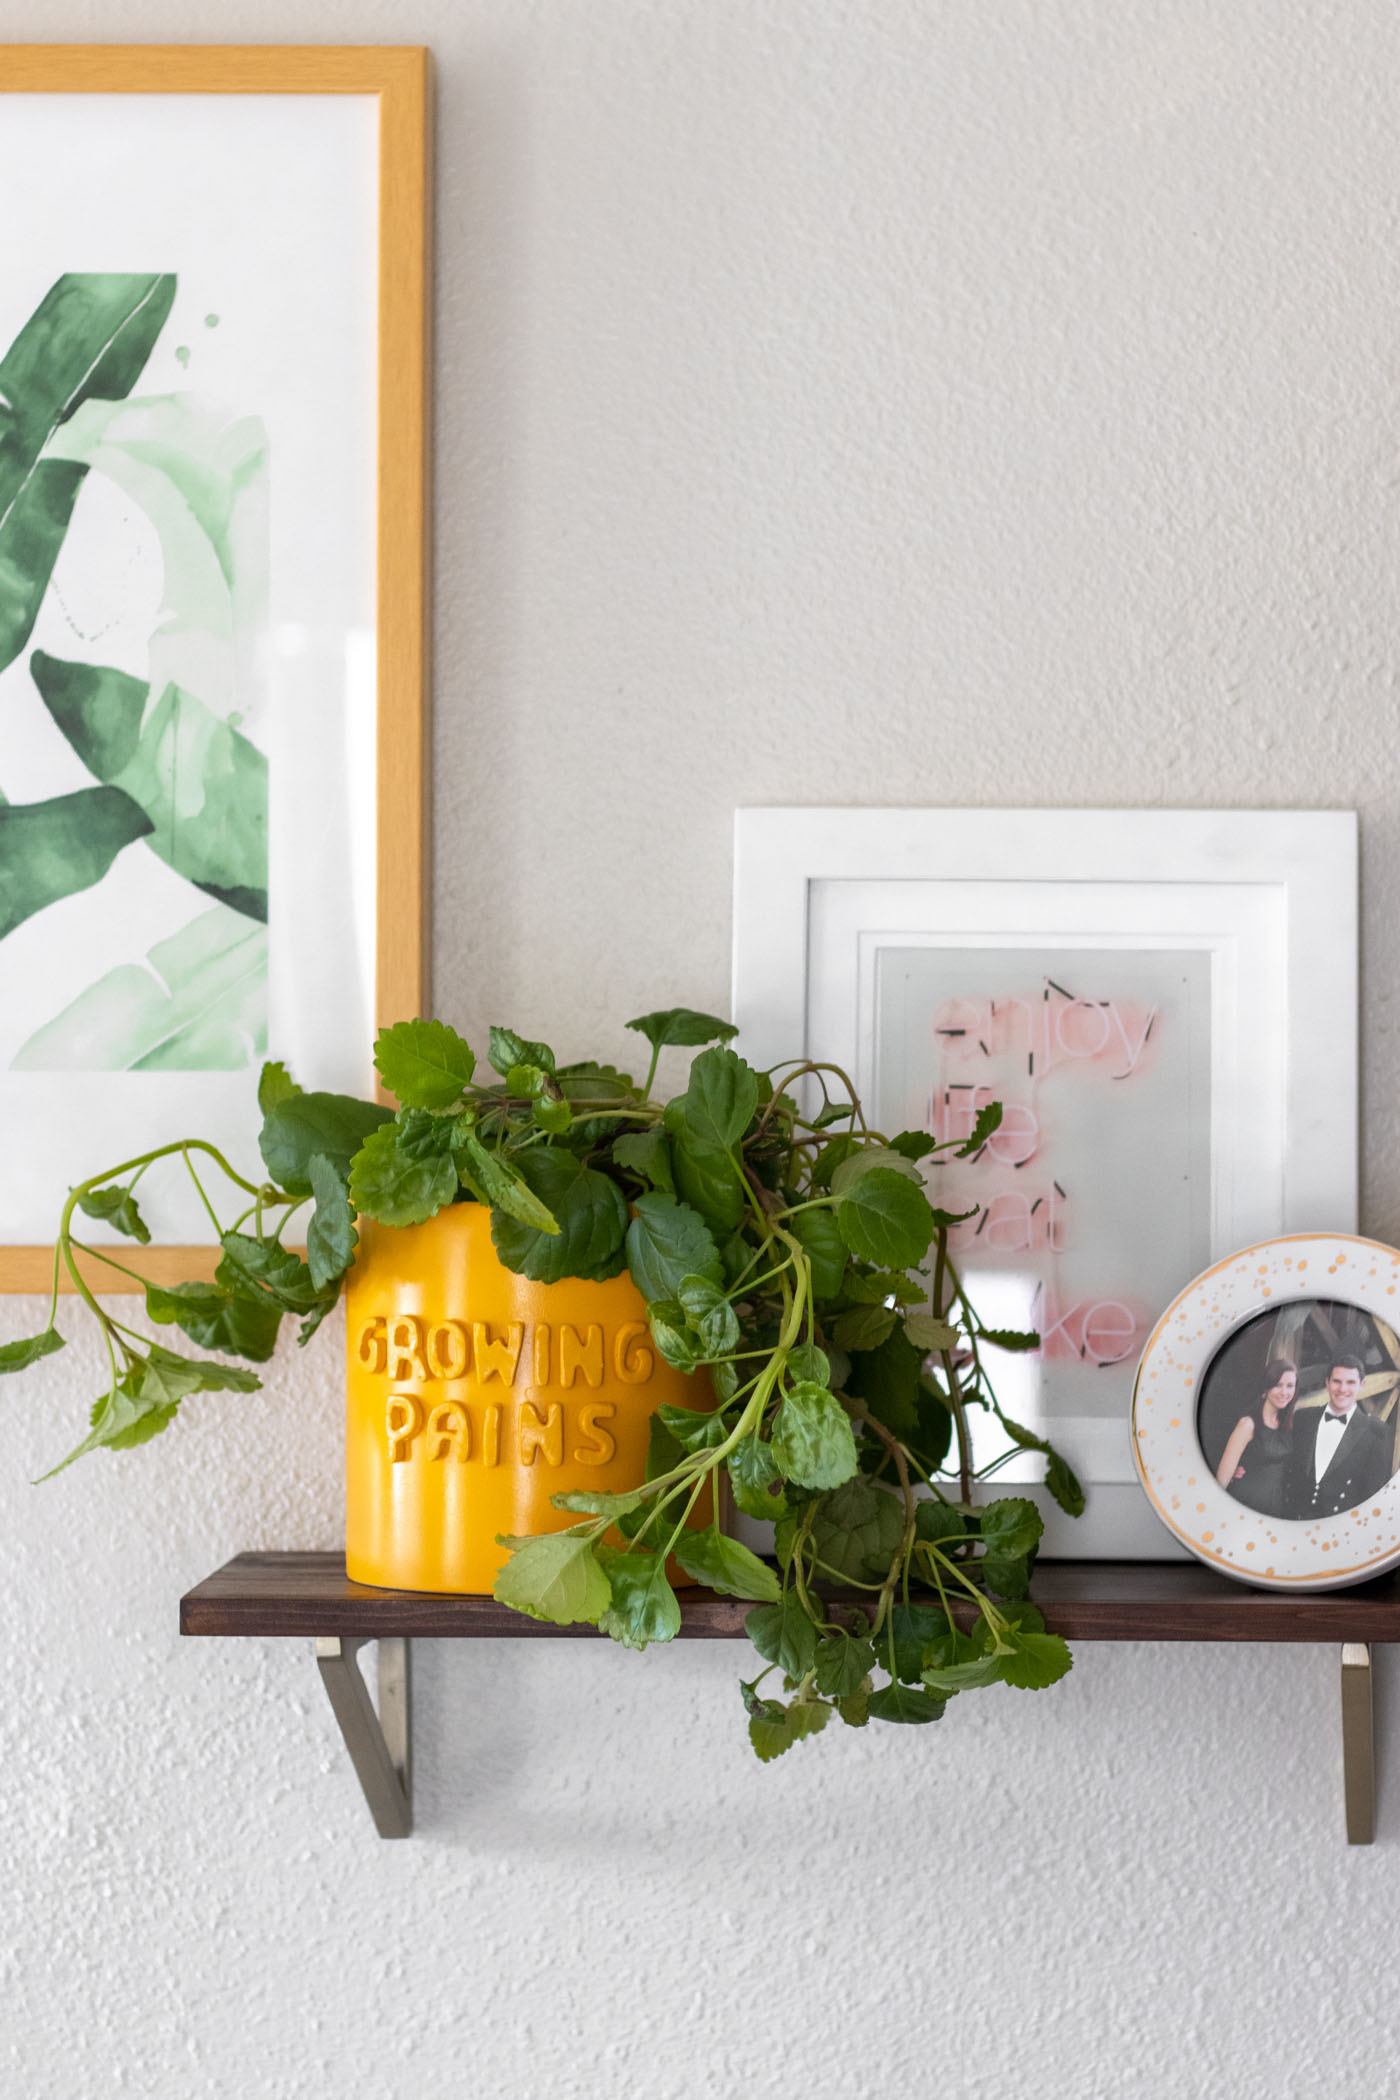
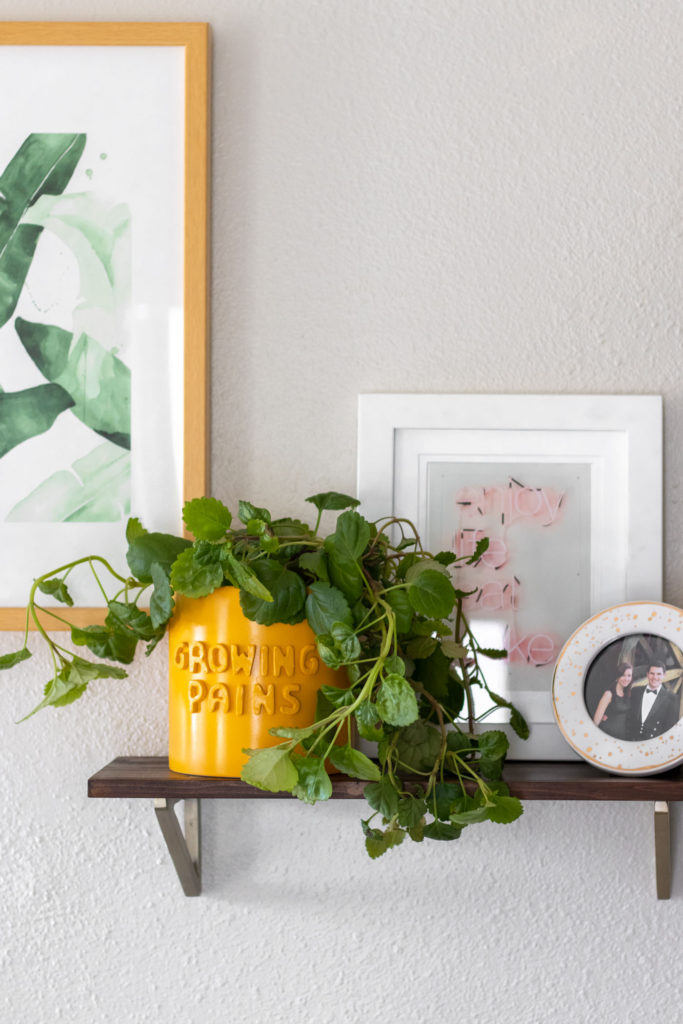
I’ve been trying so hard to be a plant lady lately, and I was excited to bring home some creeping charlie from my parents’ house that found a home in this DIY 3D graphic planter that I made based on this Anthropologie pot. These days I’ve been feeling a lot of “growing pains” in my life, and I thought that would be such a fun little saying for a planer! I loved the Anthropologie pot I saw online, but I’m not in a position to buy much these days, so I thought I’d DIY my own 3D graphic pot using some products I already had in the house. With air-dry clay, you can make this graphic planter in any color and with any saying you want!
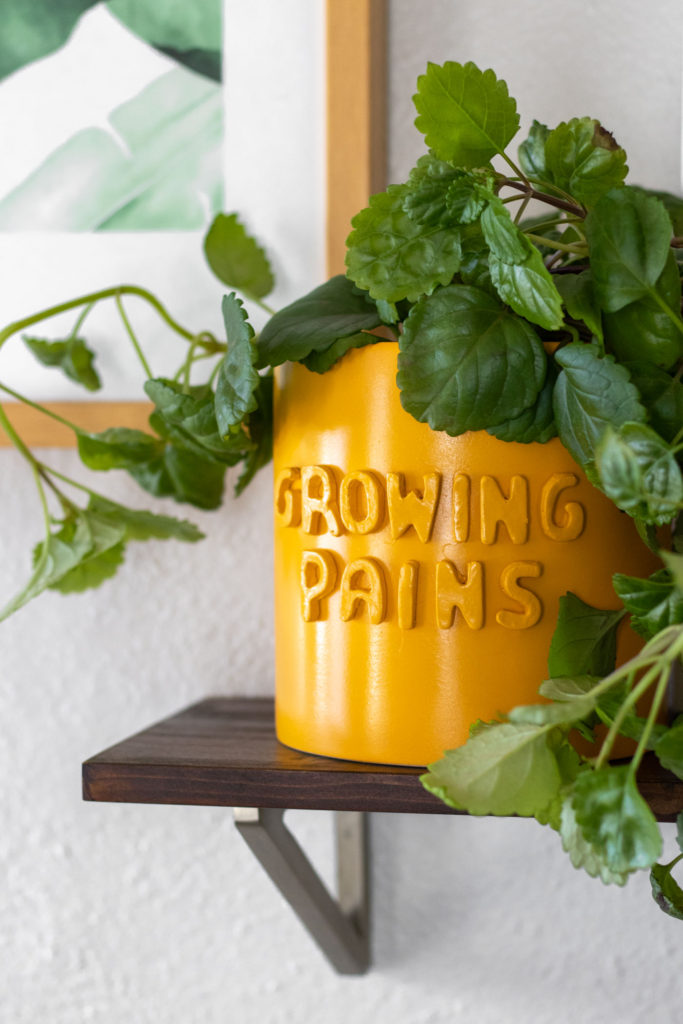
My DIY version of this 3D graphic planter is obviously quite different from Anthropologie’s, but hey, it works for me. I used a paint color that fit with my home’s decor (kind of like this marbled tray color scheme). Although I used fairly small alphabet cookie cutters for my letters, you can certainly use larger cookie cutters if they fit with the pot or planter you’ll be adhering the letters to.
This 3D graphic pot is a fun way to personalize a pot with a goofy saying that fits your own style!
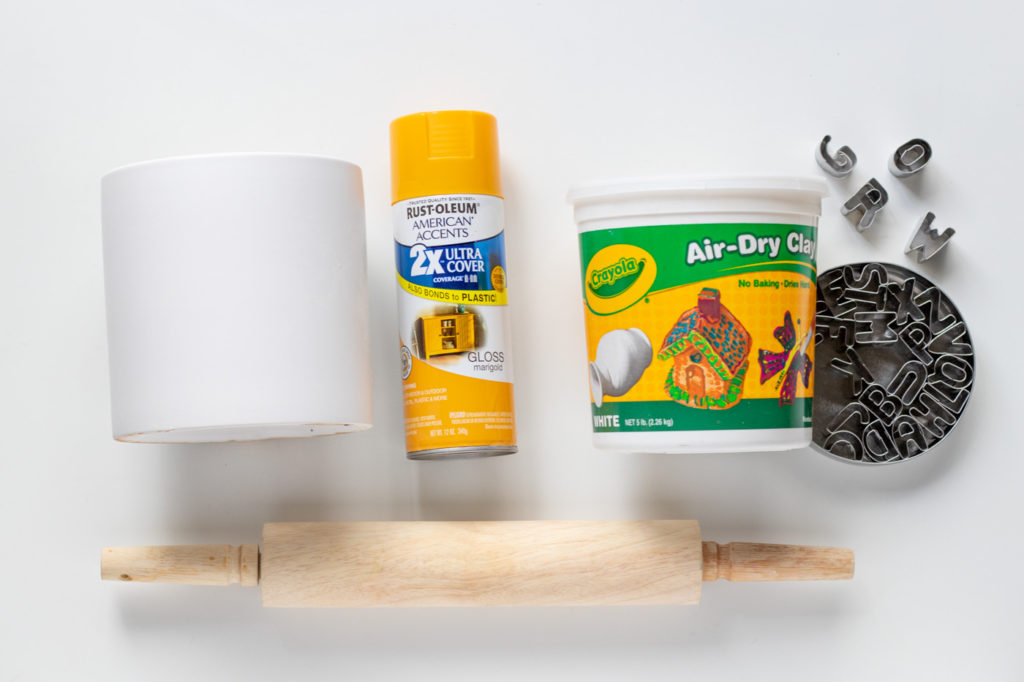
Time: 30 minutes
Supplies:
- Simple planter
- Air-dry clay
- Mini alphabet cookie cutters
- Rolling pin
- Spray paint
- Glue gun (not pictured)
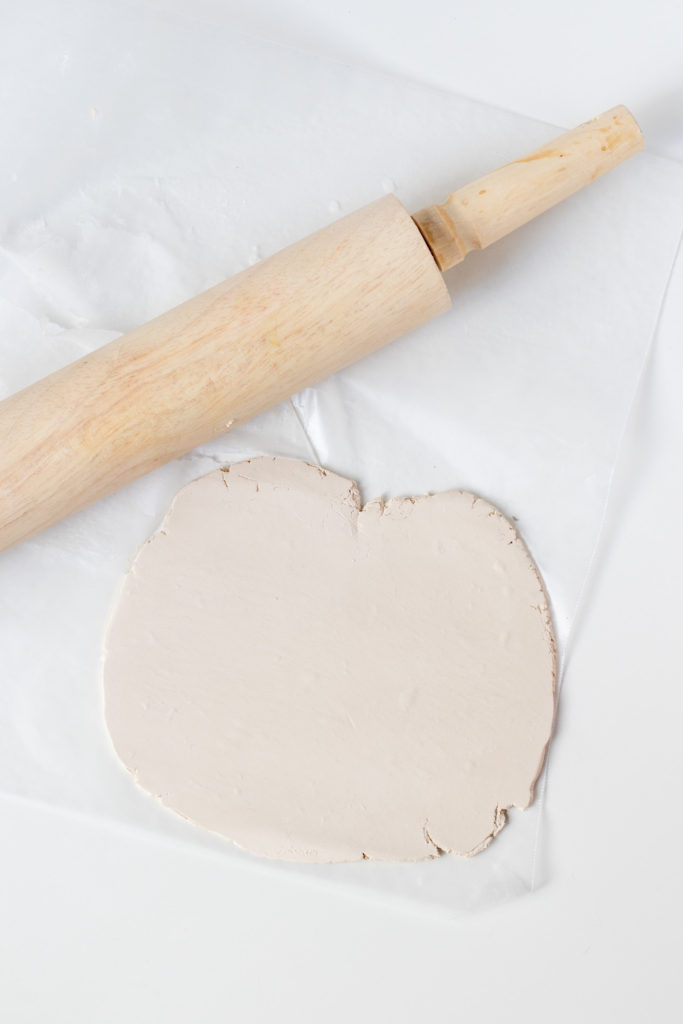
Step 1: Roll out a large piece of air dry clay until about 1/4 inch thick. Any thinner and the pieces could become too flimsy. If the clay feels too thick/dry, add a little bit of water.
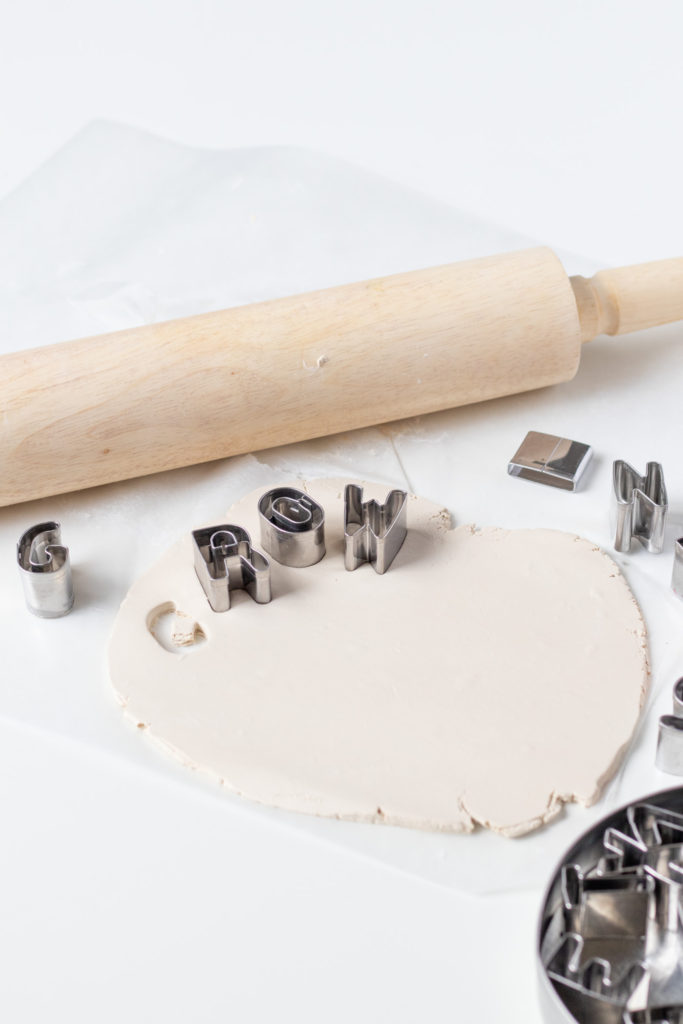
Step 2: Use the mini alphabet cookie cutters to cut out the letters for your desired saying.
Note, if the clay gets stuck inside the cookie cutter, you can use a toothpick to carefully remove it. The other option is to lightly imprint the cookie cutter shape onto the clay, then use a knife to trace it to cut it out. It may take some experimenting.
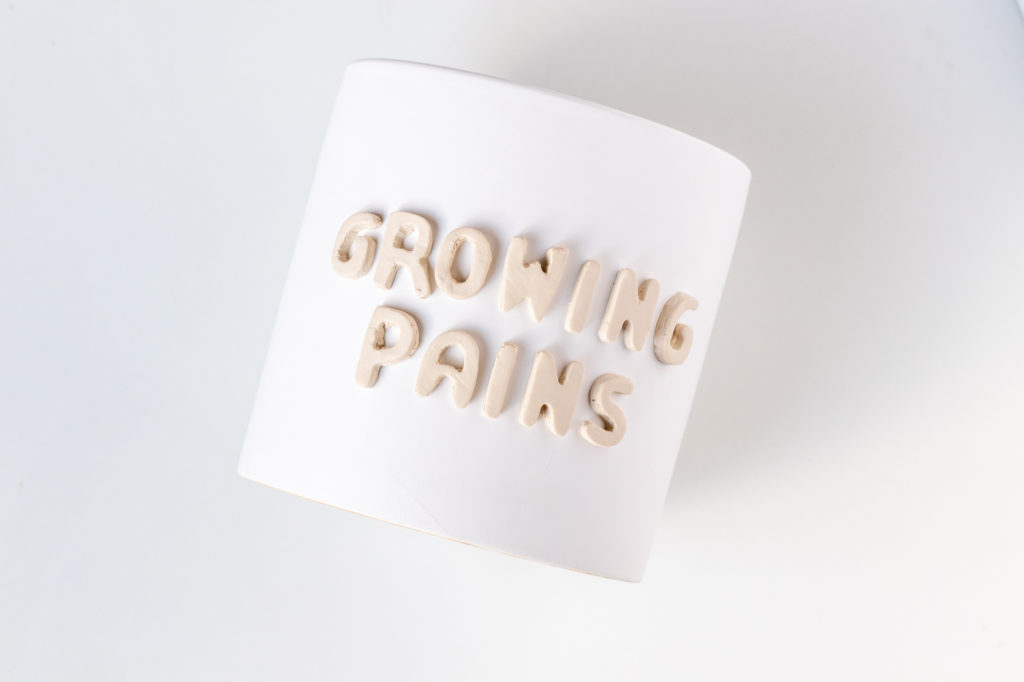
Step 3: Use a little water on the back of the letters to stick them to the pot (temporarily). This will shape the letters to the curve of the pot. Let sit for at least 24 hours until the letters are hard set.
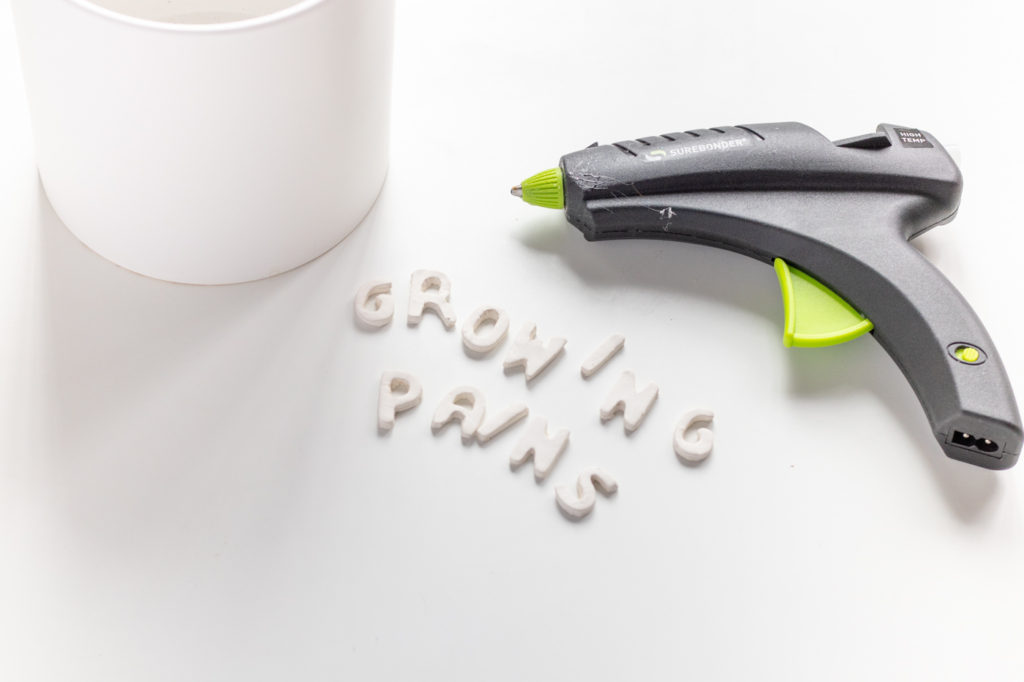
Step 4: Remove the dried letters. Wipe down the pot with a damp towel and dry. Then glue the letters back in place.
Step 5: In a well-ventilated area, spray paint the entire pot your desired color. Let dry for 30 minutes and paint a second coat, making sure the spaces in between letters are properly coated. Let dry completely.
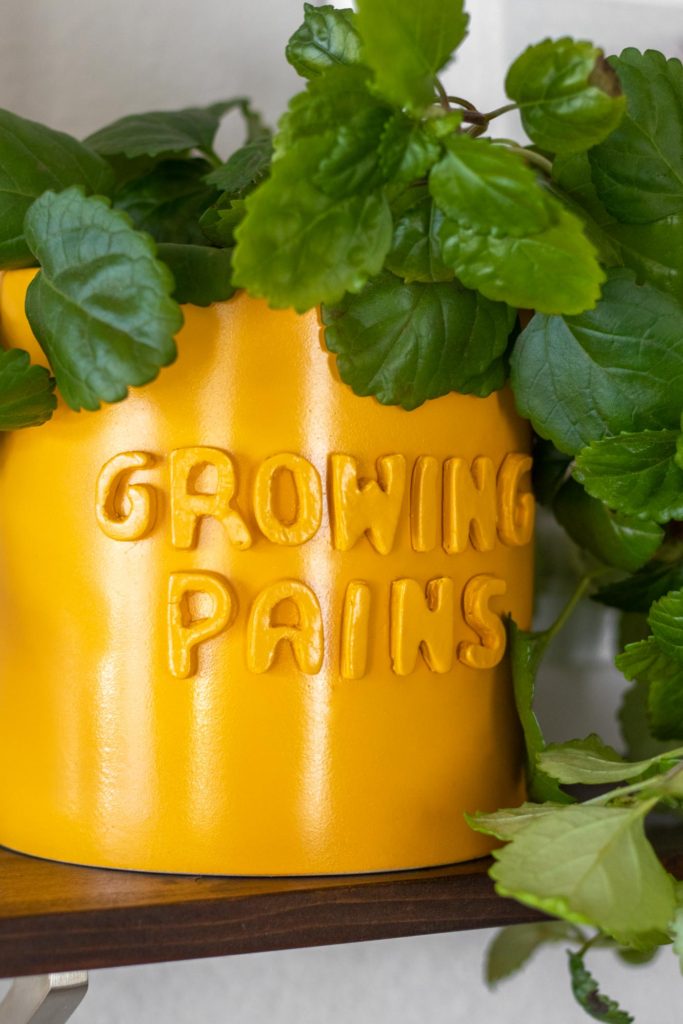
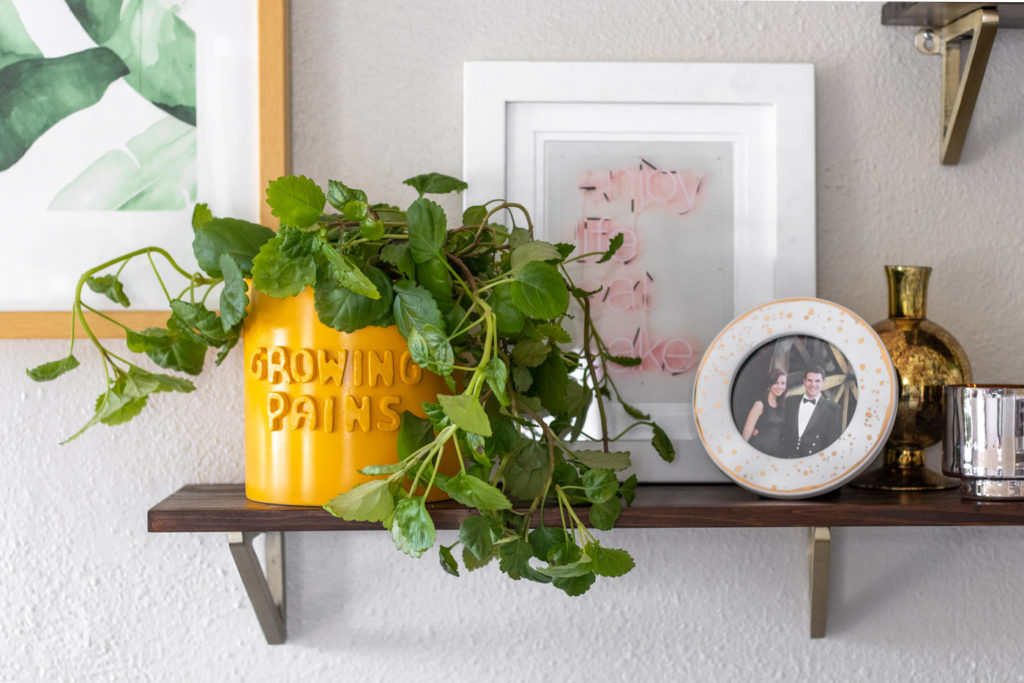
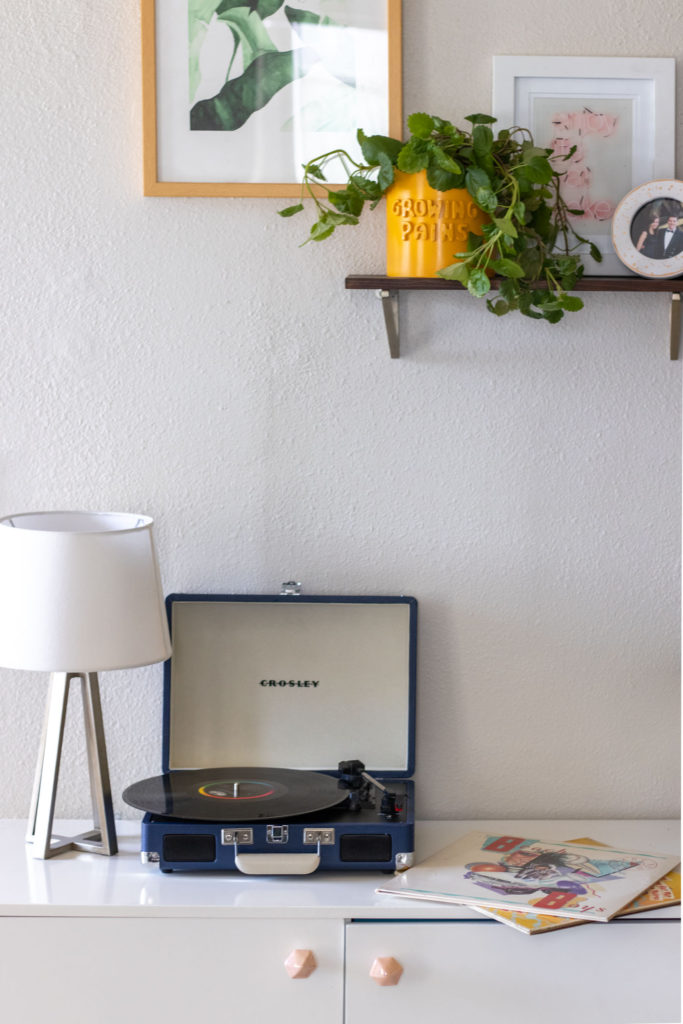
Then you can pot your favorite plant inside and display in an area where it will get enough sunlight! I’m loving this creeping charlie so far because I LOVE very full plants that just spill everywhere. I’m excited to keep it growing!
