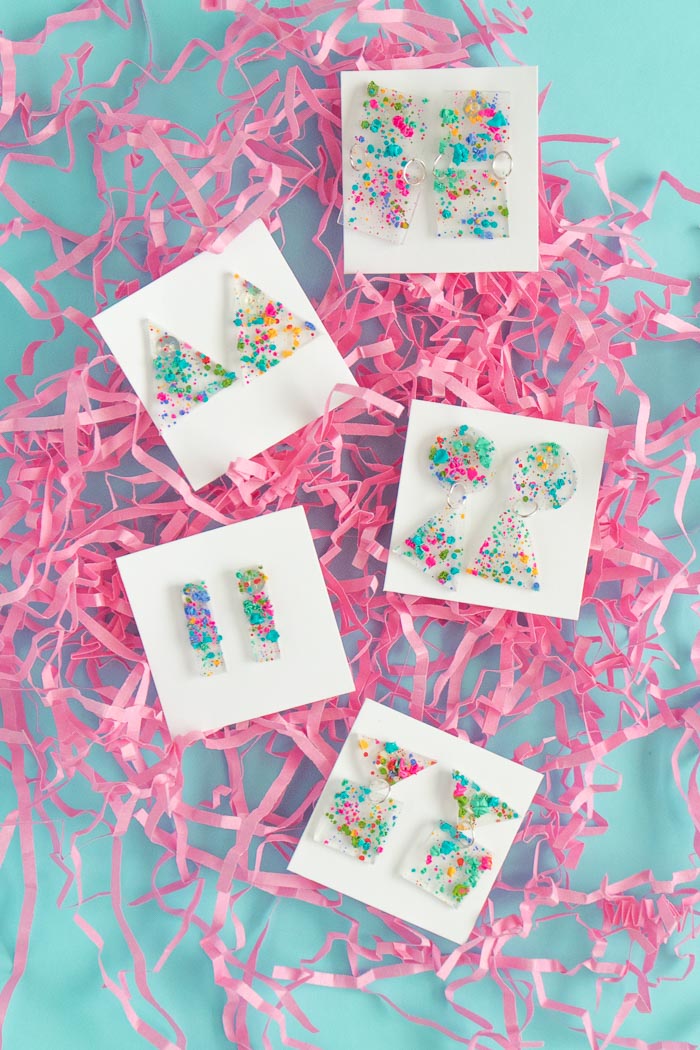
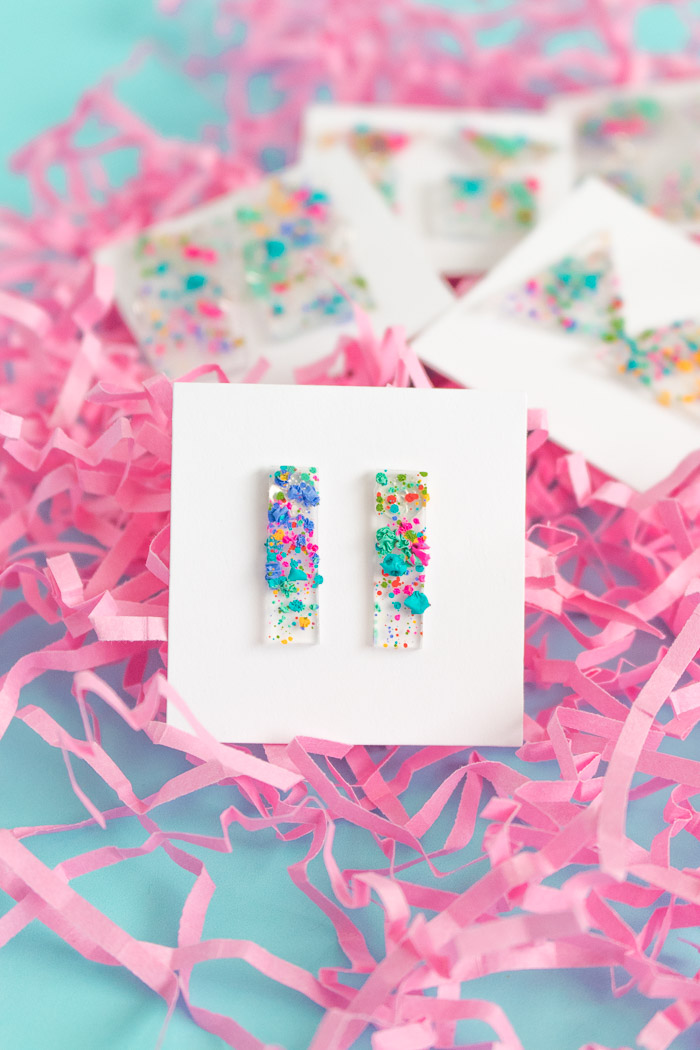
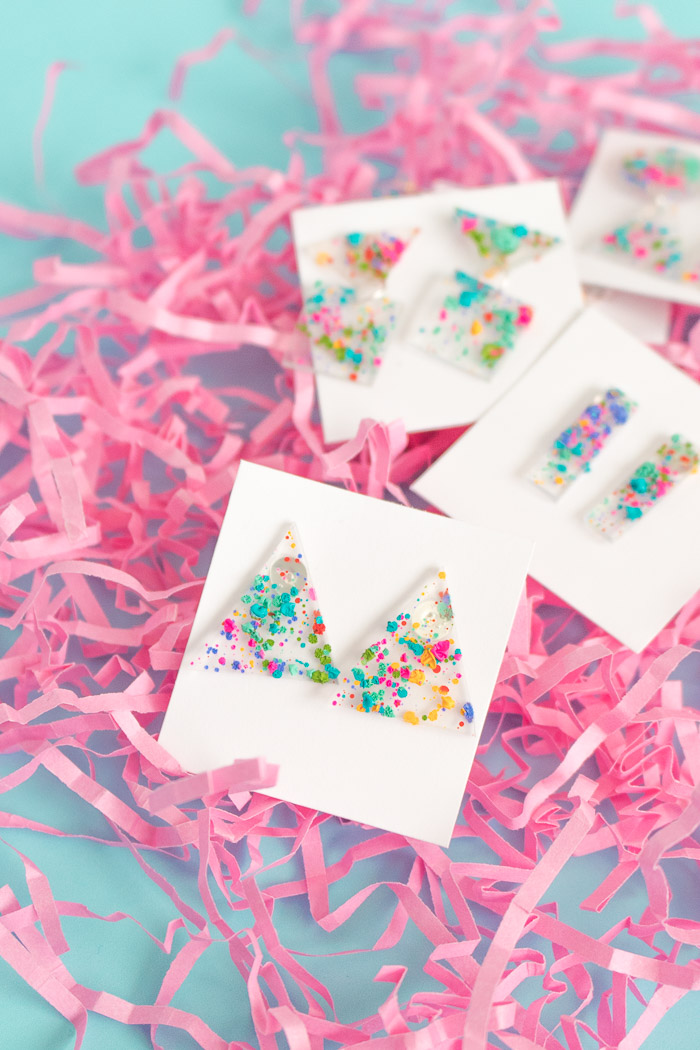
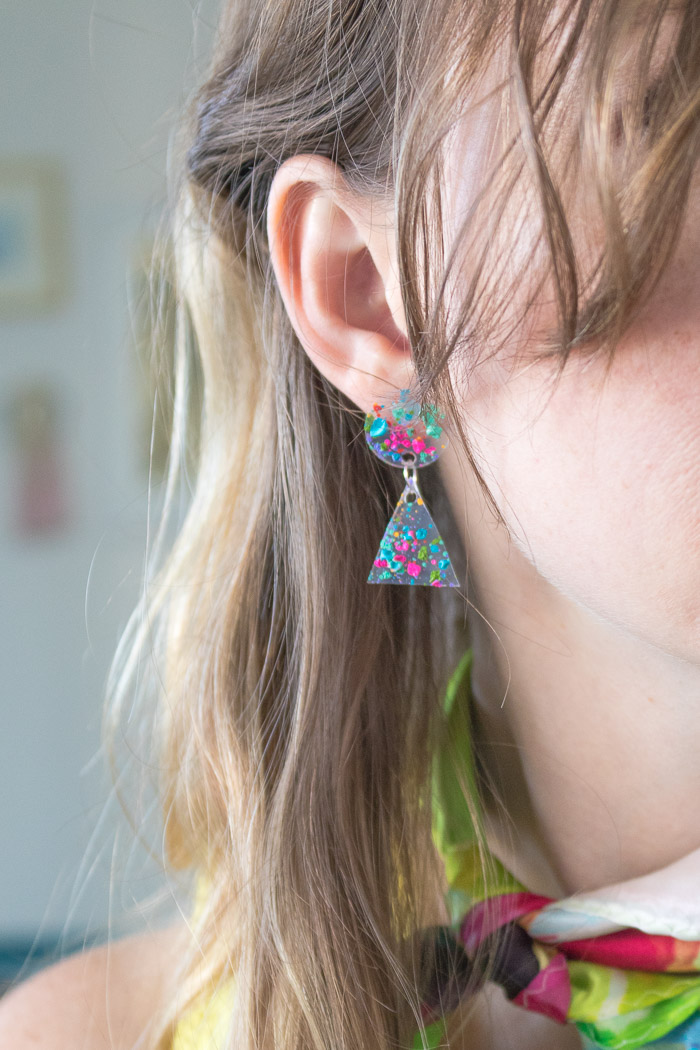
Anyone else enjoying that the fashions from our childhood are back? Splatter paint was all the rage in the 80s and 90s, and 8-year-old me was SO into it. Even better, it turns out 26-year-old me is also into it! To incorporate some 80s-inspired jewelry into my wardrobe, I made these splatter paint earrings using – can you guess?! – shrink plastic! Splattering paint around is as much fun as it gets, and when you bake the painted shrink plastic, it creates an interesting raised texture. Make geometric shaped splatter paint earrings to fit with the 80s theme, and add layers by combining two shapes into one earring. What are your favorites? I think the circle and triangle set are my fav pair!
I wasn’t technically alive during the 80s, but I still experienced a lot of 80s styles in the 90s. I remember BEGGING my mom to let me splatter paint my room because she and my sister did it to her room and I loved it so much. She wouldn’t let me because it was too much of a hassle, so we settled on splatter paint-looking wallpaper. It was cool, but I’m still holding out for a chance to splatter paint an entire room.
For now, I’ll settle for smaller scale splatter paint projects! These earrings are fun and easy to make, and shrink plastic (or Shrinky Dinks) never cease to amaze me. Cut out shapes or use punches, then splatter a few colors around before hole punching them and shrinking them down to make the earrings. I used clear shrink plastic, but the sheets also come in white. Once baked, you’ll see how the texture changes dramatically because the paint can’t shrink with the plastic the same way markers can. I was honestly fascinated!
Time: 30 minutes
Supplies:
- Shrink plastic (or Shrinky Dinks)
- Paint, multiple colors
- Paint brushes
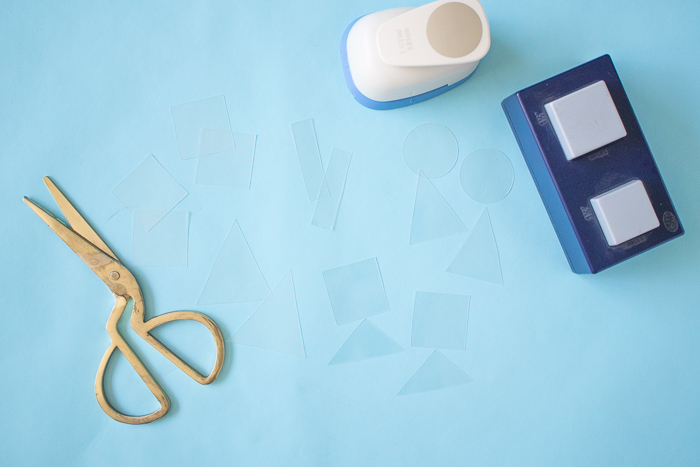
- Scissors and/or shaped punches
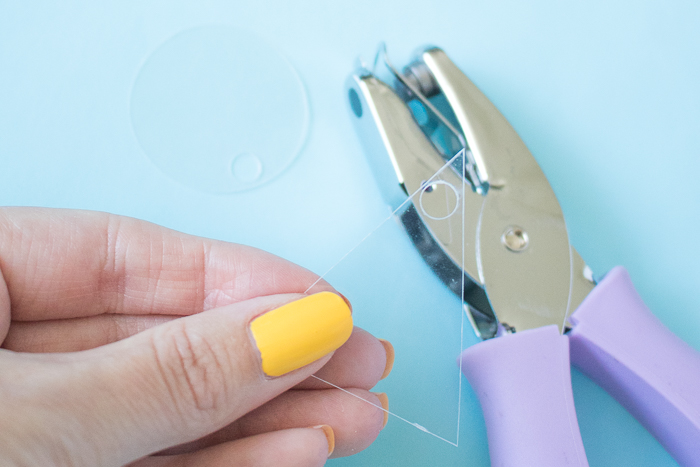
- Hole punch
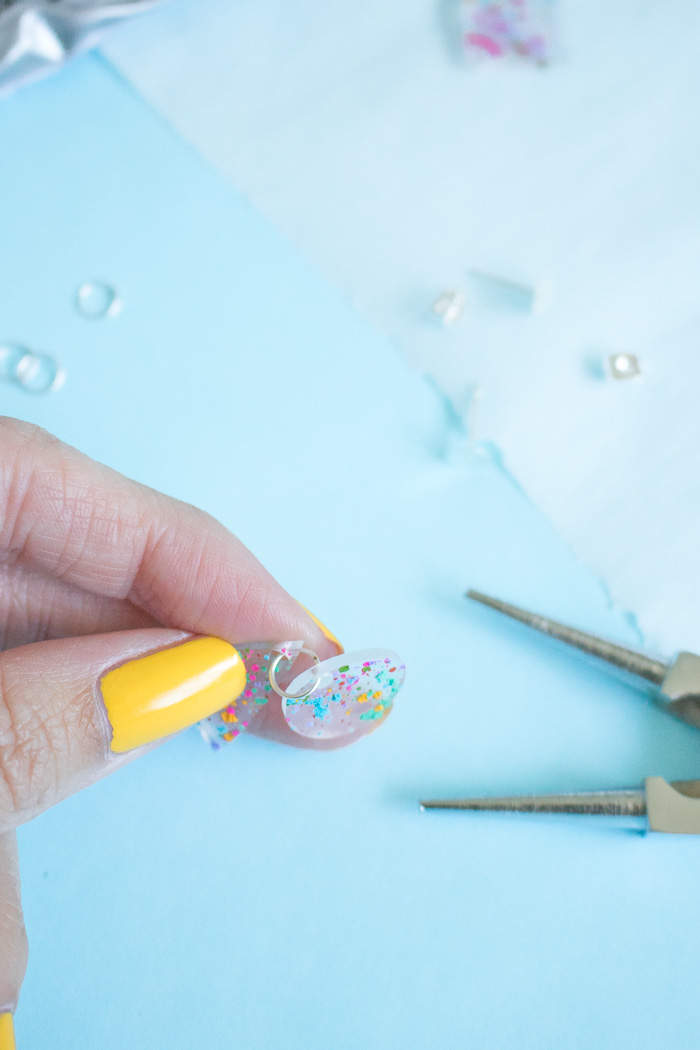
- Jump rings
- Round nose pliers
- Earring posts and backs
- Heavy duty clear glue
Step 1: Cut out a bunch of geometric shapes from your shrink plastic. Use scissors or shaped punches, but remember that all pieces will shrink to approximately a third of their size when baked. I started with pieces about 1 1/2 inches wide.
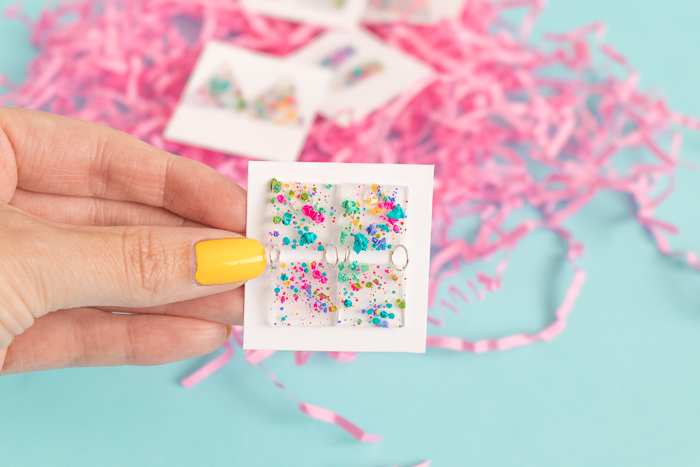
Step 2: If connecting two pieces to make one earring, use a hole punch to punch the necessary holes in both pieces. For connecting two squares, I used two holes per piece.
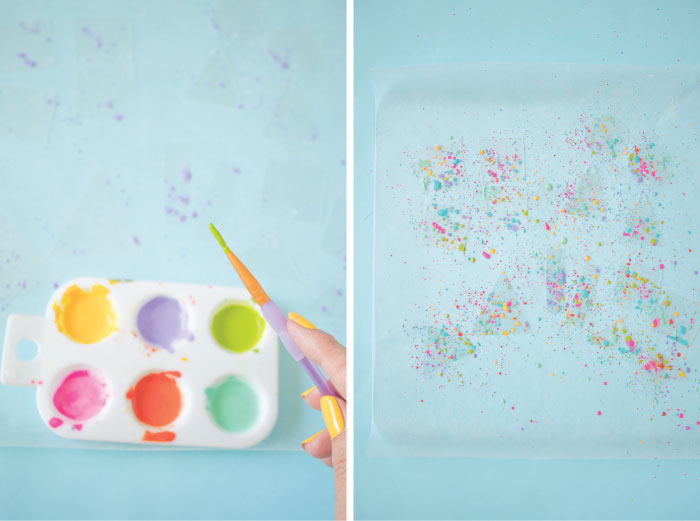
Step 3: Lay out paper to protect your work surface and mix paints in a tray with a few drops of water to thin.
Step 3: Dip paint brushes into the thinned paint and splatter onto the plastic pieces. The paint needs to stick in thin layers or it will be too thick once baked, so do you best to avoid blobs of paint and stick to light splatters.
Allow the paint to dry completely before baking.
Step 4: Preheat the oven to 300 degrees F (or according to package instructions). Place the dry pieces on a baking sheet lined with parchment paper. Bake for 2-4 minutes, watching carefully as the plastic shrinks. When shrinking stops, remove immediately.
Quick Tip: I find that some pieces do not flatten all the way, so I immediately place another piece of parchment over the plastic and press with a second baking sheet while the plastic is still hot and moldable.
Step 5: Use the round nose pliers to connect two pieces with jump rings.
Step 6: Apply a small about of glue to the earring posts and stick to the top backside (untextured) of the plastic.
Once dry, they’re ready to wear! I used seven different paint colors, so I feel like these earrings will go with literally everything! Let’s keep channeling the 80s, shall we?


Coleen
What kind of paint did you use? Acrylic would make more sense, but it looks like watercolor.
Holly Wade
ColeenHi Coleen! It’s acrylic paint that is watered down slightly in order to splatter.