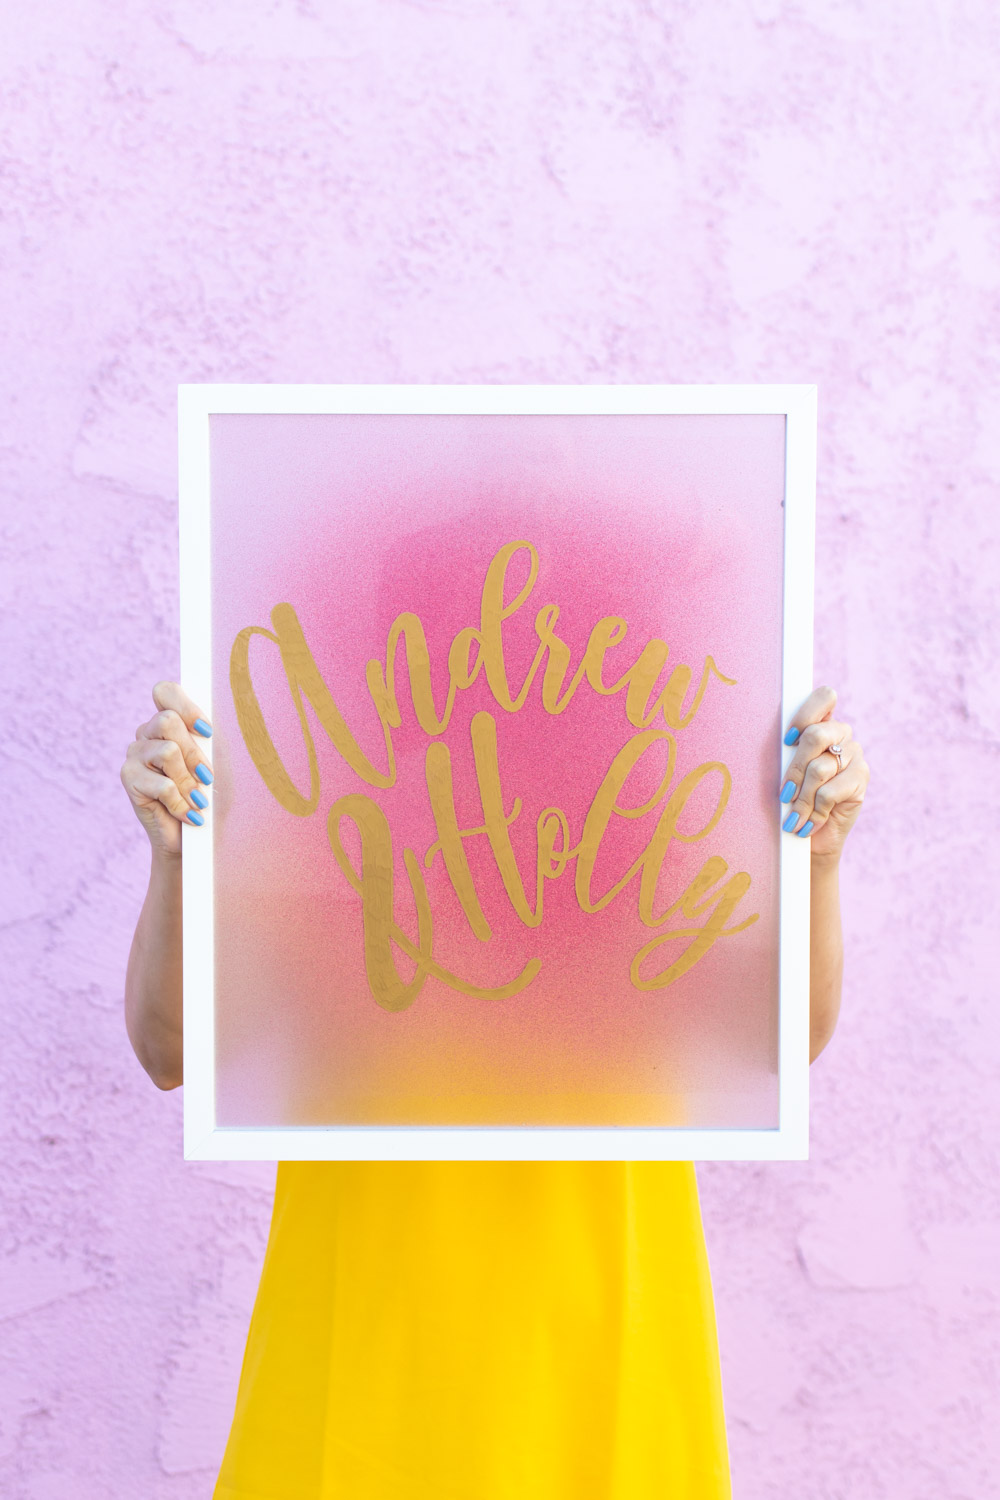
The following post is sponsored by Rust-Oleum & JOANN
We’re six months from our wedding! You know what that means? It’s time to start all of my DIY wedding projects! I’m kicking it off with my own version of a common wedding decor idea: an easy DIY calligraphy sign. You may have seen these calligraphy signs all over Etsy and wedding inspiration websites, but they are surprisingly easy to make yourself with supplies from JOANN, including Rust-Oleum’s new Imagine Glitter Spray Paint. I’ll also share how I made the template to trace this extra-large DIY calligraphy sign!
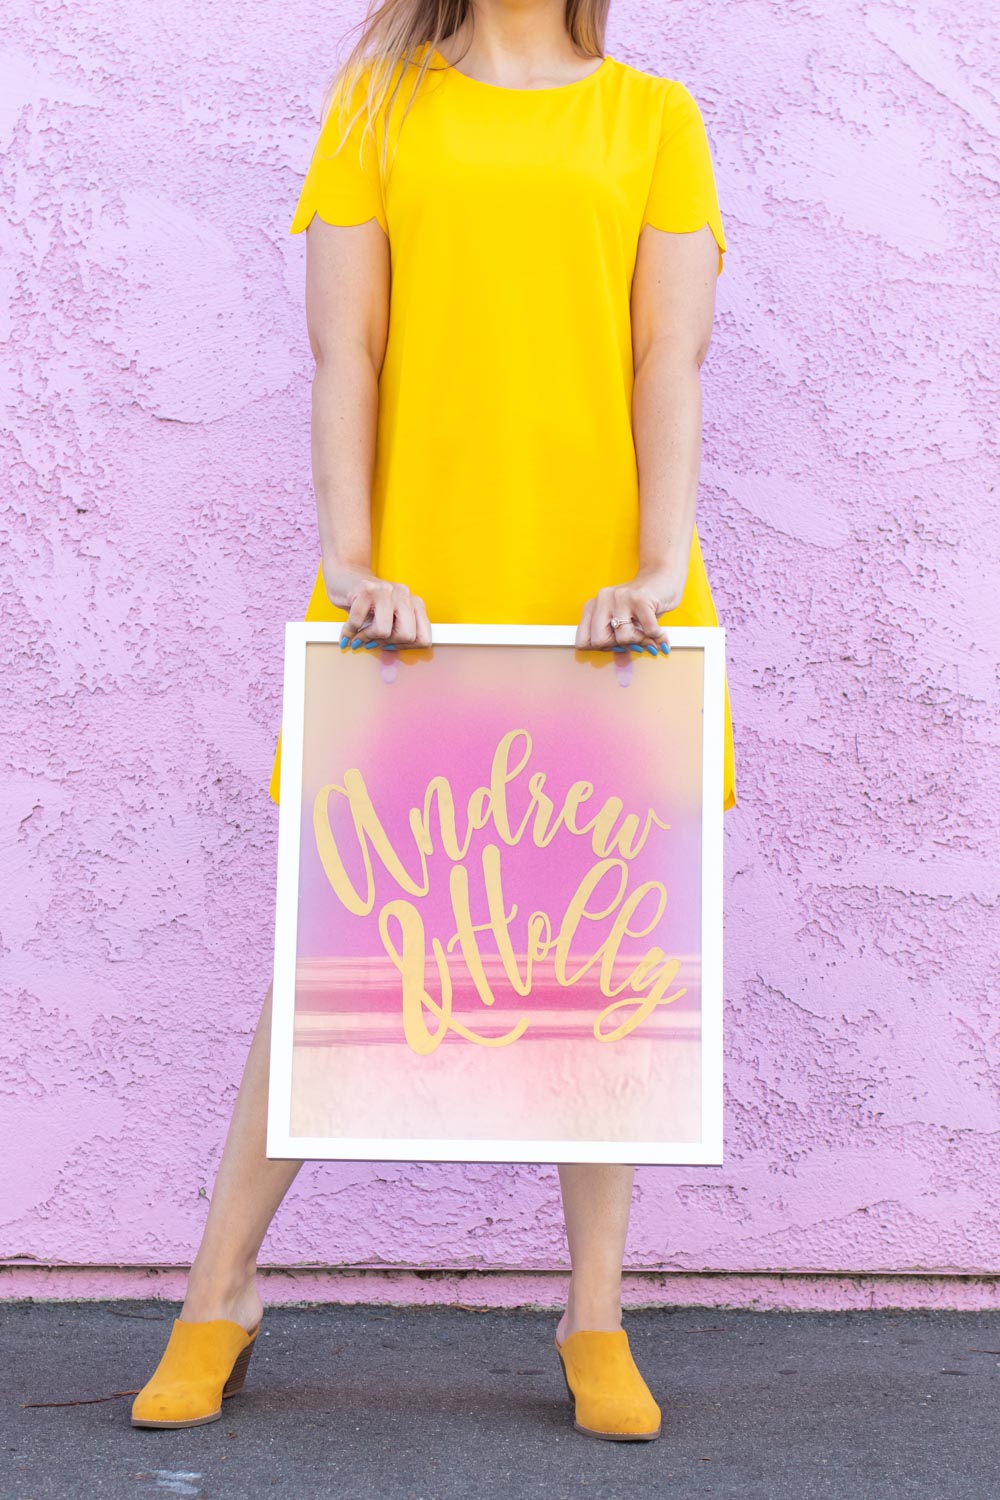
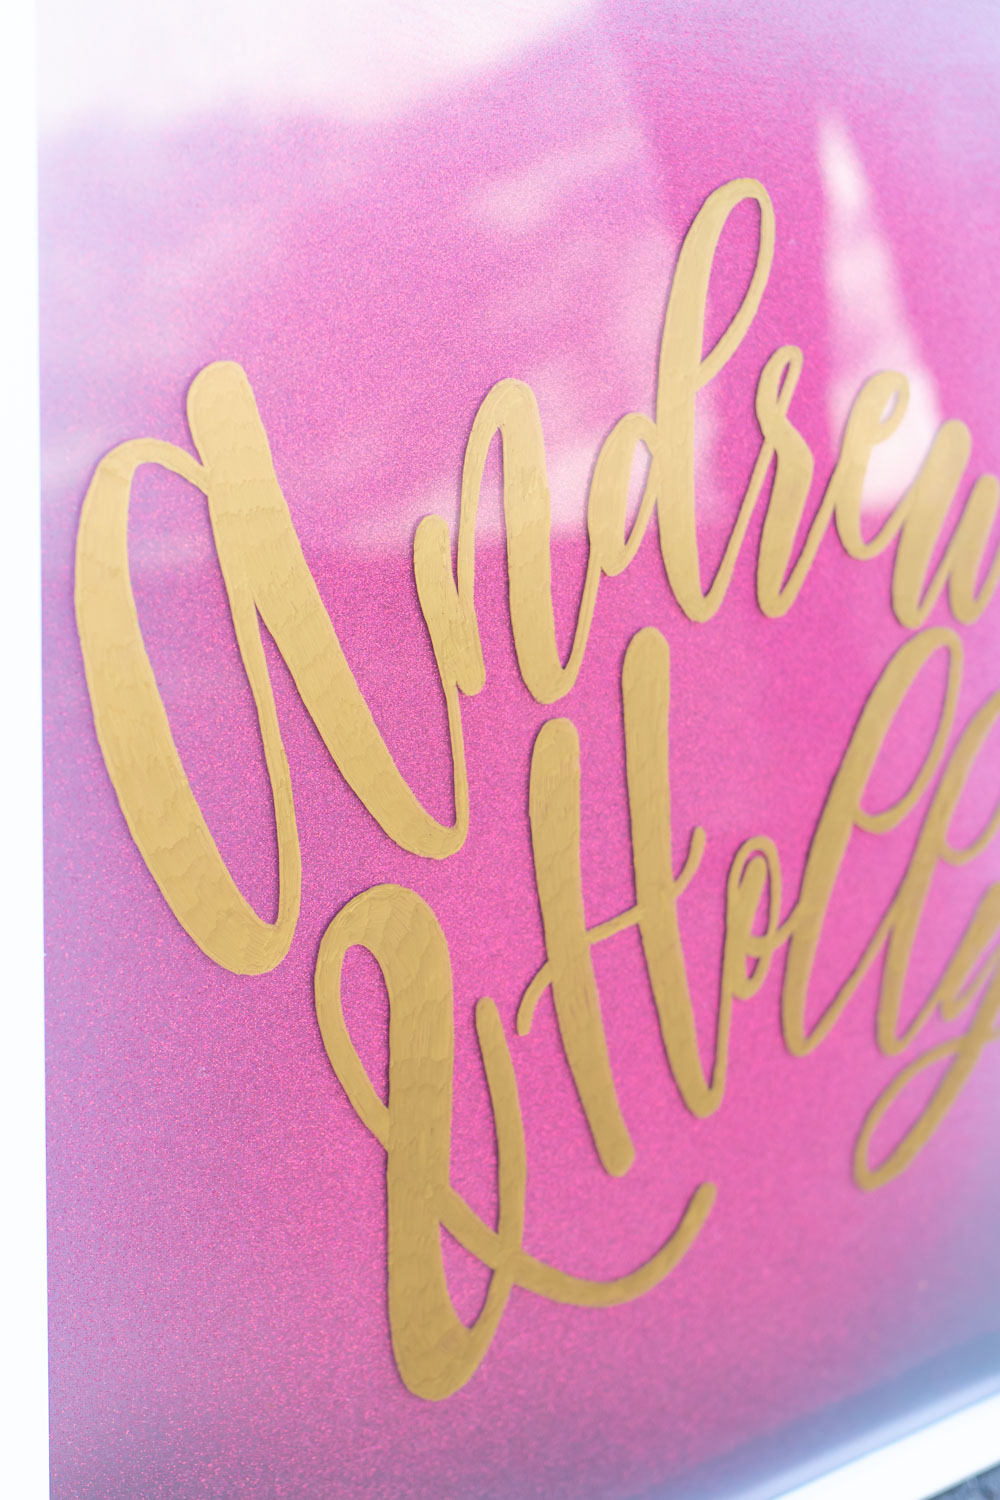
You may have already seen me talk about Rust-Oleum’s new Imagine collection when I shared my “Hey Boo” Halloween sign a couple months back. This time, I’m using the Pink Glitter spay paint because it was the ideal match for my wedding color scheme. What’s the secret to creating this DIY calligraphy sign? Tracing! Simply trace your calligraphy or hand lettered words onto a large glass frame (or piece of transparent acrylic). Then finish the back with a beautiful glittery design using Rust-Oleum Image Glitter Spray Paint to make the text POP.
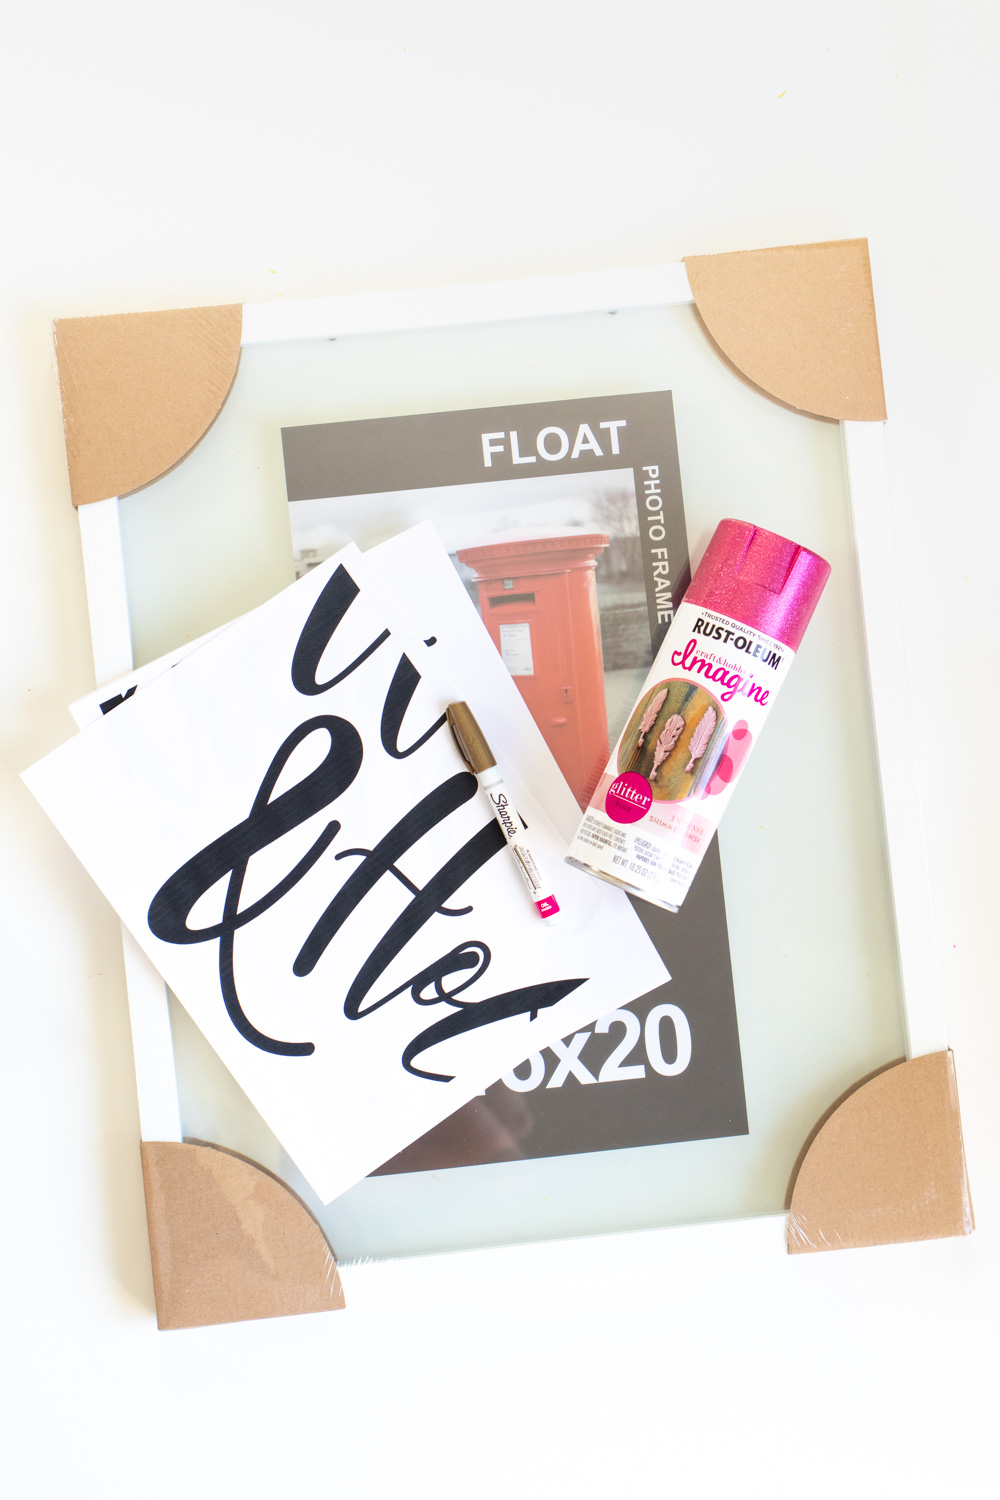
Supplies:
- Large floating frame (mine is 16 x 20 inches)
- Extra-large print-out of names or saying
- Metallic paint marker
- Rust-Oleum Imagine Glitter Spray Paint, Pink
- Tape
- Scissors
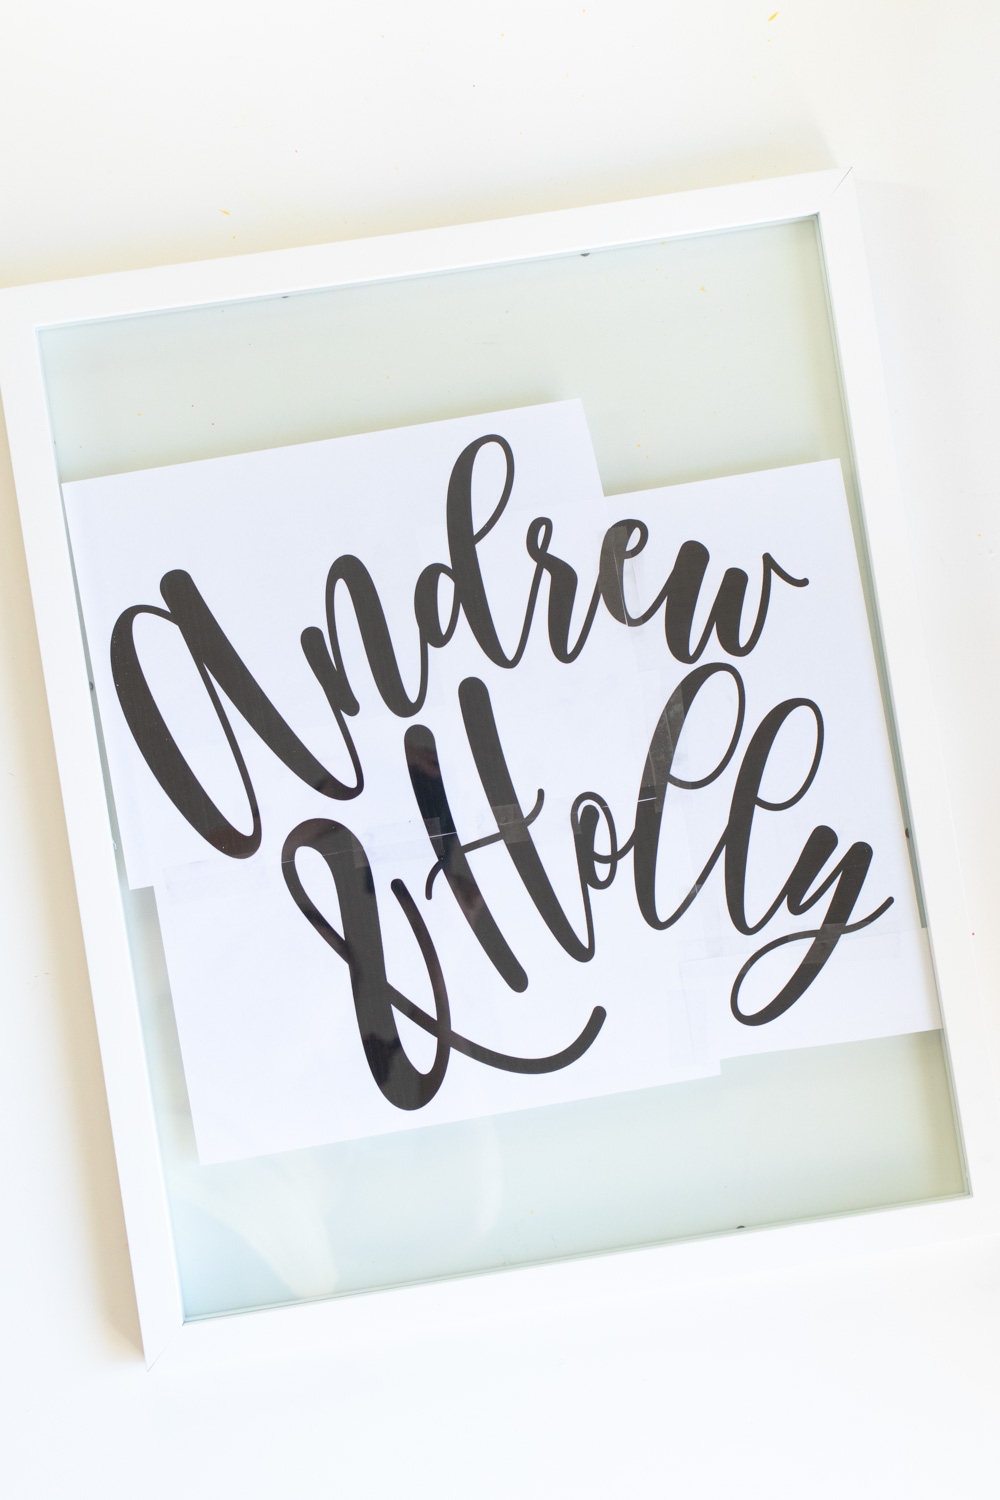
Step 1: Remove the placeholder print inside of the floating frame. Put it back together so that it is entirely see-through.
HOW TO make A TEMPLATE FOR A DIY CALLIGRAPHY SIGN
Step 2: Open a platform like Microsoft Word or Adobe Illustrator. Personally, I use Illustrator. There are two ways to make your print-out template:
- First, open a landscape oriented document. Write out your text. Choose your favorite font. You can download new fonts online for free personal use. Stretch the text and allow it to move to multiple changes for a larger DIY calligraphy sign. You can also allow letters in a word to split pages. Print out on multiple pages.
- The second way is only using Illustrator. Open a new project to the size of your frame. You’ll see that my text has a slight curve. Use the “type on a path” tool to create slightly curved words and design it how you want it to appear on the wedding sign. Convert the text to outlines, group the pieces, then copy and paste the design multiple times. Make transparent boxes approximately 8 x 11 inches and place them over the text, tiling them together. Select the design and a transparent box and click Command + 7 to create a clipping mask of that section. Repeat with each piece, creating a puzzle of different sections of the design. Then separate each piece onto its own standard paper sized project. (See supplies photo)
Step 3: Print out the pages on multiple pieces of standard paper. Cut at the breaks in the text and tape them together to create the entire design. Then tape it to the backside of the frame where you want to trace the calligraphy sign.
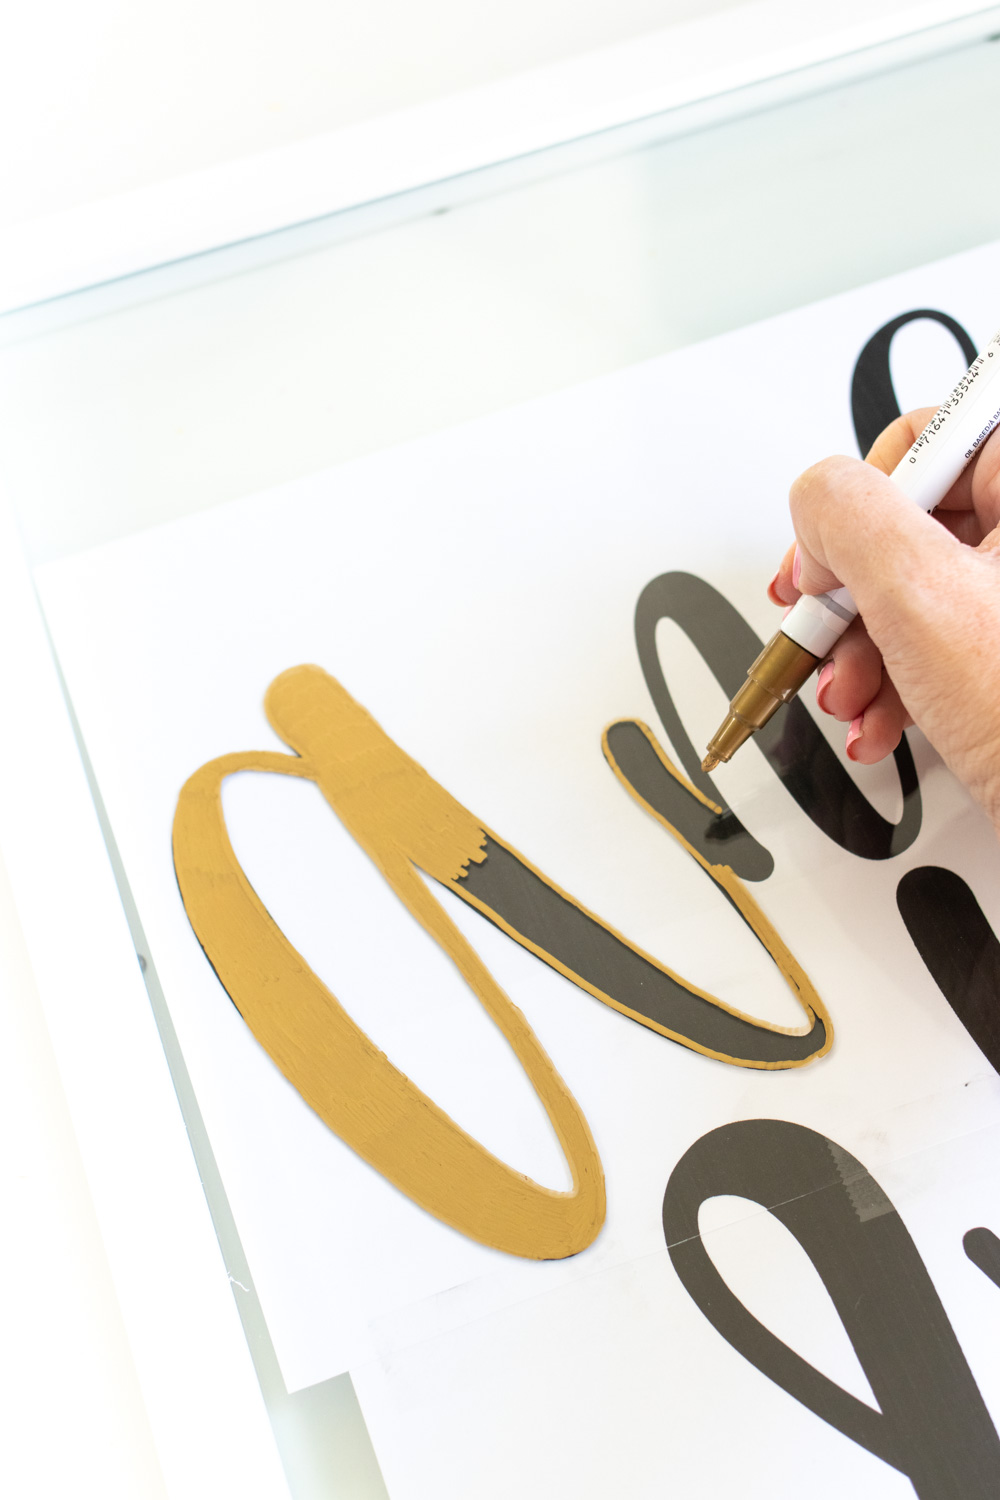
Step 4: Trace the printed template with the glass marker. Fill in the lines if desired. If you make a mistake, the marker can be chipped away. Let dry.
How to Spray Paint the wedding Sign
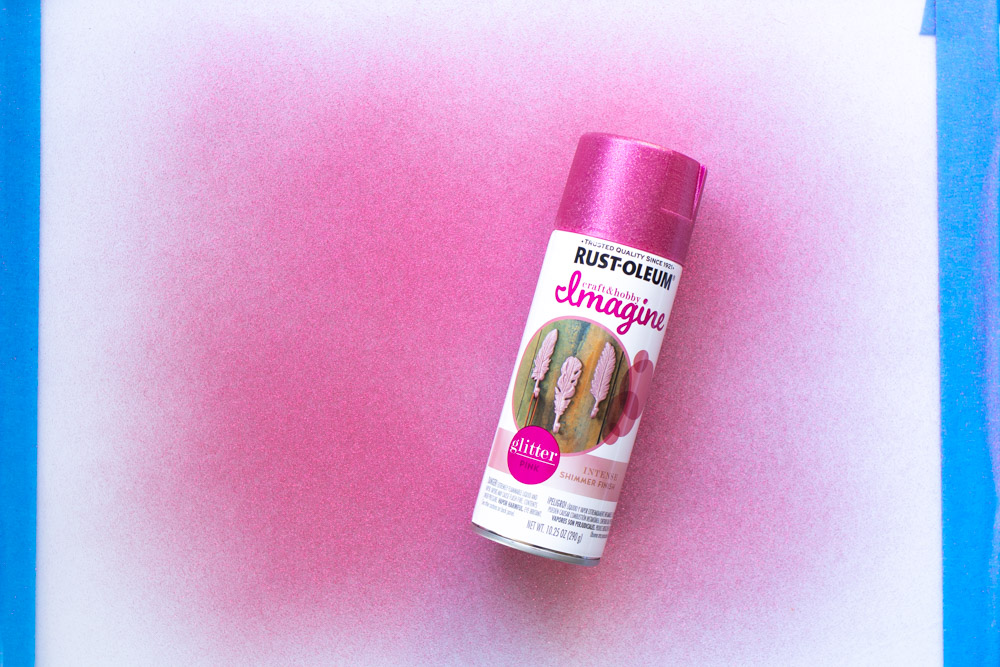
Step 5: Remove the paper template and remove the glass from its frame. Then place the glass face-down on your spray painting surface. Spray paint the back of the glass with Rust-Oleum Imagine Glitter spray paint.
PS, be careful! When out of its frame, the edges of the glass can be very sharp. I added some painters tape around the edge to be safe.
Step 6: Paint multiple coats on the sign to make a more opaque background, especially in the middle. Allow the edges to blend away into more transparent color. Add as many coats as desired until you reach your desired opacity.
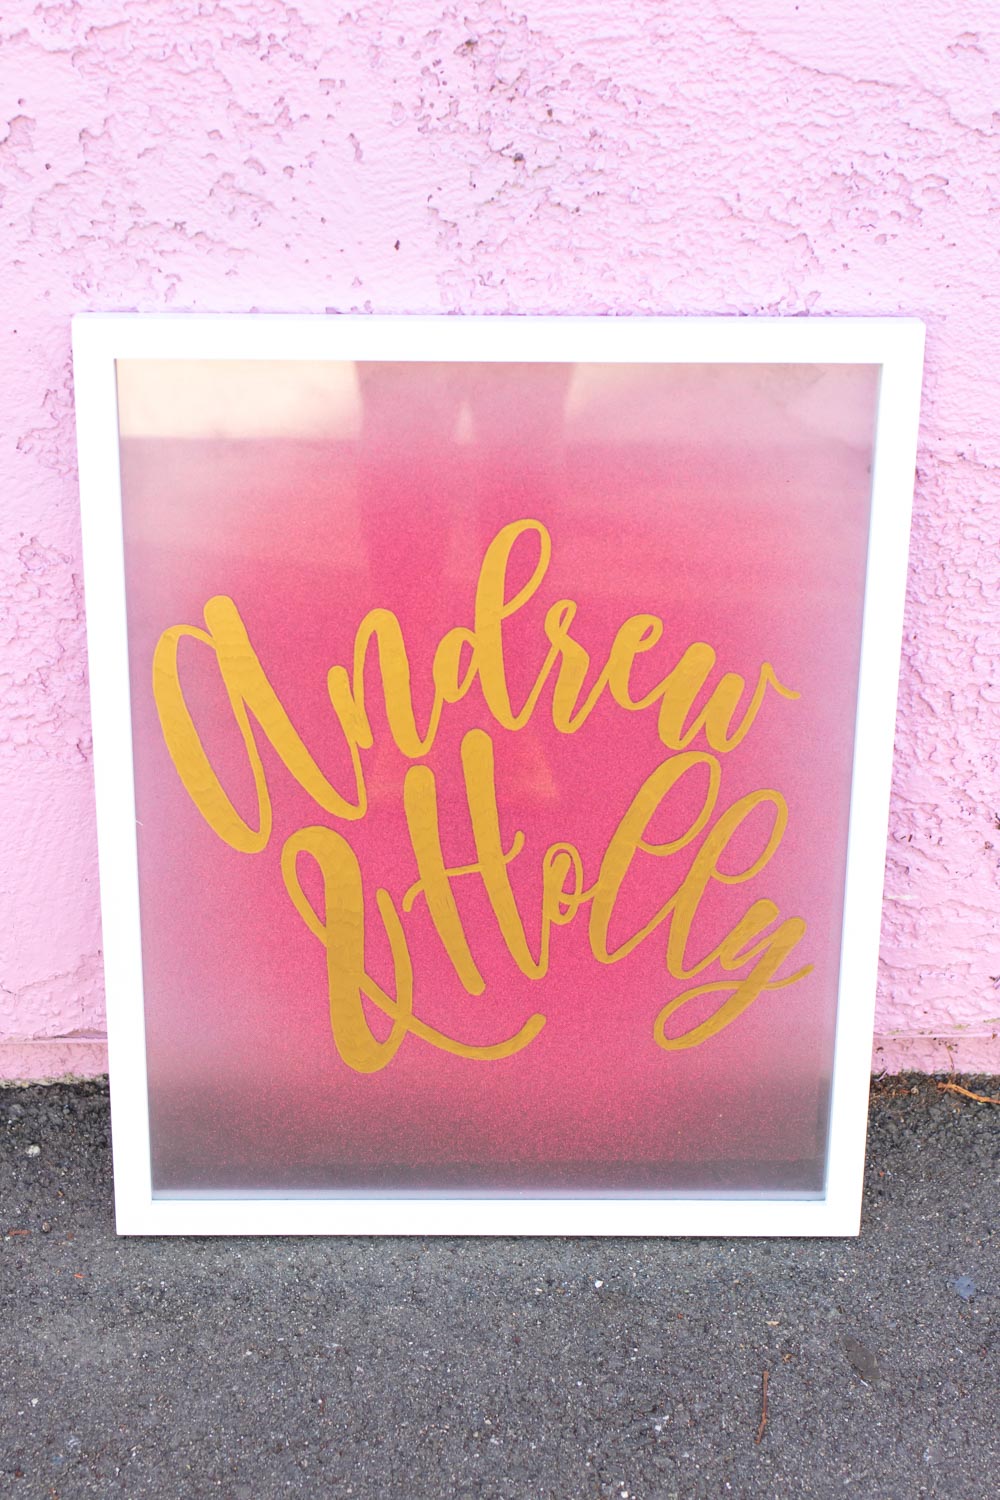
Once dry, you can replace the glass in its frame for a beautiful DIY calligraphy sign! Everyone will be shocked when you say it’s homemade and think you became a calligrapher overnight. Don’t forget you can try this technique for your wedding signage, bar signs, seating charts and more!
Thank you to Rust-Oleum and JOANN for generously sponsoring this post. All opinions are my own. Please note this post contains affiliate links from which I may collect a small profit should you choose to make a purchase. Thanks for supporting the brands that keep Club Crafted making!
