The following post is sponsored by JOANN
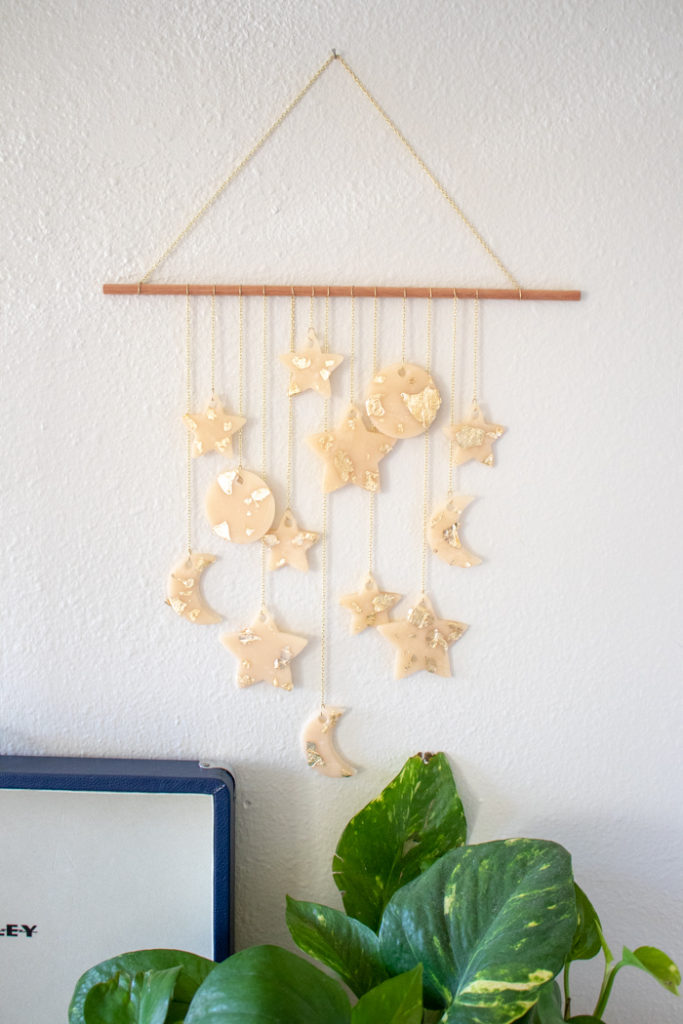
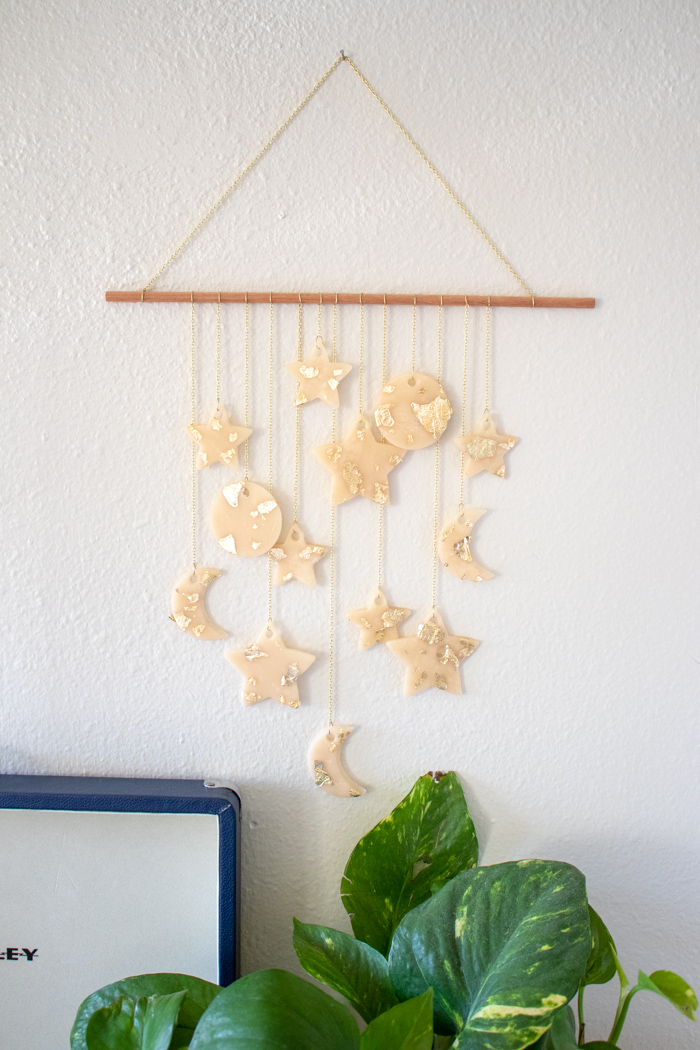
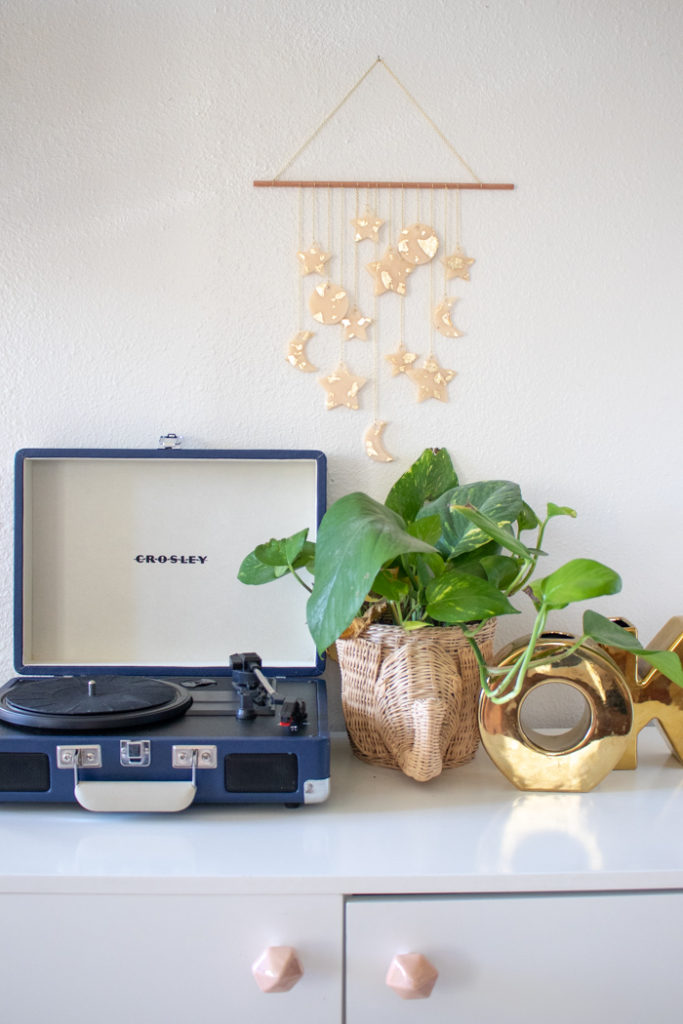
I’m really digging the current celestial trend right now, especially in our bedroom! Ever since we moved to our new apartment, I’ve been incorporating a lot of celestial patterns and metallic gold into my design plans, so making my own DIY celestial wall hanging with supplies from JOANN was the perfect addition to my empty walls! I used oven-bake clay and gold flakes to bring my love of space and stars to our bedroom that feels a little more “adult” than celestial decor I’ve seen in the past. Plus, I’m in a “give me alllll the gold” kind of decor mood these days!

First, let’s talk about what makes these supplies from JOANN so unique. I chose Sculpey translucent clay for the celestial wall hanging out of curiosity, and I’m thrilled with the outcome. Of course, you can use any color that matches your decor (how great would navy blue look?!) but since we have white walls and a pretty mellow color scheme, I loved the slightly translucent, nude color of the Sculpey clay. Then, the Heidi Swapp gold flakes really brought the wall hanging to life! Combine all of these supplies with multiple – yes, multiple – coupons, and it’s a must-try.
This completely customizable celestial wall hanging with moons and stars has a nice small footprint so it fits in perfectly to your existing decor or in a small space. Let’s get making!
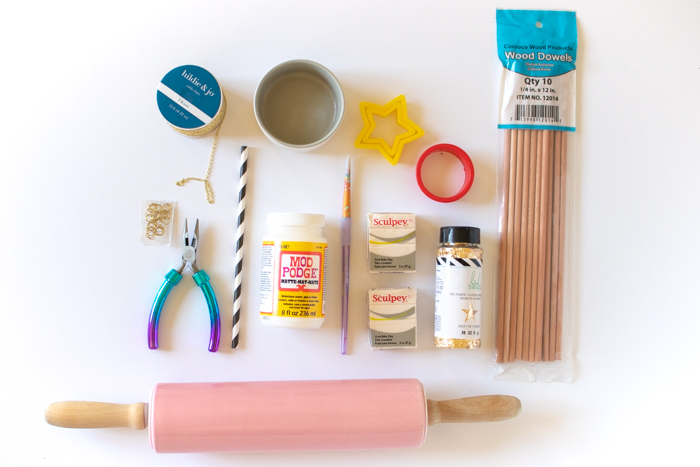
Supplies:
- Oven-bake polymer clay, two packages in desired color
- Rolling pin
- Star and circle cookie cutters
- Straw
- 1/4 inch wooden dowel
- 6mm gold jump rings
- Gold chain
- Jewelry pliers
- Mod Podge (matte recommended)
- Gold flakes
- Paintbrush
Step 1: Preheat the oven according to package instructions (approx 275 degrees F).
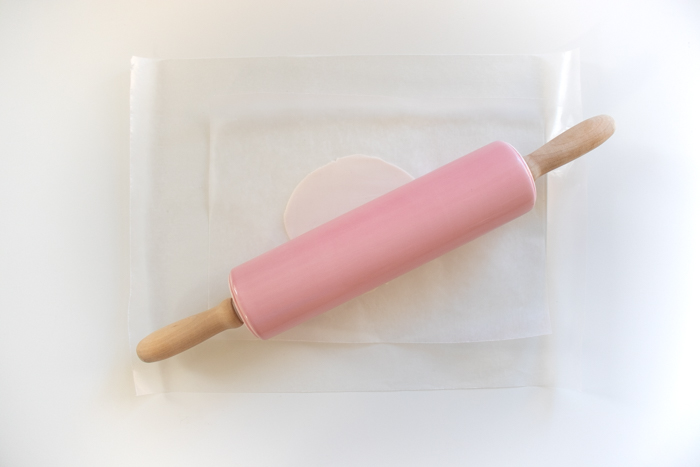
Step 2: Cover your work surface as needed. Roll out the clay until about 1/8-inch thick.
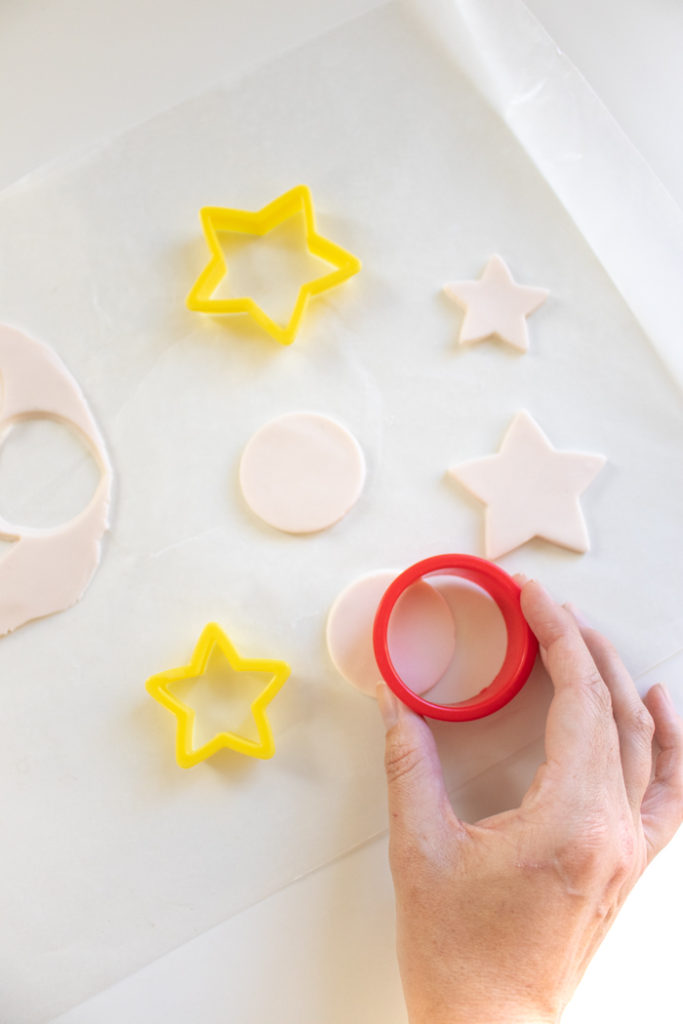
Step 3: Use small cookie cutters to cut various sized stars and circles from the clay.
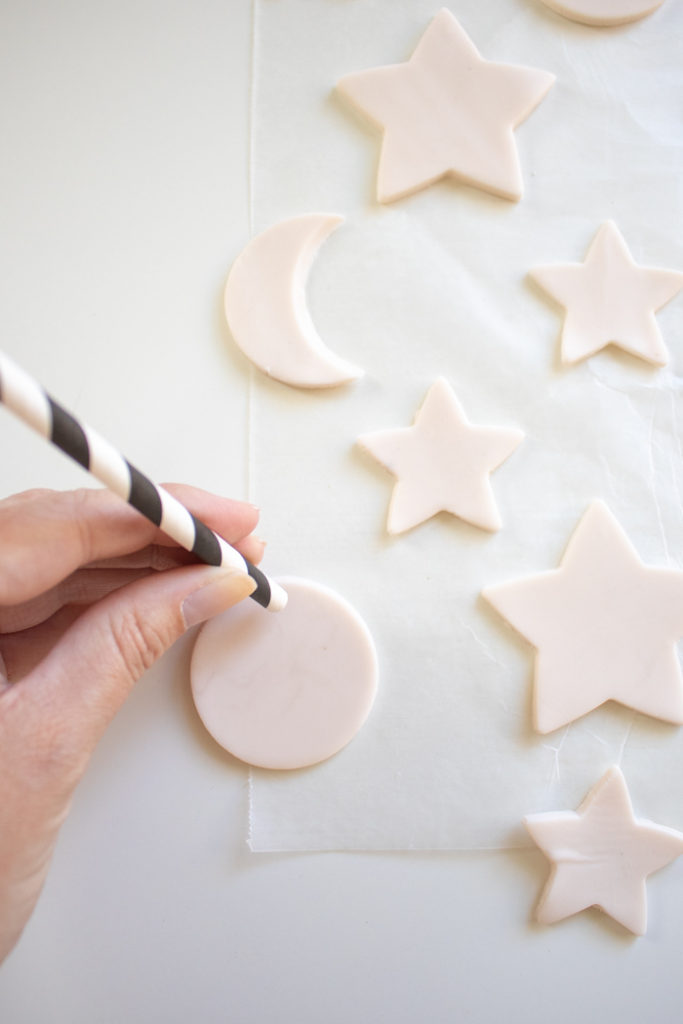
Step 4: Use the straw or something similar to cut holes at the top of each piece where they will hang.
Step 5: Place the pieces on the prepared baking sheet and bake according to package instructions, about 10-15 minutes, until stiff.

Step 6: Once stiff and cooled, thread a jump ring through each opening. Then thread the end of the chain onto the jump ring and close.
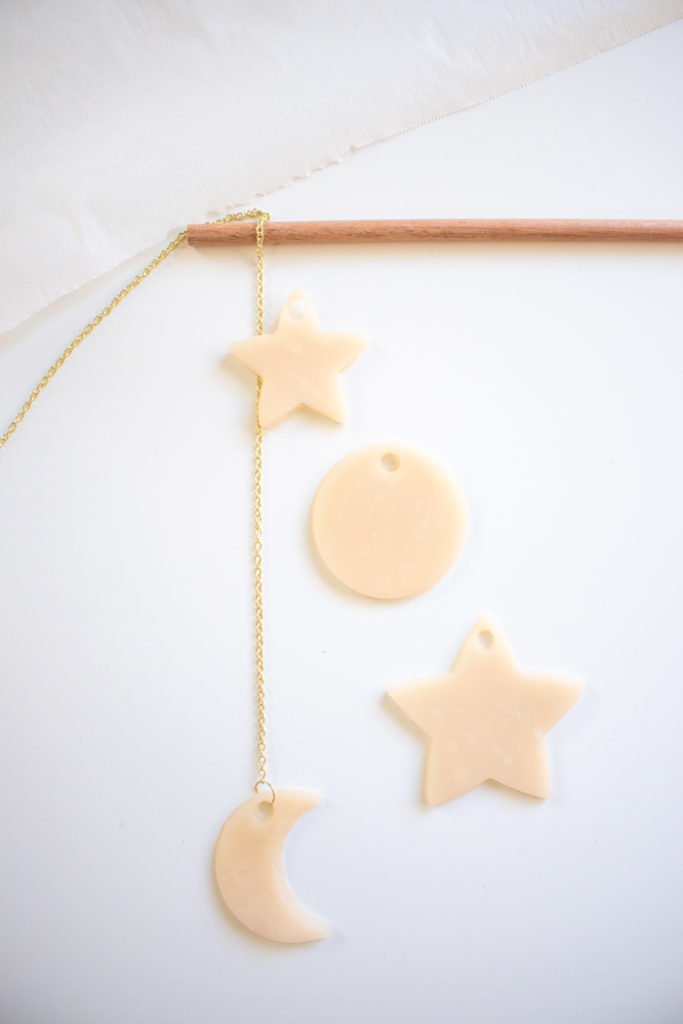
Step 7: Lay out the chain and cut-outs beneath the wooden dowel to determine your desired length, about 6-8 inches. Then cut the chain to size.

Step 8: Secure a jump ring to the end of the chain and thread onto the end of the wooden dowel.
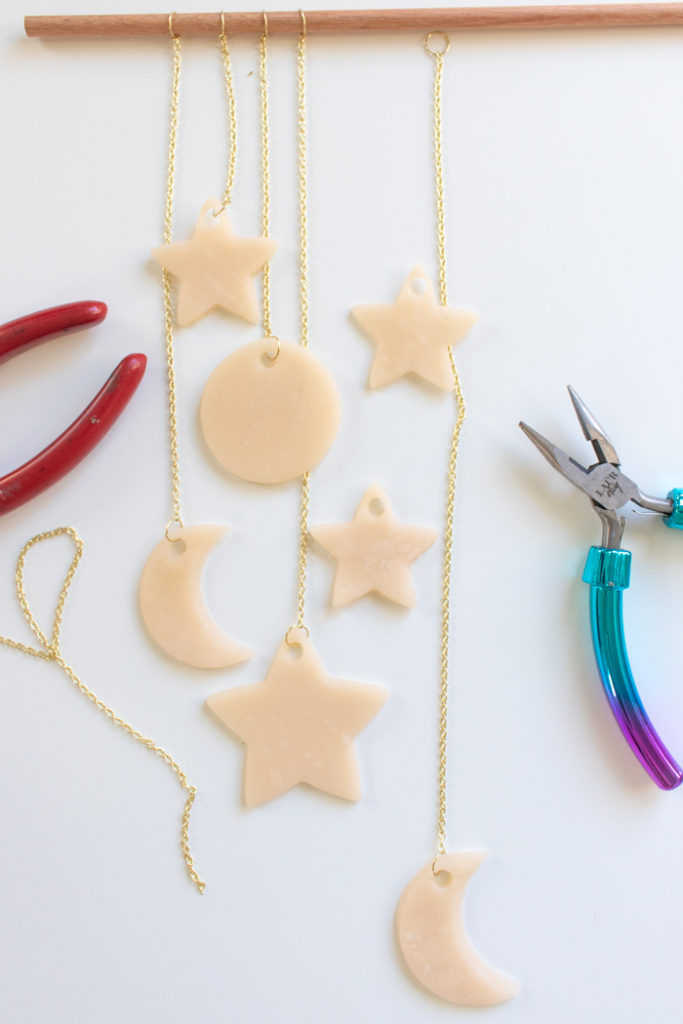
Step 9: Repeat with each piece, adjusting the sizes as needed, until you have an odd number of chains across the dowel.
Note, I have the longest in the middle and allow the pieces to lay on top of each other, but this is optional.

Step 10: Cut another length of chain for the wall hanging to hang from, about 13-15 inches. Attach jump rings to either side and thread onto each side of the dowel, allowing the chain to pull upward.
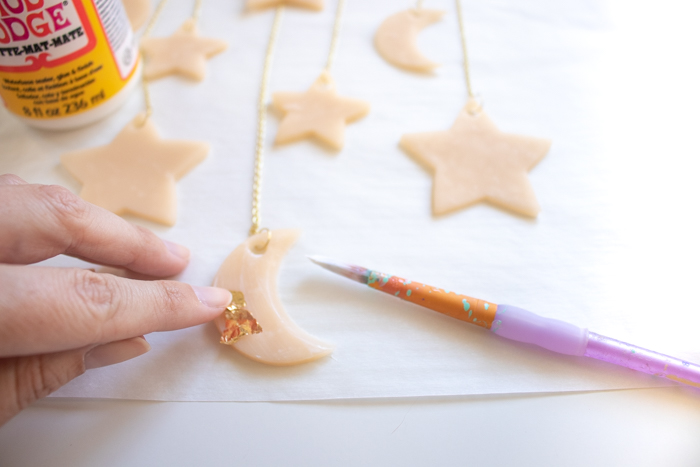
Step 11: Apply a thin layer of Mod Podge to each piece (outside facing side). Use your fingers or tweezers to add pieces of gold flakes on top in a random pattern with various sized pieces. Press to hold and repeat with all pieces.
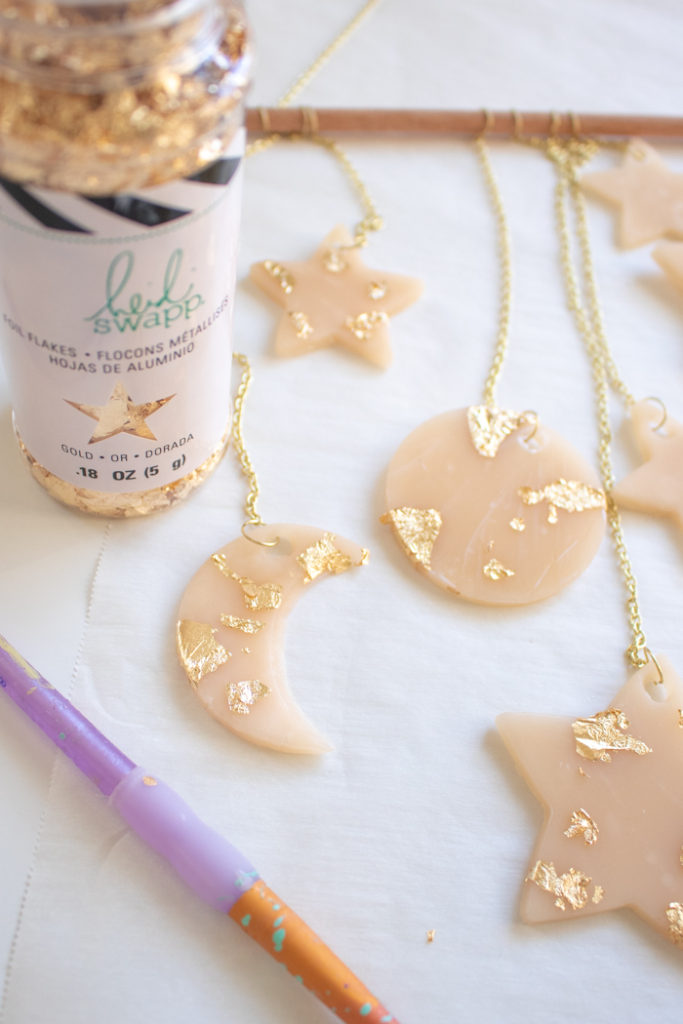
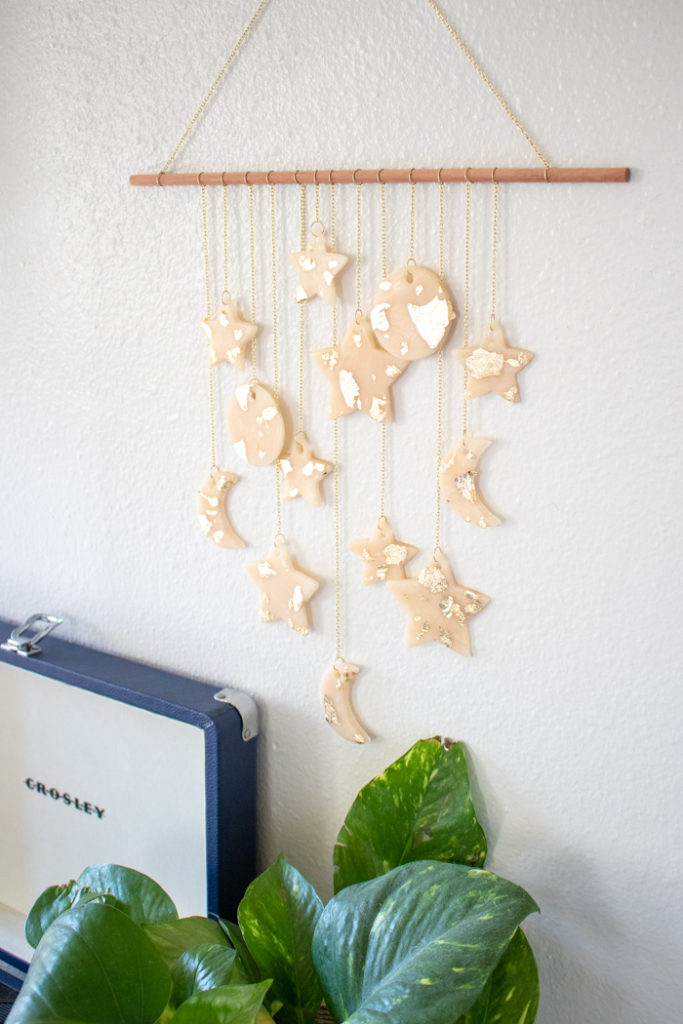
Once the Mod Podge has dried, the celestial wall hanging is ready for its big debut!
It’s lightweight, so you can use a small nail or a Command hook to hang it. Enjoy how the light catches the metallic gold flakes!
PS, be sure to check out more home decor DIYs!
Thank you to JOANN for generously sponsoring this post. All opinions are my own. Please note that this post contains affiliate links from which I may collect a small profit should you choose to make a purchase. I only link to products I personally use or recommend. Thanks for supporting the brands that keep Club Crafted sharing!
