The following post is sponsored by JOANN
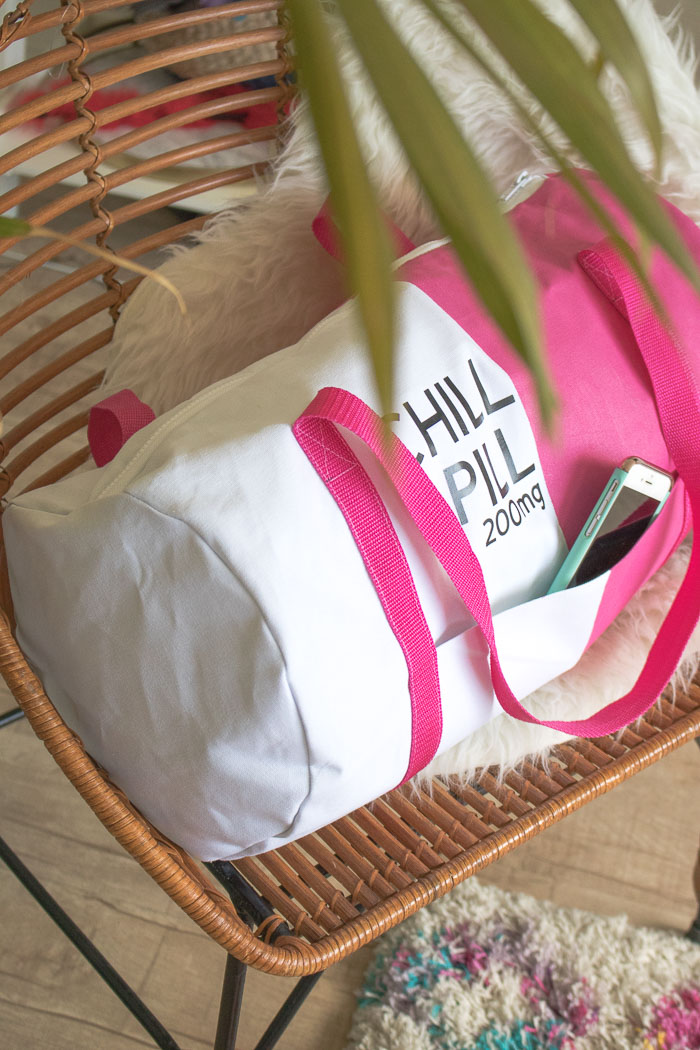
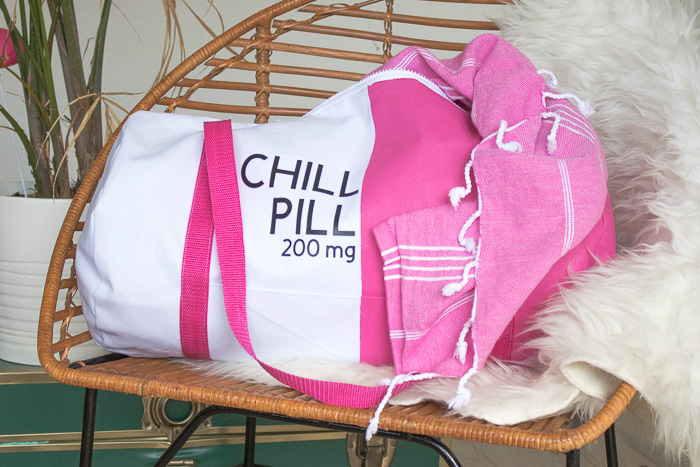
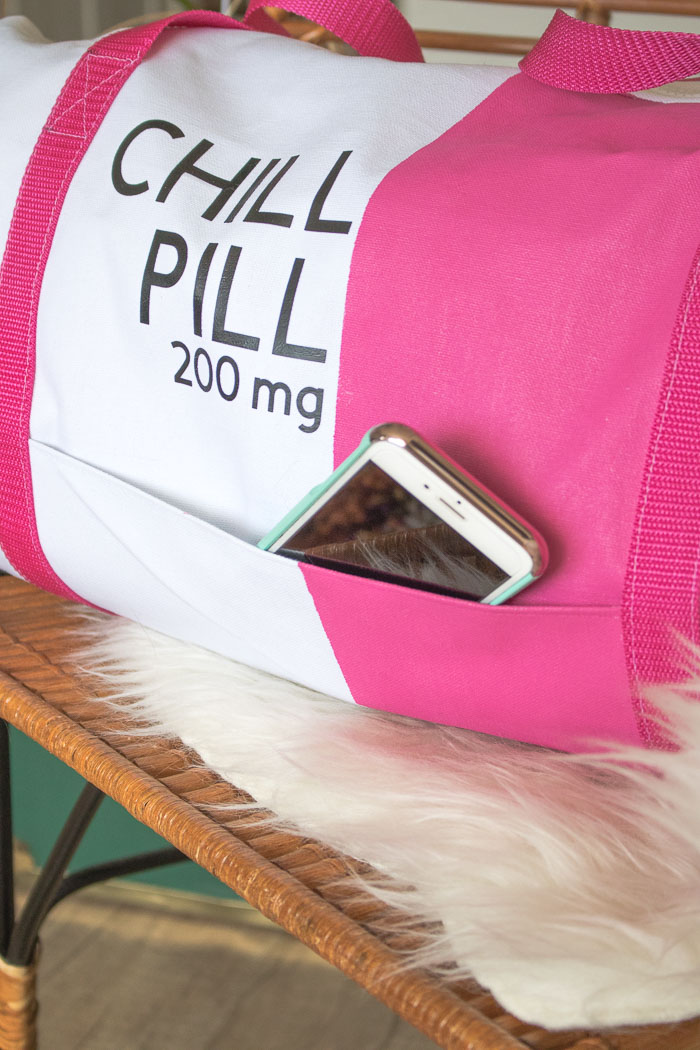
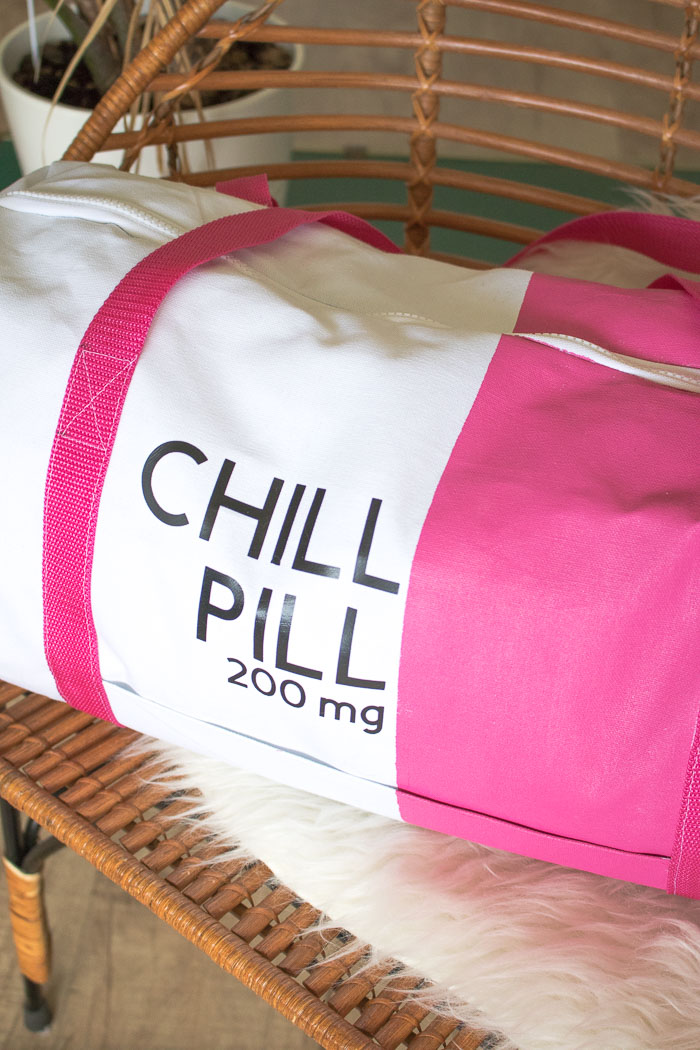
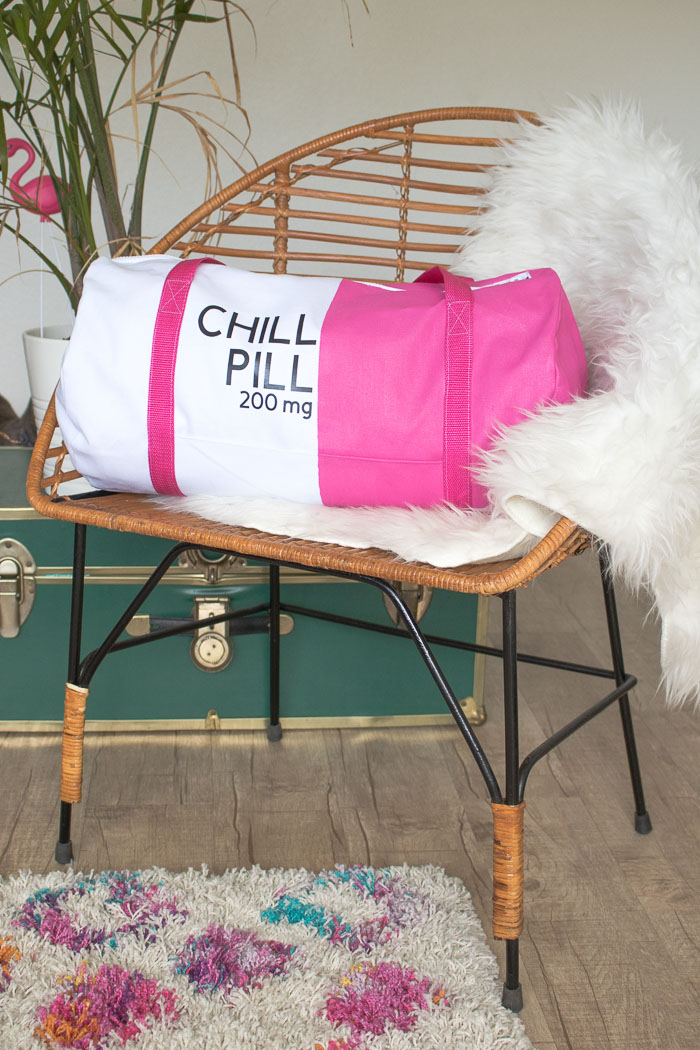
YOU GUYS. You don’t even understand how excited I am about today’s post. I’ve been waiting to share this bag with the world for WEEKS and I’m so excited to finally reveal my new favorite DIY of all time: my DIY chill pill duffel bag!! I partnered with JOANN to create this fun sewing tutorial for a gym-style duffel bag that’s painted and decorated with vinyl to look like a “chill pill,” which is just what everyone needs for a weekend getaway. This bag is the perfect size to take on a weekend trip, and it has pockets on the front and back of the duffel bag for easy access to smaller items. As far as sewing tutorials go, I’d consider this an intermediate sewing project, but if I can do it, I bet you can too!
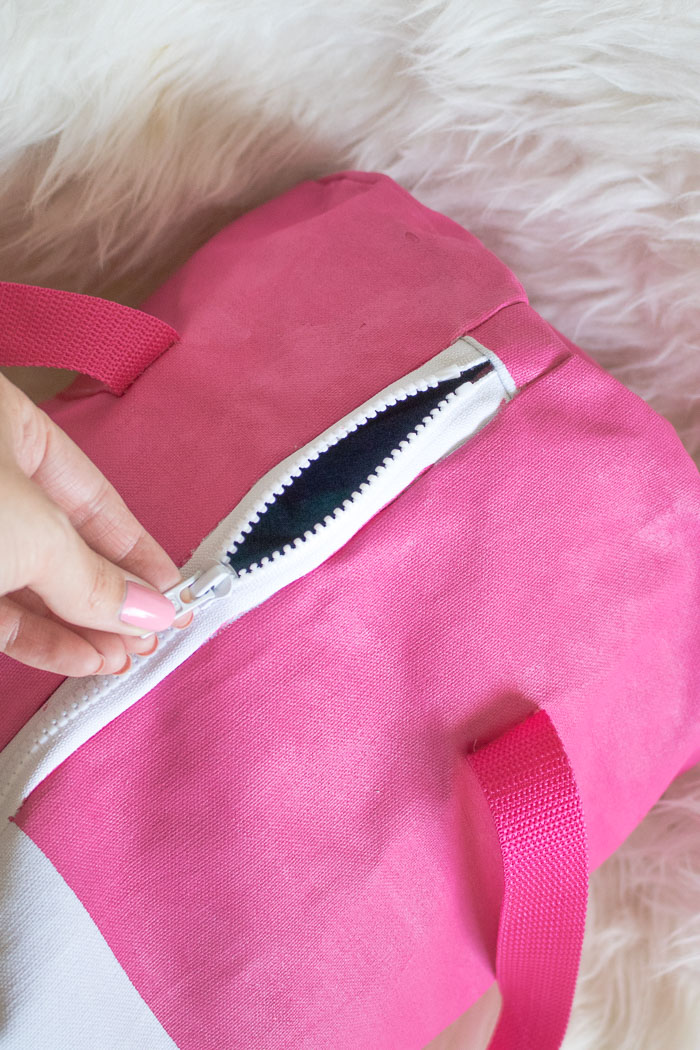
I picked up all the supplies I needed for this chill pill duffel bag from my local JOANN store. Because I wanted the bag to be sturdy, I chose a heavy canvas fabric and paired it with an all-white sport zipper. Aesthetically, this was exactly the look I wanted, but the supplies also help ensure that the bag can last! Then I painted one half of the bag pink to get a classic “chill pill” look (although I’m not sure who decided this, ha!) and finished it with iron-on vinyl letters. I’m pretty sure this chill pill duffel bag is just what the doctor ordered for your next getaway!
This project is a little more time consuming than my usual projects because I had to paint in sections. If you feel more comfortable, you can actually paint all the pieces before sewing the bag, but then you have to be very careful about keeping the pieces lined up so that it appears symmetrical once all sewn together. I felt it was better to paint the bag once it was fully sewn, which took a little bit longer and required a little elbow grease.
Time: 1 hour+
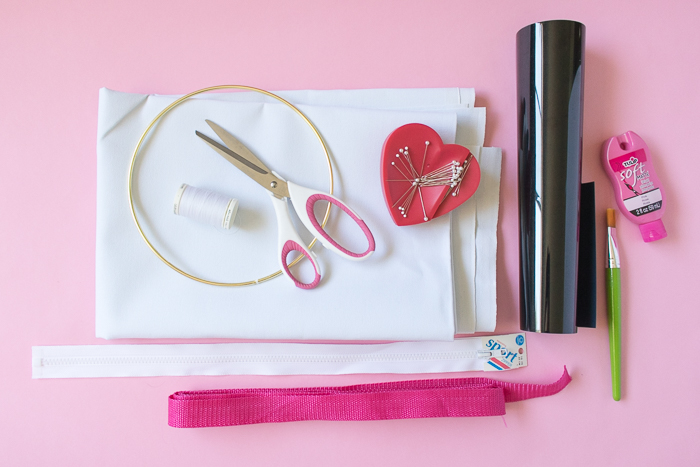
Supplies:
-
- 1 yard white canvas fabric
- 3 yards 1-inch pink webbing
- 18-inch white sport zipper
- Fabric scissors
- Pins
- Measuring tape
- Thread, white and/or pink
- Pink fabric paint
- Painters tape (not pictured)
- Paint brush
- Black iron-on vinyl
- 10-inch hoop or similar item (for stencil)
- Sewing machine
- Iron, recommended
Note, all measurements are designed for a bag approximately 19-20 inches with an 18-inch zipper.
Step 1: Cut two pieces of white canvas 20 x 16 inches. Then cut two 12 x 8-inch pieces. Iron all pieces. 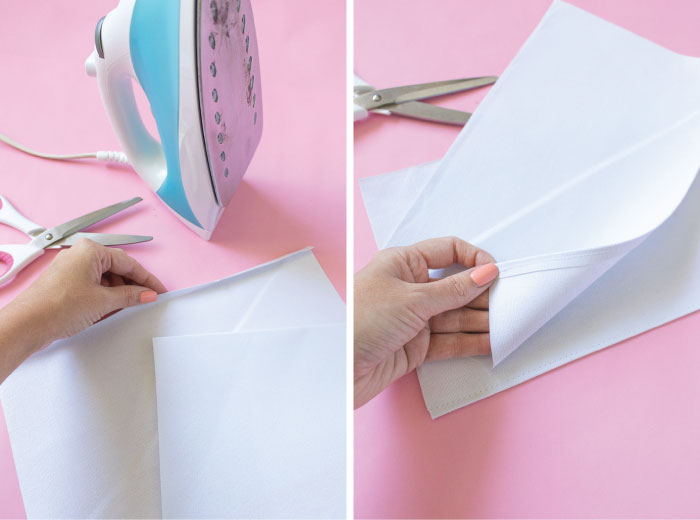
Step 2: Fold the 12-inch side of the smaller pieces to create a thin seam and iron flat. Sew along the fold, back stitching at each end to secure.
Step 3: Lay out both larger pieces of fabric. Position the 12 x 8-inch pieces in the middle, with the clean edge facing the top. This will create the pocket. 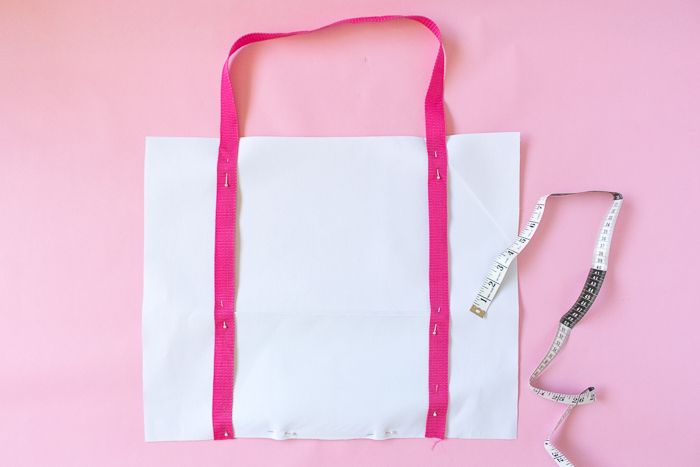
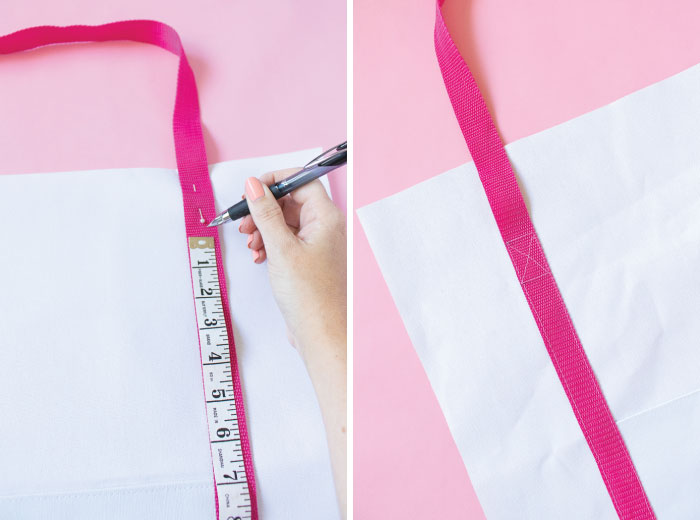
Step 4: Cut the 3 yards of webbing in half. Place it on top of the sides of the pocket and allow for a loop at the top (creating a strap). Use the measuring tape to ensure there is about 4-inches of space on either side of the webbing, creating straight straps. Pin in place.
Step 5: Measure about 3 inches from the top of the bag and mark the webbing with a pin, chalk or pen. Repeat on both pieces of webbing. This is where you will end the stitch. Sew up one side of the webbing, square across at the mark and down the other side of the strap. Repeat on the second piece.
Note, I use white thread so that it is easy to see in the tutorial, but you can also use a matching pink thread.
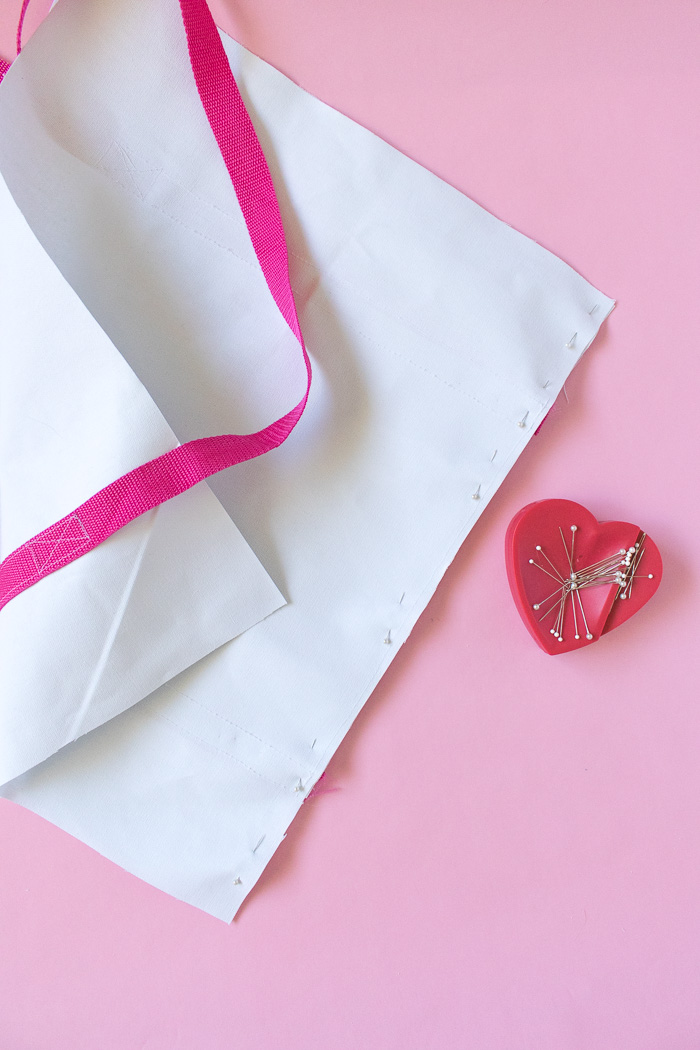
Step 6: Once you have the webbing sewn down, it secures the pocket in place. To add more security, sew a squared ‘X’ at the top of the strap on either side. Measure and mark both sides to ensure they are even.
Step 7: Pin both large strap pieces together at the very bottom, right sides facing together. The bottoms of the webbing should align. Sew across, then unfold. This is the full body of the bag.
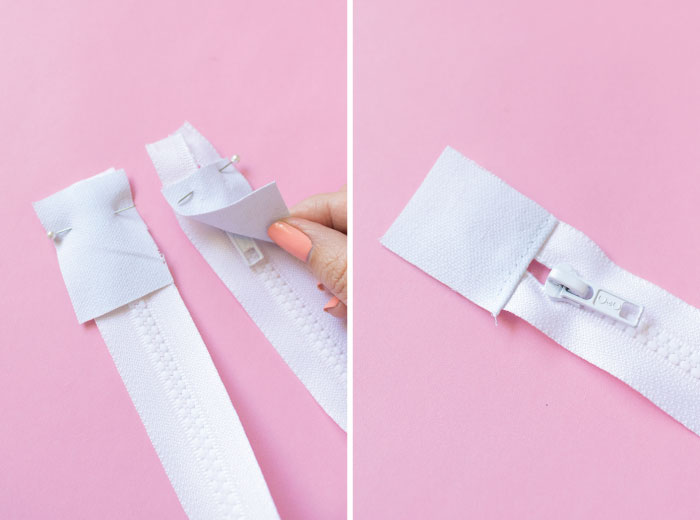
Step 8: Cut two 2-inch pieces of fabric the same width as the zipper. Pin to either end of the zipper (right sides together) and sew. Flip back the fabric, iron down, and sew across the seam for a clean look. You will need to do this for the pull end of the zipper, but the stop end is optional.
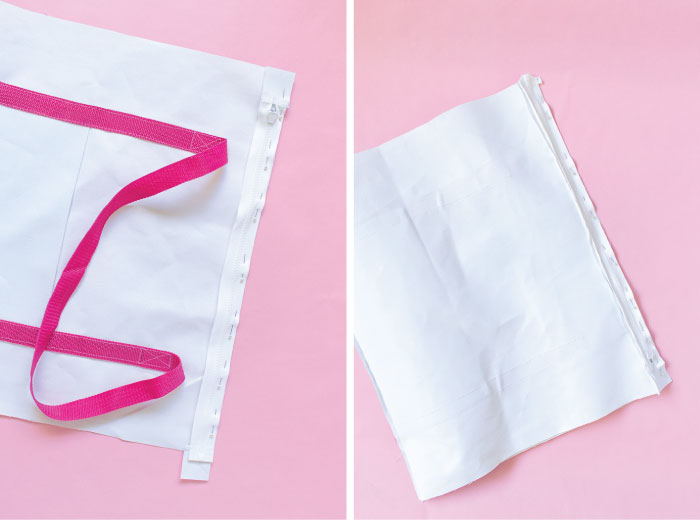
Step 9: Pin one side of the zipper to the top of a strap piece, right sides together. There may be some overhang from the zipper – you will probably want this to be the end of the zipper. Sew all the way across, widening the seam around the zipper pull as needed.
Step 10: Fold over the other half of the bag, right sides together. Pin the other side of the the zipper to the other side of the bag, ensuring the right sides are still together. Pin and sew.
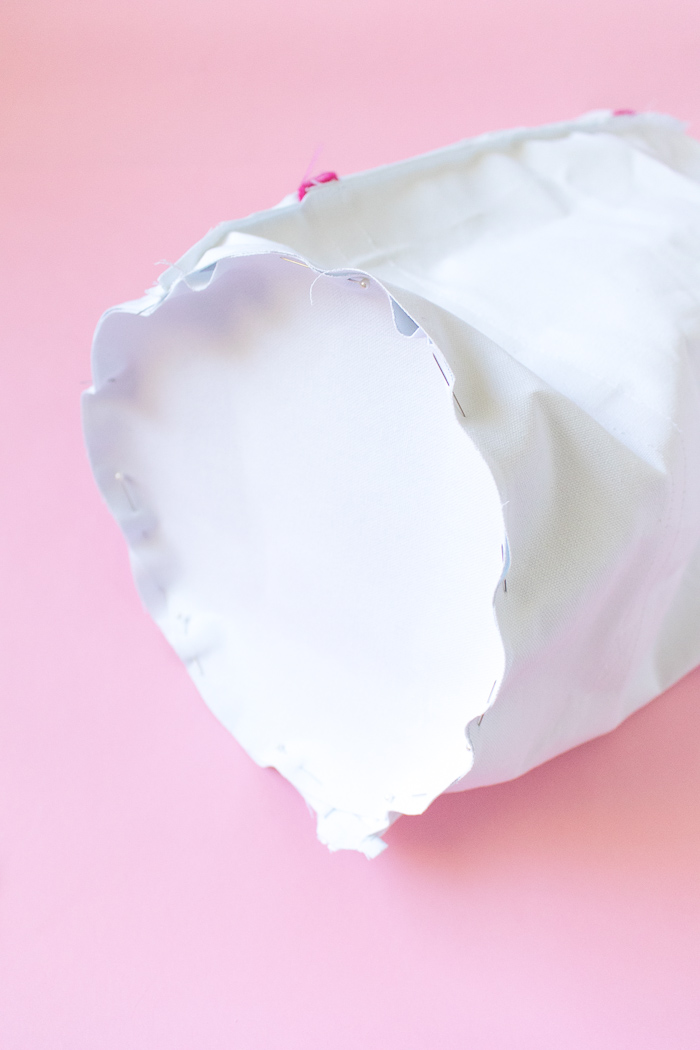
Step 11: Use the hoop as a stencil to cut out two 10-inch circles. With the bag body inside out (leave the zipper open a bit) pin the circles to each open end of the bag. Sew all the way around, back stitching at each end and maintaining the circular shape.
Step 12: Trim all loose threads and turn the bag right side out through the zipper. Iron the seams that meet the zipper for a clean look.
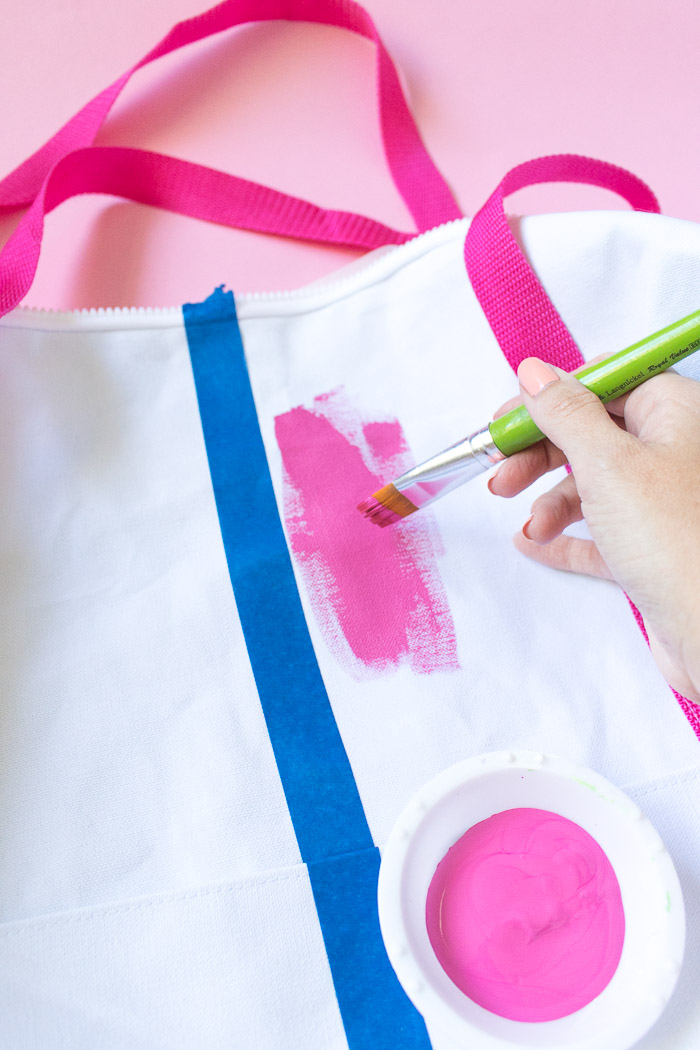
Step 13: Apply painters tape down the center of the bag and paint one half of the bag with fabric paint, including both sides. Take care painting right up to the zipper and at the edges of the webbing. Allow paint to dry completely.
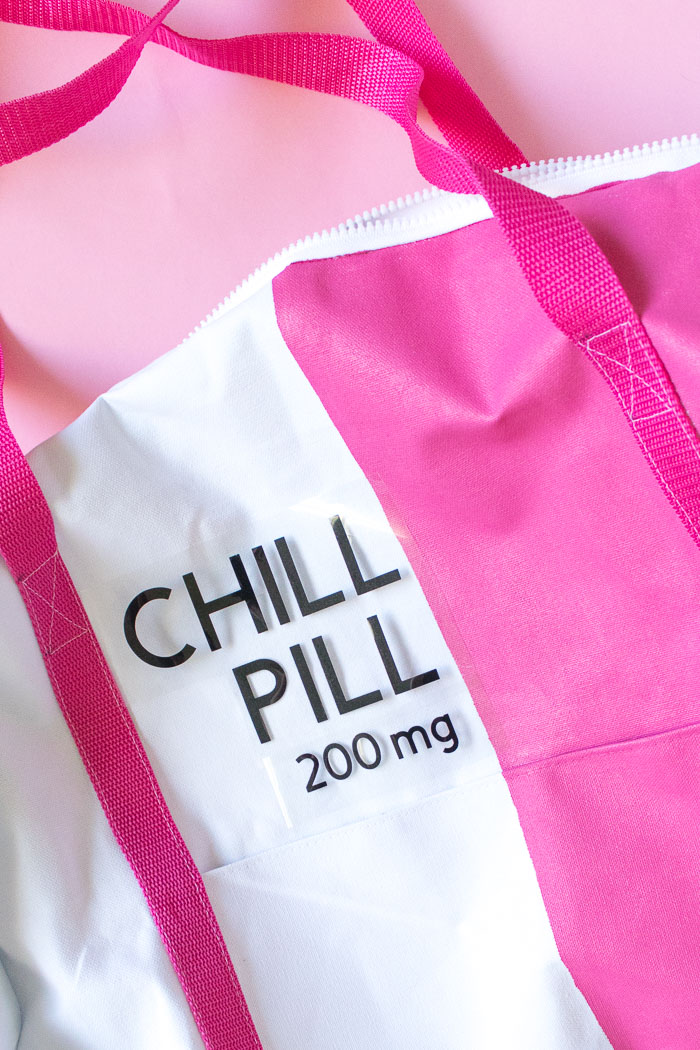
Step 14: Use a cutting machine or a craft knife to cut CHILL PILL and 200mg out of black iron-on vinyl. Be sure to mirror the image. Place at the middle mark on the white side of the fabric. Cover with a dish towel and press with an iron until you can cleanly remove the plastic to reveal the vinyl letters.
Alternatively, you could use a letter stencil and black paint to create the words if you do not have access to creating vinyl letters.
I plan on taking this chill pill bag with my everywhere I go from now on! You might think I’m kidding, but no, I might actually carry this duffel bag around as a pursue. Now I can’t wait to show it off for my next weekend trip to San Diego!
Thank you to JOANN for generously sponsoring this post. All opinions are my own. Thanks for supporting the brands that keep Club Crafted posting!

