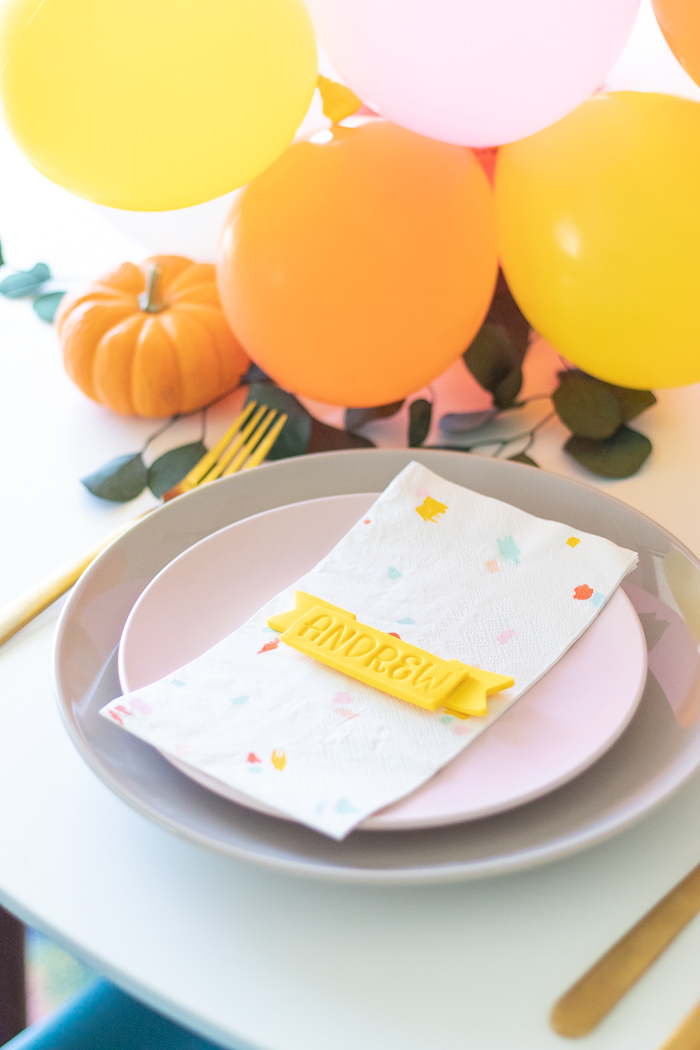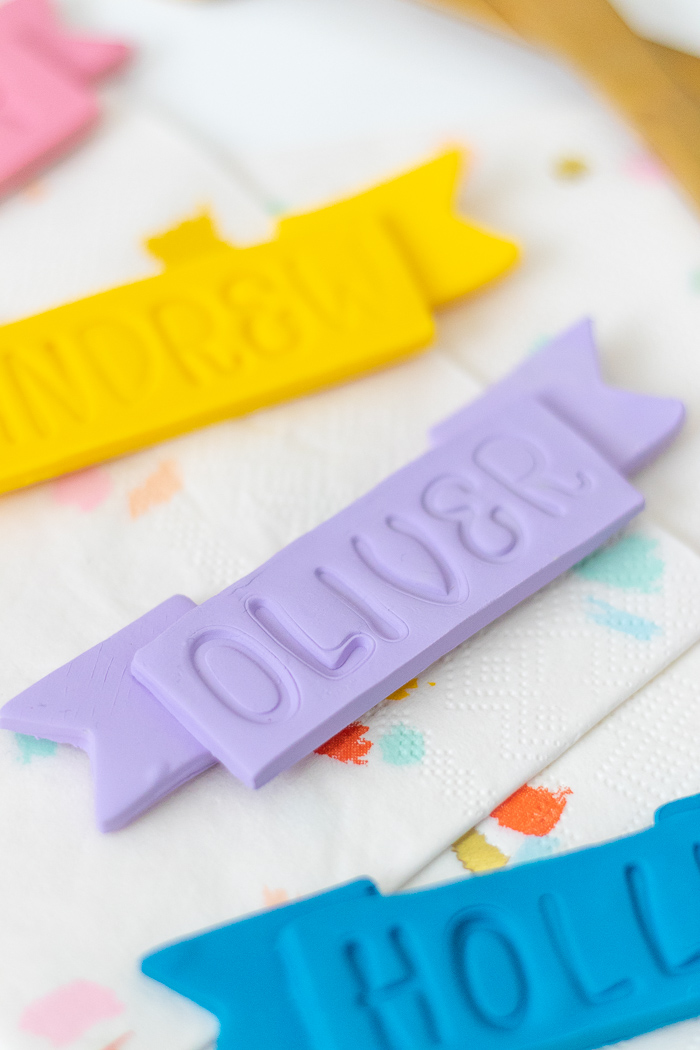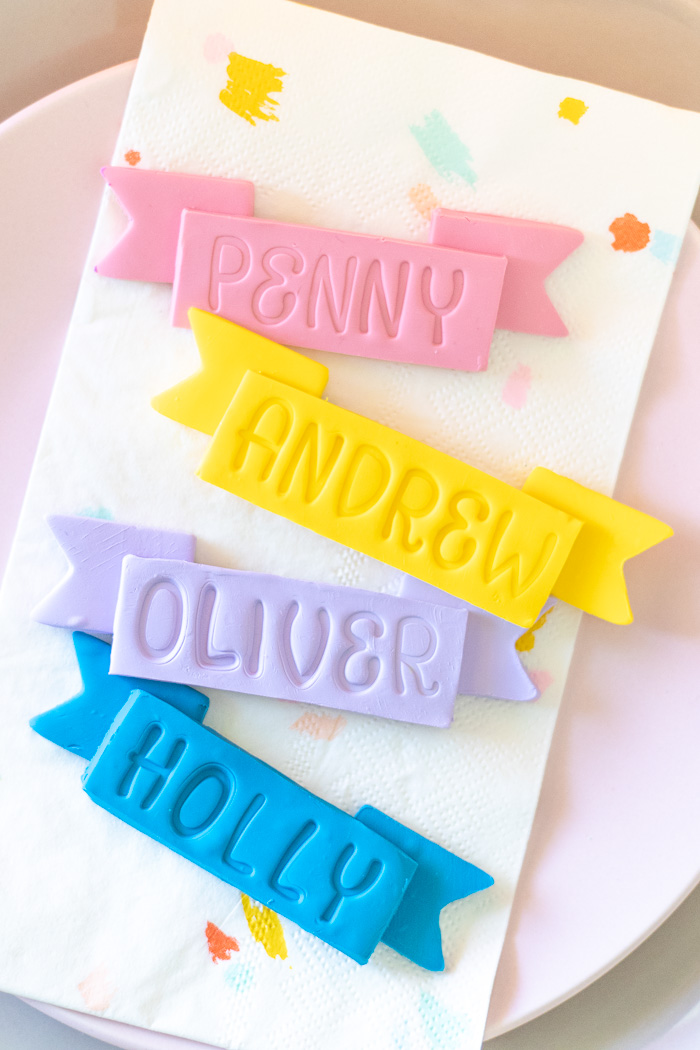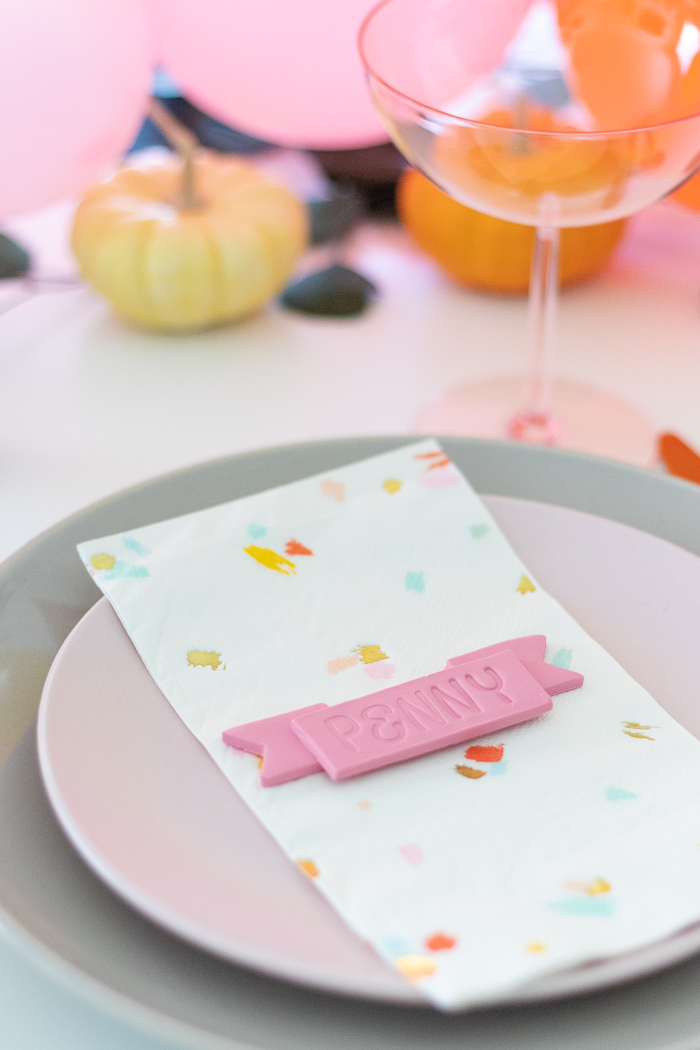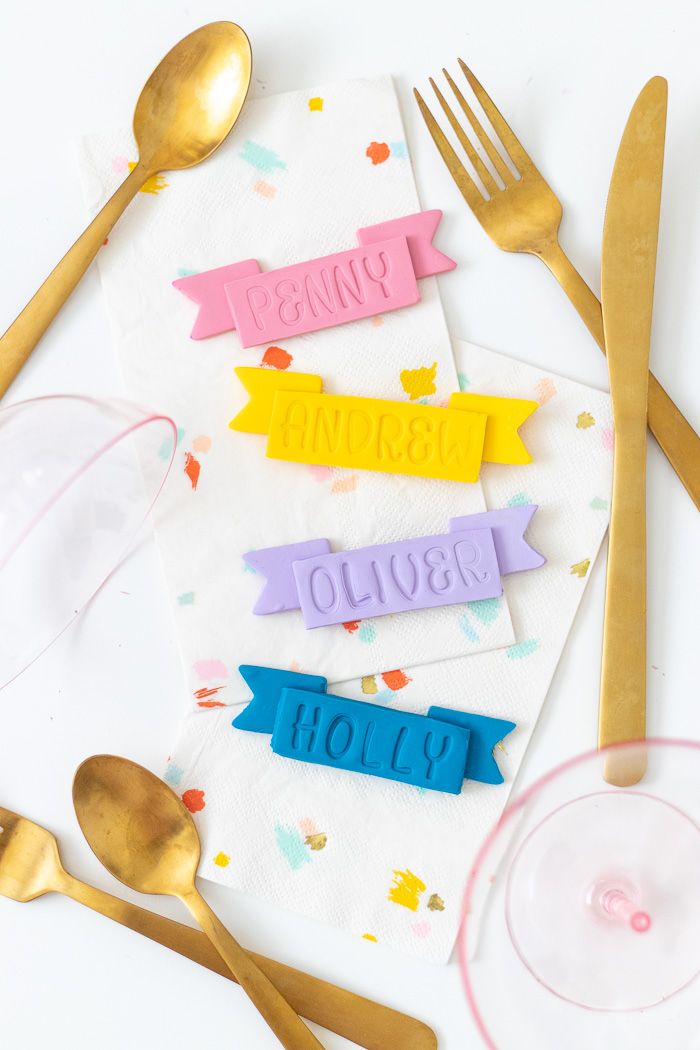
I’m resisting all my urges to deck out the entire house for Christmas…mostly because Andrew keeps reminding me that Thanksgiving comes first! Well, Thanksgiving can be fun (but I’m a Christmas girl, ha!) so I wanted to share at least a couple ideas for decorating for Thanksgiving this year, including the pumpkin and balloon centerpiece earlier this week. These DIY clay ribbon place cards were a great addition to that tablescape! Would you believe I actually made the first set of these a year ago and never posted them?! This time of year get’s so crazy, but I still wanted to share this simple place card DIY using stamps to emboss the clay and create a 3D ribbon appearance using a cutter you can find in the clay aisle of your local craft store.
Of course, I don’t actually set my table for Oliver and Penny (my cats) but I wanted to add more names to our table, so there you have it, ha! These 3D style ribbon place cards remind me of how we draw ribbons in handlettering. When I saw the ribbon end cutter at JOANN over a year ago, this was the first project I thought of making. Admittedly, it has me wondering if I can make a cute set of 3D cookies with them.
Whether you’re hosting a small or large dinner party or Thanksgiving dinner event, you can easily make only two or make over 20 of these clay ribbon place cards in very little time. At the end of the party, guests can take home their name for displaying, or you can store them for future parties because this oven-baked clay will last forever!
Time: 10 minutes
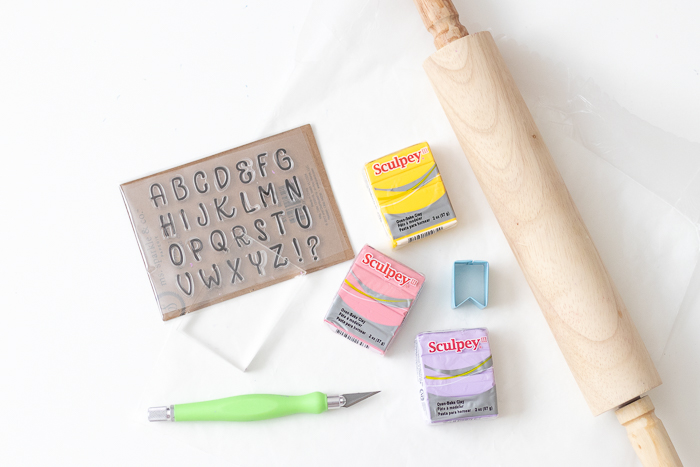
Supplies:
- Polymer clay
- Rolling pin
- Craft knife
- Alphabet stamps
- Ribbon end cutter
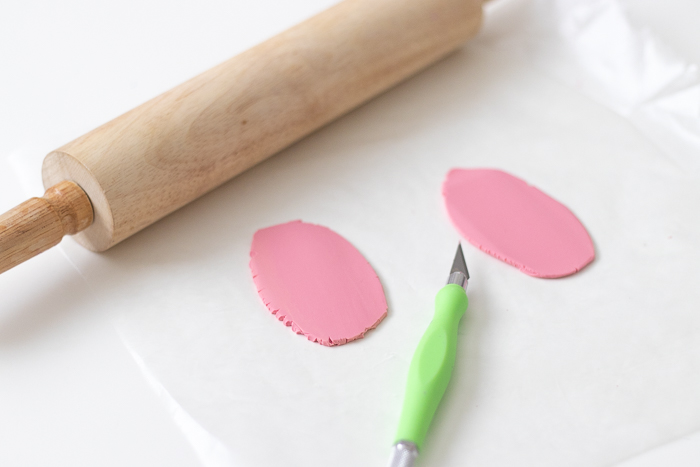
Step 1: Roll out a piece of clay until about 1/8-inch thick or thicker.
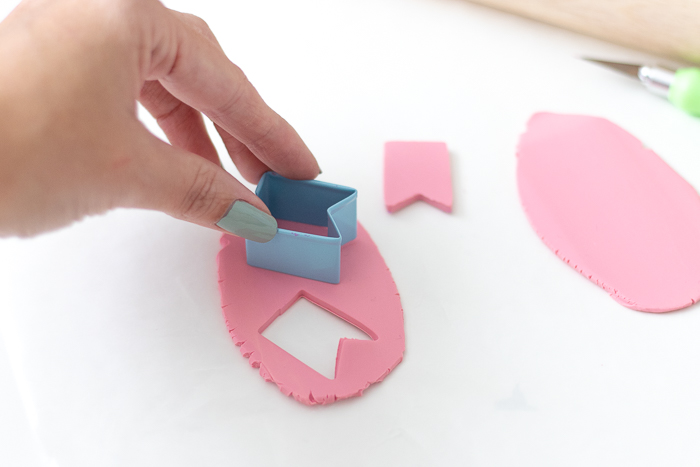
Step 2: Cut out two ribbon end shapes out of the clay.
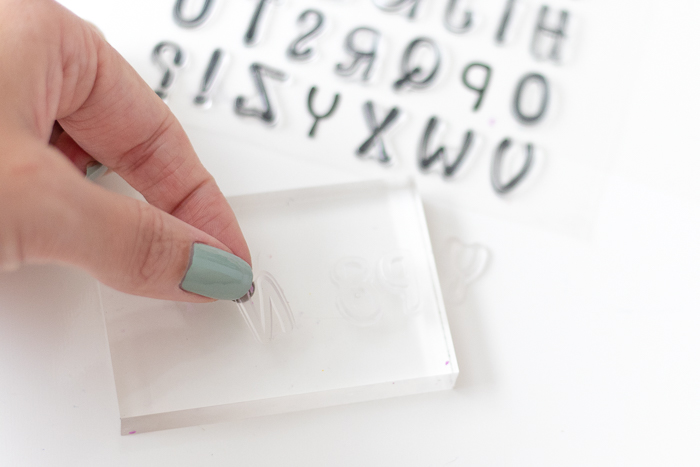
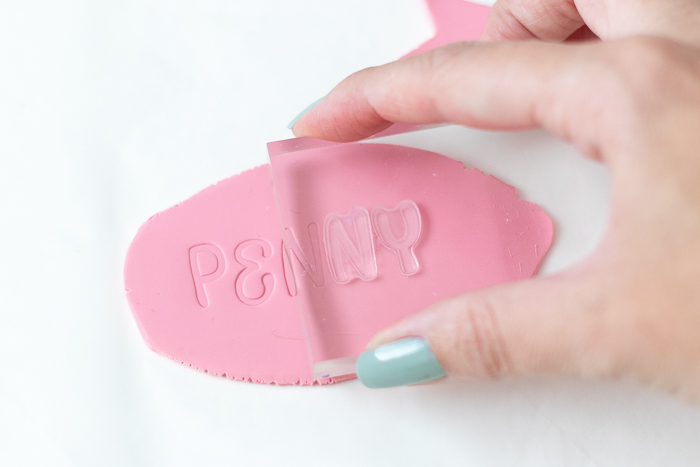
Step 3: Arrange the letters for each name, and press into the clay until clearly visible. Then cut the strip of clay so that the height is larger than the name.
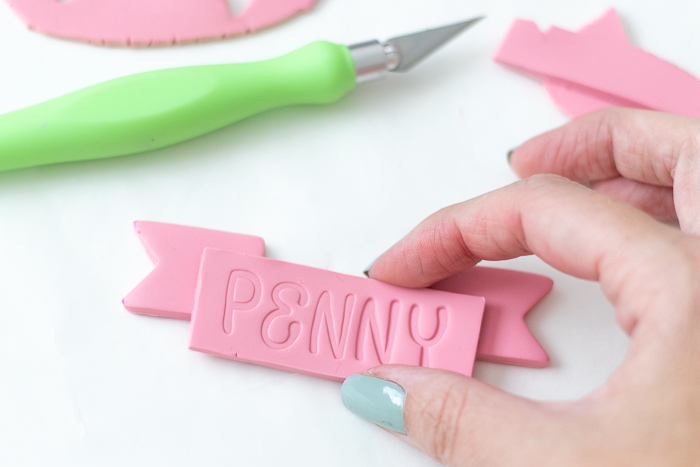
Step 4: Lightly press the name piece on top of the ribbon ends with an equal amount on either side, leaving space above it to make it appear like a ribbon.
Step 5: Bake according to the package instructions until clay is stiff. Let cool, and they’re ready to display!
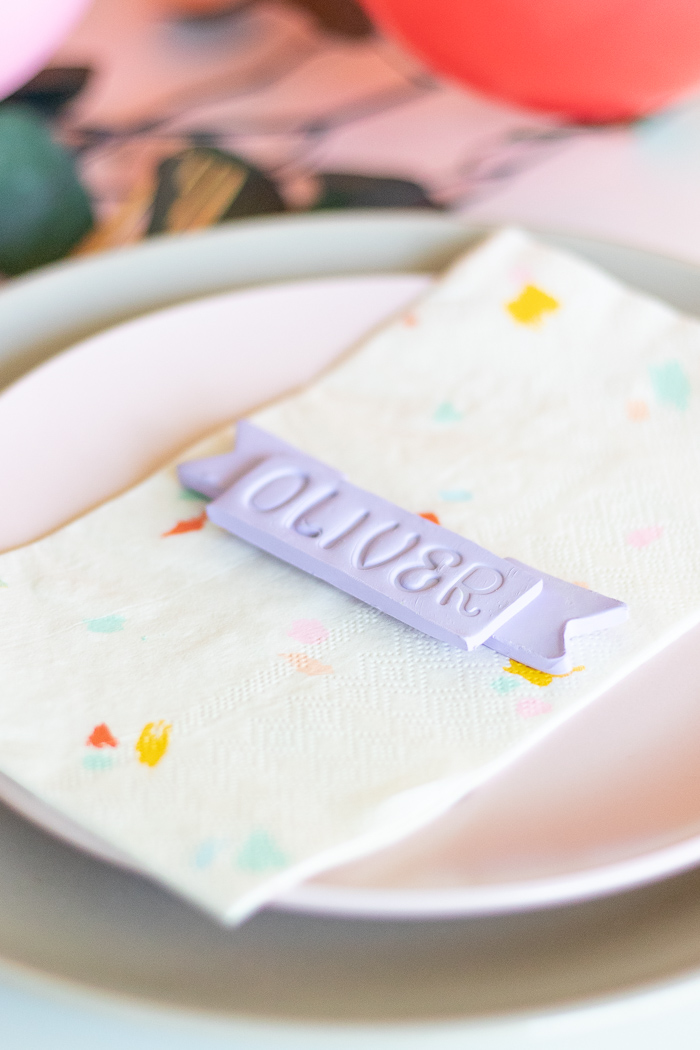
Place one on each plate to let guests know where to sit, and they can take them home after the dinner event! Whether you use them for Thanksgiving or just any party, they’ll add a pop of color to your table too!
PS, I do love this clay embossing method! See my conversation heart keychains for another way to use it.

