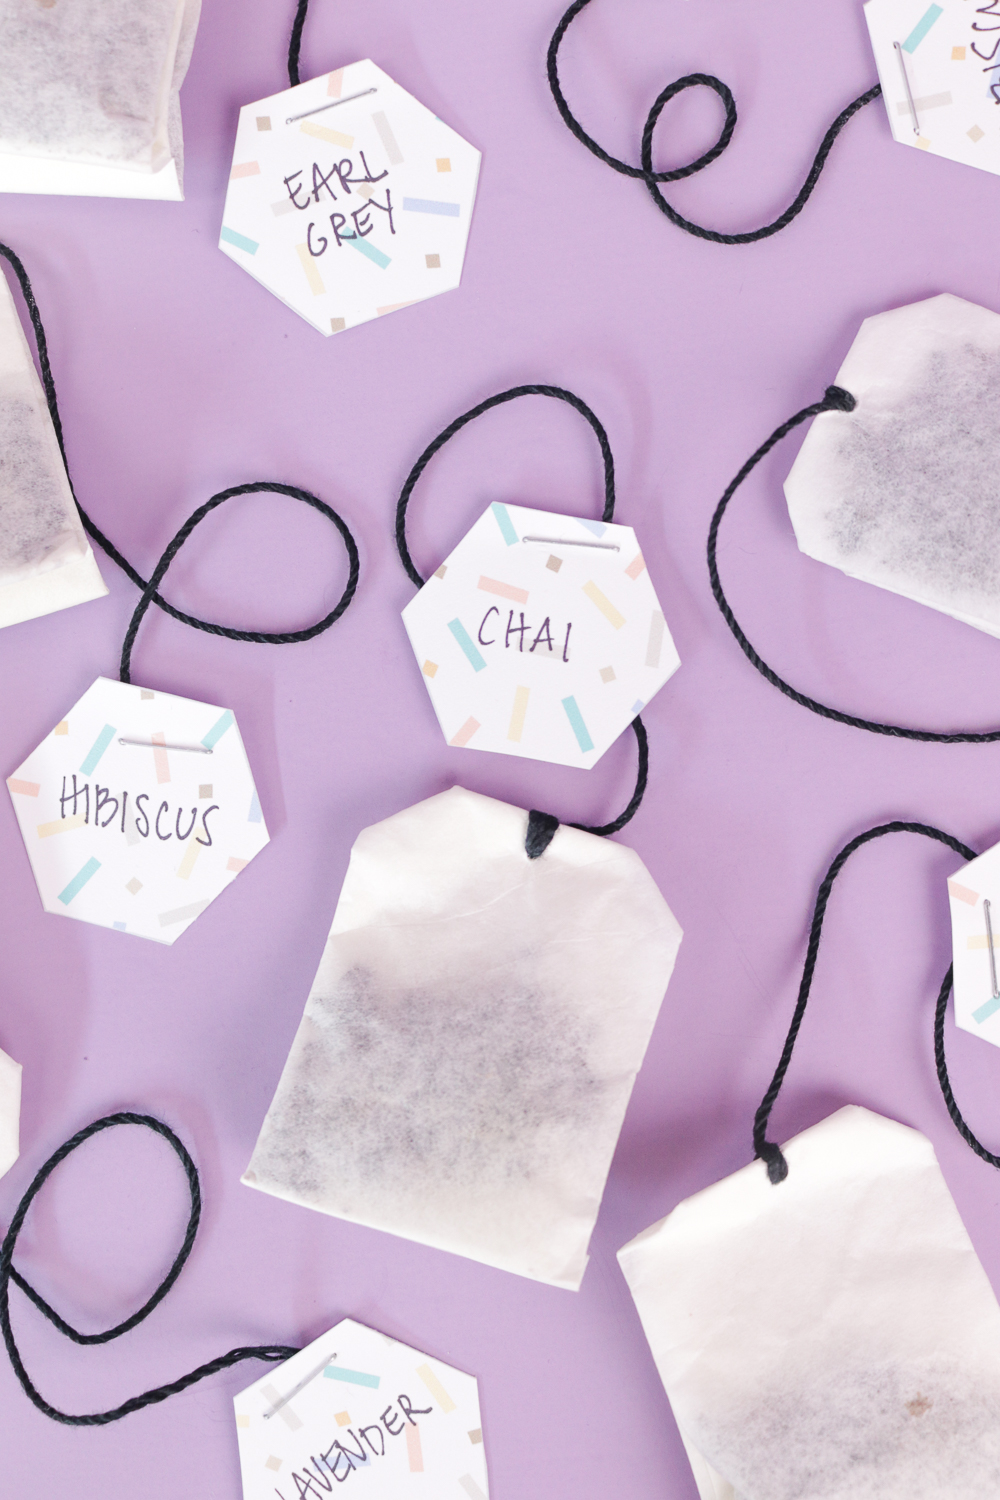
 To be honest with you guys, this is not the first time I’ve shared this project. Last year, I actually made these tea bags for my blog Revamperate. Despite how unhappy I was with the photos, I published the project, which got very little attention despite how much I personally loved the project. Since I really liked it the first time, I decided to refresh the post with an updated version of the project, add a free printable and take way better photos. After all, I made a vow to only share projects I’m proud of here on Club Crafted, so I’m remaking my DIY coffee filter tea bags and sharing confetti-inspired free printable tags for you to make!
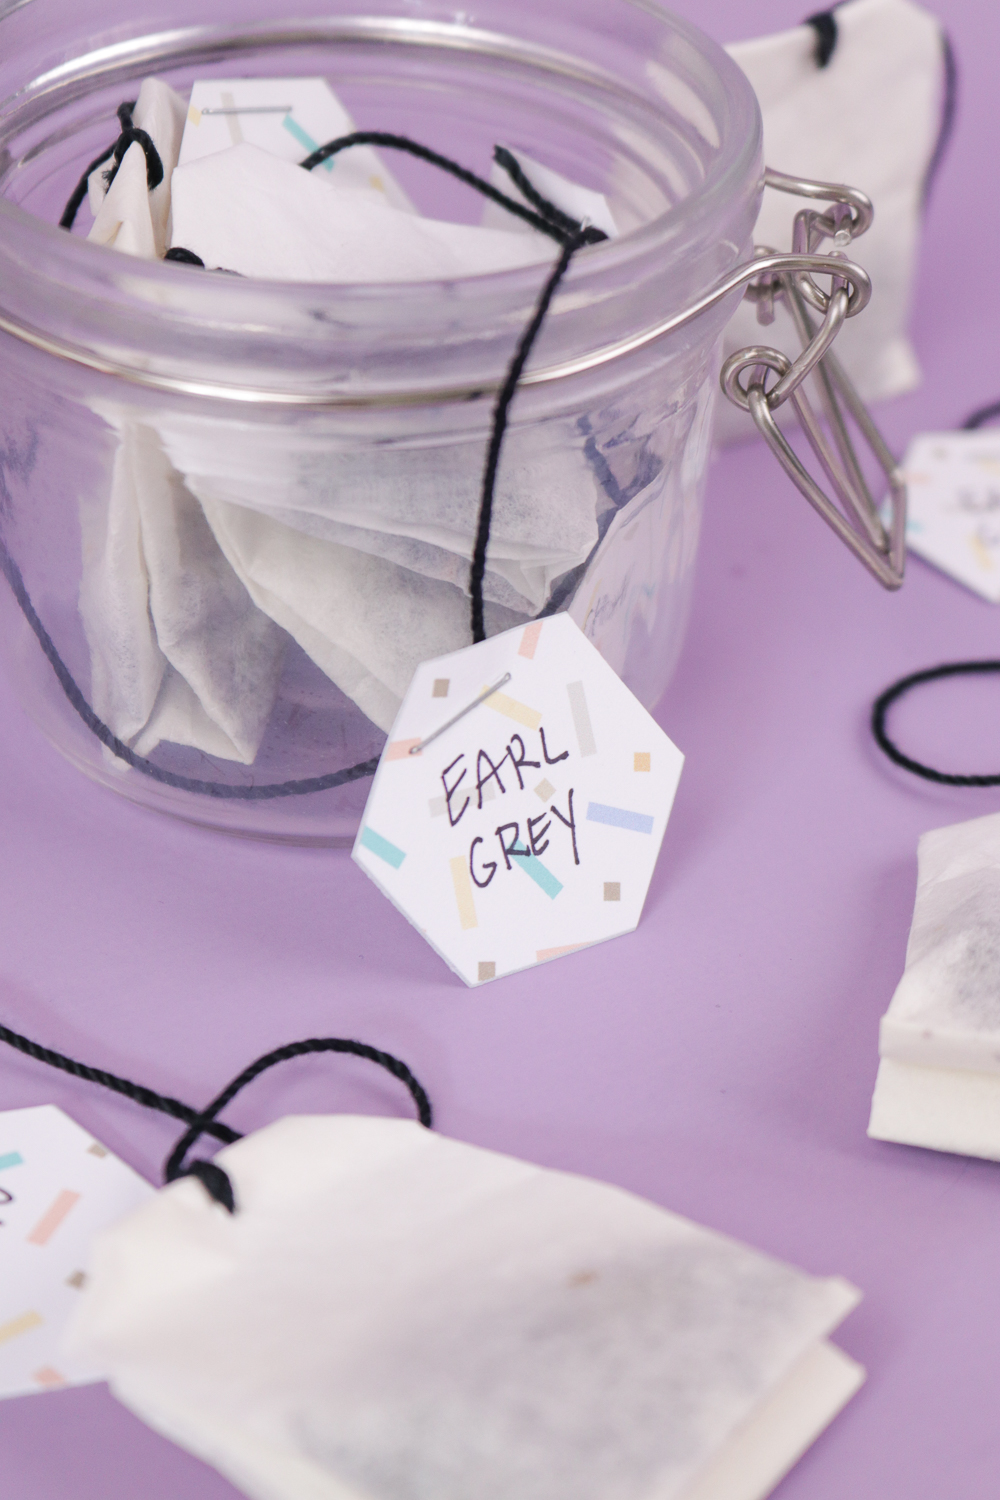
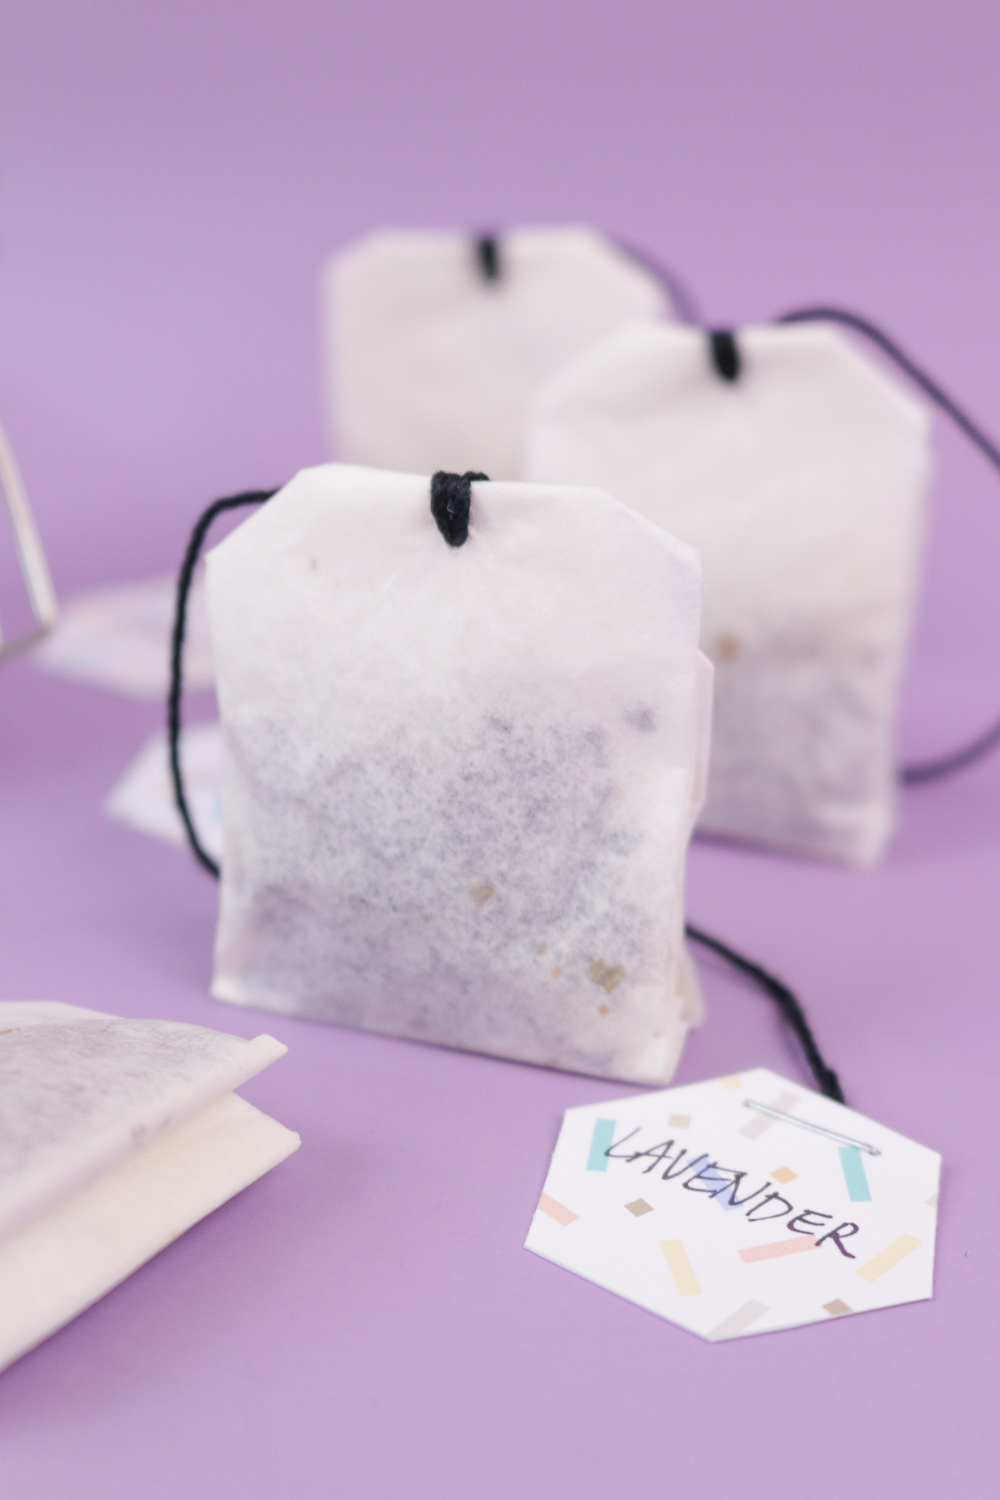 Normally, I try not to recycle content like this, but I wanted to give this project another chance. I thought these homemade tea bags would be a cute gift idea too, especially in a cute jar or container.
I tend to buy a lot of loose leaf tea, especially from small businesses (T-We is my fav), and I love the variety but I dislike that it rarely stays in my strainer. The first solution is invest in a better strainer, but I preferred to make my own tea bags when I realized I had an entire package of coffee filters in the house, which are useless now that I own a Keurig.
I tried it out and experimented with a few different ways of folding up the tea bags, and this ultimately was the best way to store and steep the tea. It’s a pretty quick and fun DIY, and you can download my confetti-inspired patterned hexagon tags and write the type of tea for each bag. Package different types together to give as a gift for someone who wants a little variety!
Time: 5 minutes (per tea bag)
Supplies:
- Small coffee filters (1 per tea bag)
- Loose leaf tea
- Scissors
- String (something heavier than thread, such as embroidery floss)
- Needle
- Printable hexagon tags
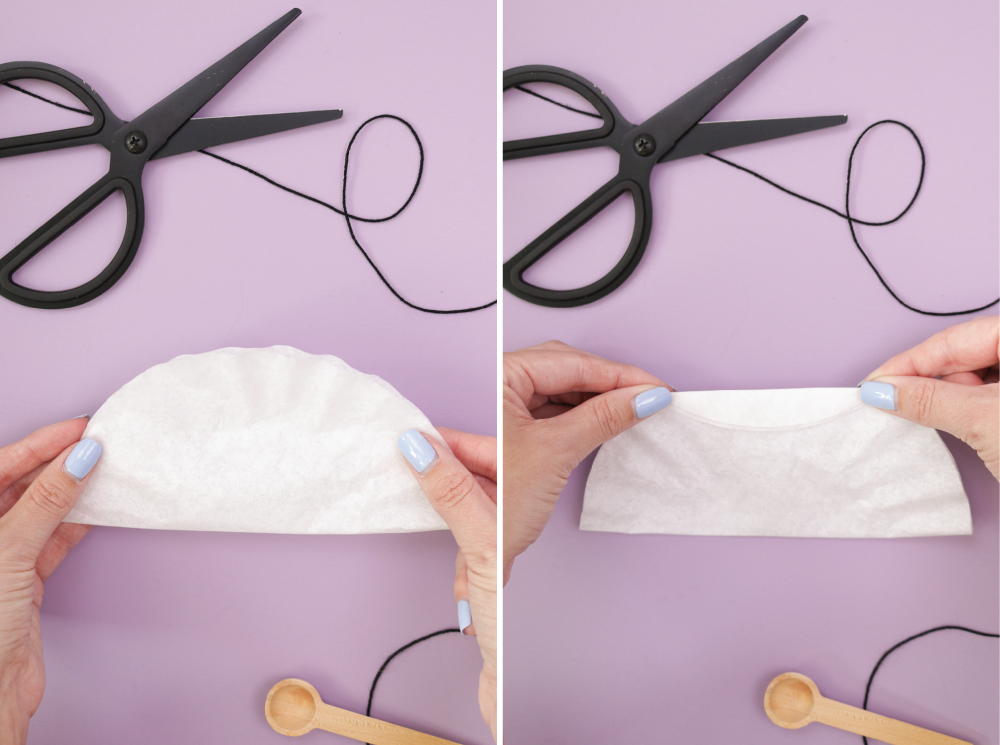 Step 1: Fold the coffee filter in half. On the rounded side, fold over about a 1/2 inch (This step isn’t necessary, but it keeps your tea bags smaller. If you don’t make this fold, you will just have wider tea bags).
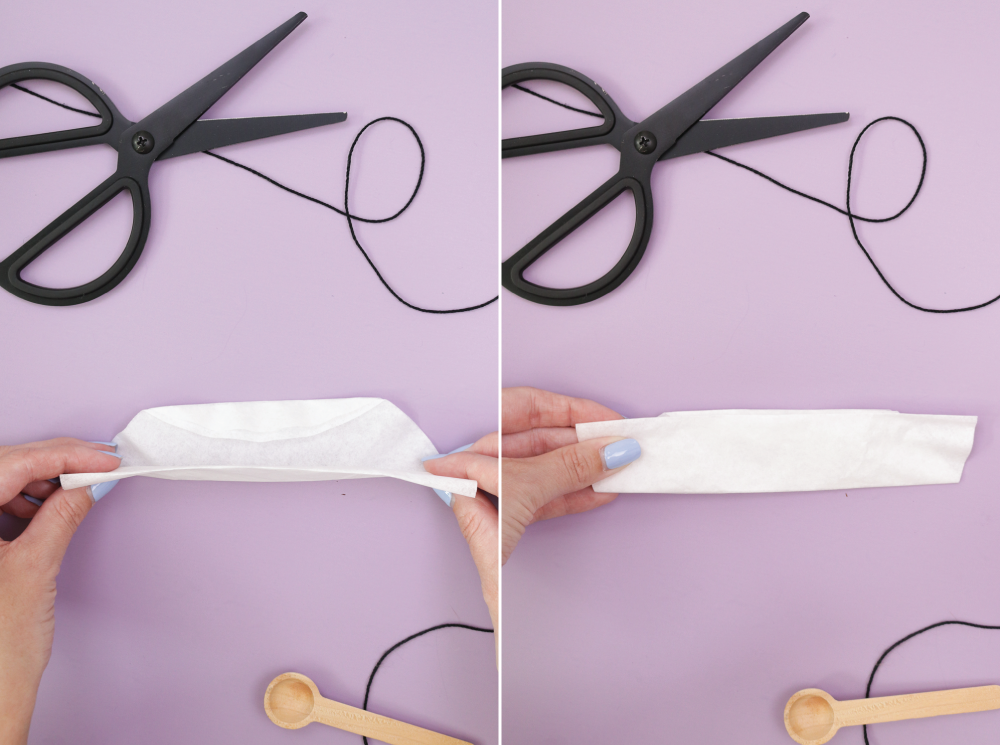 Step 2: Then fold it again over to the other straight side of the coffee filter. Now you should have one long piece, about 1 1/2 inches wide.
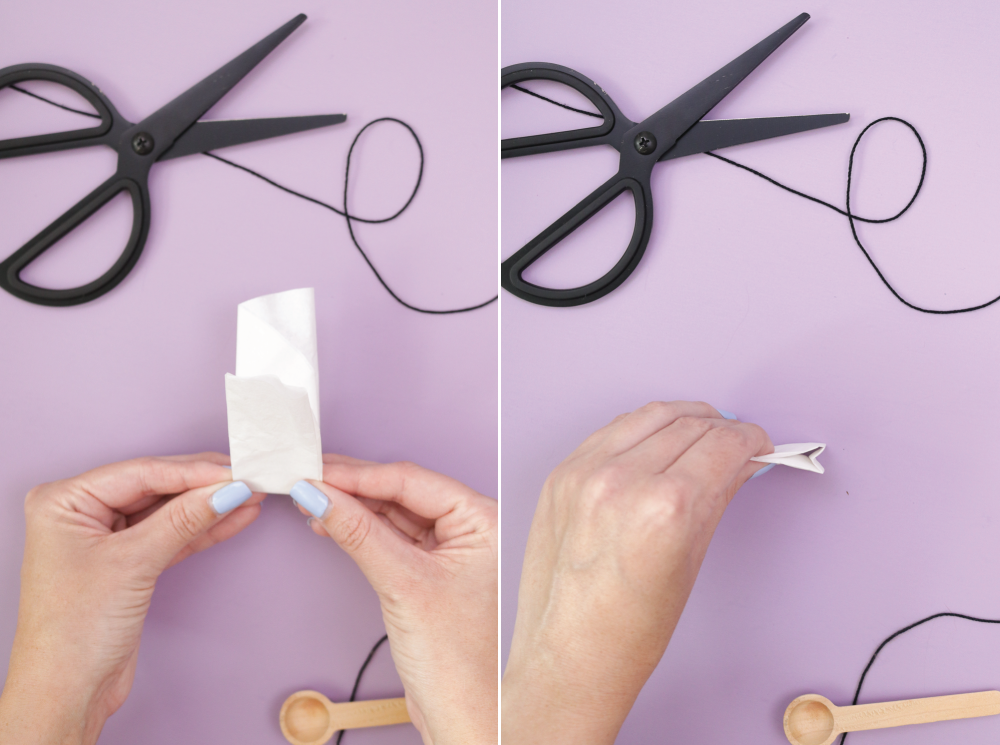 Step 3: Fold in half along the short side. Then fold it again about 1/4 inch about the existing fold and do the same on the other side, leaving you with three folds about a quarter inch apart. The middle fold should fold up and the other two fold down, creating a bottom for the tea bag to stand upright (see right photo).
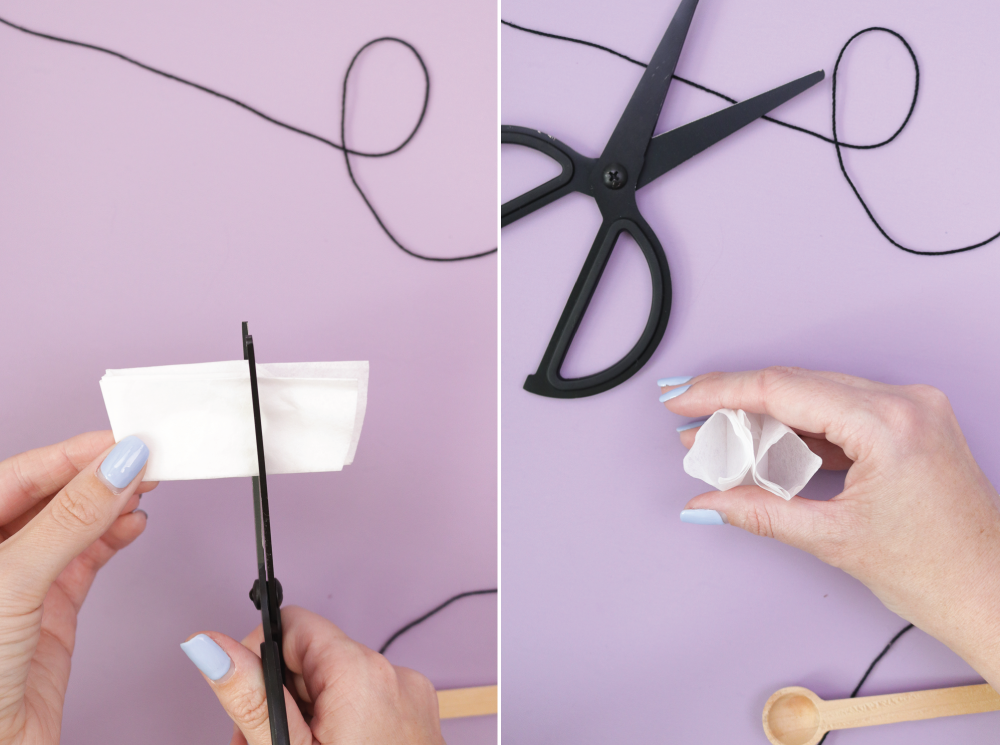 Step 4: Use your scissors to cut off the top curve, leaving it straight instead. When you hold it open now, there should be two pockets for your tea. Insert small spoonfuls of tea to fill.
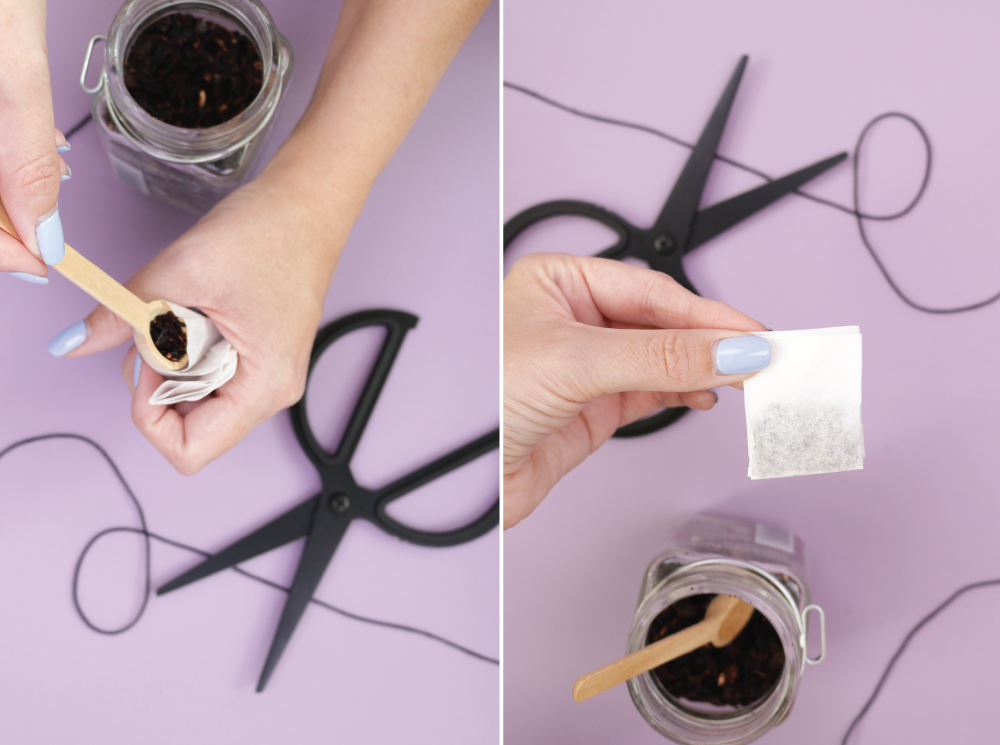 Step 5: Fold in the top corners as triangles (kind of like when wrapping a gift), and fold over the top point. At this point, it should look like a tea bag!
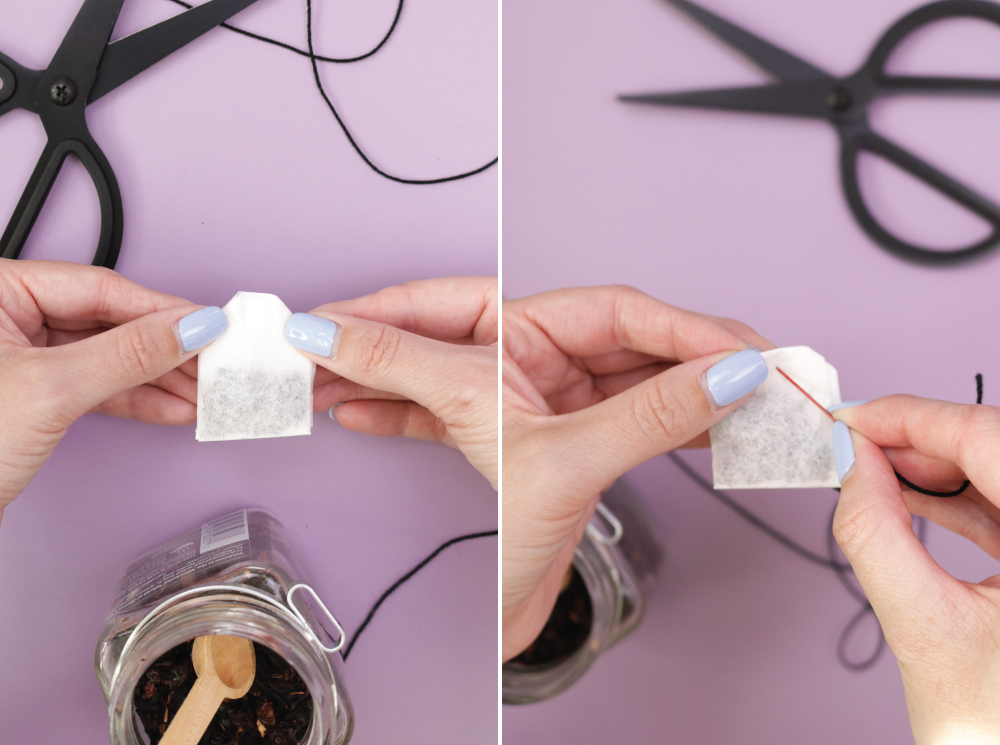 Step 6: Thread your needle with string, and poke through the top where you folded over the point. Leave about an inch of string and then poke the needle through the opposite side, creating a loop around the top. Repeat and then tie a small knot.
Step 7: Let out about 4-5 inches of string and cut. Also cut any remaining string from the knot.
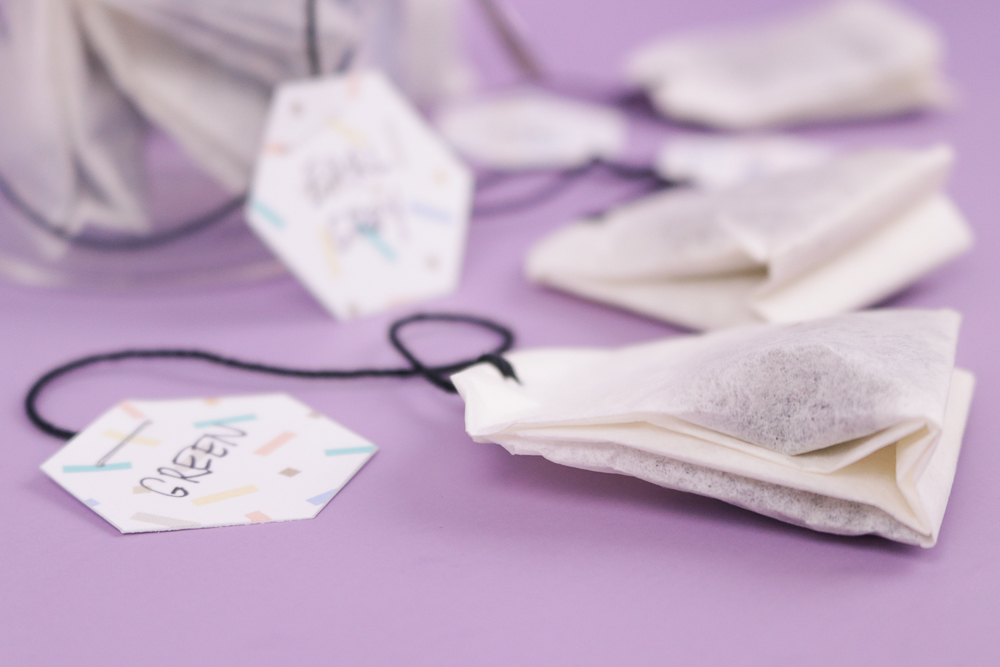
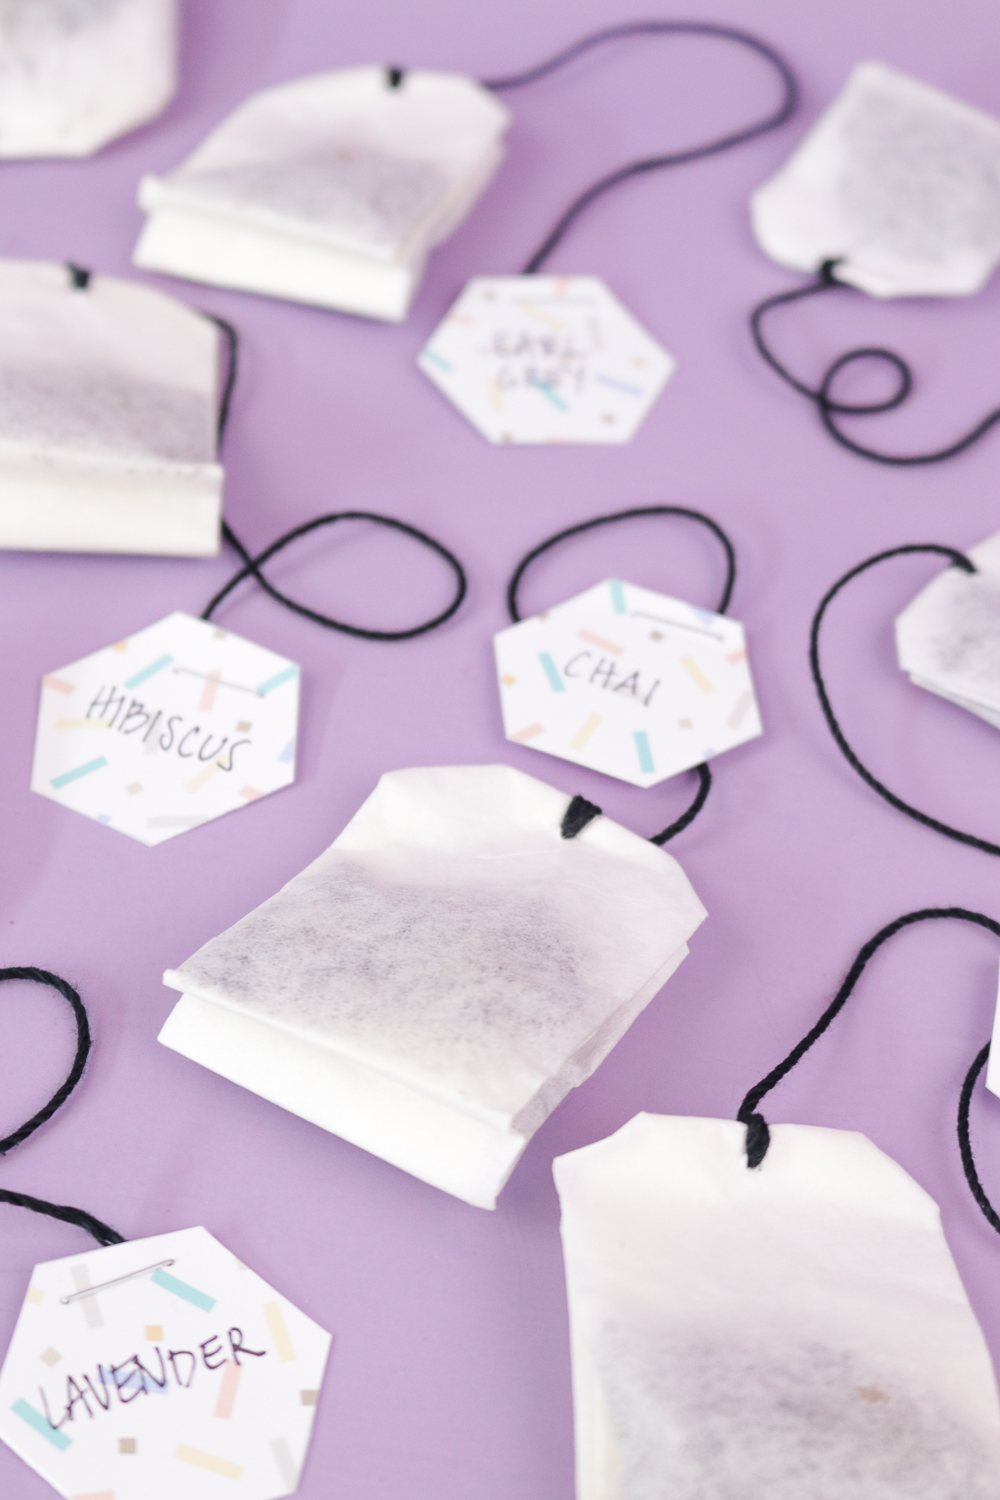
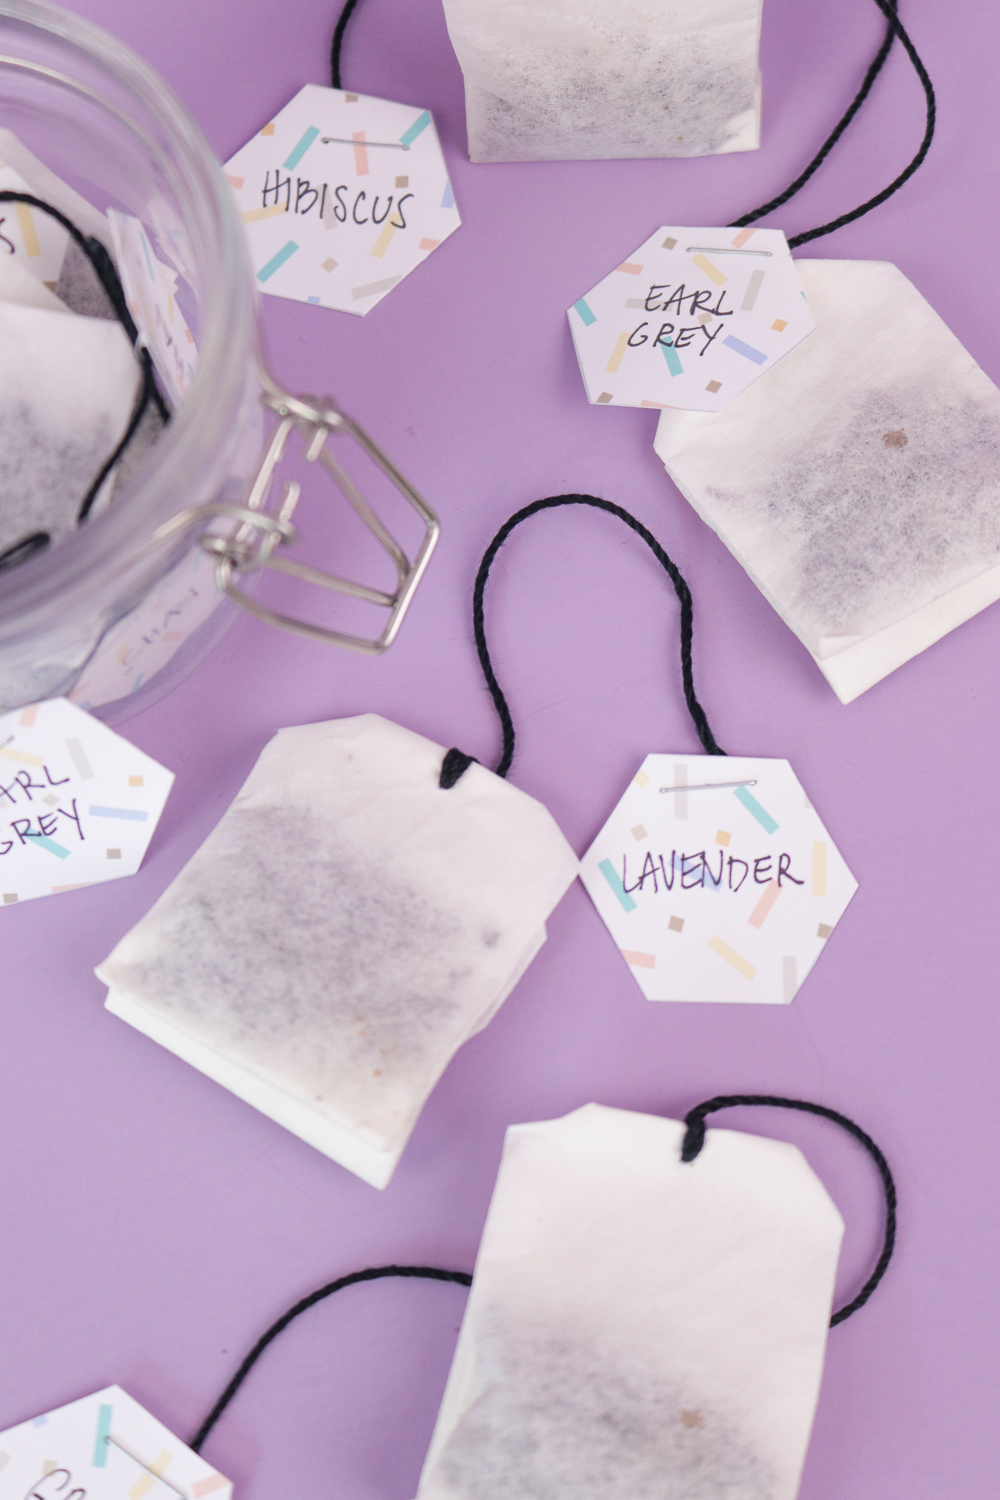 Step 8: Print out or make your desired labels! Cut them out, write out the type of tea, and use staples to attach the labels to the end of the string. Store in a small jar or box.
They’ll make a sweet gift or are easy to store for yourself. I just love that the tea stays confined to the coffee filter and, as always, I love the homemade touch!

Jill
I just made 90 of these as presents for folks–thank you so much for the clear instructions and photos!
Holly Wade
JillThat’s so great to hear!! I hope everyone liked them!
Ashley
Hi! This is a really cute idea! My question is, are the embroidery strings safe for ingestion? Or would you recommend something else?
Leah Springer
AshleyI read that baker’s twine works well. I found mine at Hobby Lobby.
Holly Wade
Leah SpringerGreat, I bet that will work perfectly!