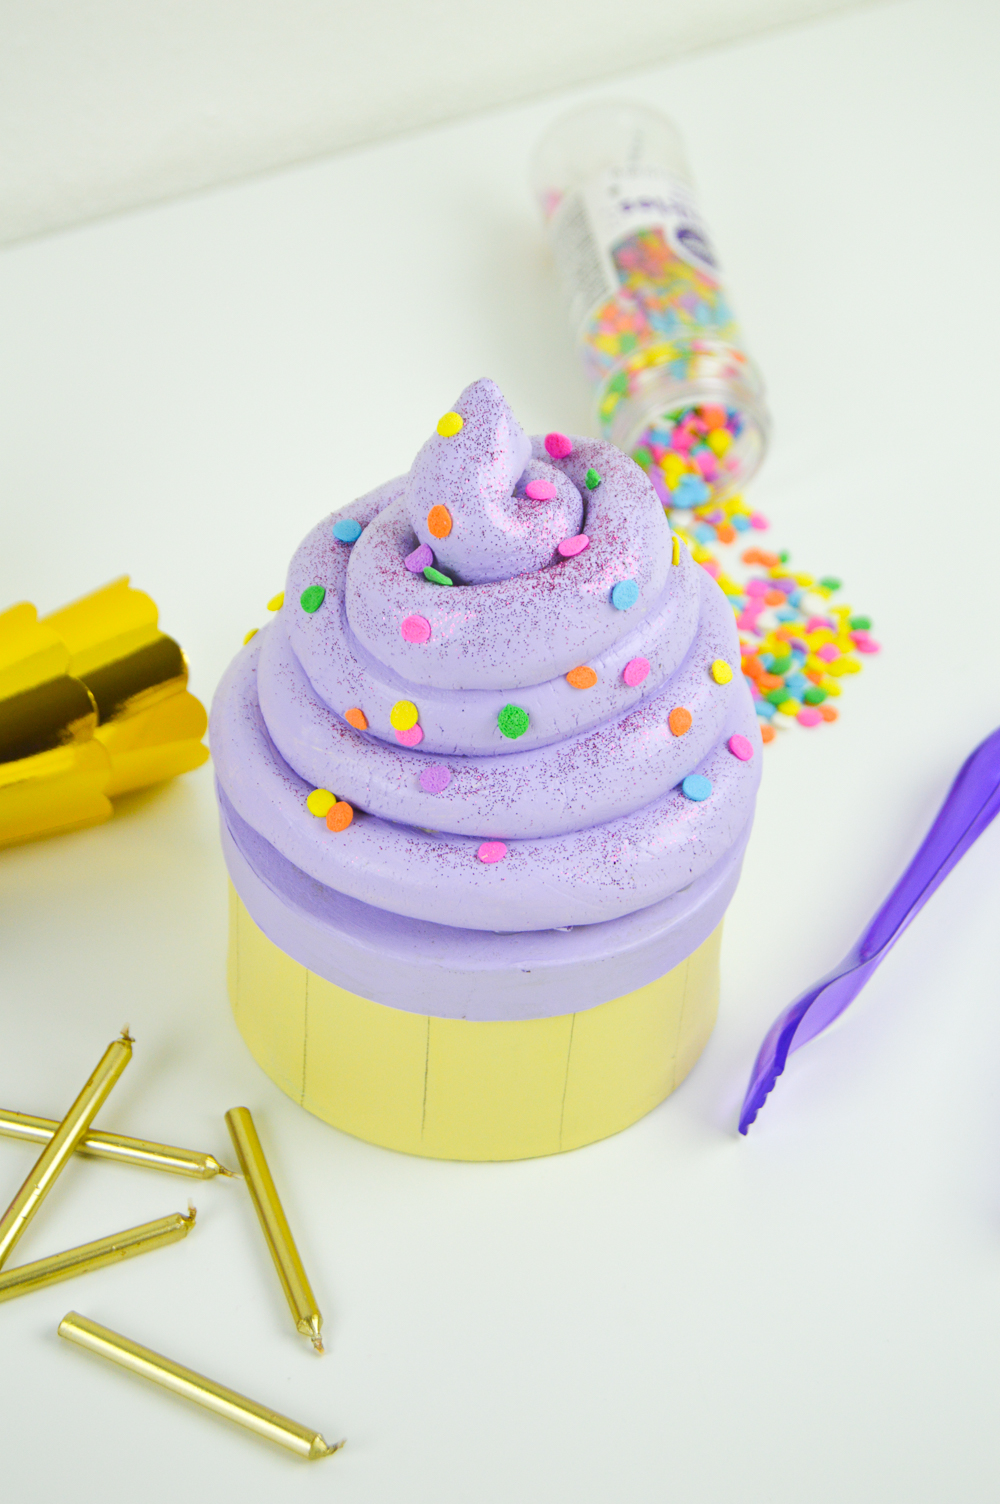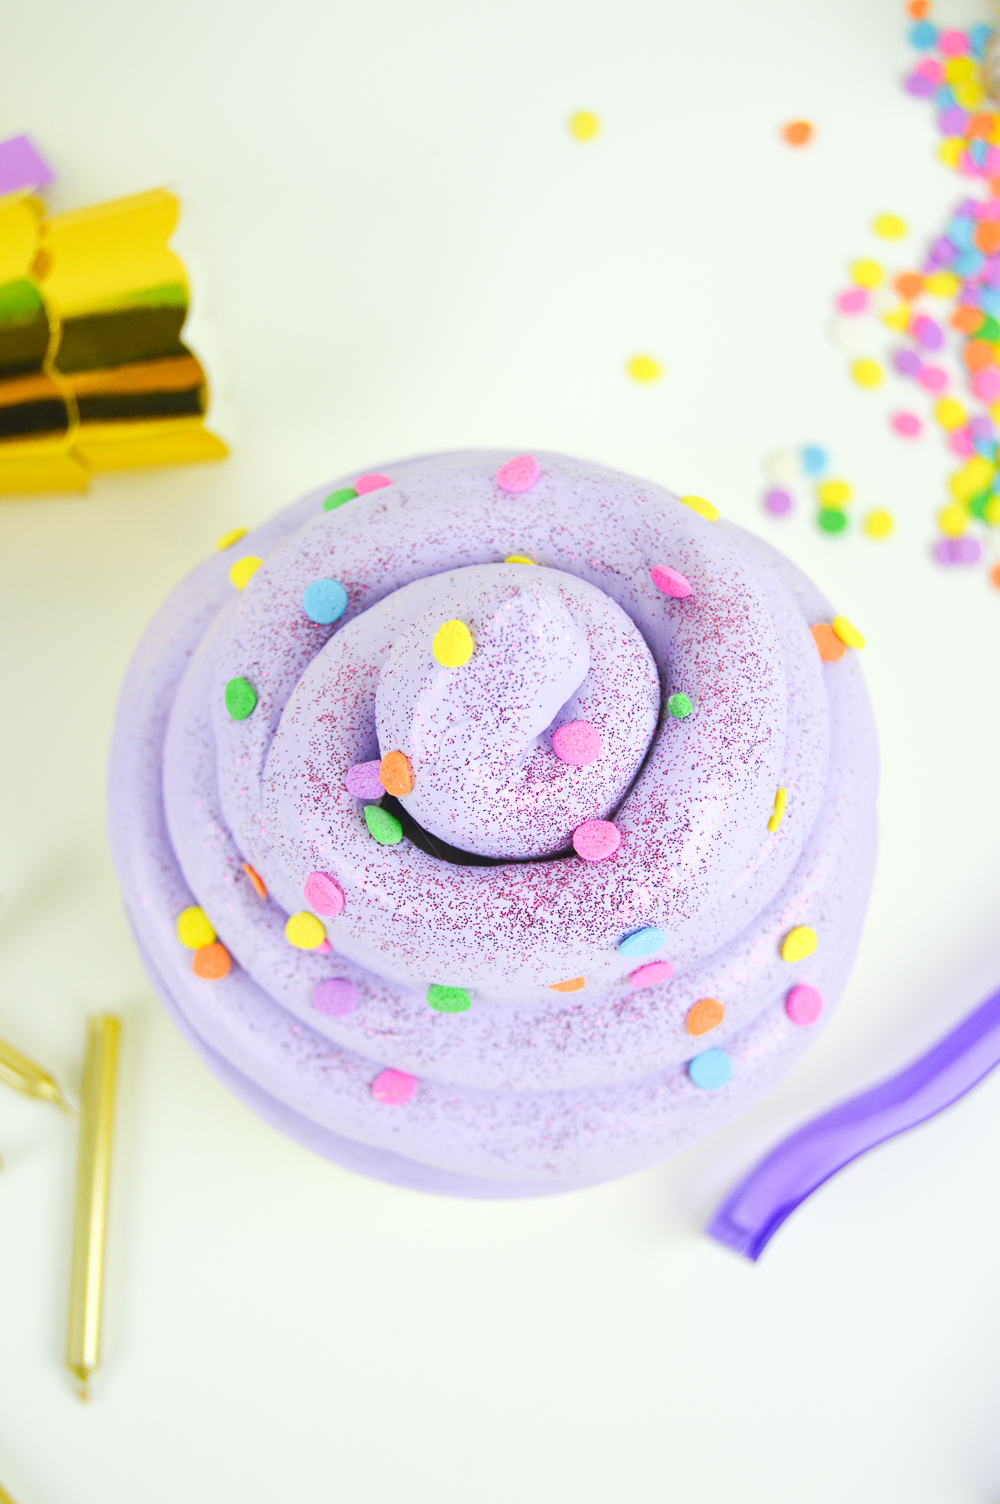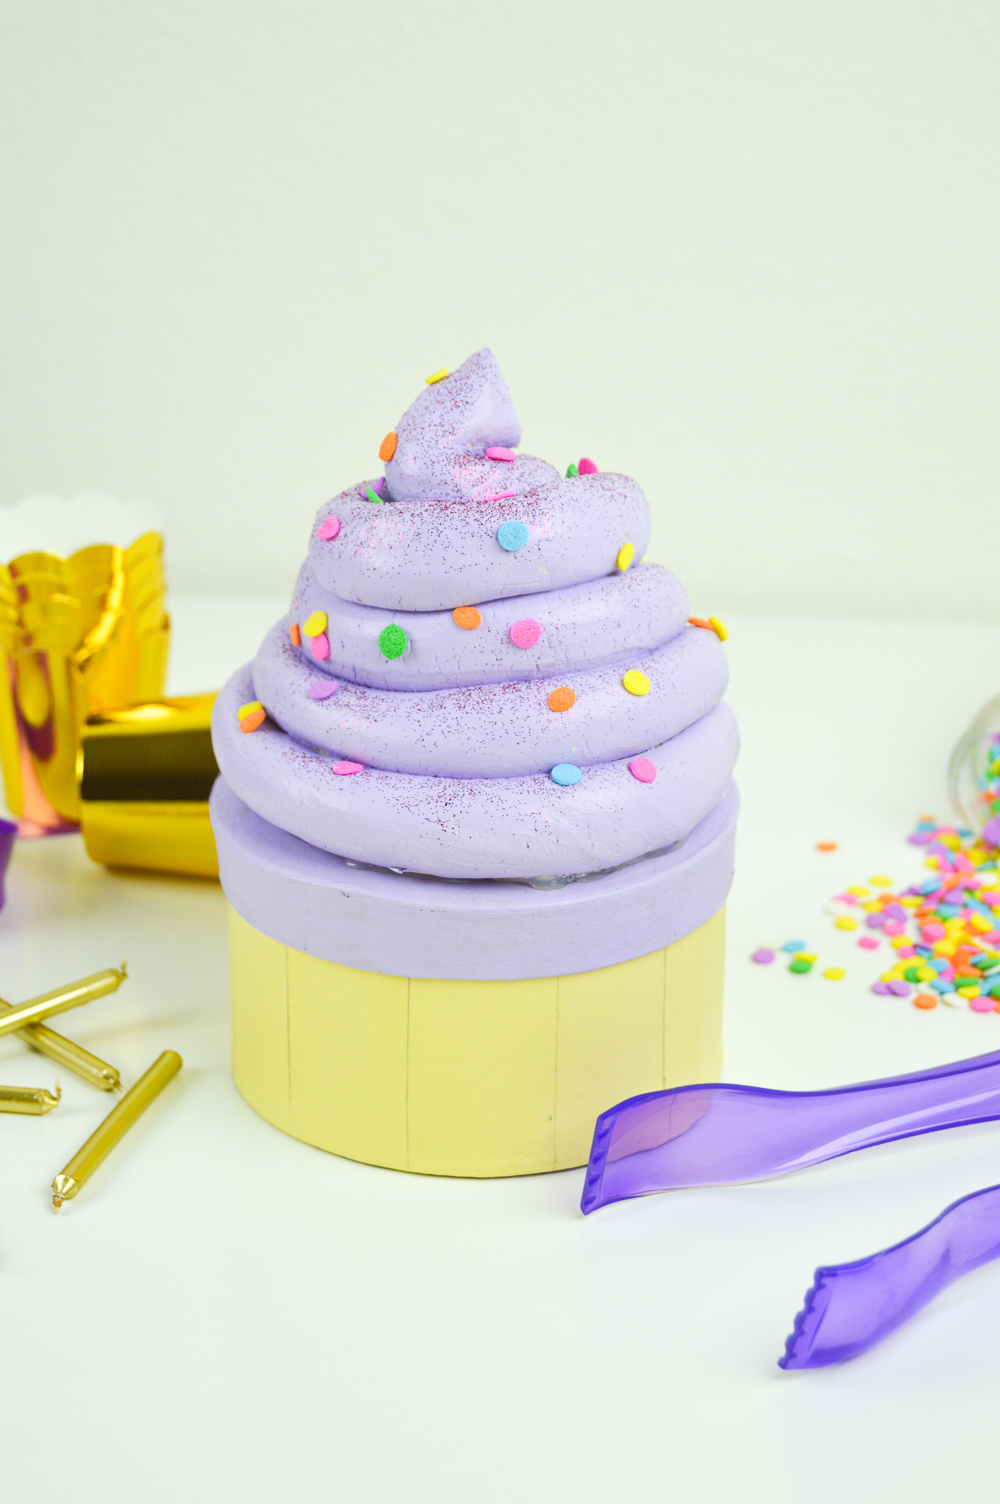

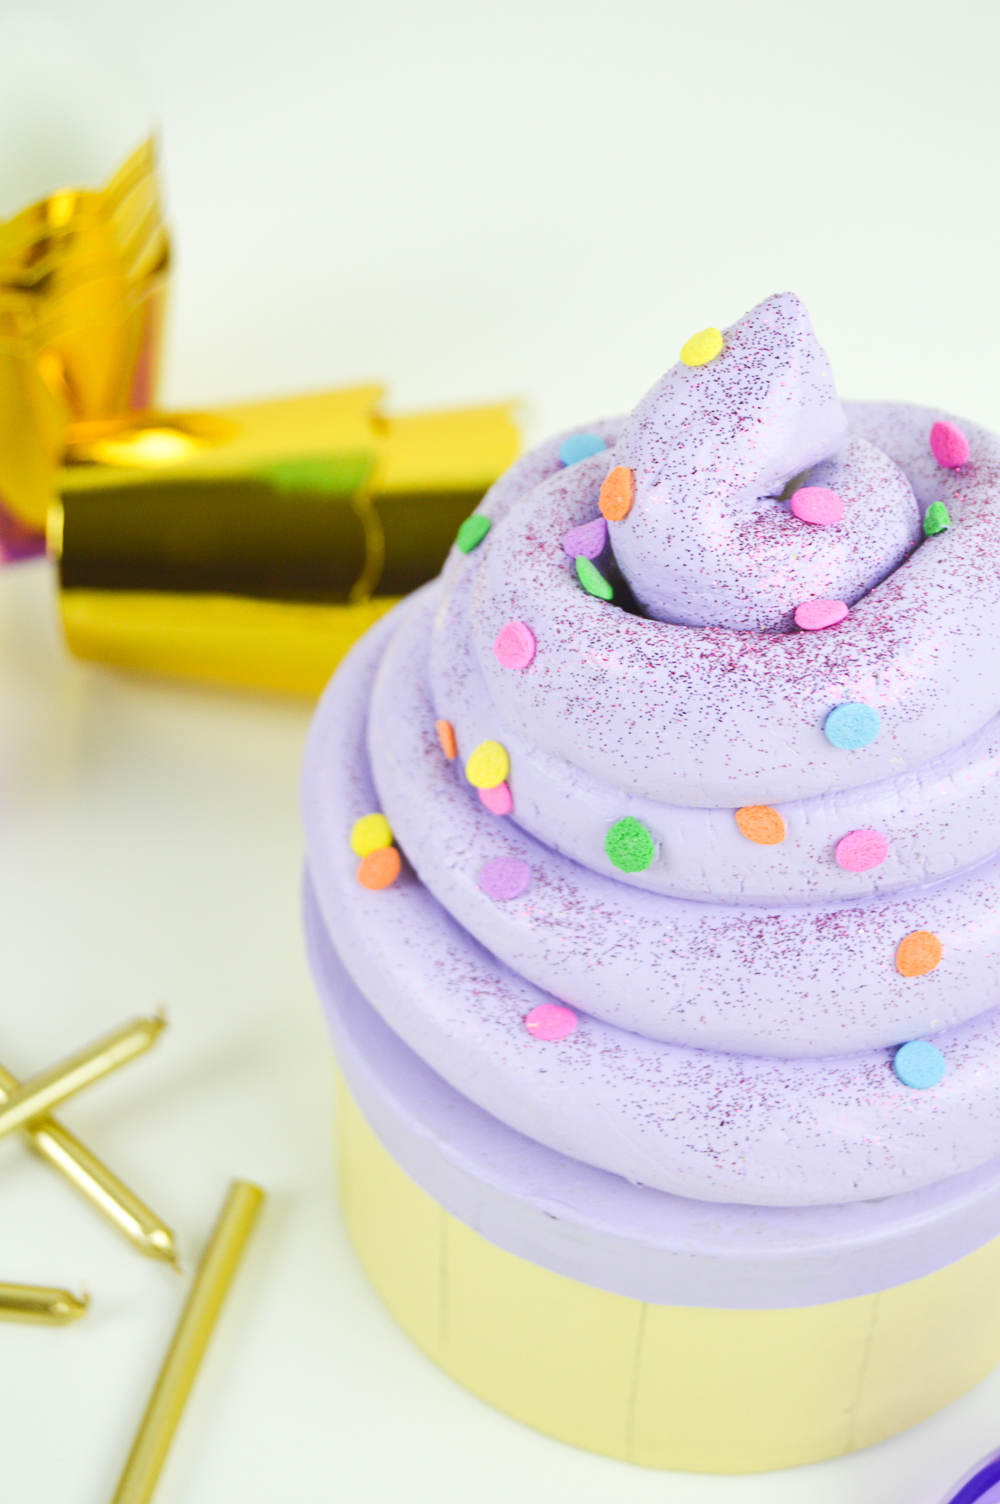
Today’s DIY comes with a kind of funny story…I learned while making this DIY cupcake gift box that trying to make frosting out of clay strongly resembles the poop emoji. Because the clay was thick, I left it sitting on our kitchen counter for several days to dry. When I asked my boyfriend what he thought it was, he definitely didn’t guess frosting, and I continued to giggle at it every time I walked by the next few days. I know, I’m such an adult!
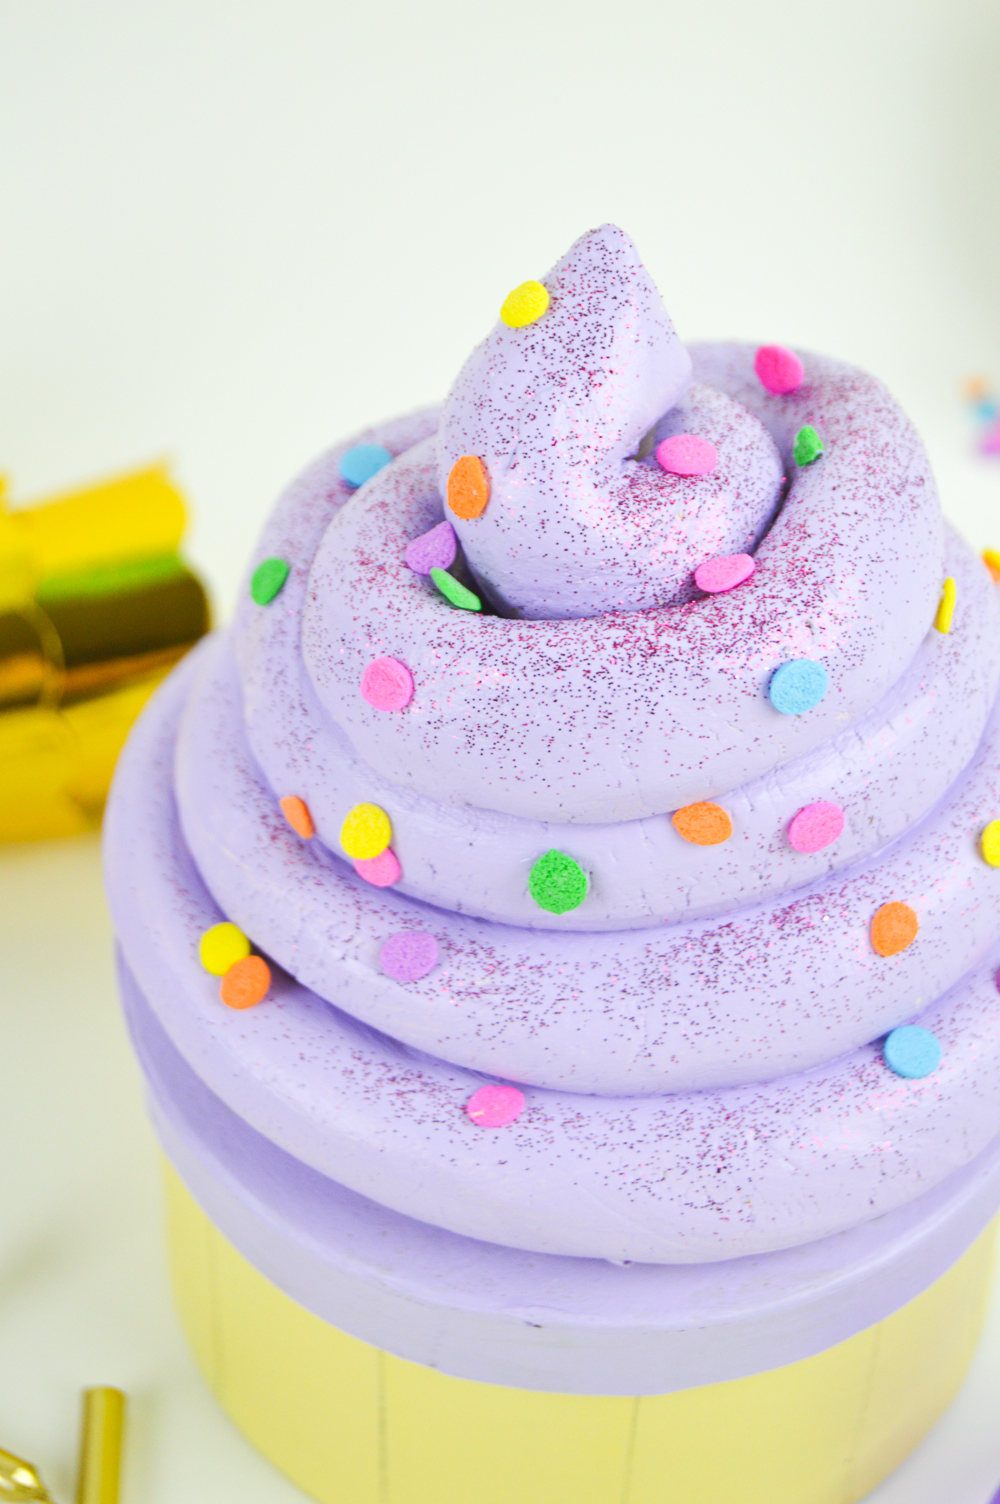
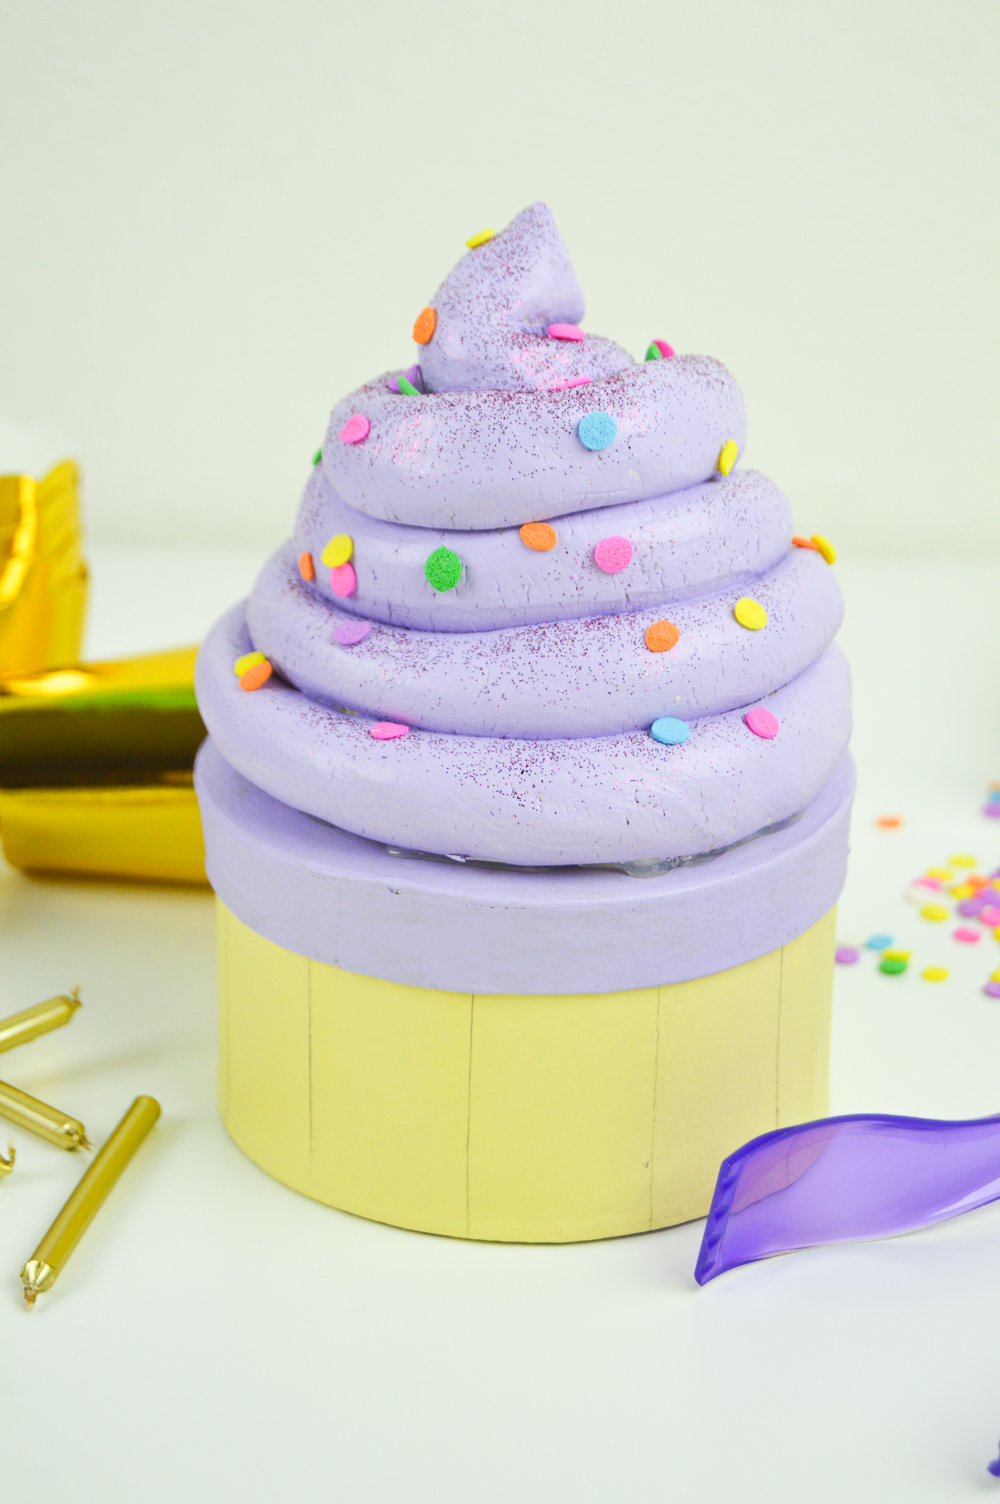
Regardless of how funny it looked while it was drying, I was happy to see the cupcake box come together. Once I painted the top purple and added sprinkles, it was pretty clear what it was supposed to be (thank goodness). It’s a pretty easy project to whip up, but since I recommend using air dry clay for the frosting topper, it can take a long time to dry. Customize it with your fav colors and add sprinkles, glitter and other fun embellishments on top before filling it with goodies to give away. I will warn you of one thing with this box – the clay makes the box top heavy, so just be sure to note the weight difference when moving it. Once you fill it with items, the weight difference between the top and bottom won’t be as noticeable.
Supplies:
- Round paper mache box with top (approx. 4 inches wide)
- Air dry clay
- Acrylic paint
- Glue gun + glue sticks
- Sprinkles
- Marker
- Glitter (optional)
- Sandpaper (optional)
How to make a cupcake gift box:
- Paint the bottom piece of the box in one color – this will be the cupcake liner, so I chose a light pale pink color. Let dry and paint a second coat
- While the paint dries, take a large piece of air dry clay and role it into a long rope about 1 wide. Coil the clay rope on the top of the box so that it covers the entire top and looks like frosting. Set aside to dry overnight to ensure it dries
- Paint the top of the box with your desired frosting color. Let dry and paint a second coat
- Using a marker (and a ruler if desired) draw evenly spaced vertical lines up the bottom piece of the box to simulate the texture of a cupcake liner
- Once the clay has dried, you may sand it lightly if desired (only do this if you feel comfortable). Then paint it the same color as your frosting. Let dry and paint a second coat and sprinkle with sprinkles and glitter while still wet. Let dry completely
- Use the hot glue gun to glue the dried clay topper on the top piece of the box and let dry
- Use additional glue to glue on more sprinkles or toppings if desired
- Fill with small items and share the love!
Fill the gift box with candy, jewelry or other items and gift it to someone, and hopefully they’ll appreciate the homemade touch!

