 Do you ever get a weird idea and decide you’re going to do it without even thinking about how.
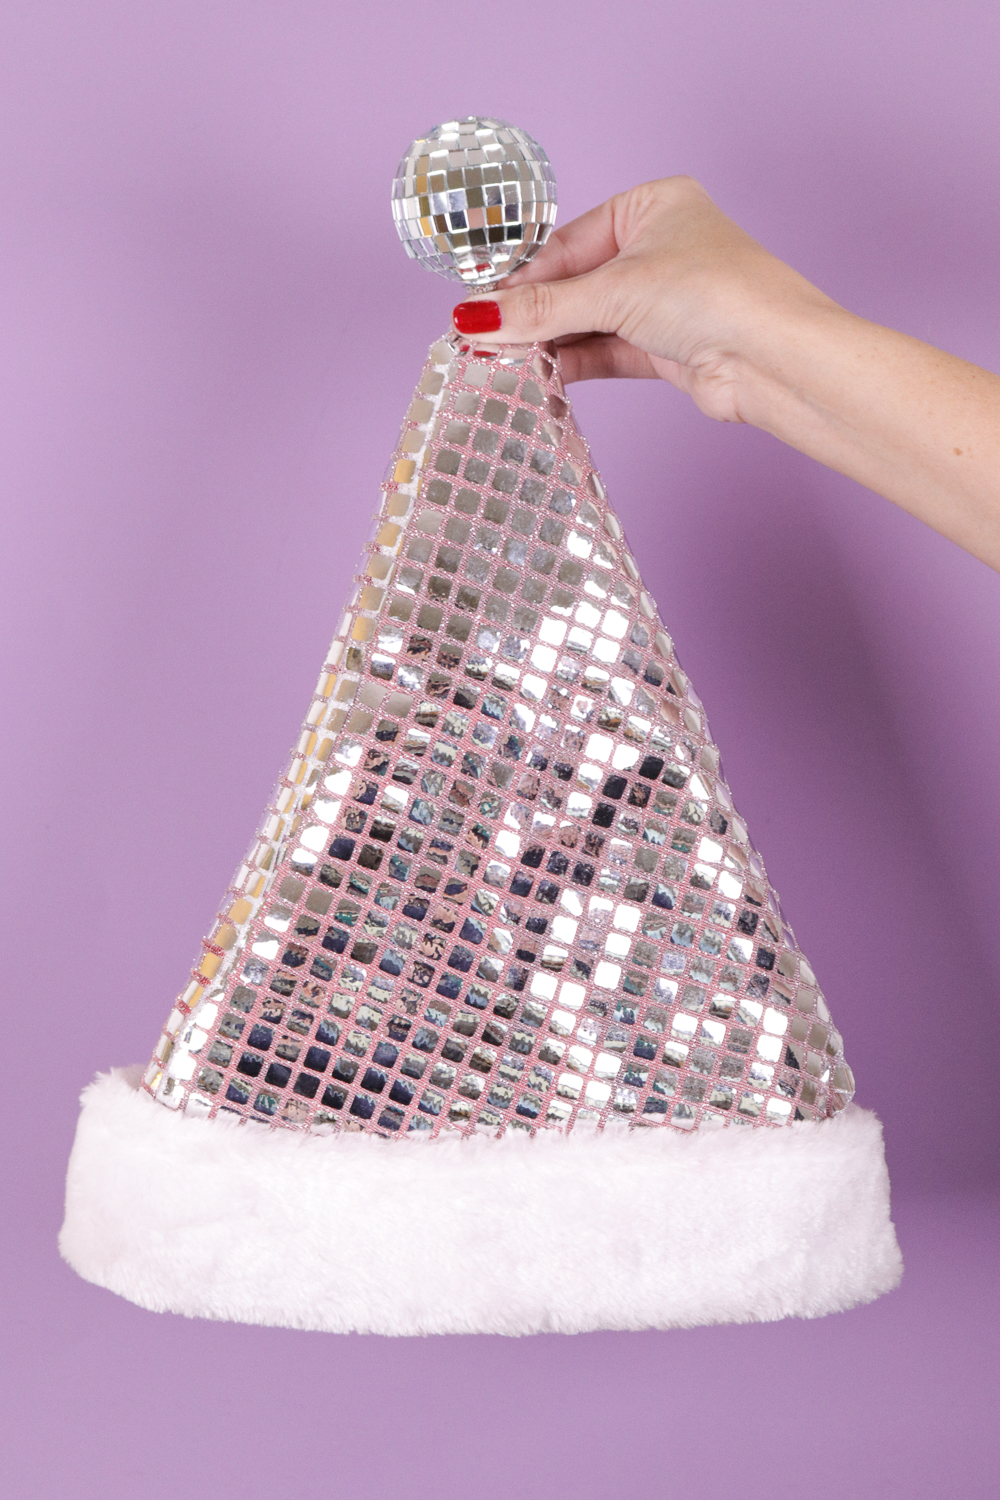
That’s kind of me every day, but especially with this DIY. When I was brainstorming Christmas projects, I thought it would be a good idea to make a disco Santa hat and got so excited about the idea that I skipped the very important “how” part of the equation. Oops! So when it came time to actually make the project, I struggled a bit with how to make it look right (so that you don’t have to!) and I’ve got all the answers here today.
Making this fun DIY disco Santa hat actually turned out to be easy when I decided how to get started. I found some disco-looking fabric on Amazon that was just PERFECT and used a 3-inch disco ball to replace the white ball on Santa’s hat. With some amazing spray adhesive, you don’t even need to know how to sew to make this project come to life.
Supplies:
- Traditional Santa hat
- One yard shiny disco ball print fabric
- Mini disco ball, about 3 inches
- Scissors
- Fabric glue (I swear by this brand)
- Spray adhesive
- String and needle (any color, preferably white)
Note, make sure your Santa hat is the type where the fluffy bottom folds. This is important for covering imperfections.
Step 1: Use scissors to cut the white ball off of the hat. Also cut any strings holding the white bottom folded. Unfold the bottom.
Step 2: Lay the hat on the backside of the fabric with the top point at the corner of the fabric. Fold fabric over the hat so that it’s entirely covered.
Step 3: Cut excess fabric around the bottom approximately where the red hat meets the white fluffy bottom. There is no need for the to be exact – when the hat bottom is folded up it will hide imperfections.
Step 4: Trim excess fabric from the sides, making sure there is enough to completely fold over the red portion of the hat. Again this does not need to be exact. Now you should have a piece of fabric approximately the size to entirely cover the hat.
Step 5: Spray the adhesive on the backside of the fabric. It’s best to do this outdoors and on top of a disposable surface as the area around the fabric may be sticky. Lay the hat on top of the sticky fabric with the point at the corner, and fold the fabric over so the red is entirely cover. Press with your hands to ensure it’s completely glued.
Step 6: Use the small bottle of fabric glue to secure the seam of the fabric together. If any fabric is sticking out at the top, fold over the points and glue down.
Step 7: At this point, you can fold up the white bottom of the hat, hiding the cut portion well. Use a small piece of string and a needle to poke through the very top of the hat – this may be difficult and require a few tries due to the thickness of the fabrics – and tie a knot. Thread through the opening of the disco ball and through the other side of the fabric, repeating several times until the ball is securely attached.
Now you have a fun new type of Santa hat to wear for Christmas parties. The disco ball on the end is definitely my favorite part!
*This post may contain affiliate links. Note, these are the exact products I used.


