
The following post is sponsored by JOANN
Yes, my apartment is fully decked out for Christmas, but that’s not to say I’m not excited for Thanksgiving tomorrow too! Truthfully, I just have so much fun sharing Christmas projects that I have to get started early, including this new DIY gradient wreath! I currently have this faux fireplace that my dad made me positioned in my living room as you saw in Friday’s post, giving our home the majority of its Christmas vibes! Naturally, the perfect place for my gradient wreath was above my mantel, and I love getting to stare at this setup while we’re watching TV at night. Painted with a selection of Rust-Oleum paints from JOANN, the bright colors pop against the plain white wall, and you can get the look in just TEN minutes!
With my workload increasing this season (and the fact that we’re doing ONLY homemade gifts for Andrew’s family this Christmas), I’ve been my local JOANN store several times per week lately. I’m starting to think I should get my name on a parking spot, ha! As the store gets busier and busier closer to the holidays, don’t forget you can order online and pick up in store to save yourself some time! I’ve been using this feature a lot in order to get through the store quickly but still get the supplies I need on short notice, and it even applies to certain fabrics so you don’t have to pick a number at the cut counter.
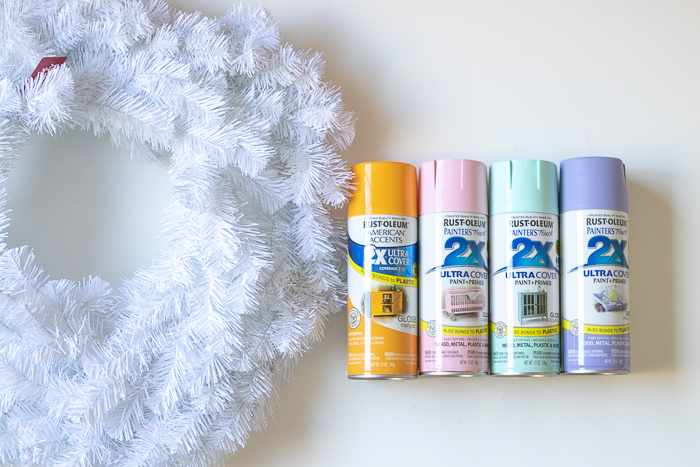
I used four Rust-Oleum spray paint colors for this gradient wreath – Marigold, Candy Pink, Ocean Mint and French Lilac. Together, it brings so much color to this otherwise very white corner of the room. Honestly, this is probably one of the easiest Christmas DIYs I’ve ever shared!
Psst, those stockings are a DIY too! I made them with blue corduroy fabric and white faux fur from JOANN!
Time: 10 minutes
Supplies:
- White pine wreath
- Rust-Oleum spray paint, 3-4 colors
- Drop cloth or shower curtain
Step 1: Protect your spray painting area with a drop cloth, plastic or similar. Place the wreath face-up on the surface, noting where you want the top of the wreath to be.
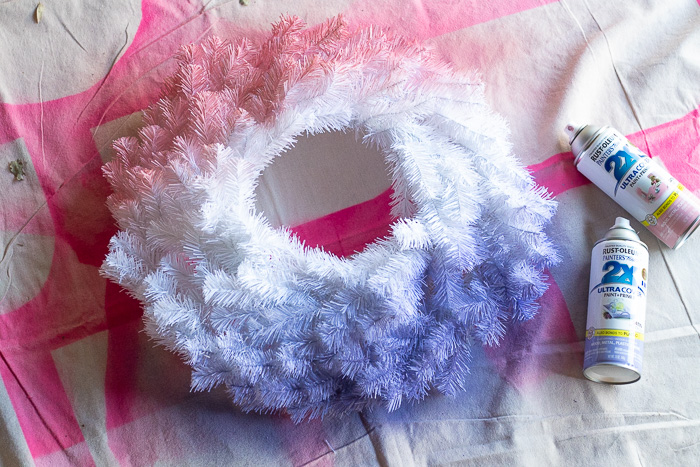
Step 2: Shake the spray paint well. Spray the first color along the top 1/4 of the wreath, angling the paint to reach in between some branches. Then spray the bottom 1/4 of the wreath with another color.
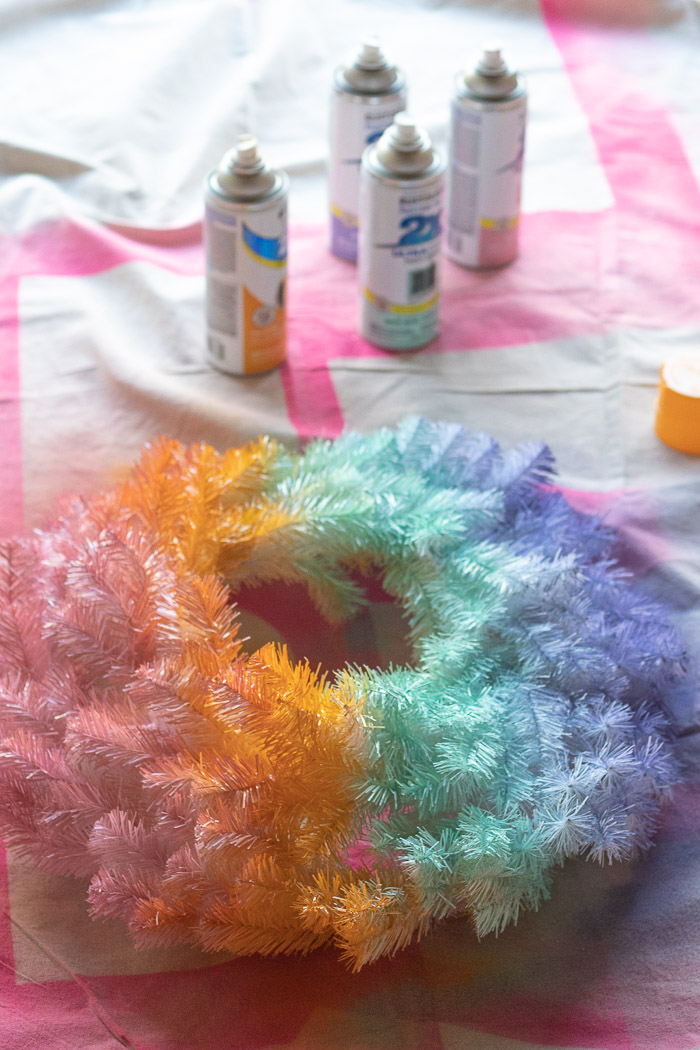
Step 3: Spray the middle colors, allowing them to overlap slightly, creating the gradient effect. Let dry for about 30 minutes.
Because of the pine needle material, you won’t be able to spray every single piece. Keep in mind how it will look when you’re facing the wreath, and don’t worry about the back side or hidden pieces.
Step 4: Return to make any touch-ups and fill in gaps where white is still showing. Check that the sides are well-covered. Let dry overnight before moving.
Then it’s ready to hang on a wall or your door! It will be weather resistant and last you for years to come!
Thank you to JOANN for generously sponsoring this post. All opinions are my own. Thanks for supporting the brands that keep Club Crafted sharing!



...love Maegan
So cute!