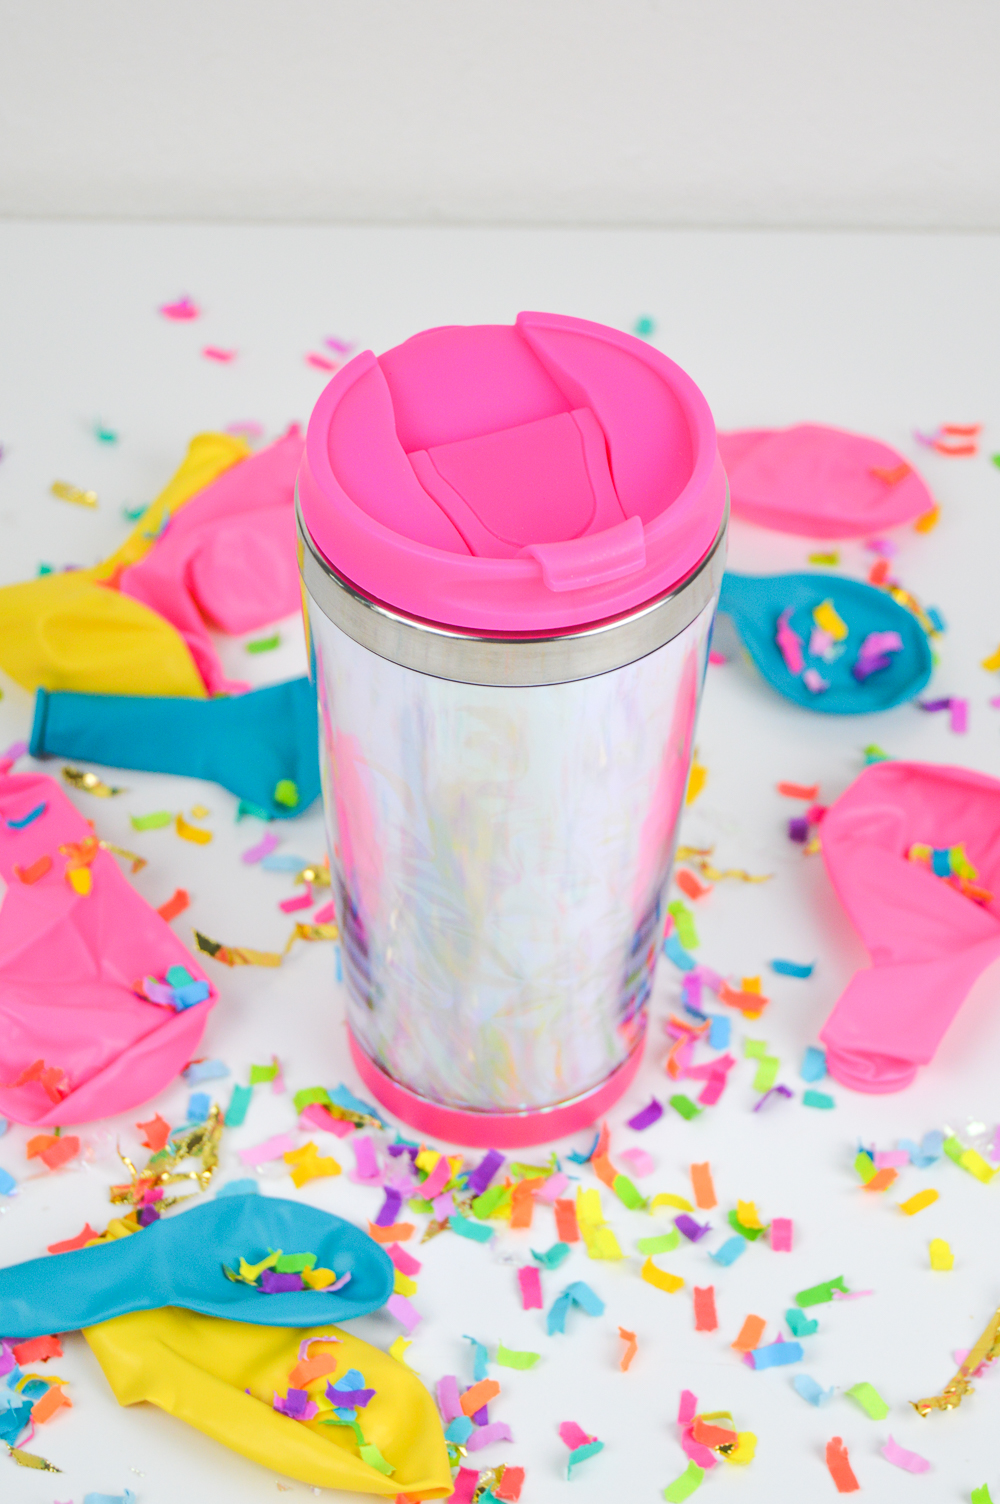


Can we jump back to the 90s for a minute? If there’s one thing I’m excited to see come back in style it’s holographic designs on things like T-shirts and lunch bags, so I was SO excited to come across holographic cellophane. I went over a few ideas for how to use it before landing on this DIY holographic travel mug that is my new favorite thing! Not only is it fun to look at but it only takes minutes to make and I sourced the supplies below so you don’t have to work hard at all to make one for yourself.
I tend to be a mug hoarder, but can anyone really have too many? Travel mugs, especially, are always handy to have around and the fact that this one is iridescent is just a huge bonus. Just buy an insulated mug with a paper insert for adding photos, etc. and this DIY is incredibly easy, and you can even switch out the filler as often as you want in case you ever get sick of the holographic look (not that you would, of course). Hopefully more uses for this amazing holographic cellophane are in the future!
Supplies:
- Insulated travel mug with paper insert (I purchased this one)
- Iridescent cellophane
- White printer paper
- Scissors
How to:
- Wash the mug thoroughly before DIYing
- Your mug should come with a paper insert – do not throw it away. Use the paper as a template to cut out a piece of plain white printer paper as well as the holographic cellophane in the same size and shape
- Place the holographic cellophane over the white paper and slowly wrap around the mug insert and replace inside of the mug
- Twist the pieces back together carefully to secure it in place (note, the cellophane will crinkle a bit and that is normal) and you’re done!
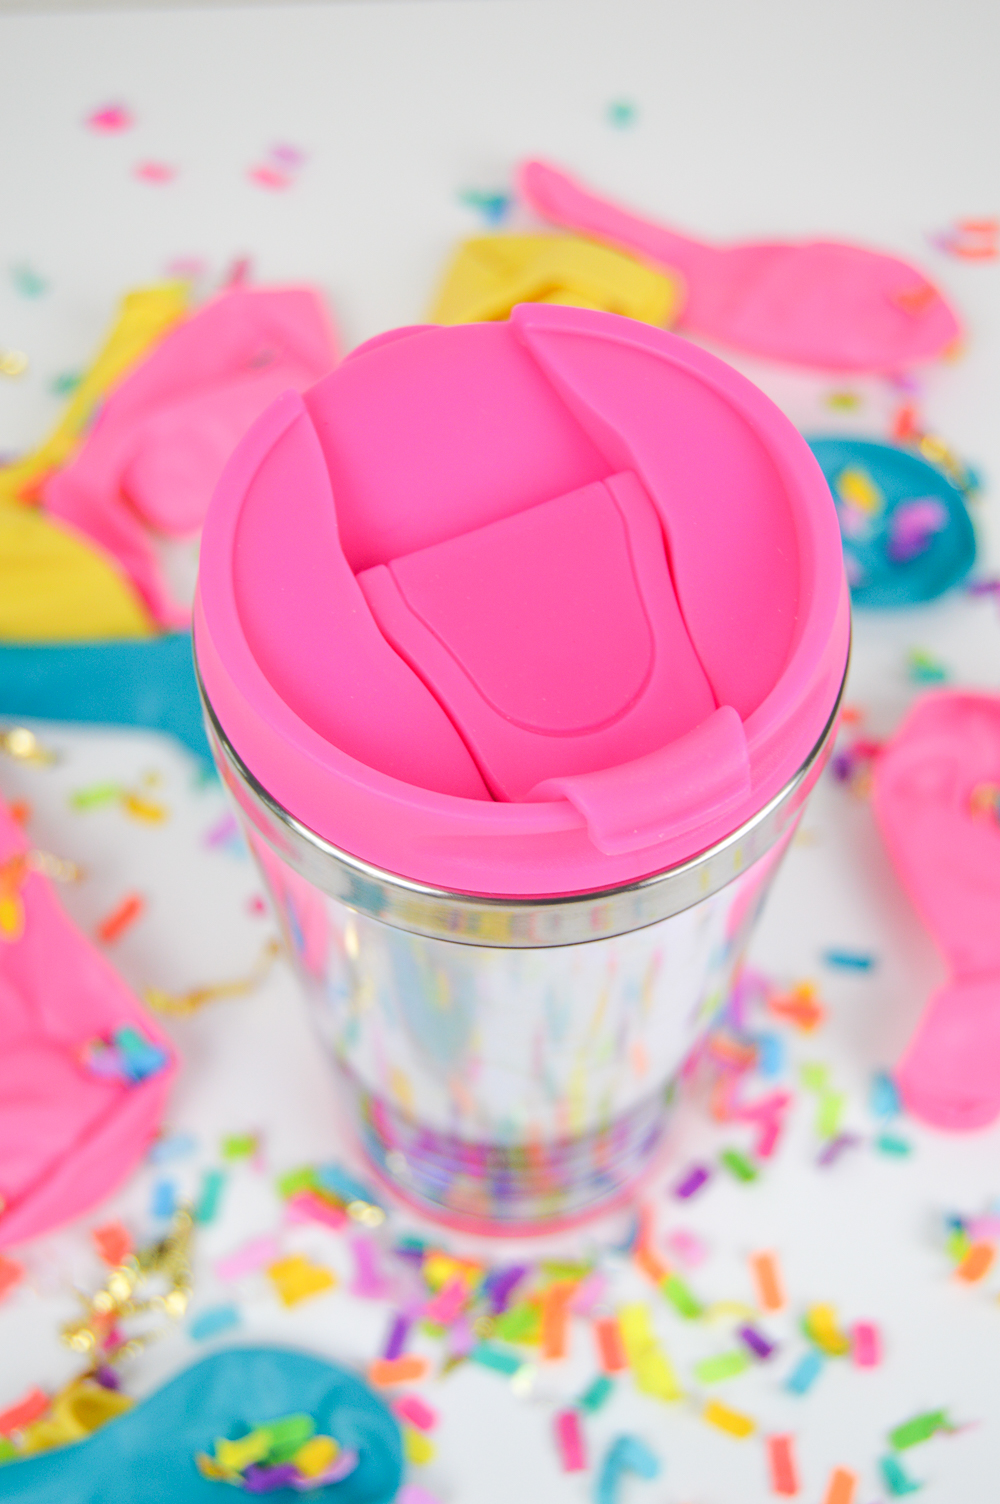

Now, you have a complete holographic tumbler! Just be sure to take extra care when washing and take apart the insert as needed to keep water from getting inside – do not wash in the dishwasher.
These make great gifts and they’re just fun to make to reminisce on the good ‘ol days (aka the 90s)!
*Note, this post may contain affiliate links

