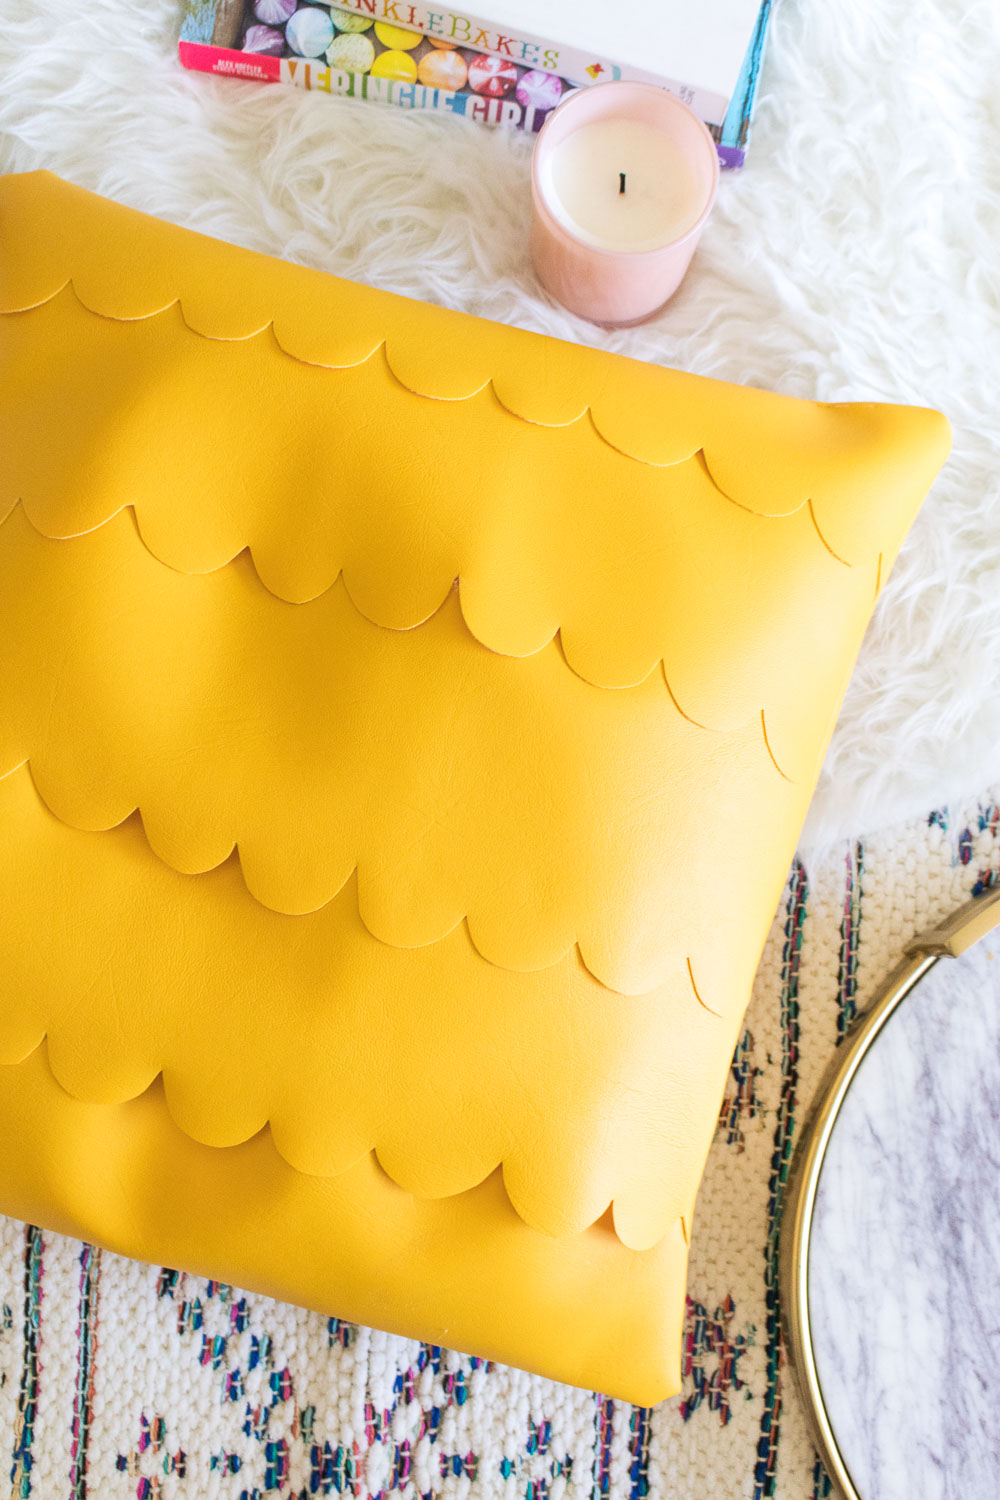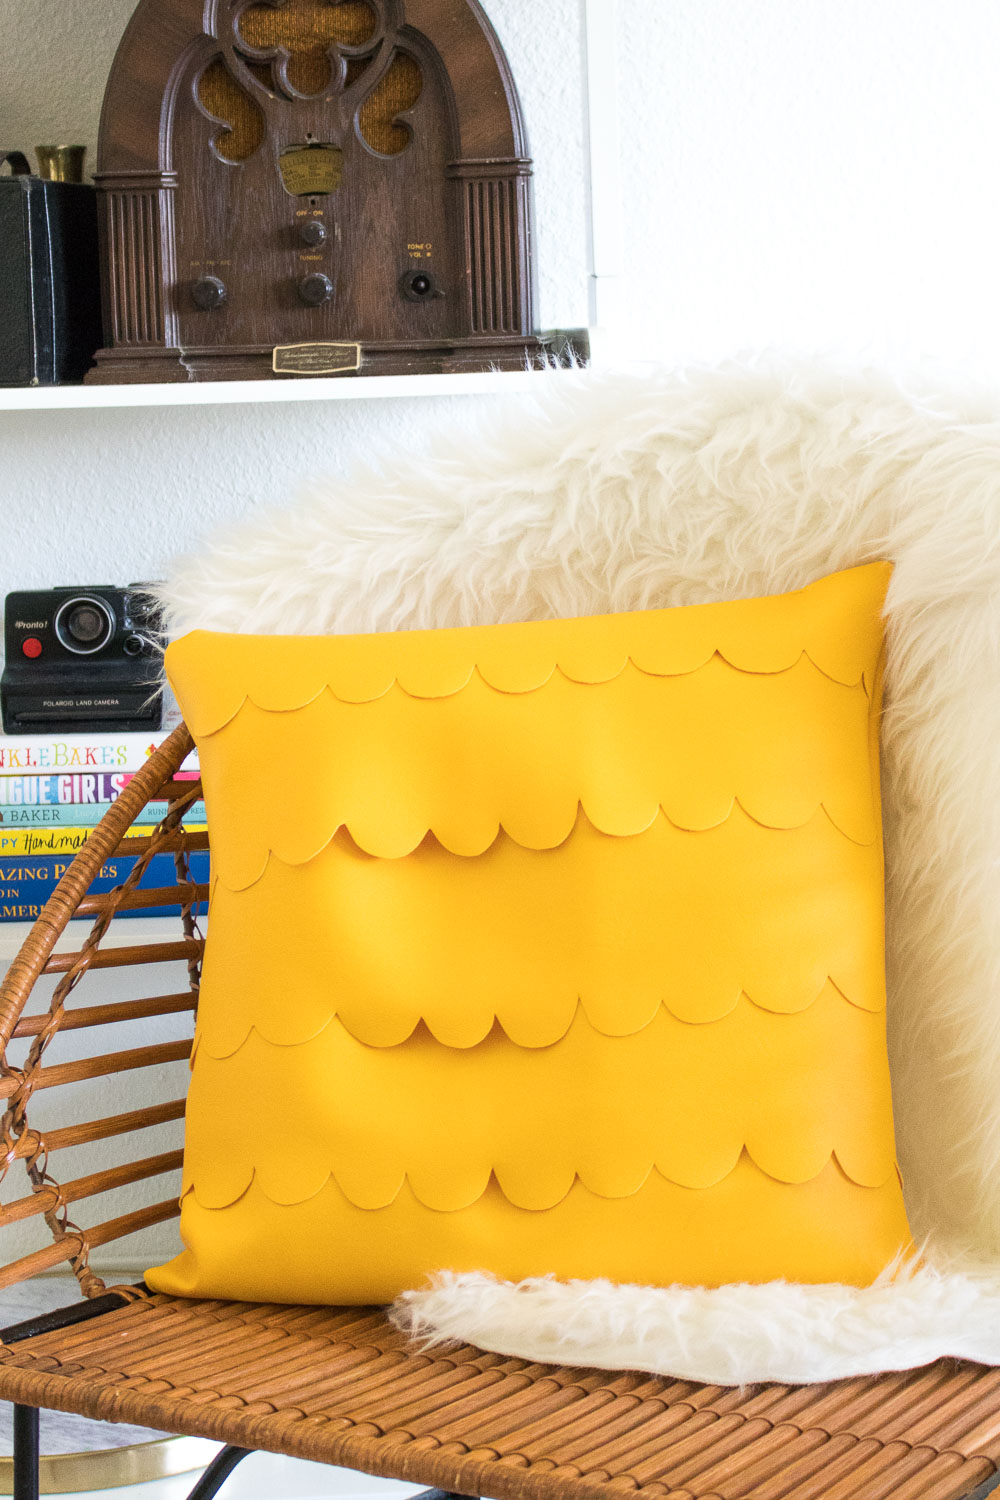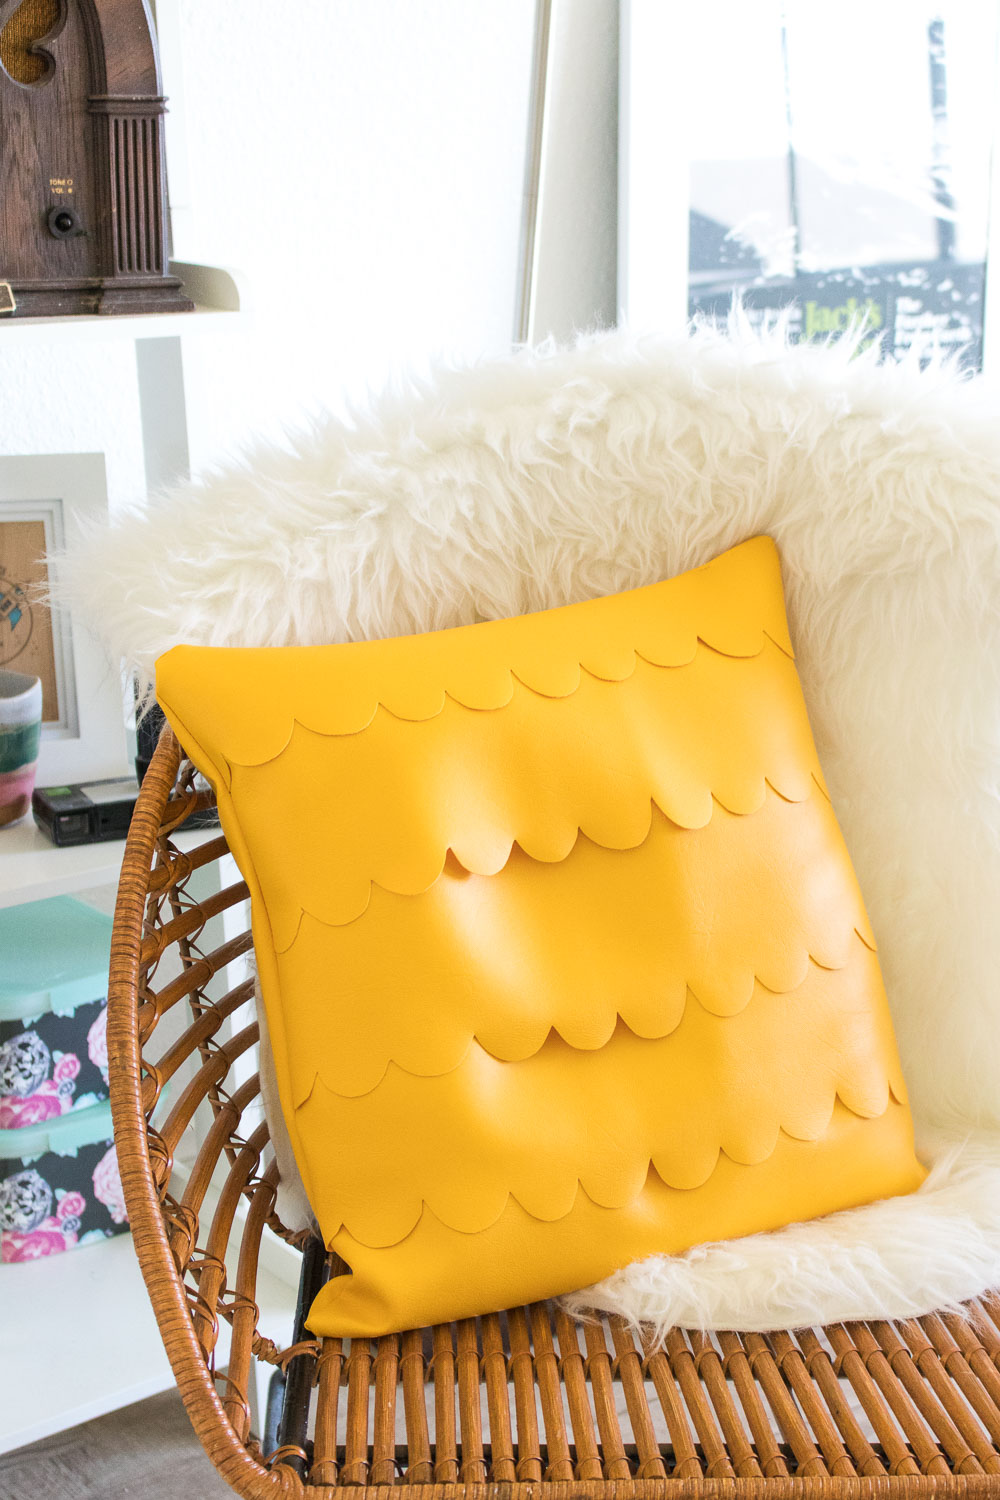
 Confession time: I have a pillow hoarding problem. Did you ever see that Allstate commercial that jokes saving money on insurance means you can buy more pillow? Andrew and I joke about it all the time because that’s exactly how I am. Pillows, to me, make a home a home! Layers of textiles are what make a couch or a bed look extra cozy and homey, so I come home with new pillows WAY too often. This time, I decided to satisfy my pillow hoarding by using the abundance of yellow leather I had left from this project and this project to make this fun DIY leather scalloped pillow that fits in perfectly with the color scheme of our living area (lots of yellow and blue).
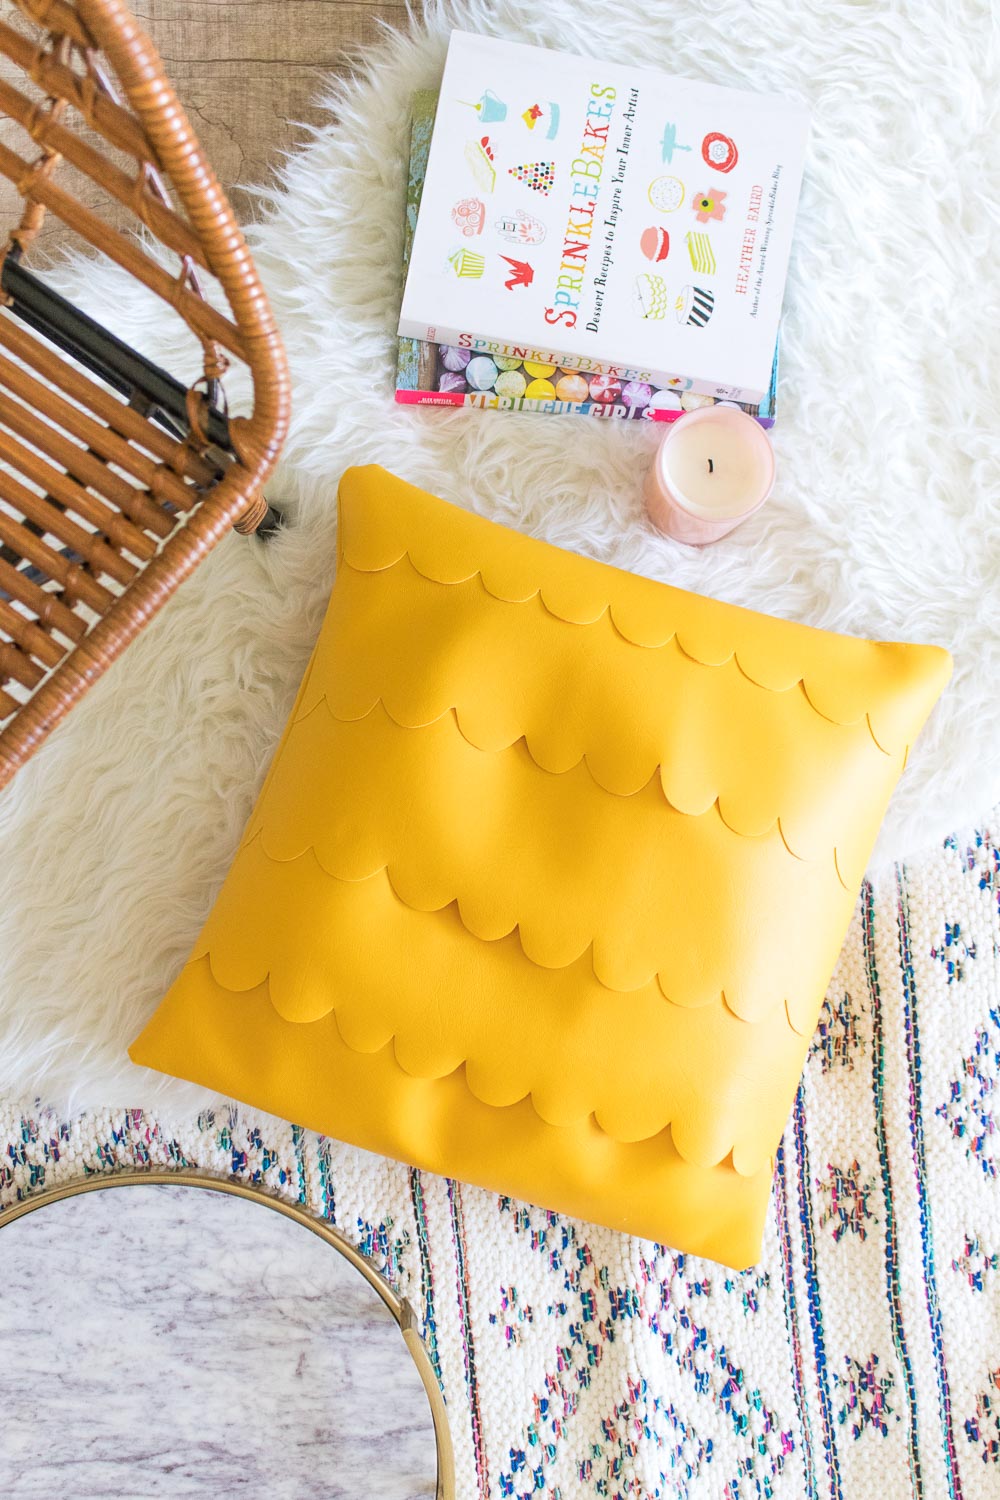
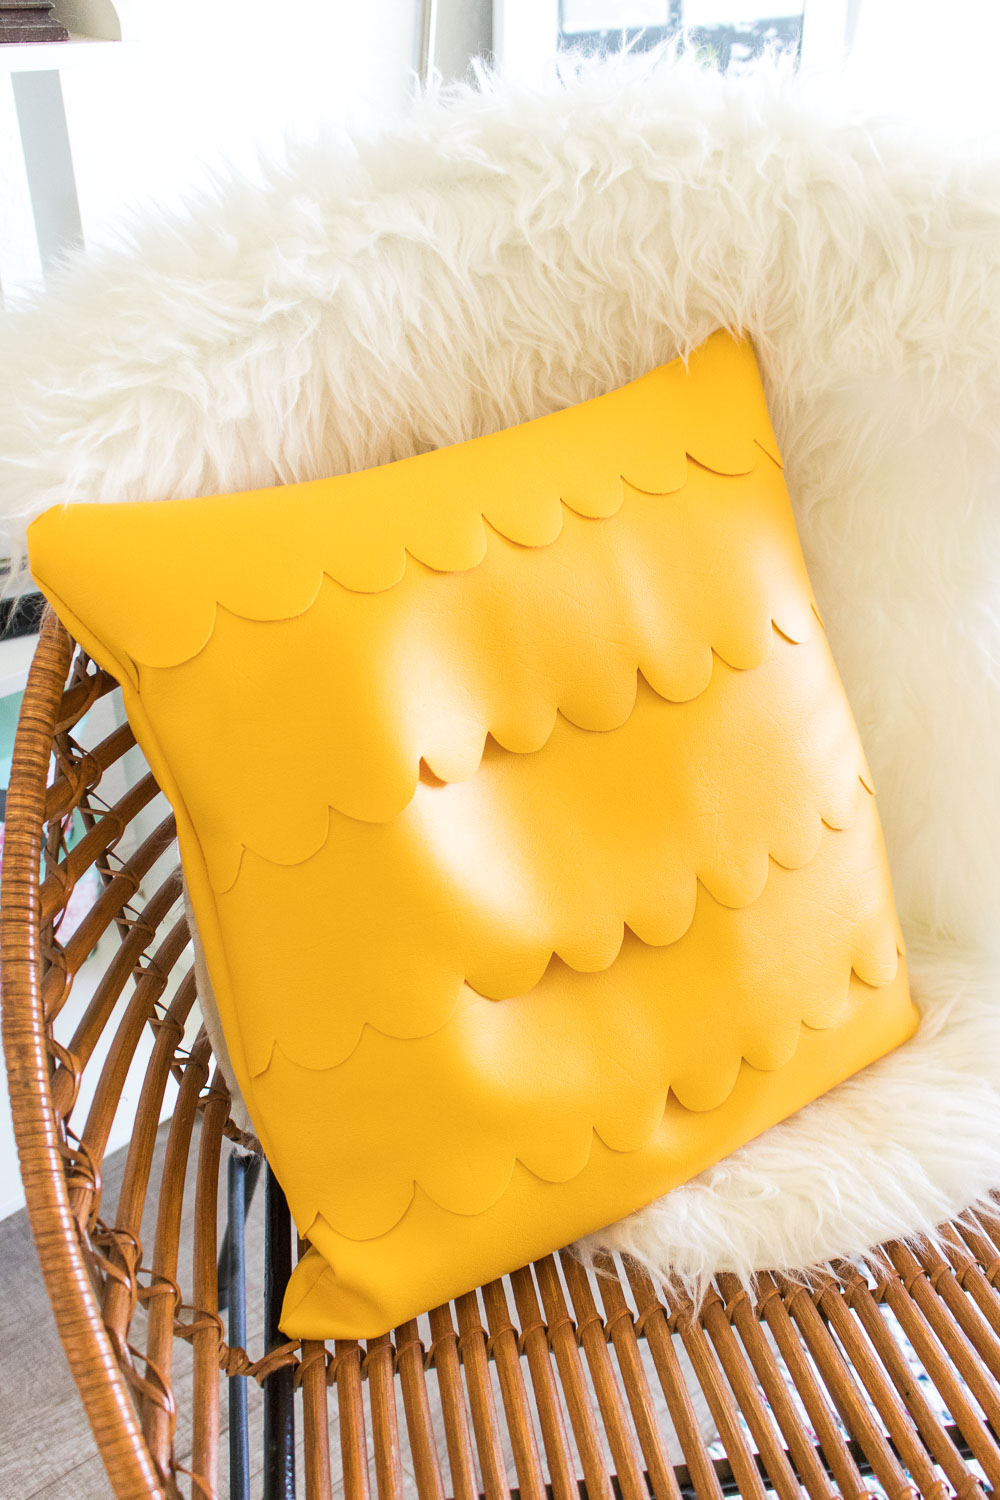 If you follow along here on the blog, you know I’m no whiz with a sewing machine. This is one of those “if I can do it, you can do it” projects. Just some straight square stitches and some pillow stuffing needed to make this cute addition. I just love the look of scallops!
Anyway, I learned that the trick to making this correctly is to sew the scalloped pieces over a solid piece of leather rather than expecting the layers to hold up on their own as the front of the pillow. If you skip this step, you’ll have stuffing seeping out of your scallops…yup, I did that! Luckily, I make those mistakes so that you don’t have to. After all, I’m a rookie when it comes to sewing.
I love how the yellow pops and faux leather is fun but easy to work with. I buy this by the roll, and it’s very moldable, unlike actual, thick leather. You’re going to love adding this scalloped pillow to your favorite chair or couch!
Time: 30 minutes
Supplies:
- 1 yard faux leather fabric
- Fabric scissors
- Paper scissors
- Pencil
- Printer paper
- Pencil
- Sewing machine
- Pillow stuffing
Note, I did specify you’ll need paper AND fabric scissors. You always want to keep them separate because cutting paper with your fabric scissors will make them dull.
Step 1: Cut two square pieces of fabric 16.5 inches square.
Step 2: Tape two standard pieces of printer paper together to make one long piece. Draw out your scalloped edges across the paper. When you’re satisfied, cut it out with about 2 inches of space above the scallops. This will be your template.
Step 3: On the backside of the leather fabric, measure a 16.5-inch width and mark. Then measure three 7-inch sections that are 16.5 inches wide. Trace the scallop template along these marks and cut them out. You should have three equal sized scalloped pieces.
Step 4: Repeat the above step with a 3.5-inch thick piece instead. You should now have three 7-inch thick scalloped pieces and one 3.5-inch thick piece, all the same width as the pillow backing.
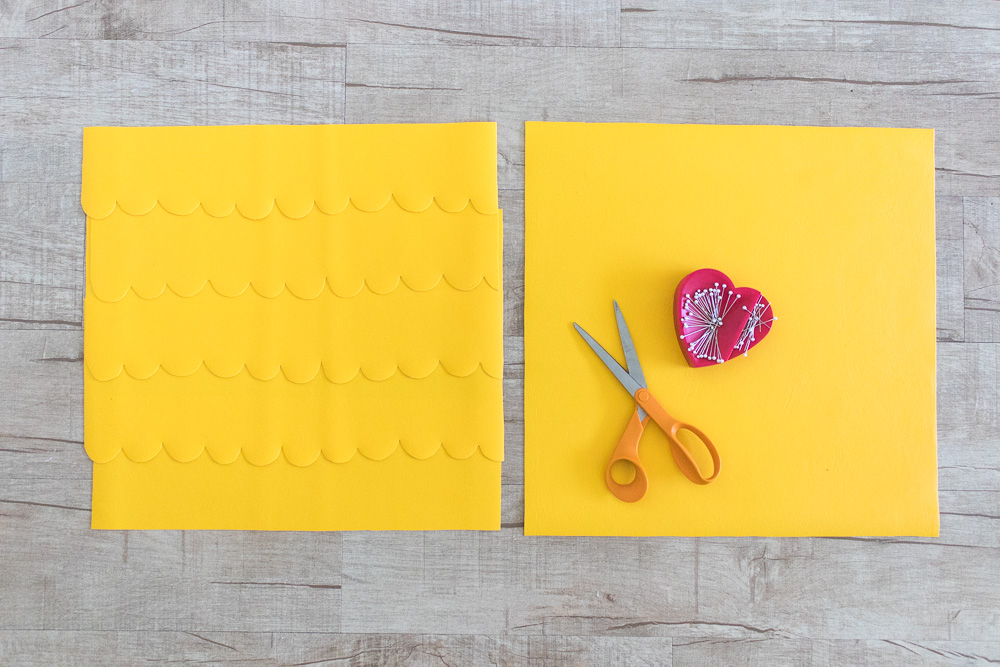
Step 5: Lay one square leather side facing up. Layer the scalloped pieces on top of each other, starting at the bottom. First, leave a black section (note the picture), then the 7-inch sections, and lastly the 3.5 inch section.
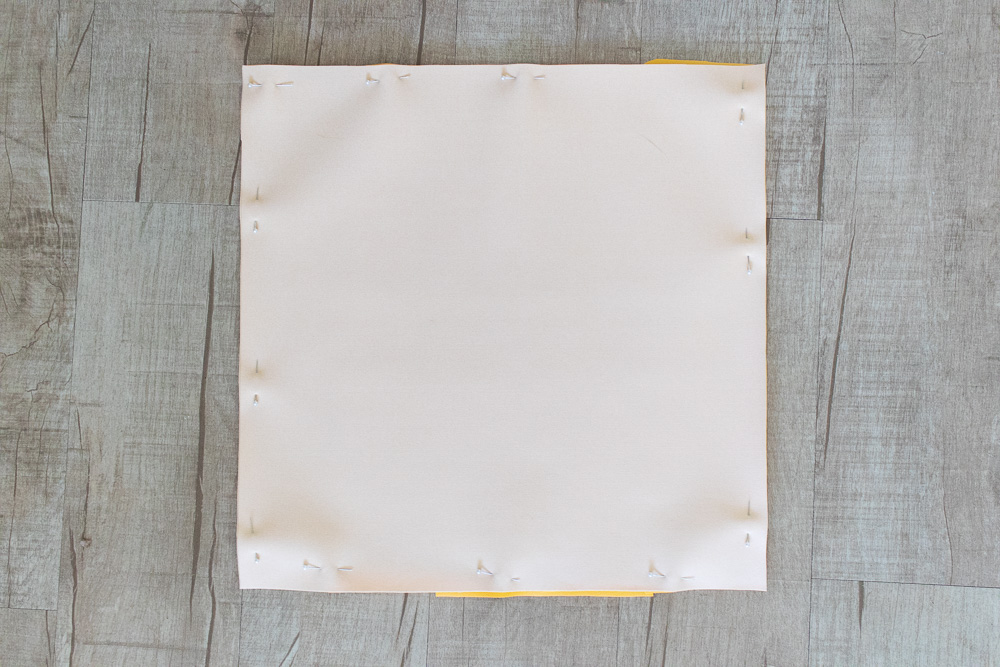
Step 6: Lay the remaining square piece leather side facing down onto the scallops. Pin around the edges, making sure the pins go through all layers.
Step 7: Begin sewing a 1/2-inch seam around the pillow, pausing to rotate the pillow but sewing one continuous stitch. Note, you will want to go slowly due to the number of thick layers you’re sewing. Leave a 2-inch section open when you near the end. Backstitch to secure.
Step 8: Gently pull the pillow right side out through the hole left in the seam. Make sure you pull the layers through correctly so that the scallops show on outside of the pillow.
Step 9: Fill with pillow stuffing until desired fullness is reached. Then sew the hole shut by hand using an invisible stitch.
Now your pillow is ready to display! The best thing about homemade decor pieces like this leather scalloped pillow is you know it’s unique, and it’s always a sense of pride to have made something yourself. Enjoy lounging around with your bright and summery new pillow!

